
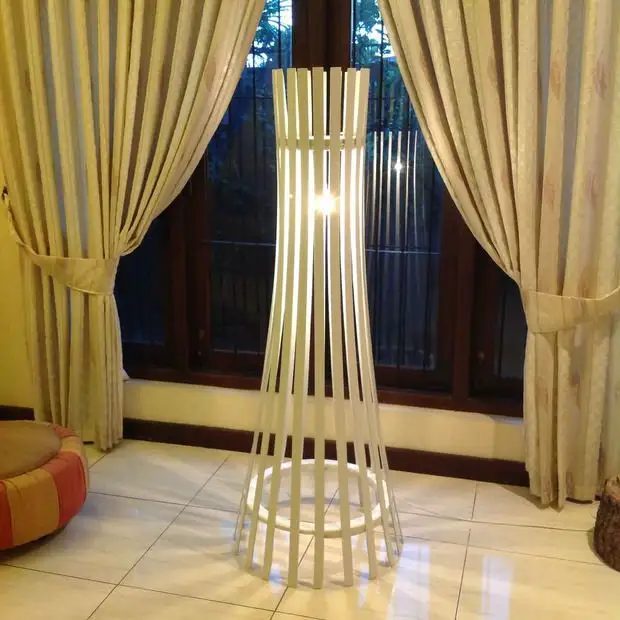
It is very original, and you can say the elegant lamp, which perfectly fit into the comfort of your home. This floor lamp, you can easily make it yourself. The basis for its manufacture will be simple wooden rails. Details how to make a floor flooring with your own hands, see and recognize further from the master class.

Materials
To make a lamp, prepare:
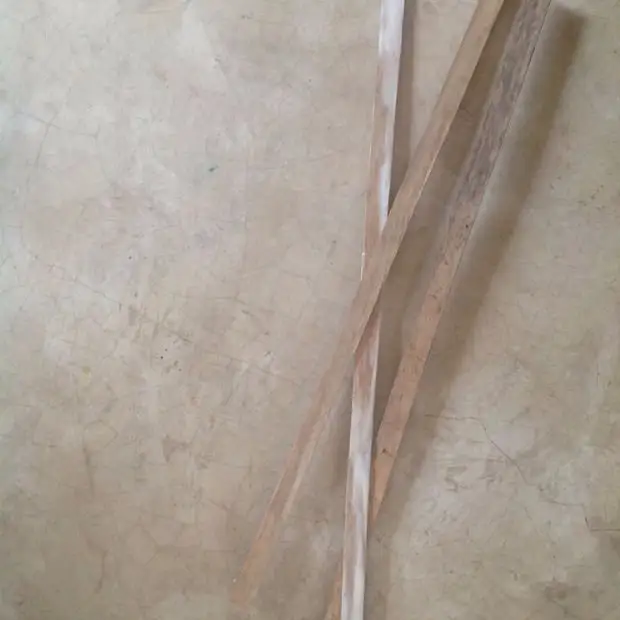
- 20 rivers, 2.5 x 160 cm, 0.6 mm thick;
- 2 boards with a thickness of 3.5 cm, 25 x 25 and 50 x 50 cm;
- paint for wood;
- grinding machine or sandpaper;
- nails;
- a hammer;
- drill;
- Lobzik;.
- compass;
- line;
- paper;
- pencil;
- Cord with cartridge and light bulb.
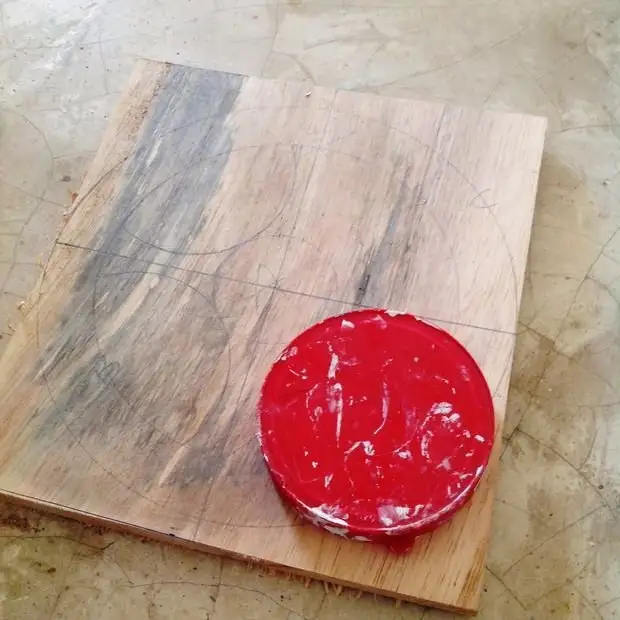
Step 1. Carefully sand the surface of wooden plates. Color them.
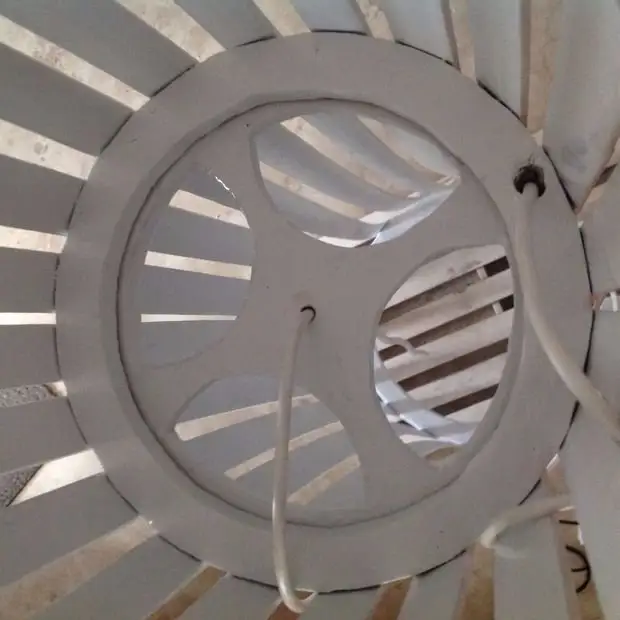
Step 2. On paper, draw an exemplary rings layout that will hold together the entire lamp. The upper blank in the form should resemble the wheel, and the bottom is the usual ring.
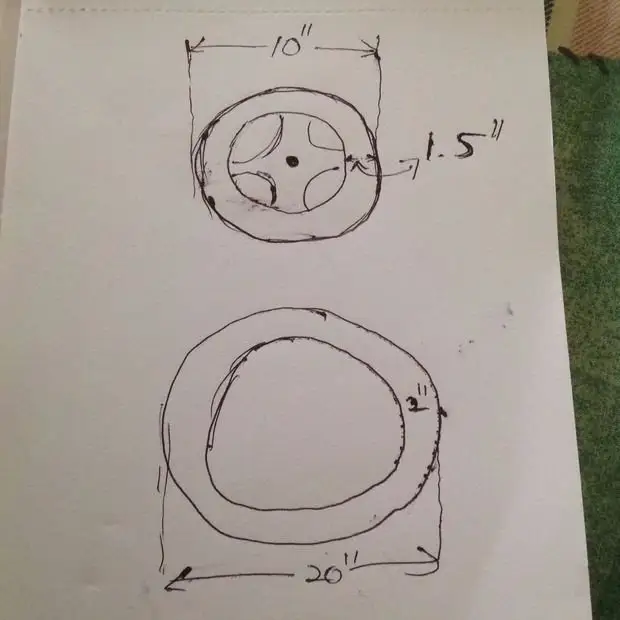
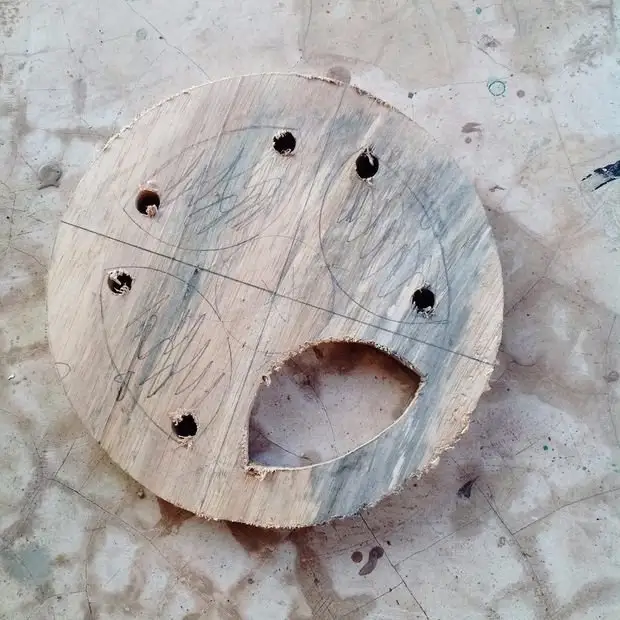
Step 3. Transfer patterns to pieces of wood. On a large draw a circle with a diameter of 50 cm. From his edge, inward retreat several centimeters and mark the inner circle. Similar marking Make both the second piece of wood, having reduced the diameter of the outer circle to 25 cm. In a small circle, using a conventional canning cover, make marks for streamlined cutouts. How do they eventually look like, look at the photo.
Step 4. With the help of jigsaw, cut two wooden blanks from pieces of wood. In the center of the upper part and along the edge of her rim drill, try the holes under the lamp cord.
Step 5. The resulting workpieces are sanding and, if necessary, treat a special mask for wood.
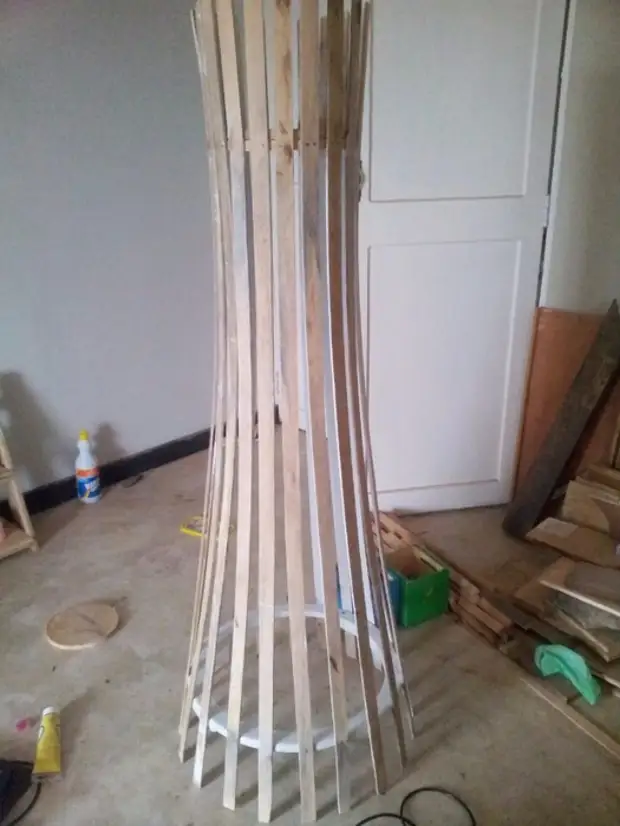
Step 6. On the rails from the front side using a ruler and pencil, apply markup. It is needed to attach them to the rings at the same altitude. Top and below, retreat approximately 20 cm.
Step 7. Small furniture nails gently approach the rails to the rings. For convenience, you first fasten the rails on the sides in the shape of the cross, and then fill the space between them.
Step 9. Stretch the cord with the cartridge inwards the wooden frame and skip it through the harvested holes. If you want the cord to hang, carefully cloves or other fasteners fix the cord along one of the plates.
A source