
The beauty of the garden depends on how we take care of it: how exactly the flowers and trees will be planted, which furniture will be in the garden, what a fence, which figures are decorated with flower beds and tracks.
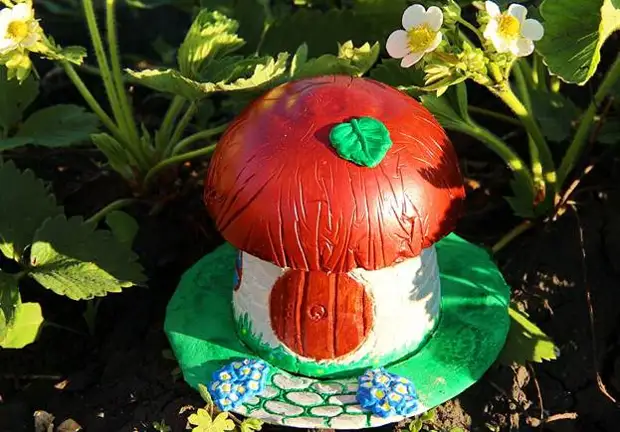
In this article, we will tell you how to make a very simple, but a beautiful garden figure of gypsum with your own hands.
We advise you to attract children to the process of creating a garden figurine. This is a very interesting occupation, it will develop creative thinking and will provide a useful and entertaining time.
For the manufacture of a garden figurine from plaster we will need:
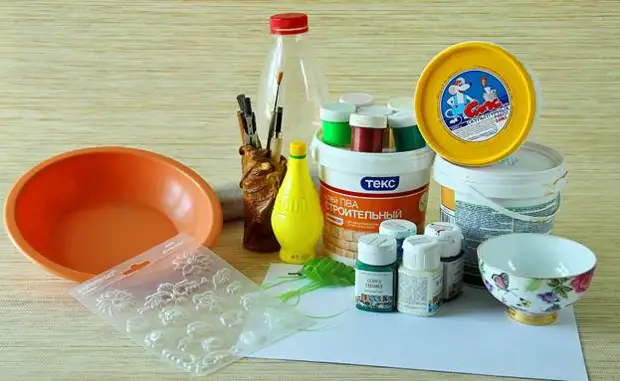
- Gypsum sculptural at least 500g (it can be replaced by a cement mixture, it will be even more durable with it)
- PVA glue construction
- varnish
- Acrylic paints for glass and ceramics
- Tassels
- compass
- pencil
- A set of cutters for wood thread (can be replaced with a big needle, or a stationery knife)
- Cleaphian Food Film
- stationery knife
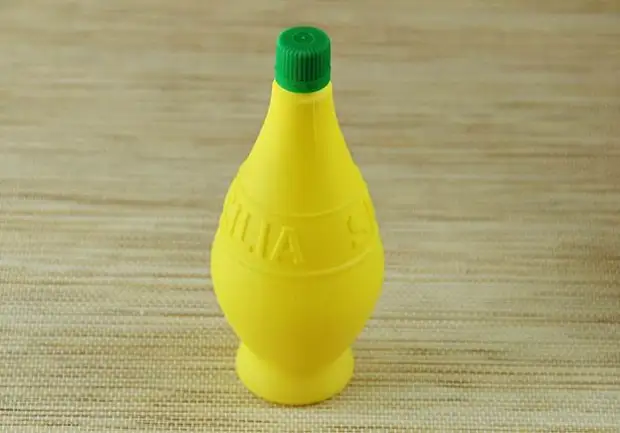
- Empty plastic bottle suitable forms
- 2 cups: one for pouring base, other for mushroom hats
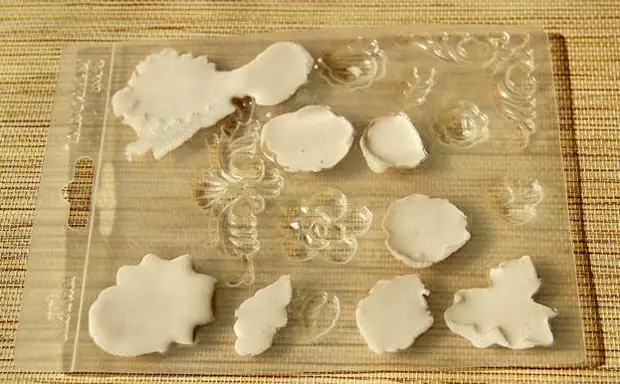
- Decorative elements for design: figures, beads, artificial decorative flowers or leaves, molds for creating gypsum figures
- Waterproof glue for reliable fixation of decorative elements
- sunflower oil
- soap
- water
We make a leg for a garden figure
From an empty plastic bottle, for example, from under milk, cut off the neck, which will serve us by form to create a feet of the mushroom.

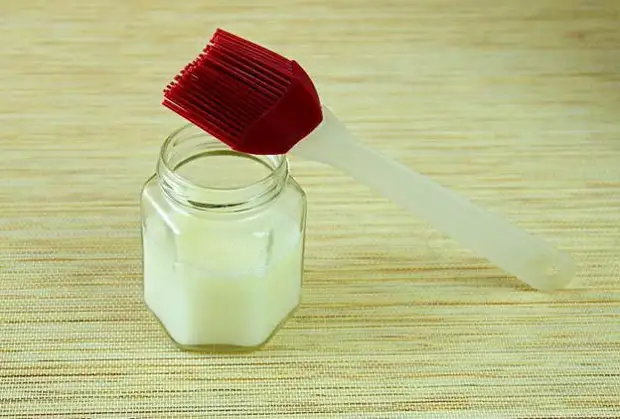
To make it easier to remove the frozen sculptural plaster from the mold, the walls of the bottle can be coated with a solution of grated soap, vegetable oil and water in the ratio: 2: 1: 7, respectively.
Soap rubbed on a shallow grater, pour out to the jar.
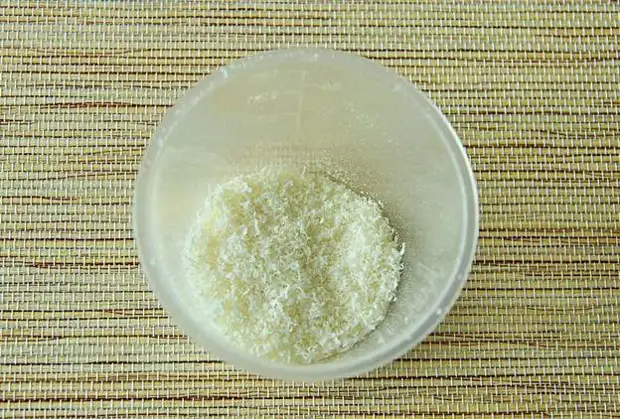
There we also pour vegetable oil and water. We all mix well and make an emulsion on the walls of the bottle.
Then we break the sculptural gypsum (not all, but only a piece necessary for the manufacture of legs) in the ratio that is specified on the package.
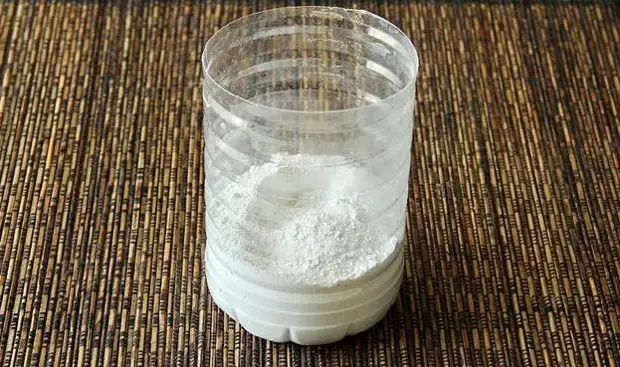
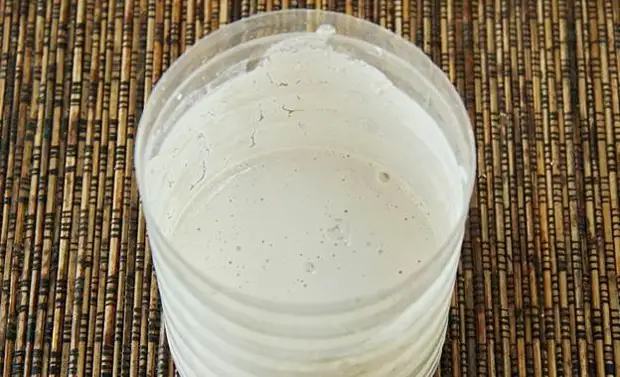
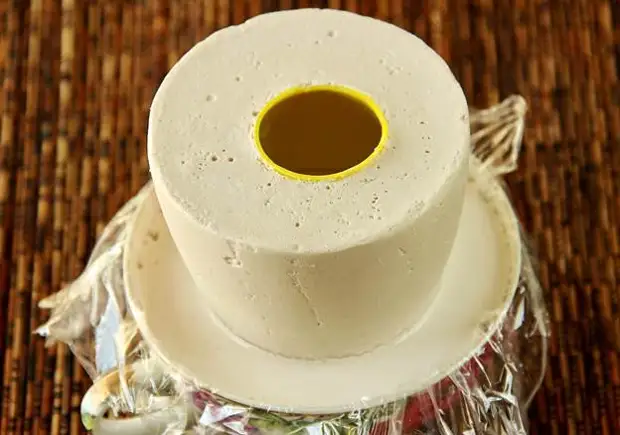
Gypsum solution pour into the form and leave to stick. To reduce the cost of plaster, the leg can be made of the floor. To do this, select a plastic bottle suitable and form and insert it into the frozen gypsum. It is important that the neck diameter of the inserted bottle was much smaller than the diameter of the neck neck.
In order for the bottle does not floast in the liquid gypsum, give it to any convenient press.

Grapples gypsum quickly. After 4-6 minutes, hardening will be noticeably, after 30-40 minutes with the figure you can already work further.
The stationery knife is cutting the shape and take the plaster billet from there. Sut the extra part of the plastic bottle, which we inserted to reduce the consumption of plaster.
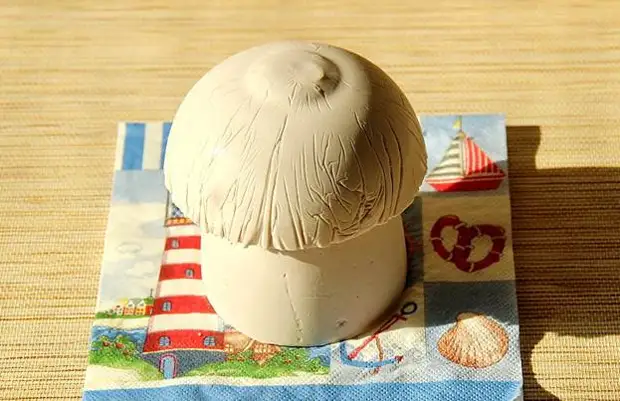
Making a hat for a garden figure
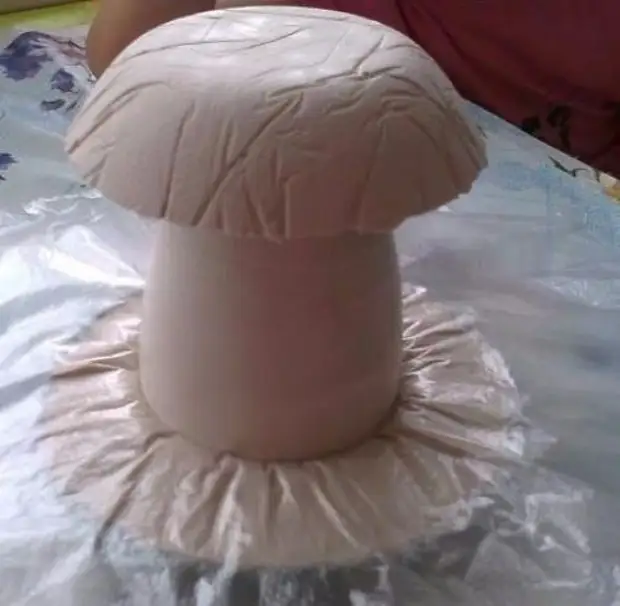
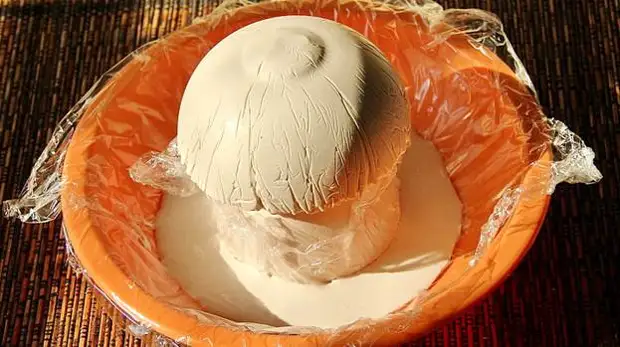
To make a hat for the mushroom, we take a suitable form of a cup and cover its surface with food cellophane film. We try to attach a film as close as possible to the cup and leave as few folds as possible.
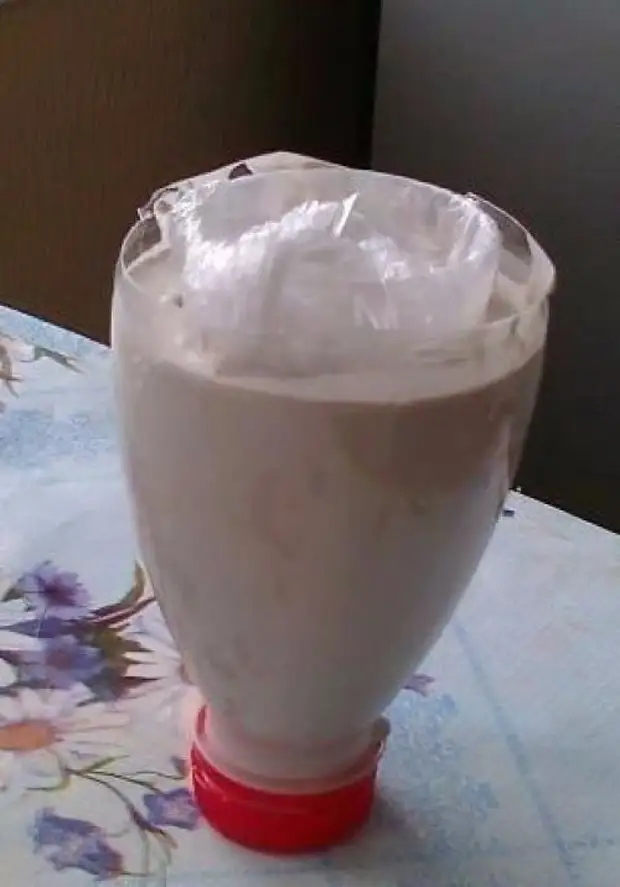
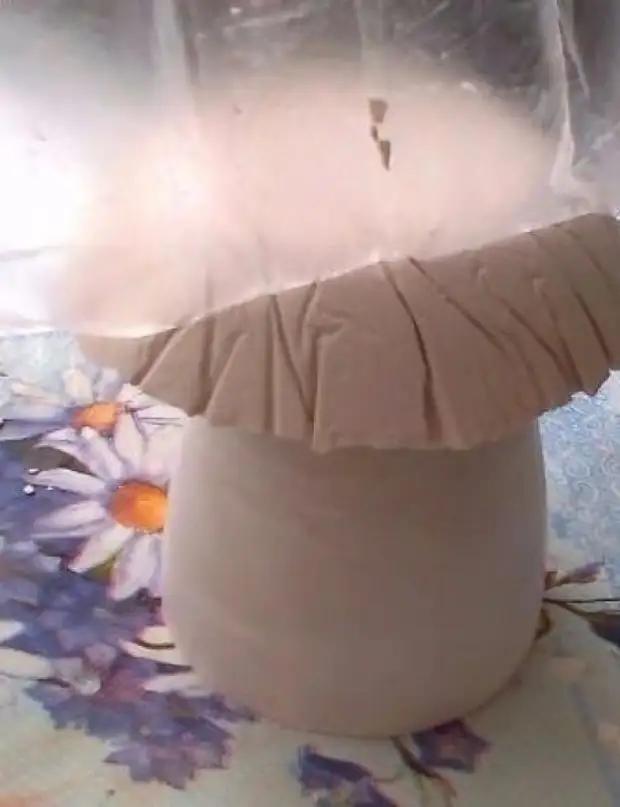
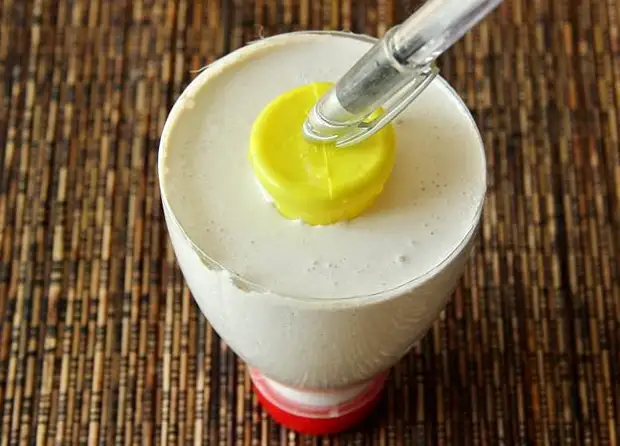
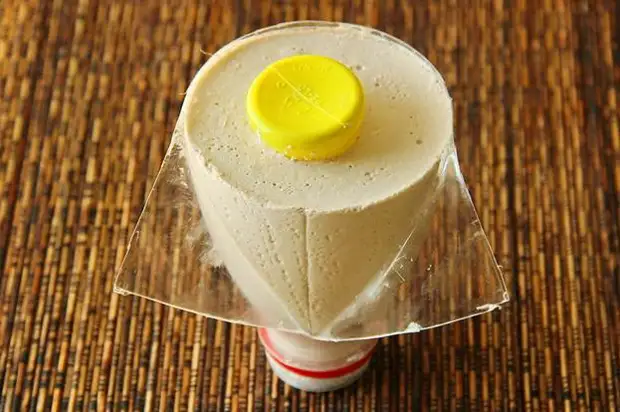
We divor the next portion of the gypsum necessary to create a hat, and pour it into a cup. Put the leg into the frozen plaster caps and leave for 30-40 minutes.
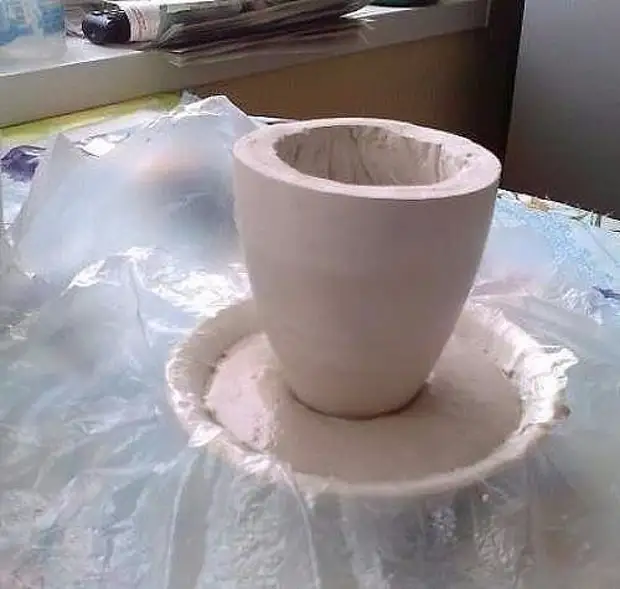
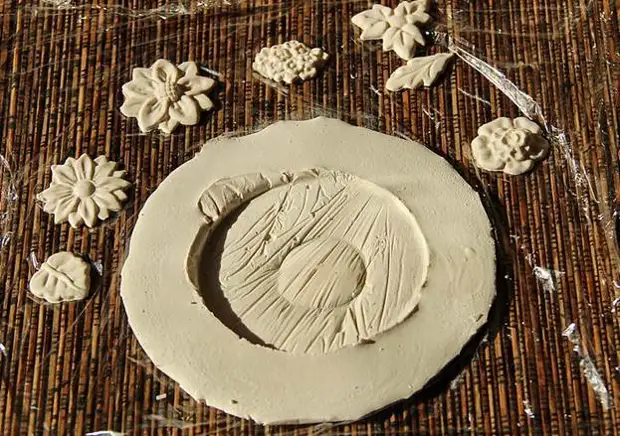
Making a base-base for a garden figure
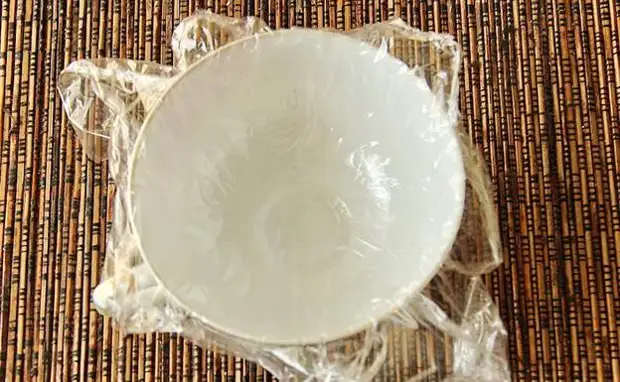
When the mushroom finds it, we make the base area for the figure. To do this, select a cup suitable and size, covered with a food film or emulsion for lubrication.
We divor the plaster and pour it into a cup. The feet of the fungus can be loaded there, but we advise you to make it removable, it will be more convenient to work with the design of the mushroom. To do this, the feet of the fungus is closed with a cellophage food film and immerse in the gypsum in the cup.
After 30-40 minutes, everyone pull out.
If you want to apply in the design of flowers, leaves, figures, also made of plaster, they are also poured and leave to stick.
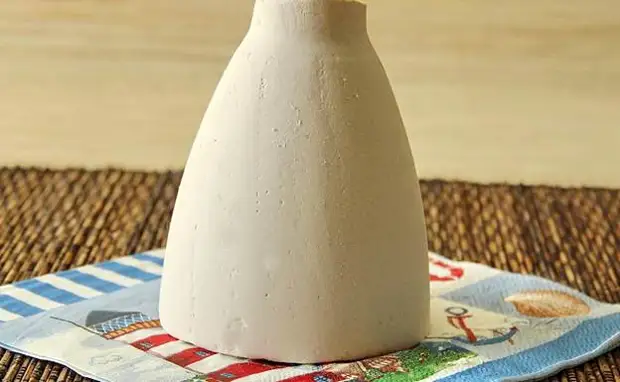
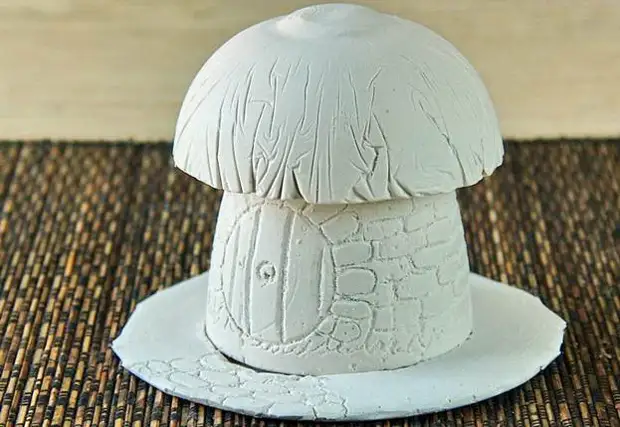
The finished figure from the gypsum you need to dry well before painting. We put it in a warm place for a day or even two.
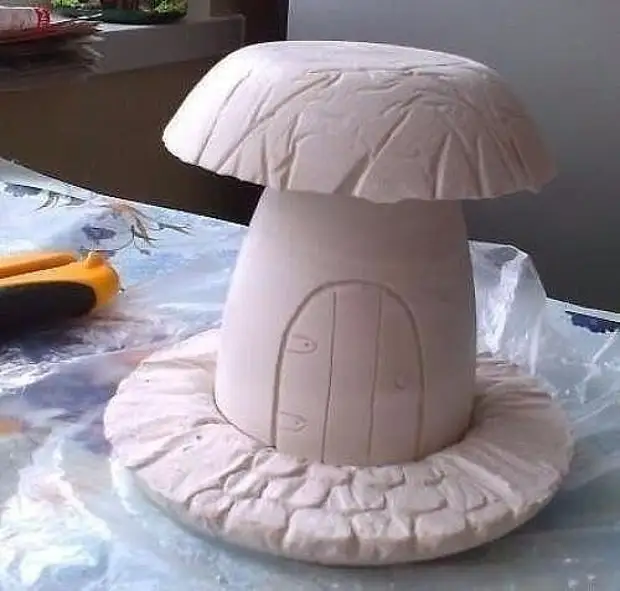
Registration of garden figure
The time of registration can be spontaneous and born right during the process, and may be thought out and drawn on paper. It is not necessary to draw everything in detail, you can portray the key points.
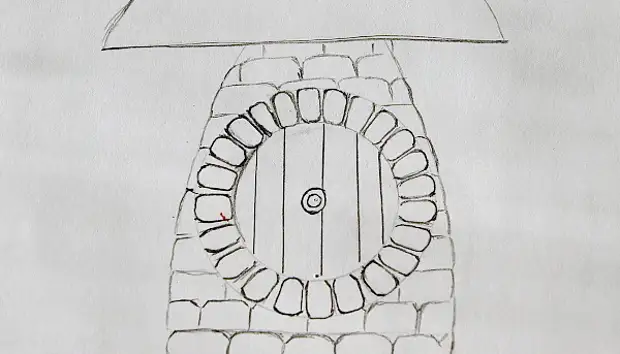
When the sketch is ready, proceed with the design of the figure.
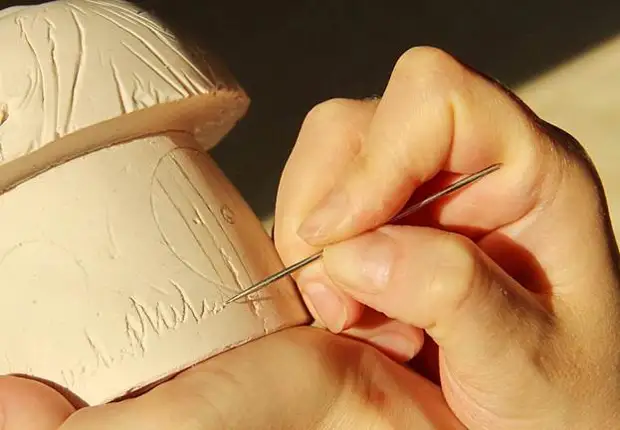
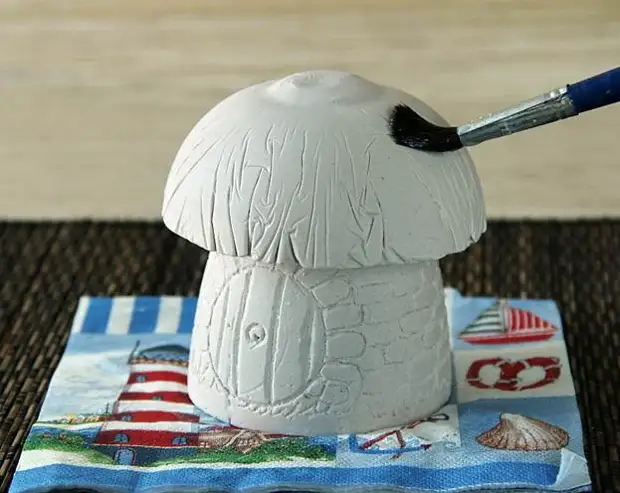
Simple pencil draw everything you want to see on the mushroom.
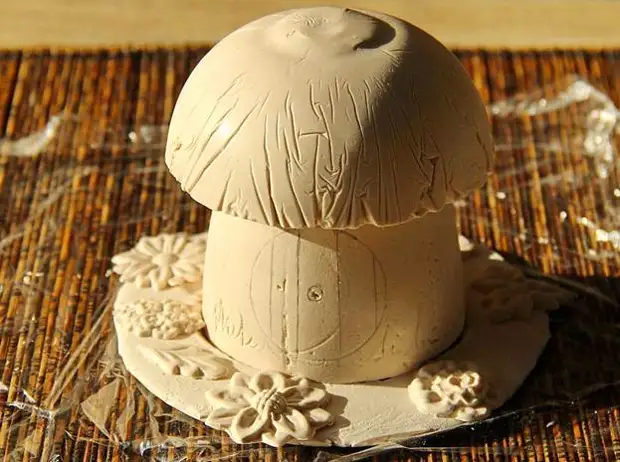
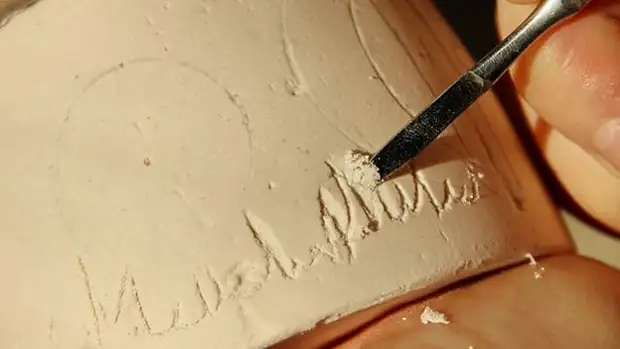
Then the outline give the volume using wood cutting tools or acute big needle.


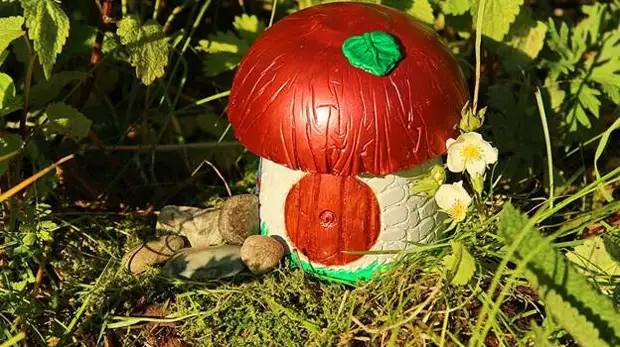
To paint better lay down and is less spent, the fungus must be projected. This can be made by special primer mixtures, and you can simply dissolve the construction of PVA with water in a ratio of 1 to 2. One part of the PVA and two parts of the water.
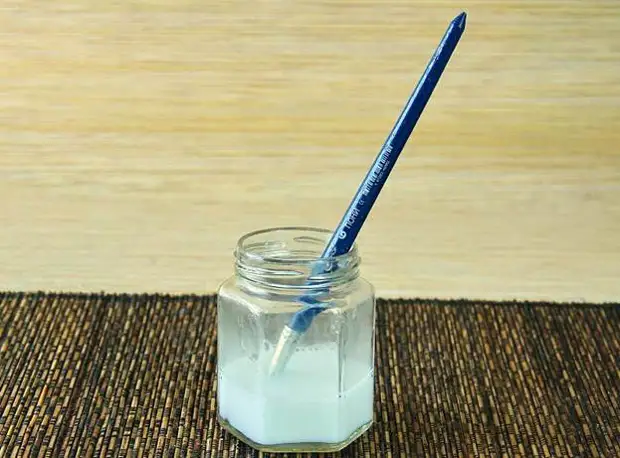
Tassel applied primer on the shape and wait a couple of hours until the mixture will dry.
Then the paints describe the fungus on the outlined and cut pattern.

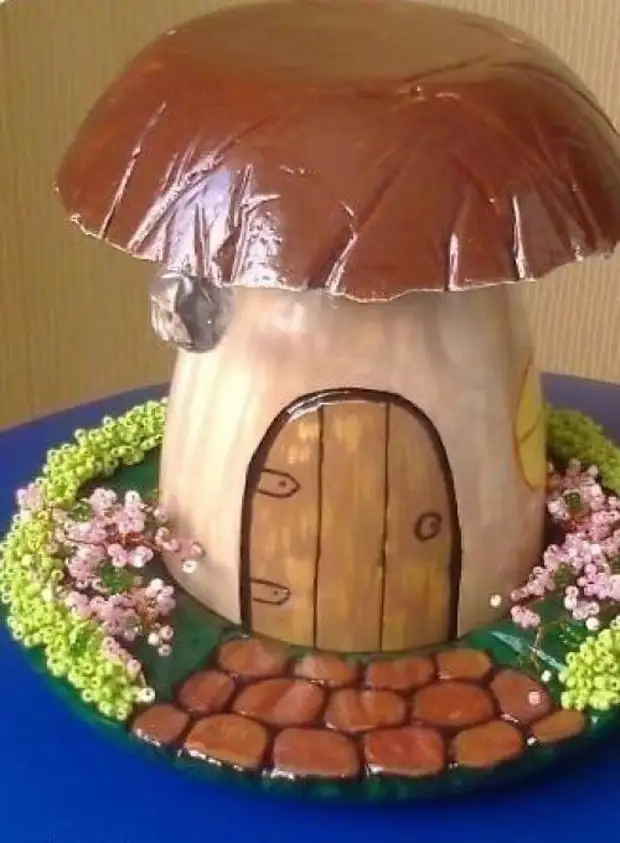
We give painors to dry well and on top reliably cover with varnish. Varnish put up a few layers without leaving a single misinterpretation. After covering, every layer we give lacquer to dry well. Design details fix in the right places with glue resistant to moisture.
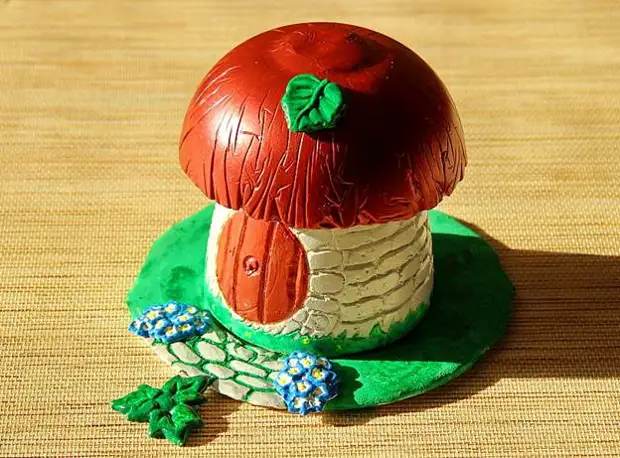
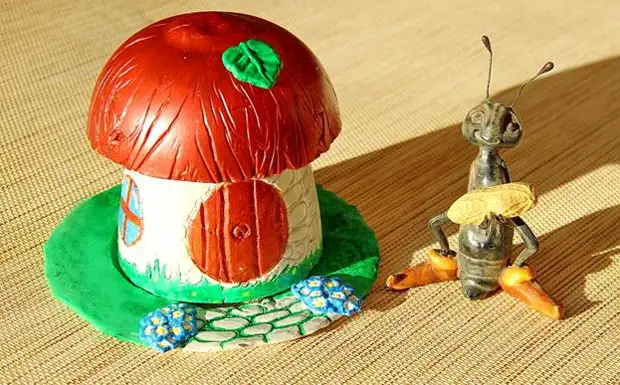
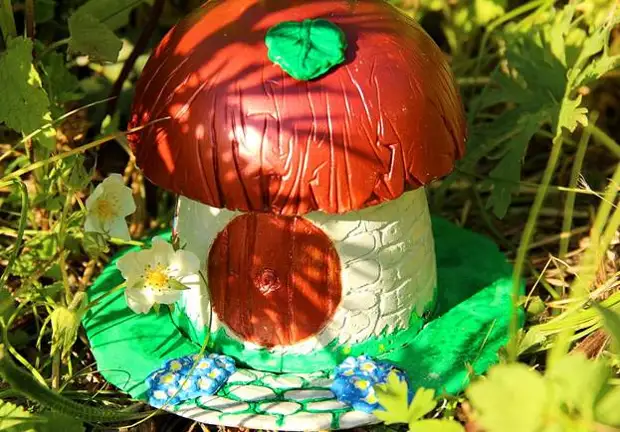
Figurine is ready. Now you can fill your garden with mushrooms for every taste and color!
Create!


a source