
To work, you will need:
- Wool white.
- Wool beige (optional).
- Sponge.
- Brush (can be shoe with rigid bristles, can be professional).
- Scissors.
- Glue crystal.
- Eyes.
- Two big long needles.
- Pins.
- Needles for felting №38, 40, inverse number 40 (if possible, find needles and thinner, for example, No. 50).
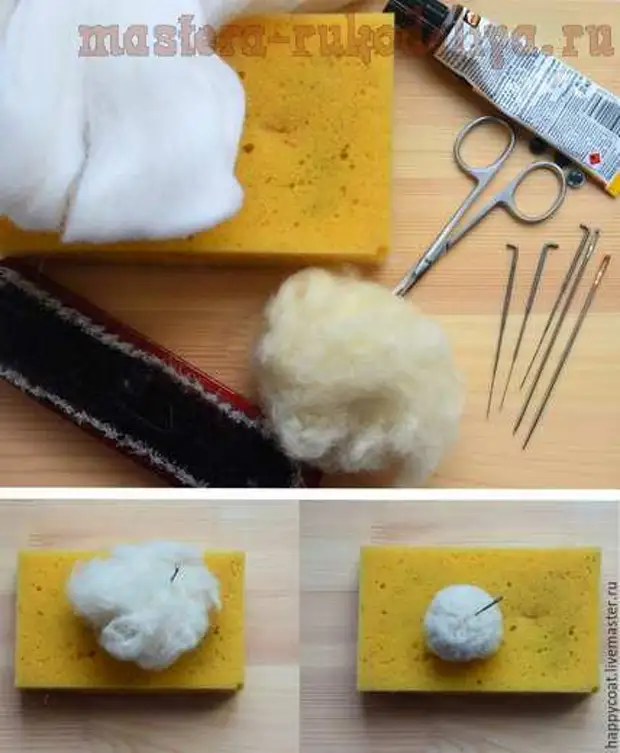
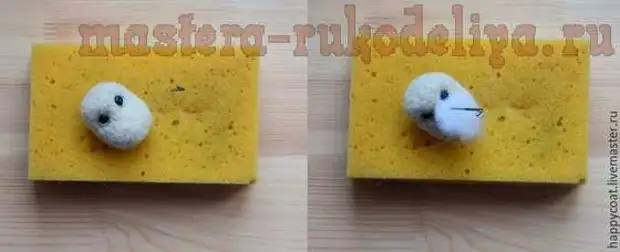
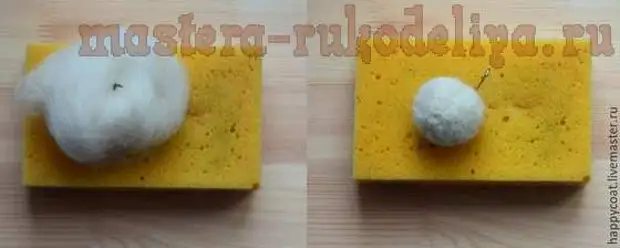
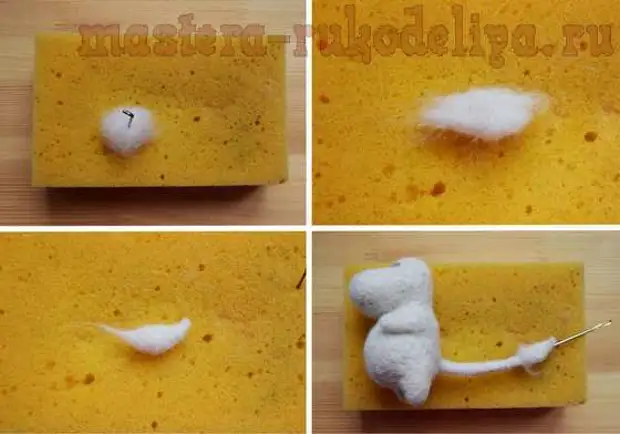
1. We take wool and form a ball - this is a future blank for the head. You can use the remnants as I did.
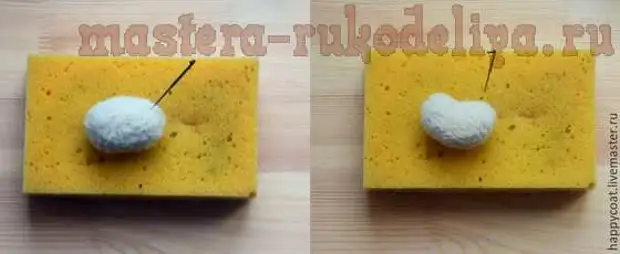
2. We form first oval, and then something similar to Bob, which on the one hand more than on the other.
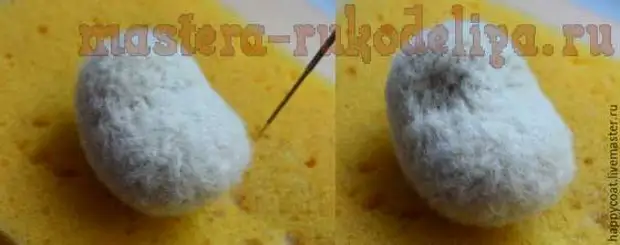
3. Form the soccer.
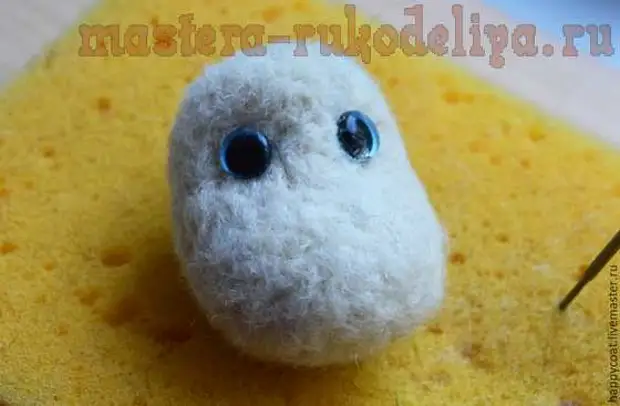
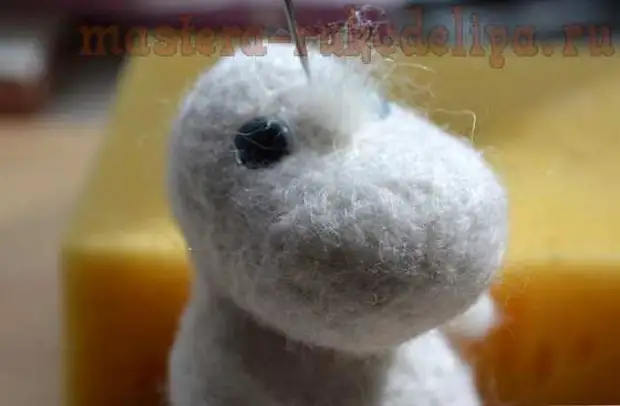
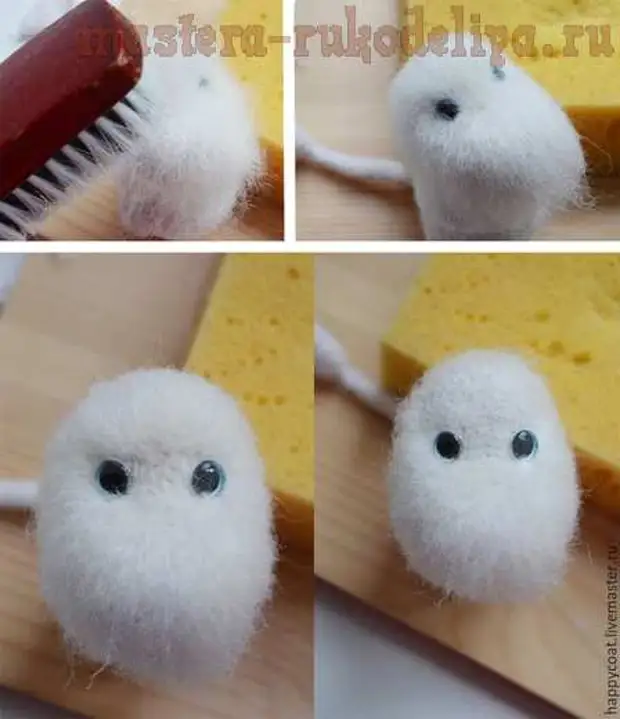
4. Printed eyes (as rubber glue).
5. Printed on top of white wool, aligning the shape of the mummy head.
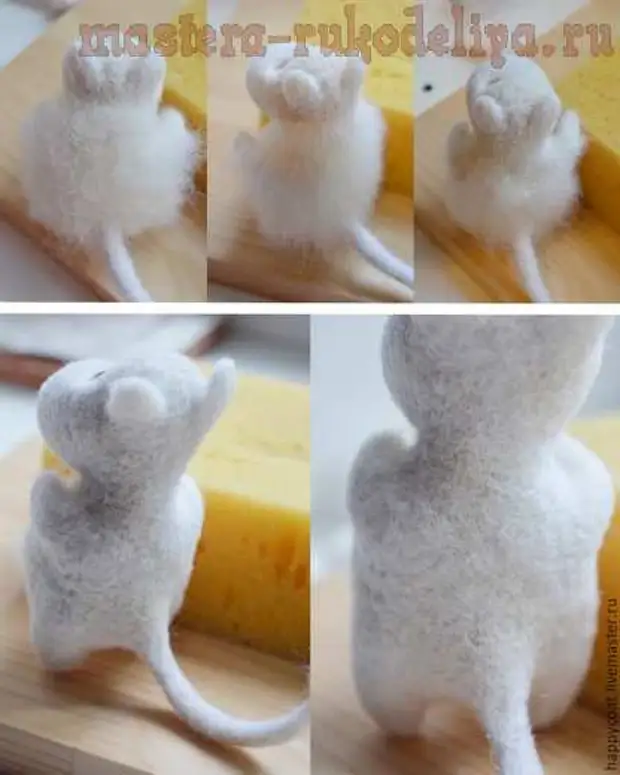
6. As a result, we get a sufficiently dense white head, which looks like in the photo below.
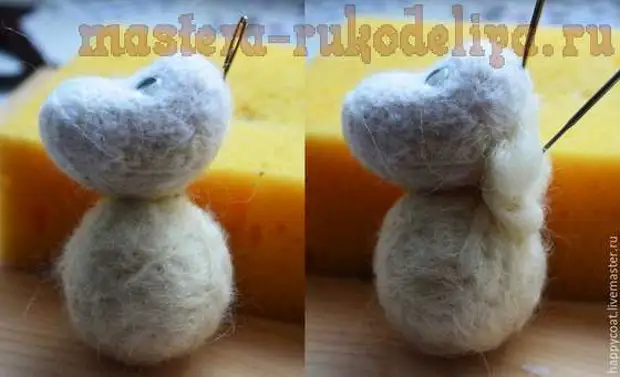
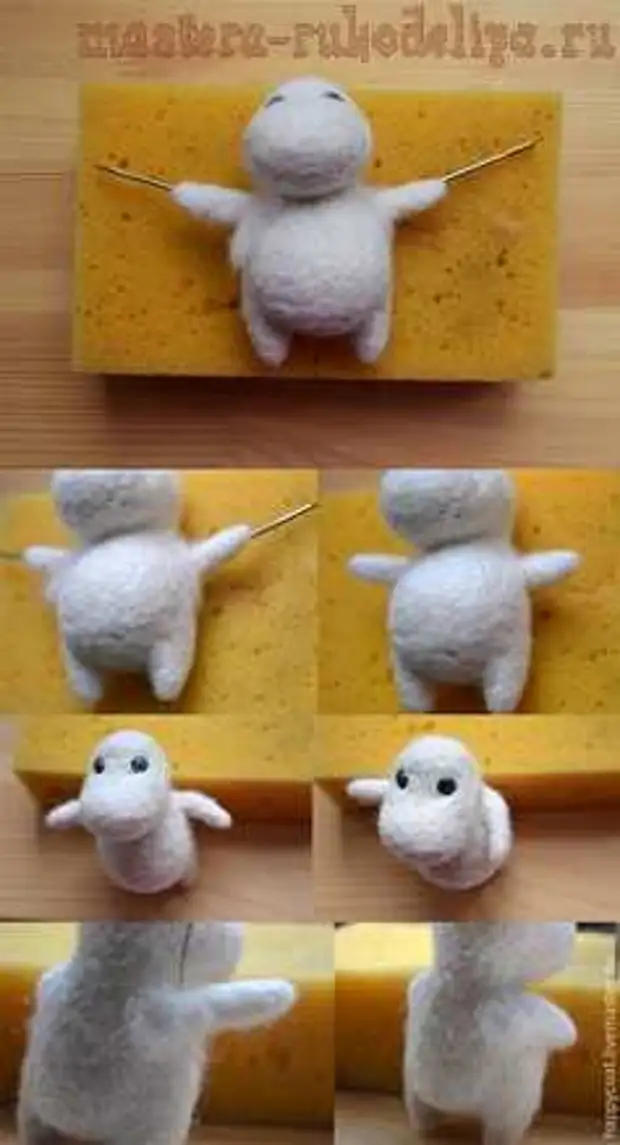
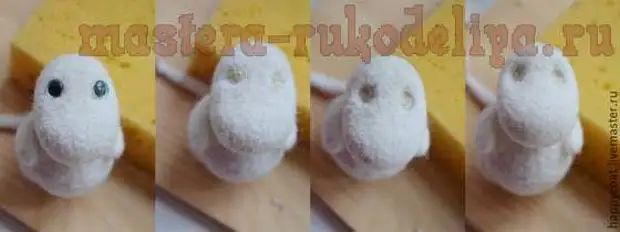
7. We take 2 times more beige wool (or white) and form a ball. It will be a blank for the body.
8. Mold your head to the resulting ball with the help of a big needle.
9. We score a place between your head and the ball of wool to bore them.
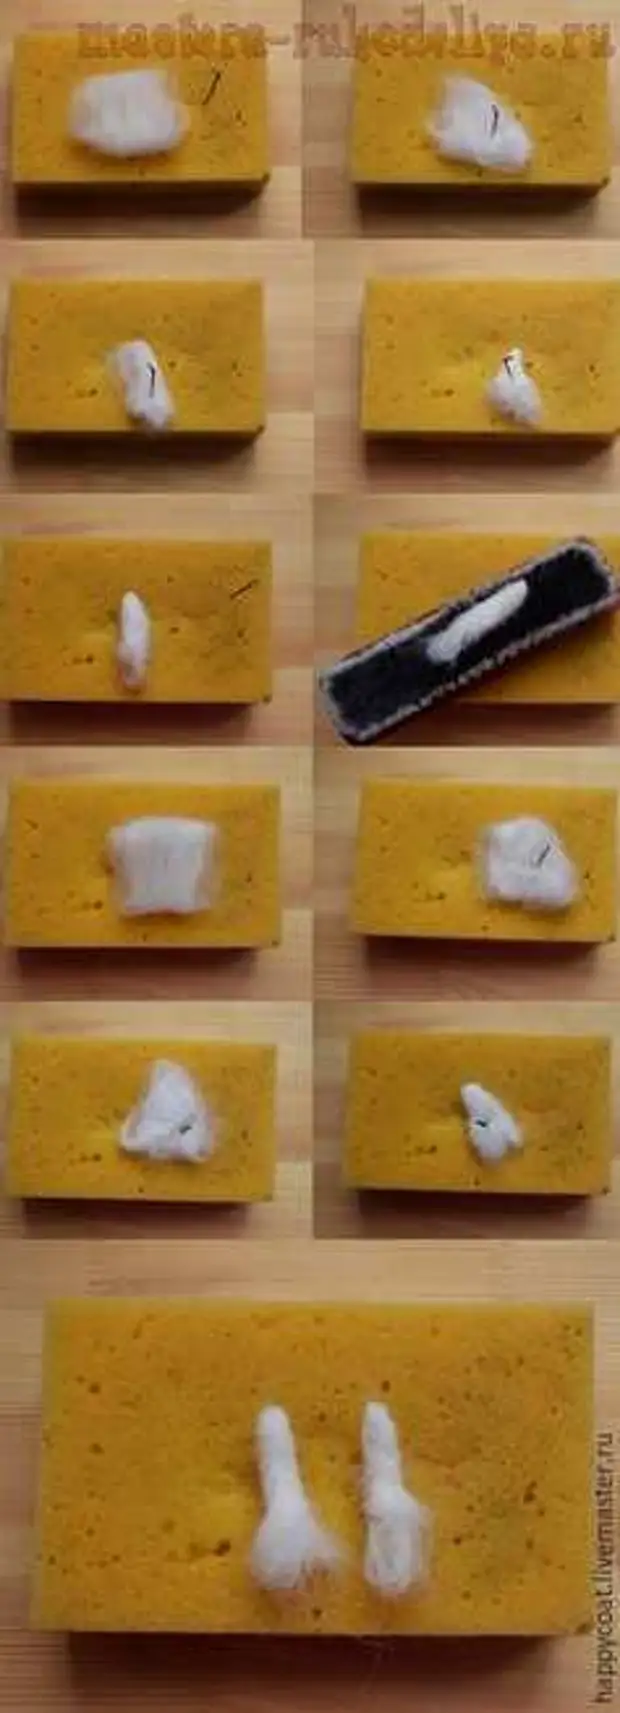
10. Out of white wool workpiece.
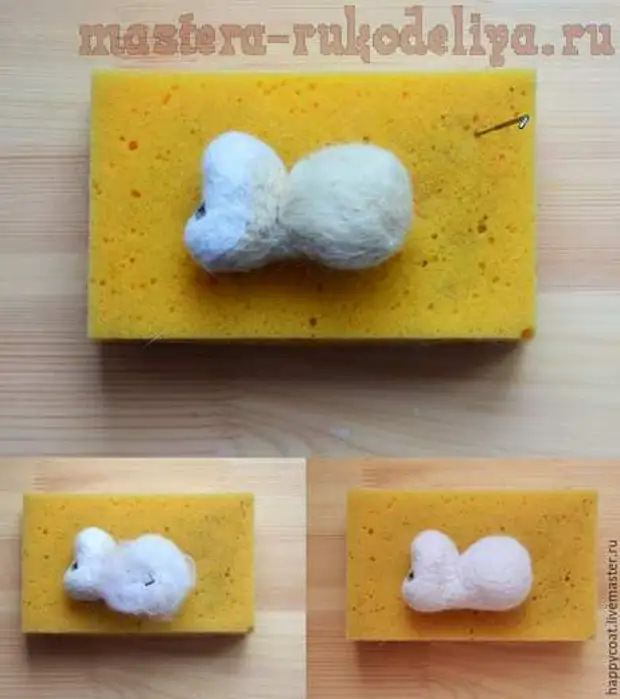
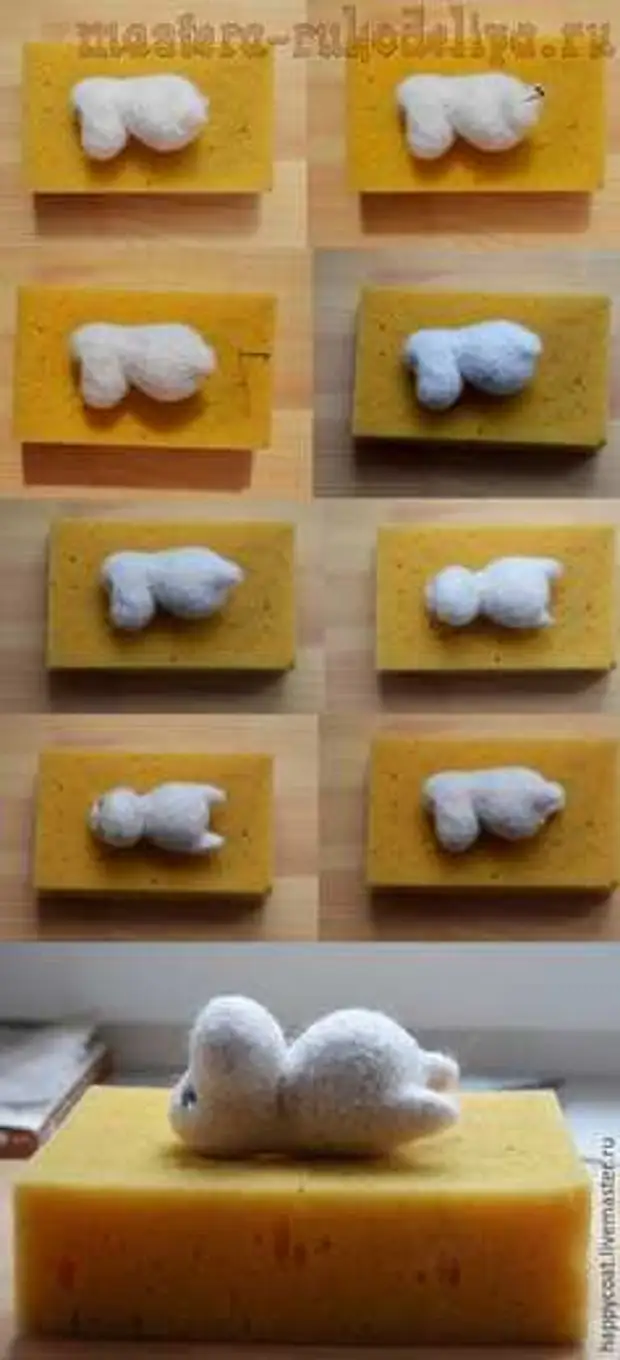
11. Flaw legs. For this, small pieces are stuffing the length in the place of the legs. Processes in the photos below.
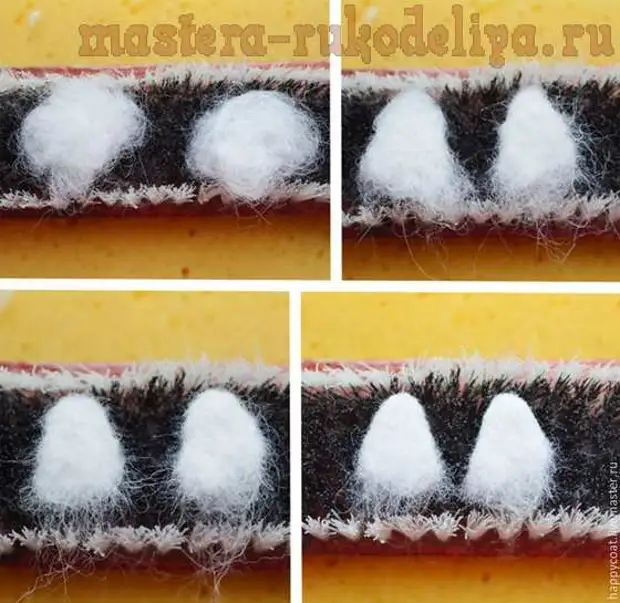
12. Form the handles. We take a small piece of white wool, make flat and throw the edges to the middle to get a triangle.
13. For greater density, the blank of the handle dump on the brush is a thinner needle.
14. Everything is repeated with the other handle. The process is lower.
15. Attach the handles to the body with the help of a large needle.
16. We take them to the body.
17. For greater strength, it is necessary to buy wool on the joint.
18. We form a tail. We take a small amount of wool and dump the harness. For strength, you throw it on the brush.
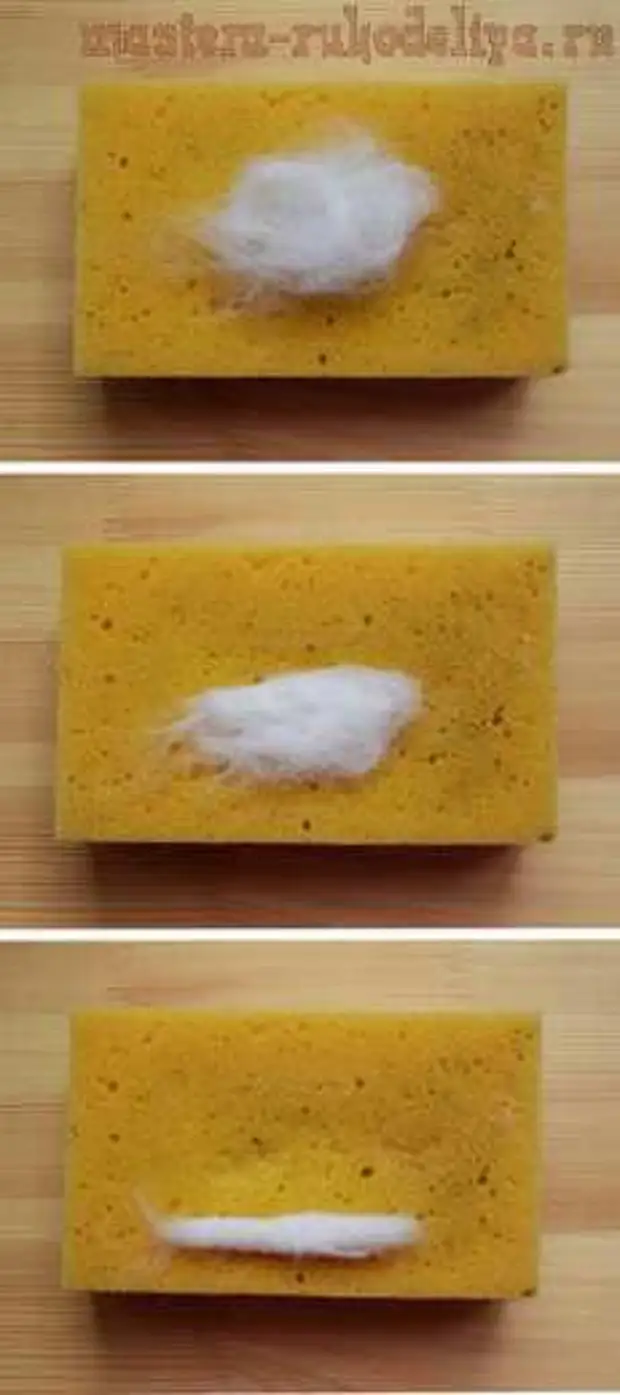
19. One of the ends do fluffy.
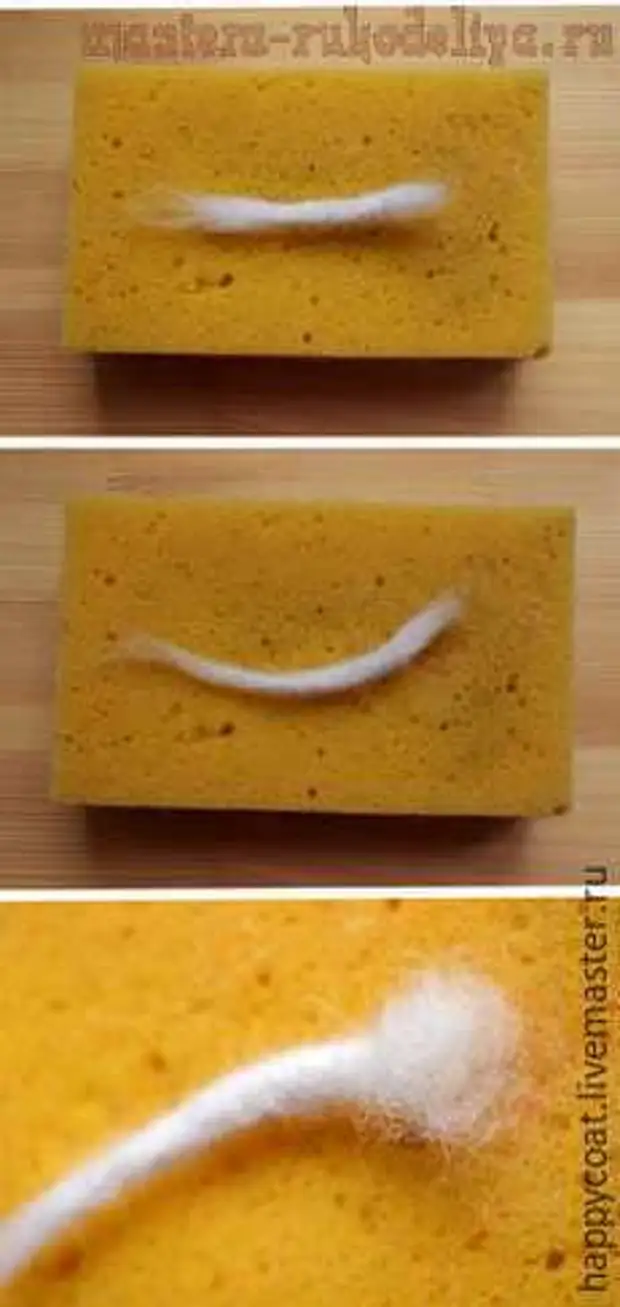
20. Take the tail to the body.
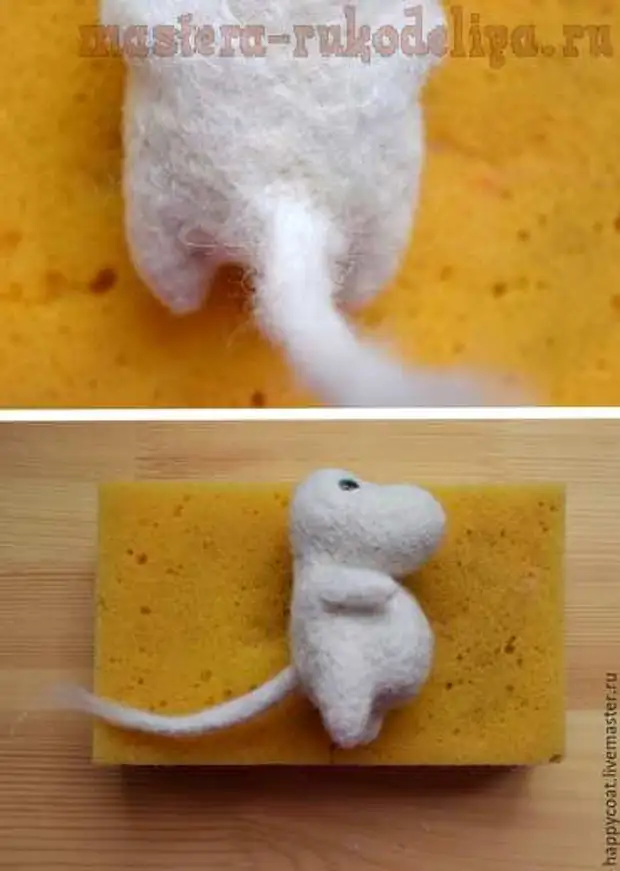
21. We form the tip of the tail. We take a small piece of wool and throw a droplet.
22. With the help of the needle, you fix the droplet to the end of the tail and apart.

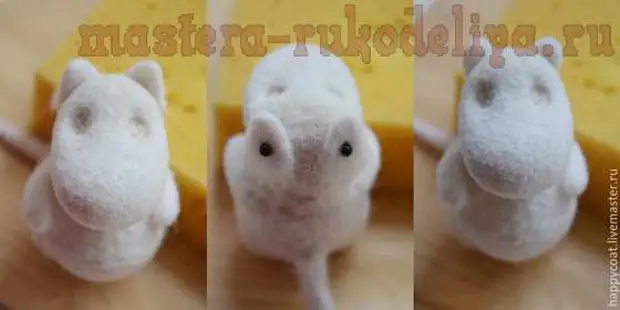
23. We start to make grinding. To do this, with the help of the reverse needle, knock out wool in the opposite direction. It is fundamentally using a thin reverse needle that knocks out only the top layer. Thick will choose all the wool from the inside, and the toy will get empty and will not keep the shape.
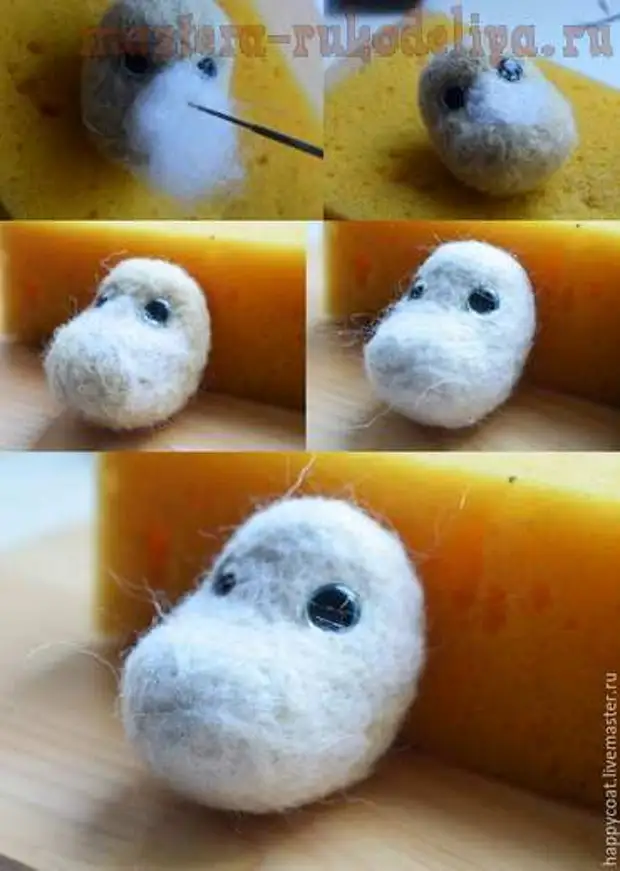
24. I wonder only your head.
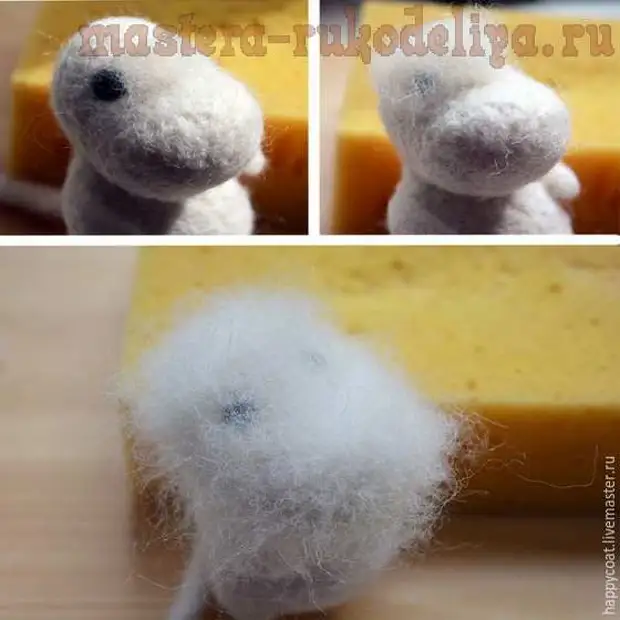
25. With the help of the brush, we combat wool in the direction from the bridge to the periphery of the face.
26. We drive back the wool in the same direction by a thinner needle.
27. After the wool knocked back, take out the eyes and work in a thinner needle of the socket (it's not necessary to do that, just after punching the eyes began to hang around).
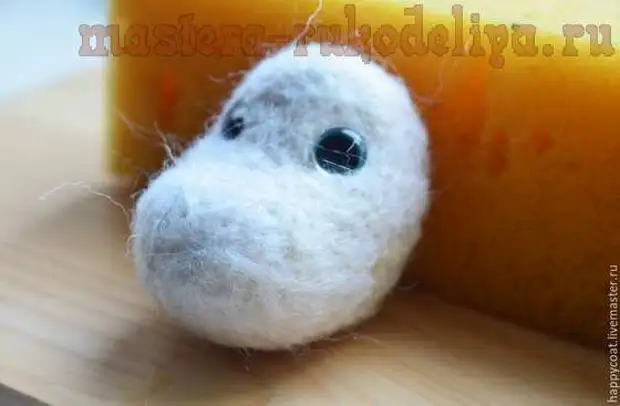
28. Cutting sticking hairs and wool scissors. Thus, the final grinding is obtained.
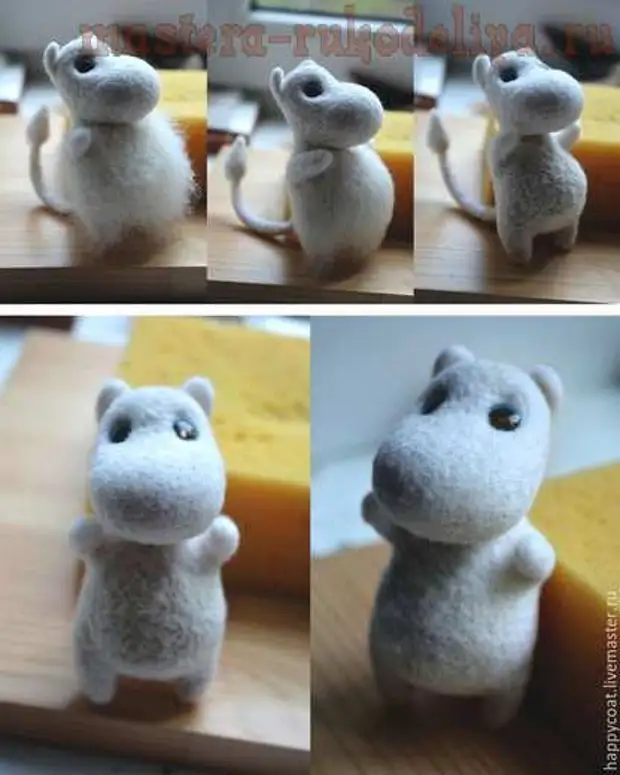
29. We form the ears on the same principle as the handles, only leave them flat.
30. After the dumping of the ears, cut with scissors all that sticks out.
31. The resulting ears try to mummia, align and exercise. After gluing the eyes.
32. Processing back and tail. With a reverse needle, we throw wool and with the help of a brush combing wool in the direction from the head to the legs.
33. Drink wool back in the same direction with a thin needle.
34. Cut scissors all unnecessary and sticking.
35. Treatment of tummy. The same principle as with head and back. The final version in the photos below. It should be dense enough, otherwise after a while he will simply flute.
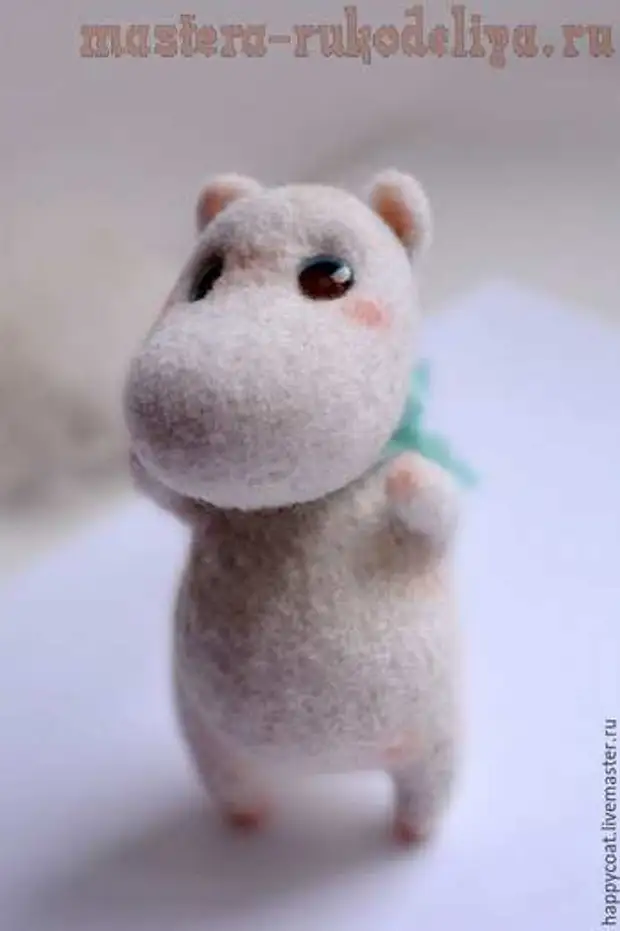
36. After the toy is ready, it is necessary to protonten it. I toning her dry pastel.
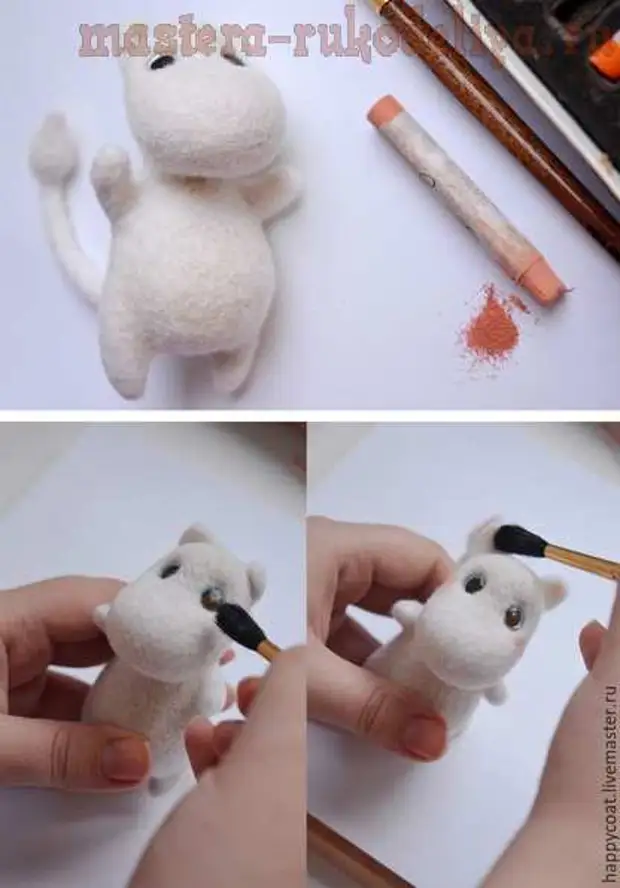
37. Knit a ribbon and that's it. Ready.
