
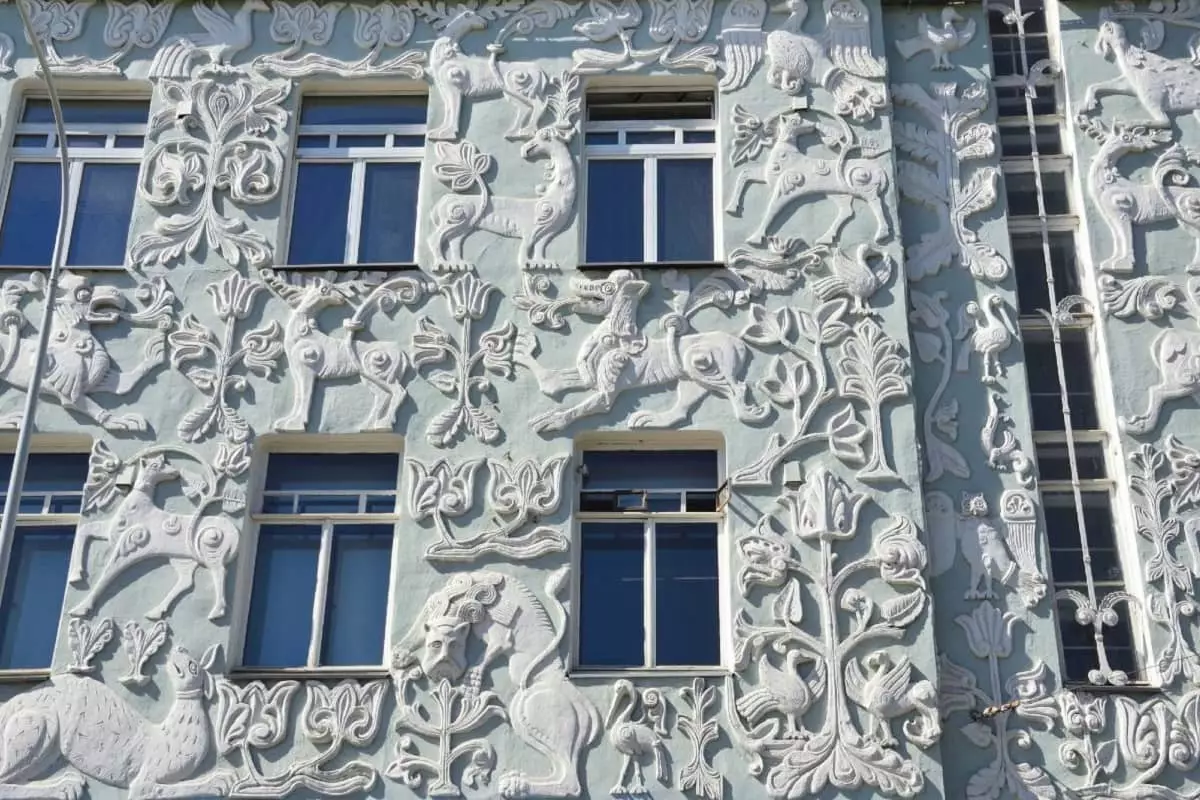
Wall-mounted bas-relief - novelty in interior design. With the help of such a decor you can beautifully decorate the room. In this article, the editors "So simple!" Tell that how to make a bas-relief.
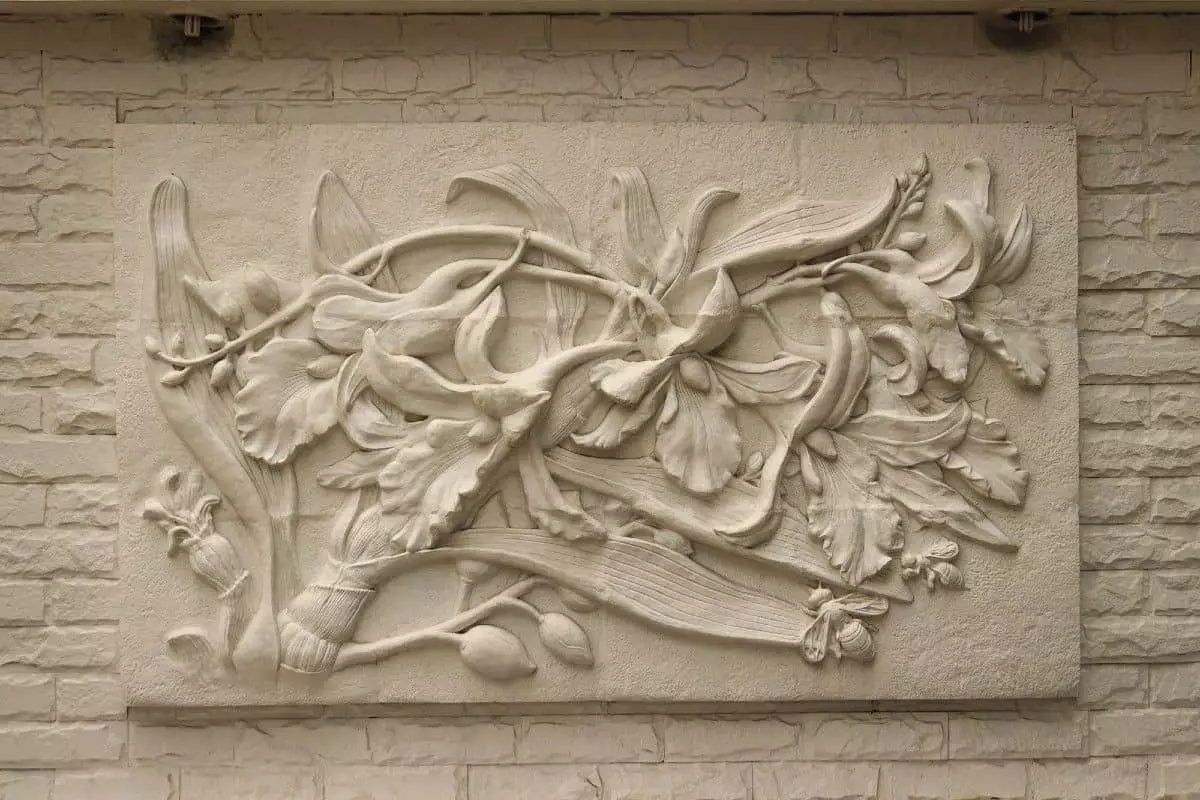
Wall-mounted bas-relief in interior design
A couple of centuries ago, luxurious palaces and mansions decorated the bas-relief. However, in our time, you can not hire a sculptor to decorate the house. With the advent of new materials and technologies, the decor from the stucco has become available to everyone who is ready to spend a little of its time on this idea.
By the way, this manufacturing technique is very simple. All the necessary materials are easy to find in any household store. In addition, we will tell you how to make a paste for texture and stencil do it yourself.
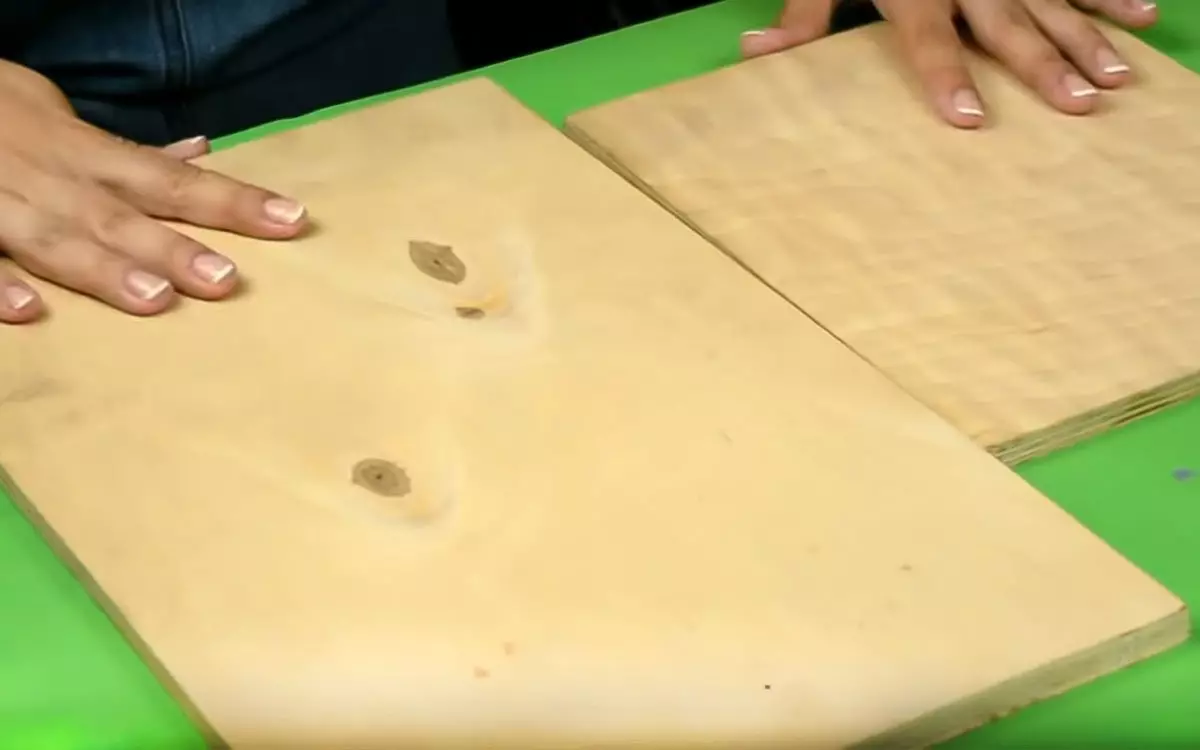
Basis of stencil
For the basis of the stencil, take a piece of plywood from the tree. It is applied to the sheet: we mix the acrylic paint and PVA glue in the ratio one to one and lubricate the surface. Also do not forget about the ends: after you are primed, we leave for a couple of minutes to dry.
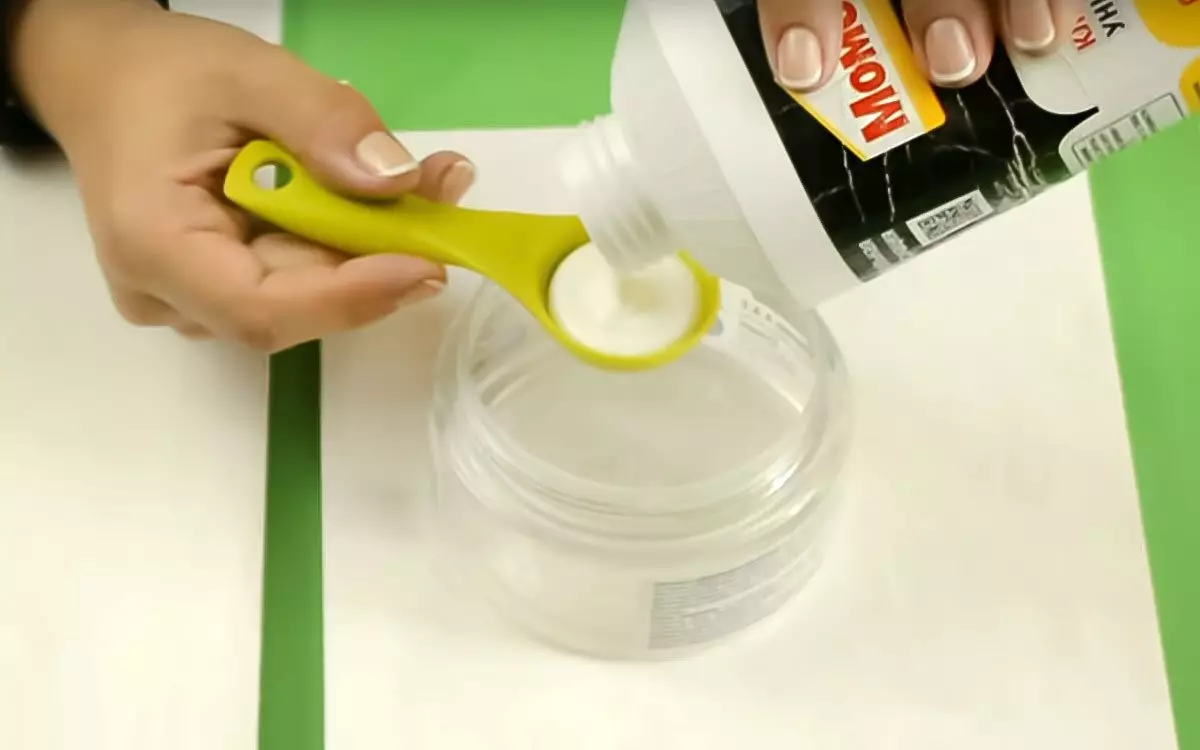
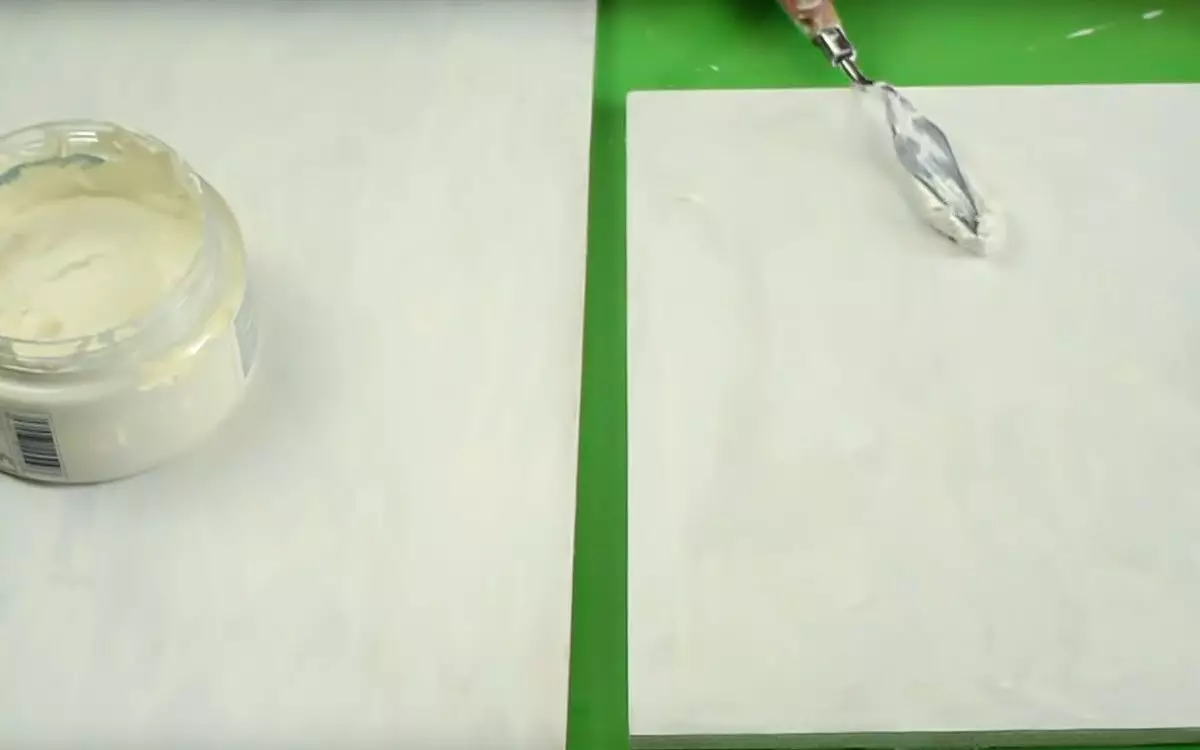
Texture pasta
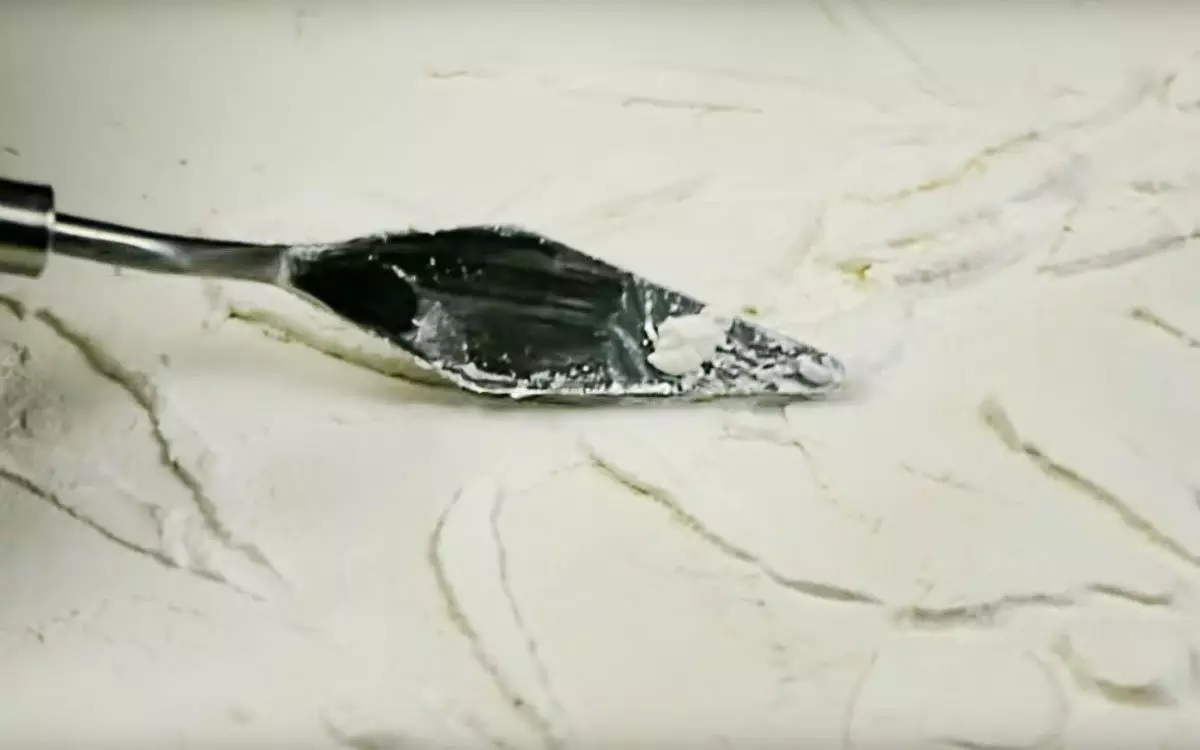
Now we will deal with texture paste. For the manufacture mix two tablespoons of PVA, as much acrylic paint and half of the glass of soda. In this bas-relief paste there will be an ivory, but it is optional. With the help of a masticine (or spatula) cover the base with a thin layer of pasta. Do not try to do too smoothly - the surface should turn out to be similar to the stone. Also lubricate the ends and leave the foundation to dry for a couple of minutes.
Stencil
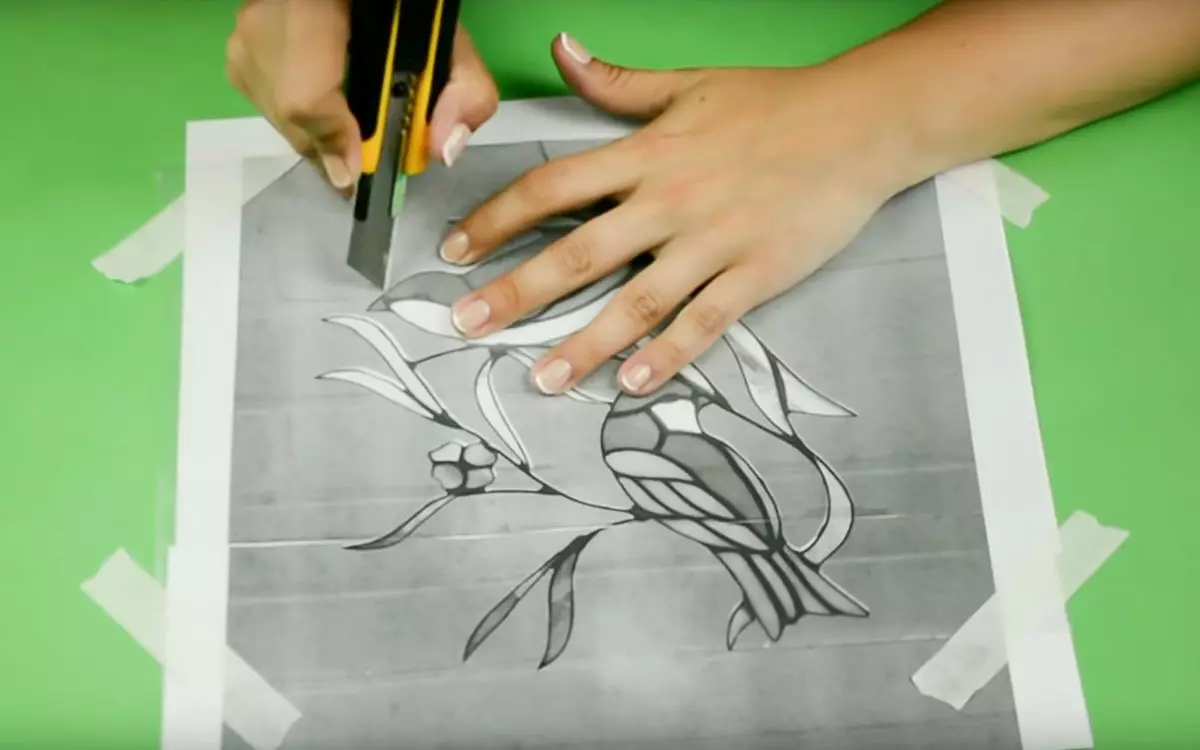
For the stencil, we need a picture, a transparent plastic folder and a stationery knife. Sut off a piece of plastic of the desired size and fix the scotch. With the help of a knife, cut the picture so to leave the stench jumper. Do not rush, do smoothly and neat.
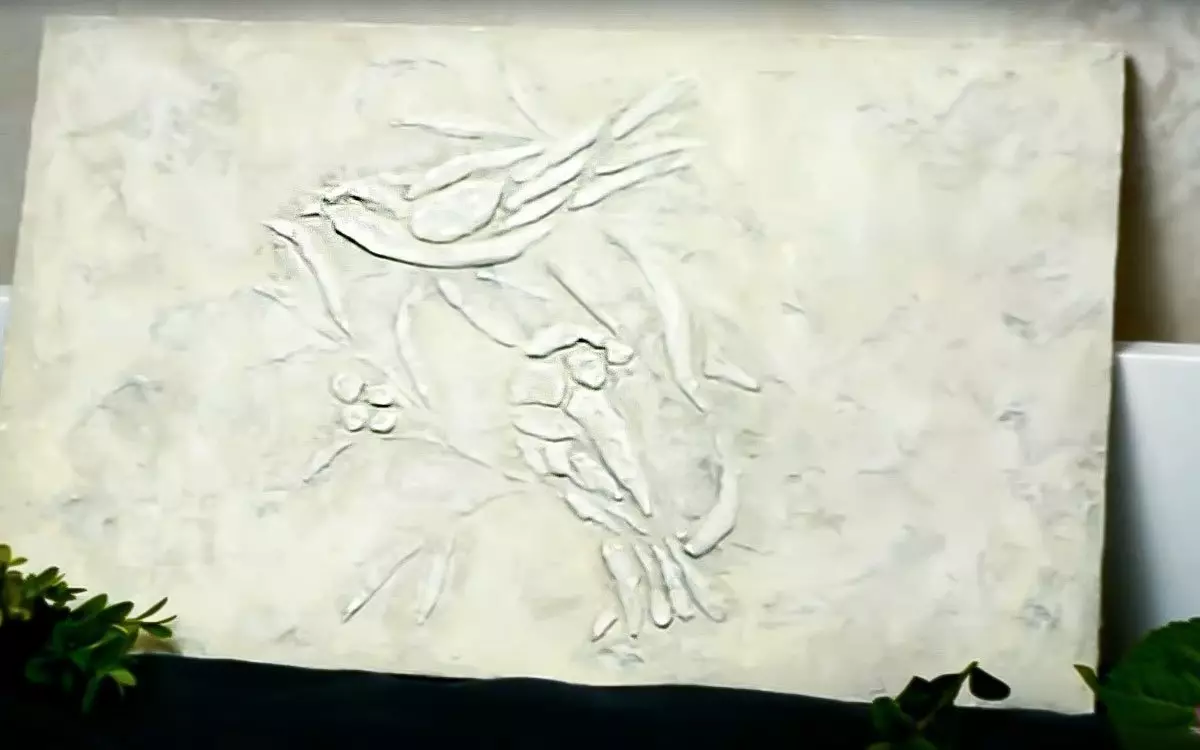
Give form
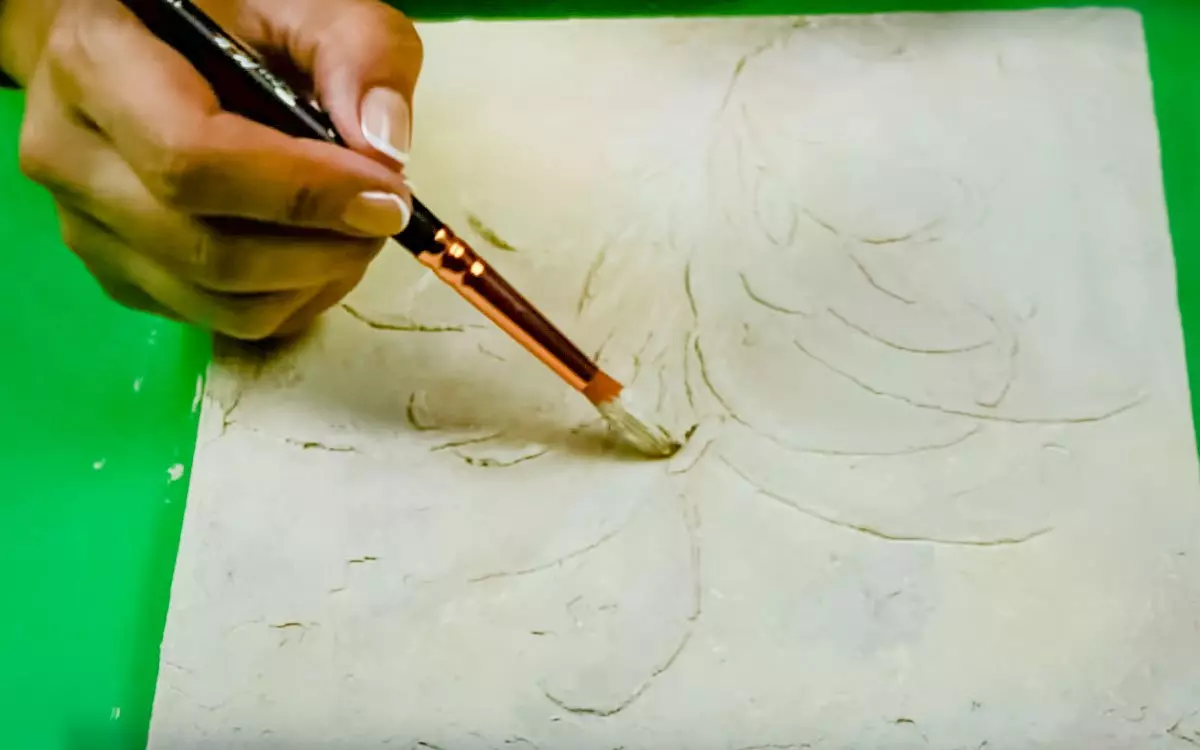
Ready stencils put on the basis and fastened scotch. With the help of Mastichene, we apply another layer of pasta with a height of 50 mm. Our task is to make a bulk drawing, similar to stone stucco. When the paste is dry, remove the stencil and flatter the edge of the pattern. Gently pass by the masticine along the edges of the picture and form the relief. If some item is not drawn, you can add more pastes.
Painting
Take painting. I use creamy, brown and khaki, but you can choose any color from beige-brown gamut. Gently paint work: dark shades of deepening, and light-bully drawings. Thus, it turns out to give the binders of contrast. Also gradually wech the difference between the stains of colors, staining the ends and leave a little bit.
Completion
We take a dry brush with a slightly white paint and we go through the protruding parts of the bas-relief. It will make bas-relief ancient, with a certain ancient touch. With the help of shallow skins, we go to work to give the effect of chosel on the stone. Places that perform, you can even emphasize with paint.
Ready to work with pride can be hung in the living room or give friends. Now this bas-relief is not just a decor for the wall - this is a work of art made by your own hands. We wish inspiration and creative success!