The PumpkinFreak user shared advice to help cut the cool pumpkin even to those who are completely engaged in creativity.
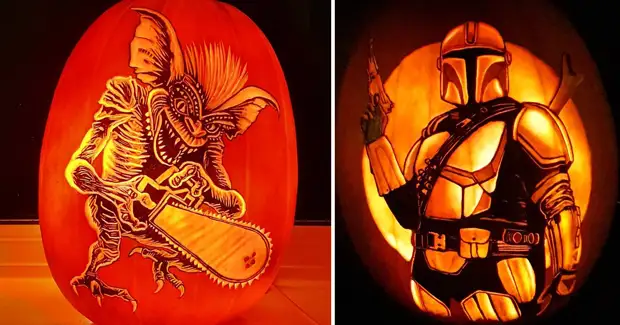
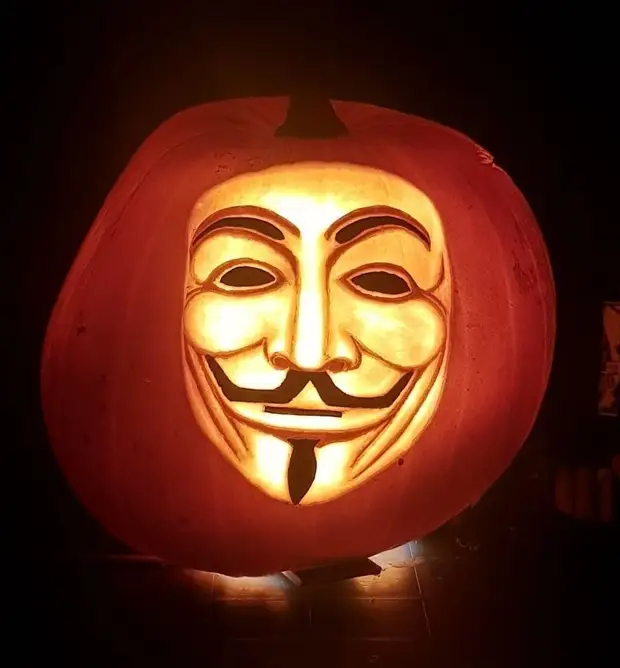
Highlight three ways to make Halloween pumpkin. The first, the most famous - cutting out. In this case, to make a drawing, pumpkin will have to cut through. The second method is to cut a three-dimensional sculpture from the pumpkin, almost like a tree or clay. The last method is called "Shading", and it is about him that it is said in this article: the pumpkin does not cut, and they scrape the peel from it with layers of different thickness so that the backlight then formed the drawing.
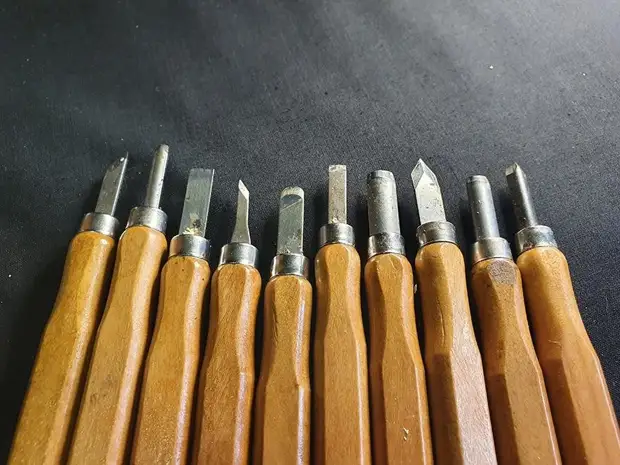
First of all, forget about kitchen knives. Use wood carving tools or sharp stacks to work with clay, they will allow you to create a more detailed picture. These tools are fairly cheap, and they are easy to buy them online.
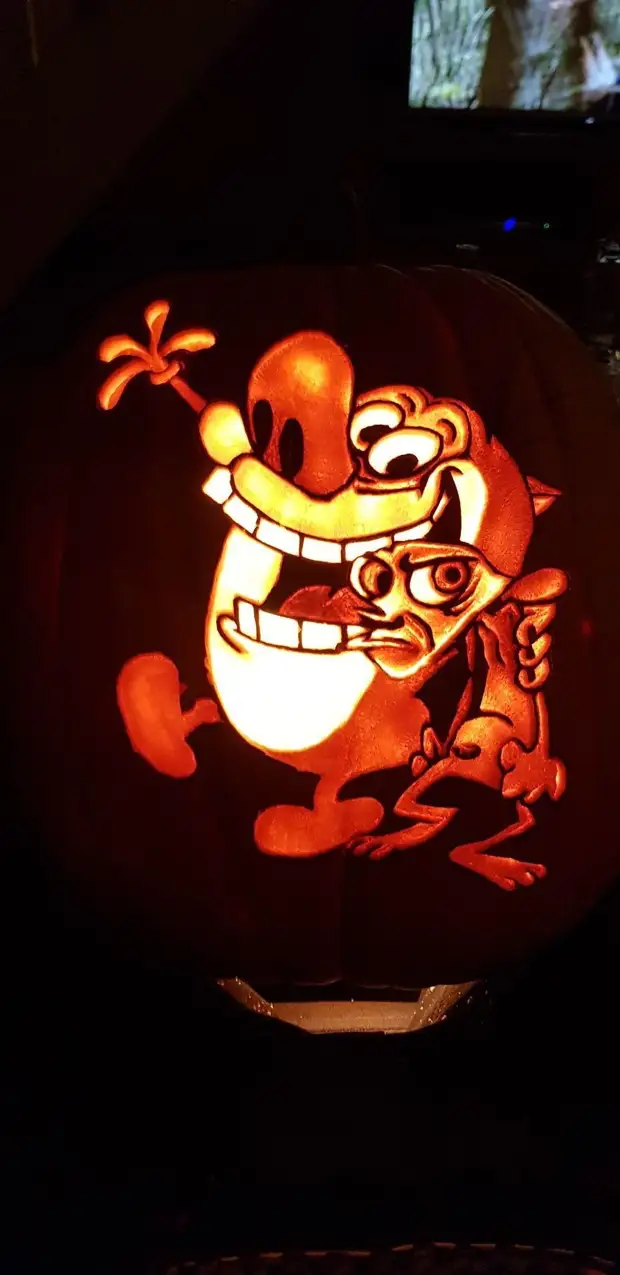
If you know how to draw, you can first make sketches on paper and transfer it to pumpkin in the manner described below. But if you do not possess artistic talent, you can find the workpiece online, for example, on the site www.stoneykins.com, or just choose the picture you like and handle it. Note that it is greatly facilitating your life if you immediately choose a very contrast pattern.
Of course, you can immediately draw an image on the pumpkin with a marker, but if you want to transfer the image, use the ways below.
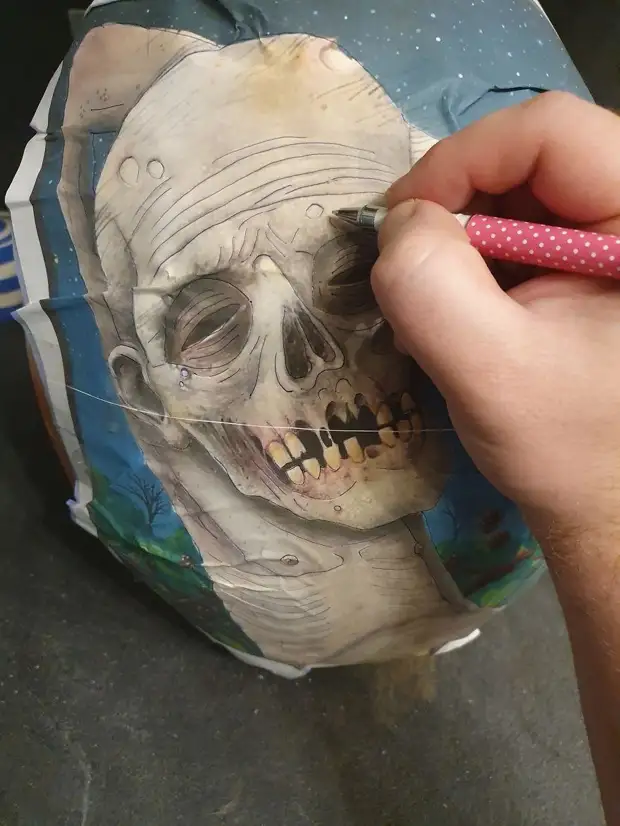
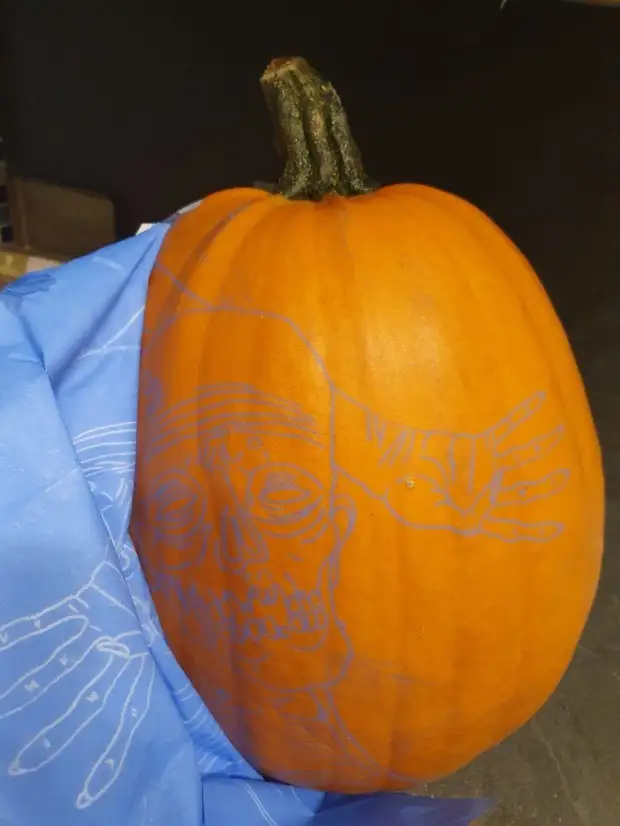
Type the design in the desired size, attach it to the scotch first to the copier, and then to the pumpkin. Circle the drawing, highlighting light and dark areas and all the necessary parts, then remove the pattern and copy paper and, like by magic, the design will turn out to be on a pumpkin.
The second way: Again, print the design in the desired size, place the wax napkin over the picture and circle it, for example, a soft pencil. Then glue the napkin to the pumpkin and circle the drawing permanent marker - ink will be fastened through the napkin on the pumpkin. Remove the napkin, and the drawing is ready.
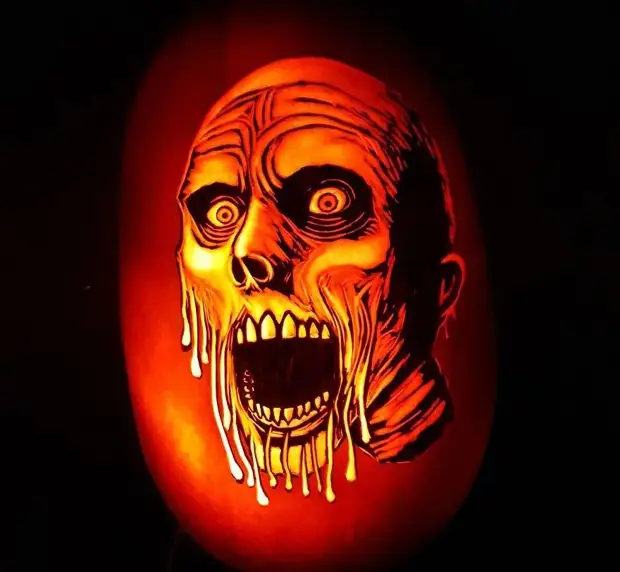
Remove the pulp from the pumpkin, and be sure to make the wall, where the drawing will be located, thinner the remaining - about 2-4 cm. The thinner it will be, the brighter your drawing will be lit, but keep in mind that pumpkin with a very thin wall will deteriorate faster .
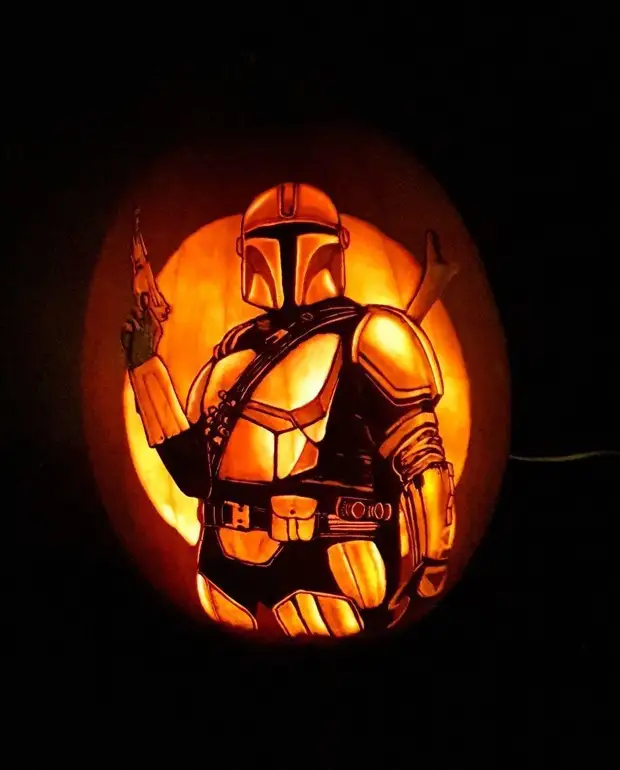
If you want pumpkin burning brighter, and the design really stand out, do not use the candles: try flashlights. Again, they are cheap and everywhere. Install the lantern in the pumpkin so that it shines on the wall with a pattern.
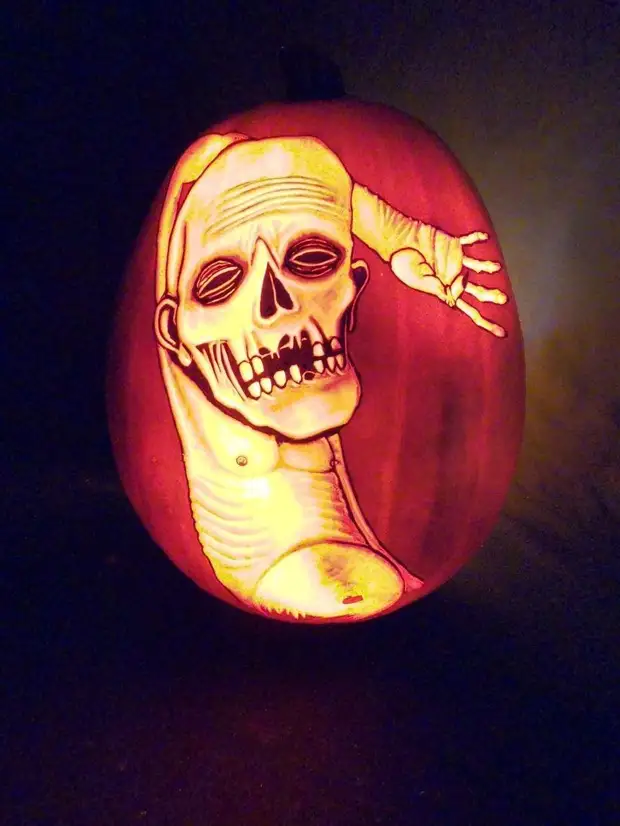
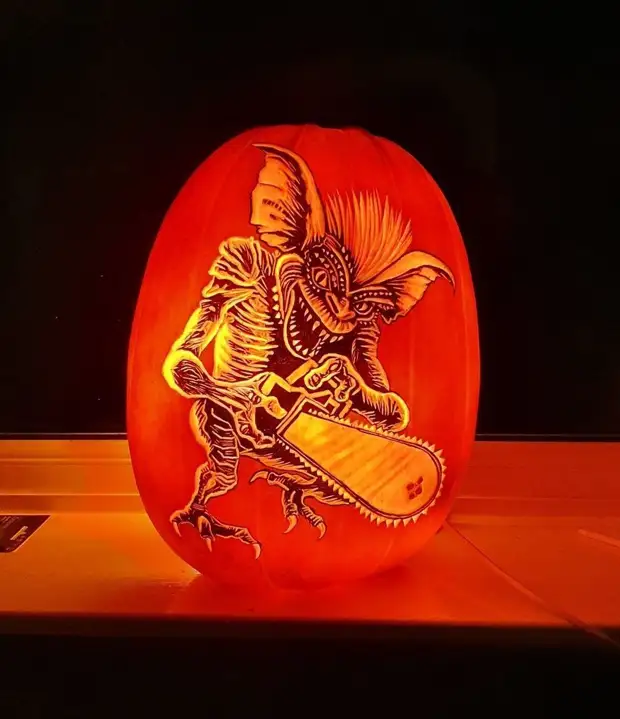
Now that you have moved the drawing, it's time to cut. At the same time, the pumpkin is absolutely not needed absolutely, instead the cutters or loops you will gradually scrape the peel - the lighter there should be a plot, the more the peel should be removed. To make darker areas, either squabble with the peel a very thin layer, or do not touch it at all - untouched areas can even be highlighted with a black marker to add more contrast.
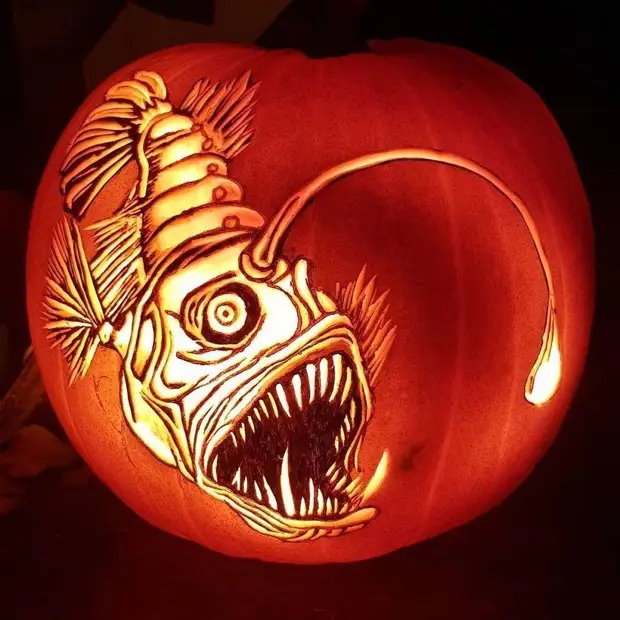
Work with light and dark tones can delay: Sometimes PumpkinFreak spends more than 20 hours at this stage. But if you are patient, you will have a steep result.
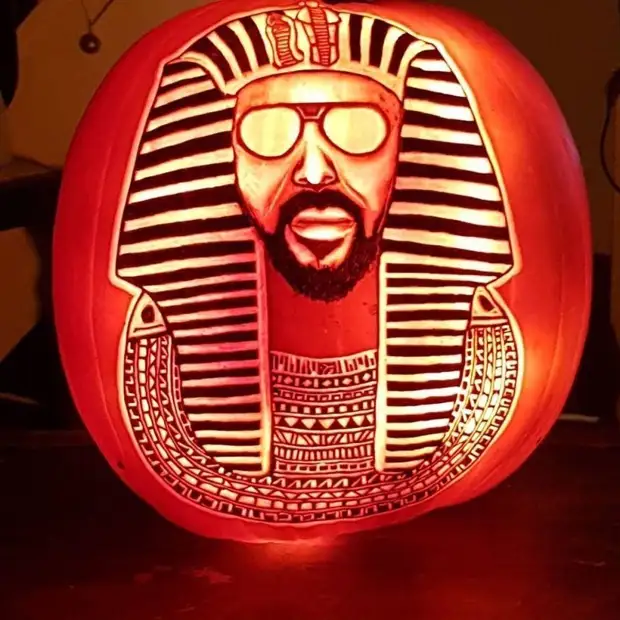
In the creation of a contrast pattern, you will use basic knowledge of building light and shadow. YouTube full video that explain these rules, for example, it is.