Production of flowers is a fascinating and pleasant occupation. It does not require much expenses, but can bring great pleasure, not to mention that you have a unique decoration that is ideal for your alongside, and maybe to the interior.
I will tell you how to make a flower without using special tools and devices. After spending a minimum of materials, you will result in a great Iris as a gift. Make 3 or 5 flowers - and ready a bouquet that will delight you for a very long time.You will need:
- 1 tbsp.
- Natural fasteners of white color.
- a piece of aluminum wire, a thickness of about 4 mm, a length of 30 - 40 cm
- Thin wire
- strong paper
- a piece of artificial fur or thread, or satin ribbon (yellow) - to give "lochmatiness" to petals
- a piece of gauze or thin x / b fabrics for treating petals.
- Paint for fabric
- PVA glue
- Tassels
- Cookware for paint
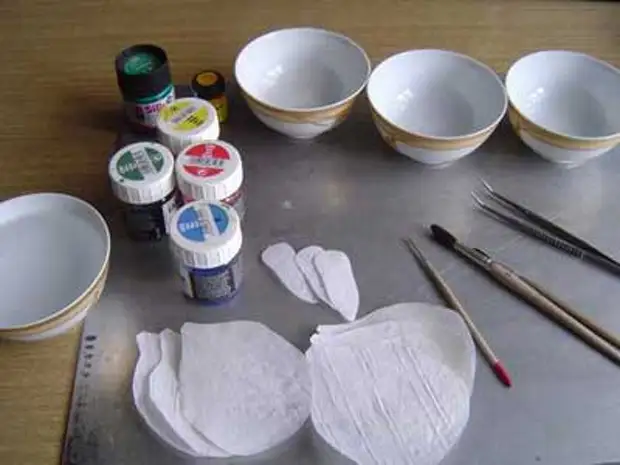
Soak 1 tbsp. Spoon gelatin in a glass of cold water and leave for 2-3 hours. When gelatin swells well, heat the solution on a water bath until the granules dissolve, but not bringing to a boil. Perfect.
Squeece the fabric pieces into the solution, slightly press and hang dry, carefully placing and fixing with pins or clothespins for tips.
After processing, your patchworks must be dense and similar to paper.
Cut the fastener with thin strips (not wider than 4-5 mm).
Slide pieces of fine elastic wire with these ribbons and paint the tone of the future flower. You will need 9 such blanks with a length of about 10 cm.
Tip: Add glue PVA in the paint, then the stalks will not get dirty and become smooth and shiny.
Make out of cardboard patterns (the size determine yourself, depending on which flower you want to get). Packed position on the treated tissue diagonally and circle a thin pencil. For iris, it is necessary:
- 3 Petal №1
- 3 Petal number 2
- 3 Petal number 3
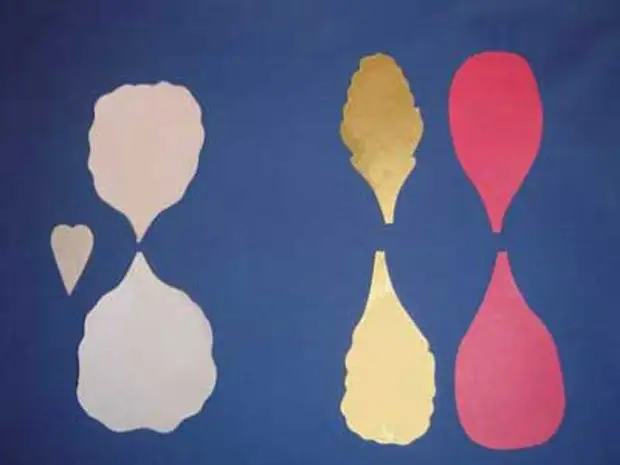
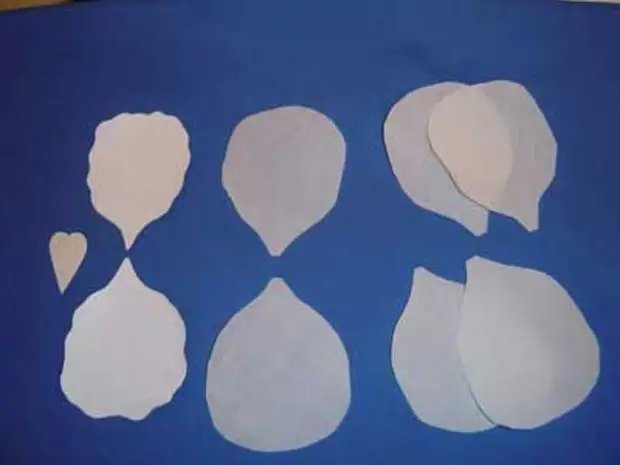
Tip: If you do not want to deal with fabric staining, you can take color tissue. You can even combine a few in color of the fabrics (for example: the upper petals - gentle-lilac, lower - purple).
Coloring:
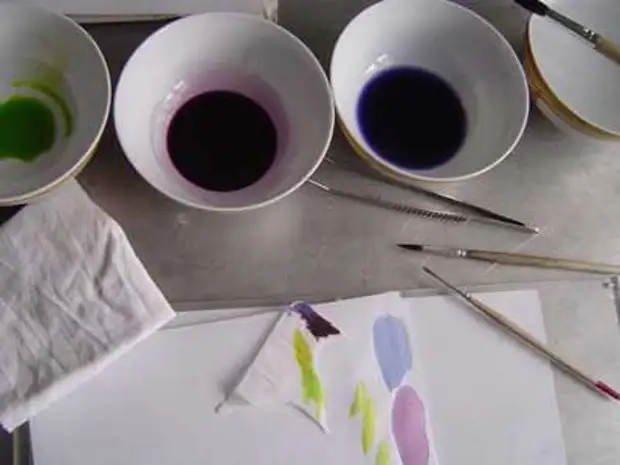
In one of the tanks pour clean warm water. In the rest, dig paints.
I took three shades. (Colors are bright and contrasting, so that the result is very visible. You can choose more tender shades.)
Bright yellow-lemon for tints of the base of petals.
Blue.
Saturated purple-lilac. To get it, I mixed red with blue and the resulting paint was divided into two parts. Little left for drawing streams, and in the rest of the paint a little added water so that it becomes slightly lightweight.
When cooking paint, check on a sheet of paper that you got the shade, and then it's not bad to do it even on a piece of that fabric from which your flower will be made.
First of all, you need to wet petals in clean water so that the transitions are smooth.
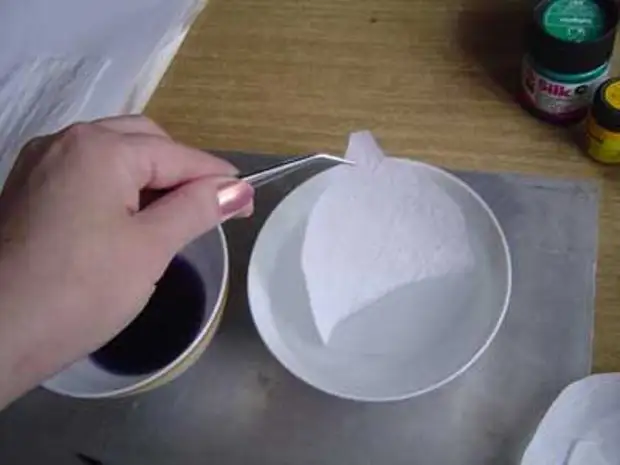
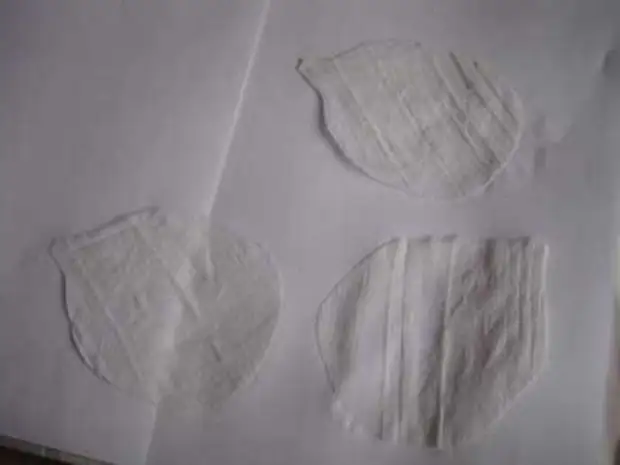
Loose three petals and put them on paper to absorb excess water.
Take one of the petals for the base (better than tweezers) and lower 2/3 in the blue paint.
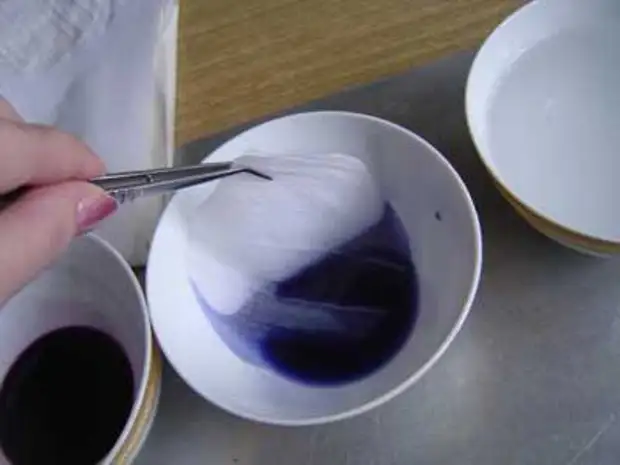
Immediately pull the petal and put on the glass. If the paint spreads too much, blot the surplus soft slightly damp cloth. You can cheat the petal again and the color will become more saturated.
Correct the stain with tassel until the petal lies on the glass: add some paint on the sides.
Take him again for the tip and lower in the purple paint on 1/3 height.
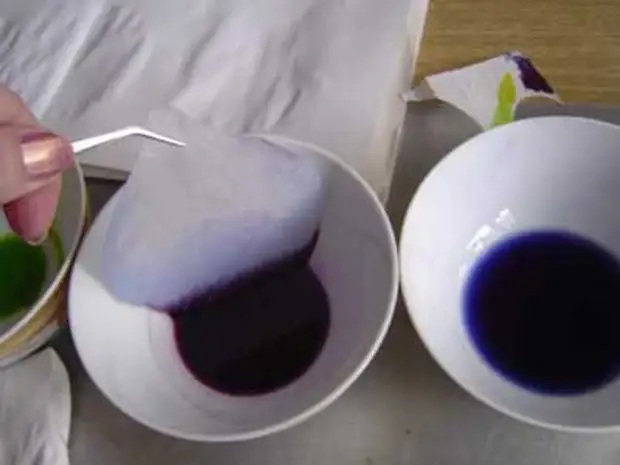
Again on the glass - and correct the stain with a cloth and a tassel.
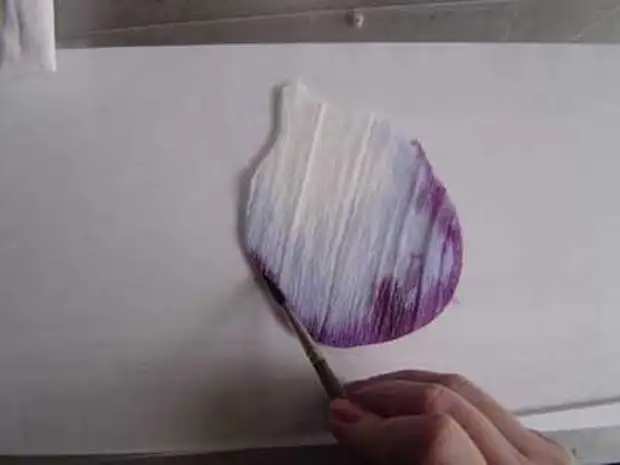
Now we have a clean tassel, apply the yellow paint from the base, in the center of the petal, about the middle.
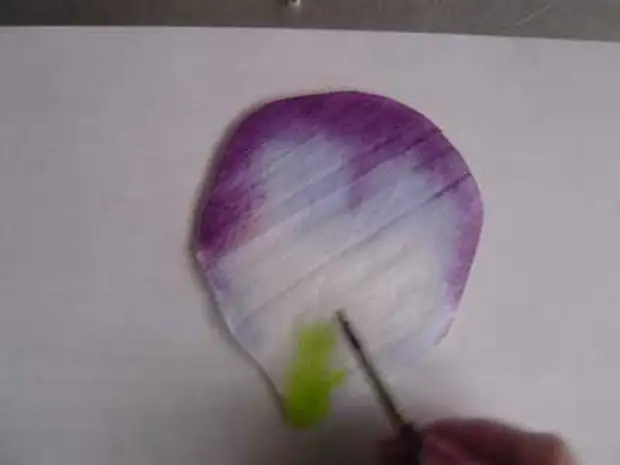
You can apply the darkest stain to the edge of the petal. And then, put the petal on paper, for drying.
Do the same with the remaining two petals.
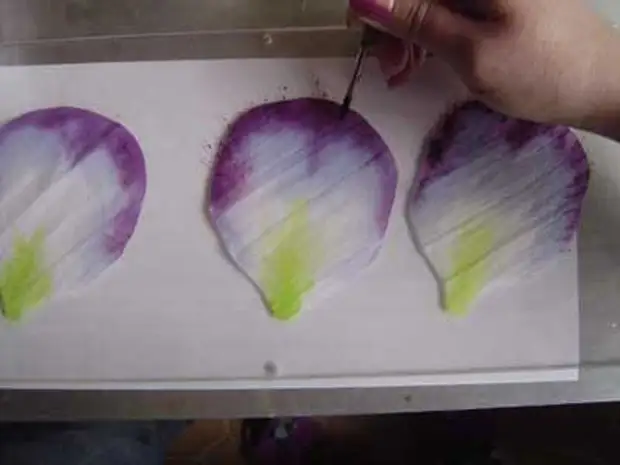
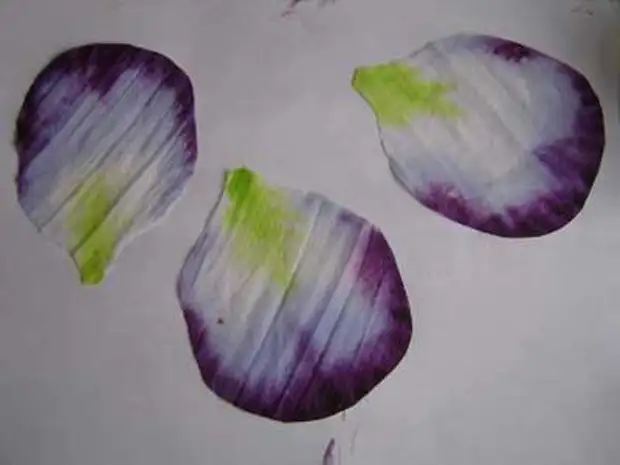
Do not forget to wipe dry glass after the tints of each petal.
Now soak the next triple and paint it in the same way. Make the same with small petals.
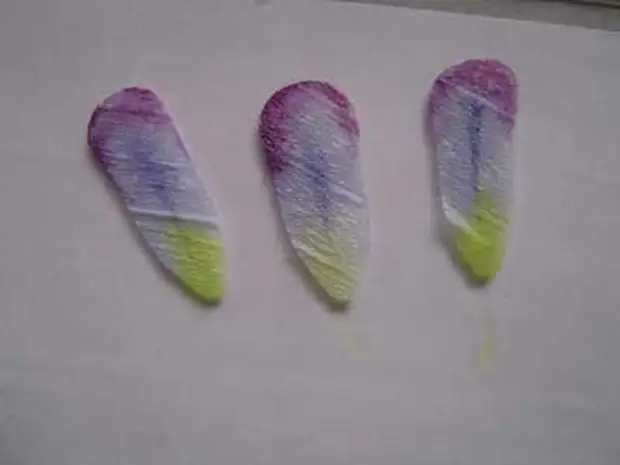
During drying, 3 - 4 times move the petals from place to place so that they do not stick.
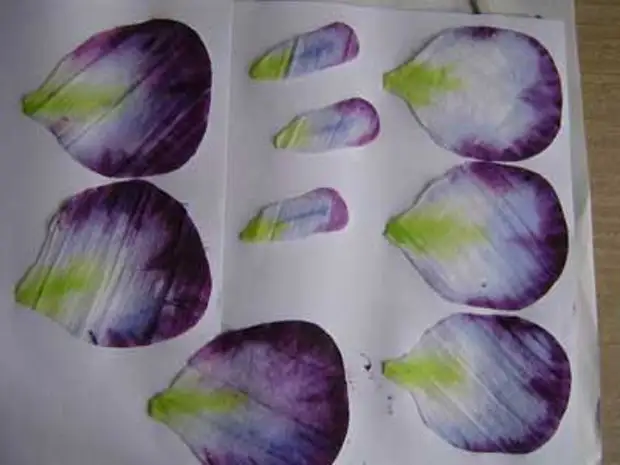
When the petals are completely dried, it is possible to draw thin veins, to give more naturalness.
Put the petal on the glass.
The smallest tassel is made by thin arbitrary lines from the edge of the petal to the center of the darkest paint (the one that was left undivided). The paint should be only on the tip of the tassel, then the lines will be thin.
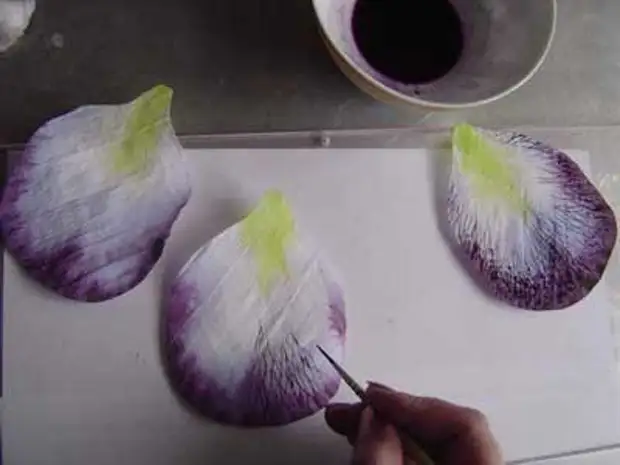
Now you can plant a few large spots along the edge of the petal.
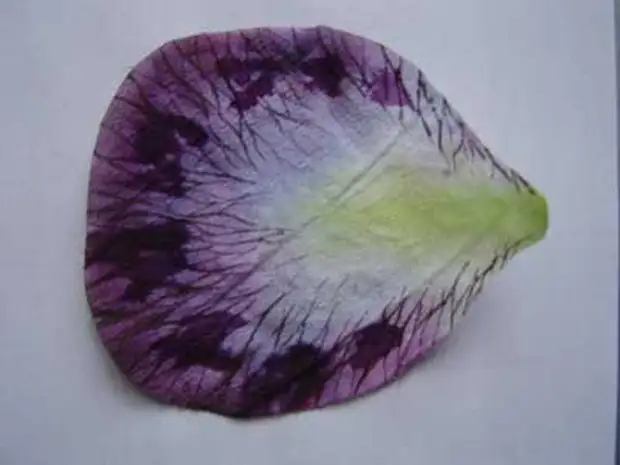
Peep the petals again on paper.
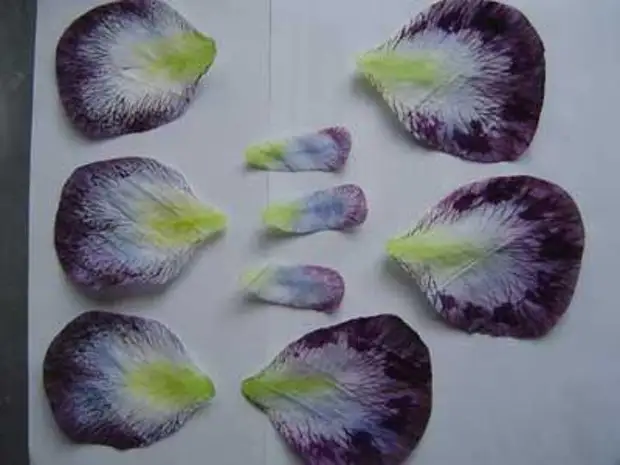
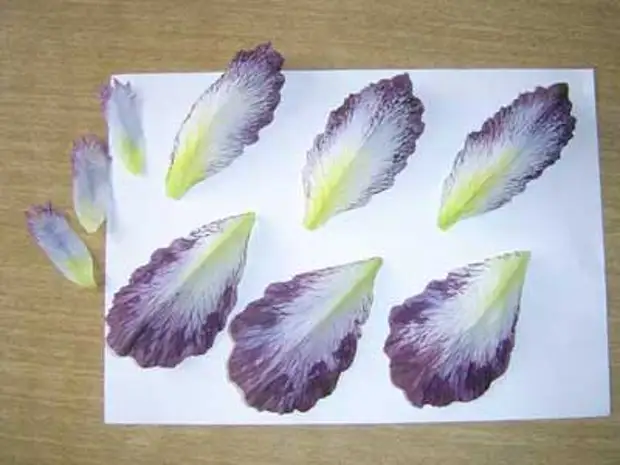
Cut the edges, giving contours of a wavy shape. It should turn out something like this:
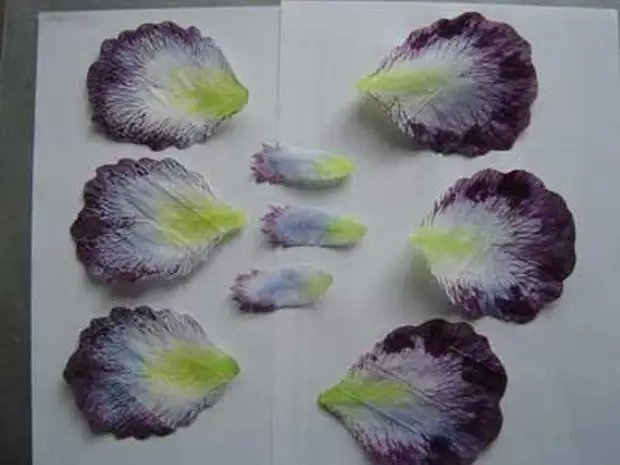
Cut a couple of light green fabric leaves.
Now you can proceed to corrugation.
Take a piece of thin fabric (convenient to use gauze). Put it on the table.
At the middle, put the petal folded along in half, the front side out.
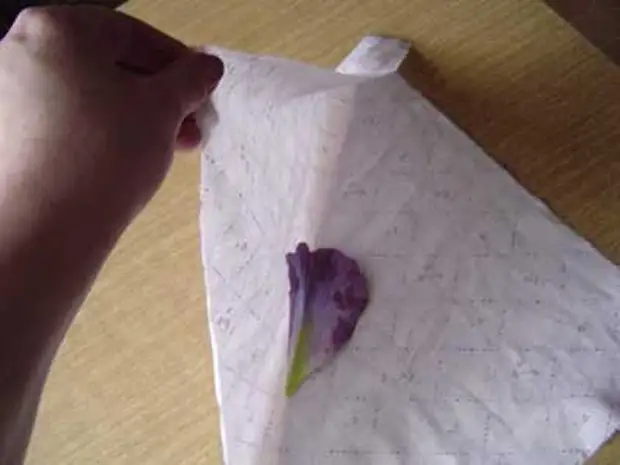
Roll the fabric diagonally, from angle angle so that the tissue folds exactly coincided with the fold of the petal. The base of the petal should be sent to your side. Left hand tightly press the "sandwich to the table", and right take the top corner of the fabric. Start pulling the fabric from under the left hand, turning it around. Left hand at the same time continues to press fabric with petal.
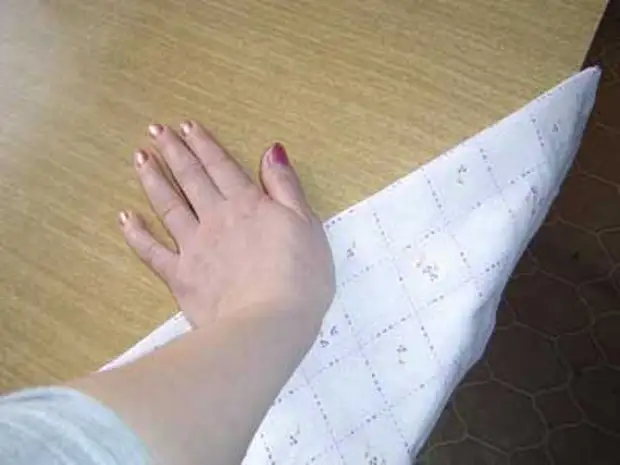
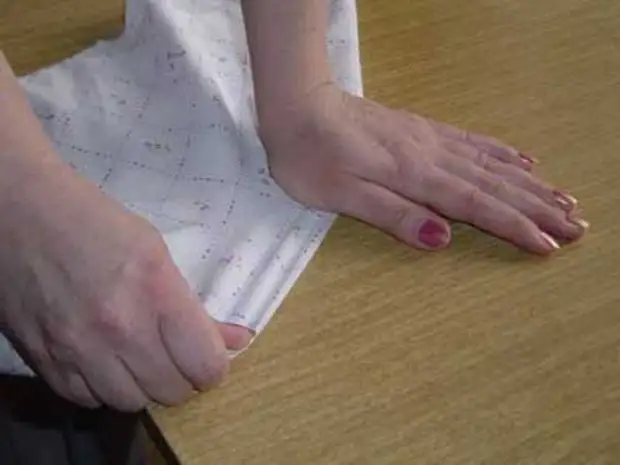
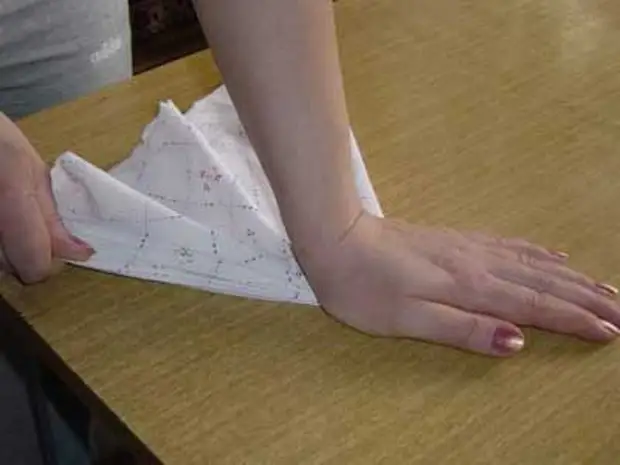
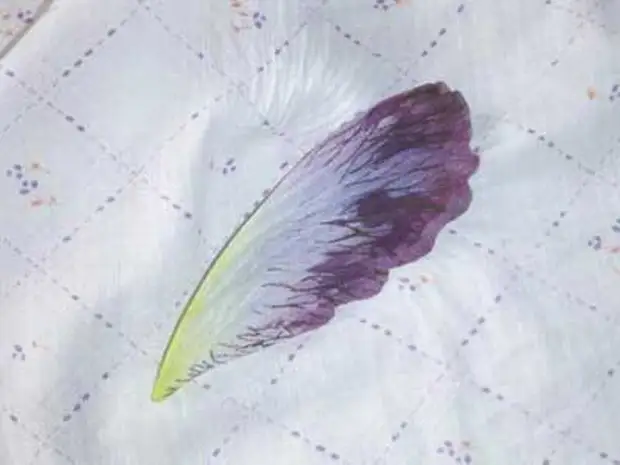
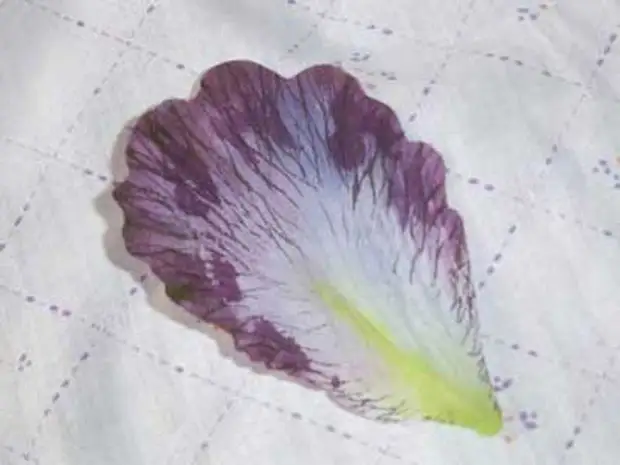
Tip: Try to process the petal for one reception. You can, of course, repeat, but then the fabric will become much softer, and it will be more difficult to work with a flower.
Little petals give the shape with hands, tips twisted with your fingers, twisting them "into the tube".
When all the petals are processed, we can ride the wires along each petal in the middle.
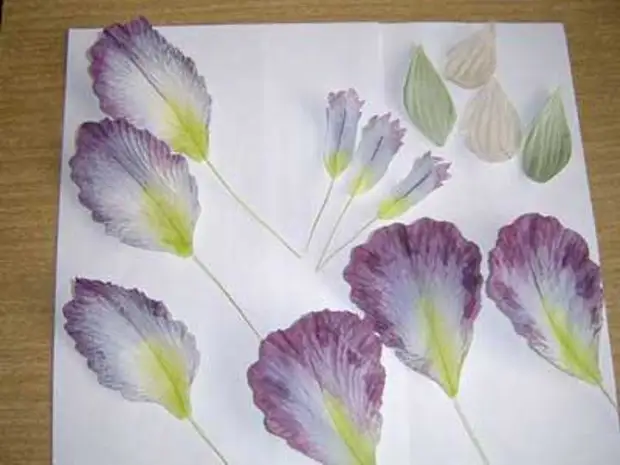
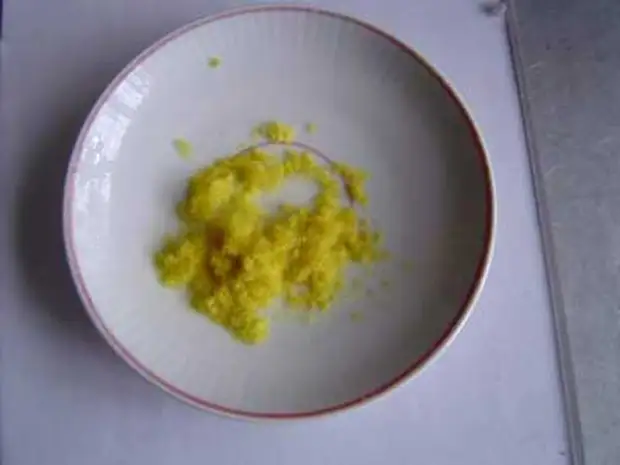
Nastrigitis very finely yellow threads (fur, braid).
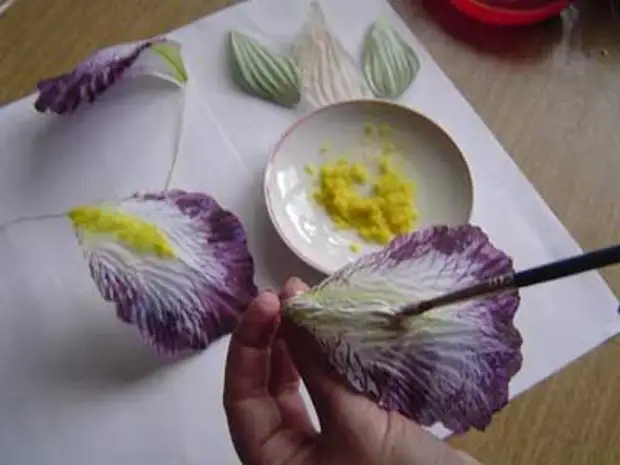
Lubricate with the front side of the three lower petals, a strip of a width of about 7 - 8 mm at the base of the petal with thick PVA glue and dry out that you are finely cut. Surplus shake.
Flower assembly Start with small petals. Tightly take them to the main stalk (thick wire, accruiling paper).
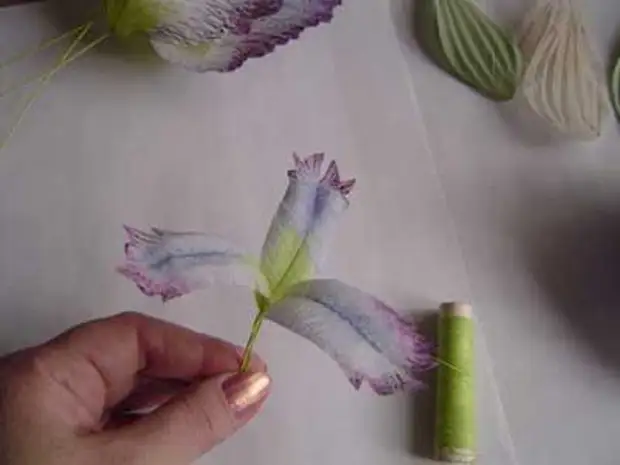
Then three upper, and then three lower petals, having them between the previous.
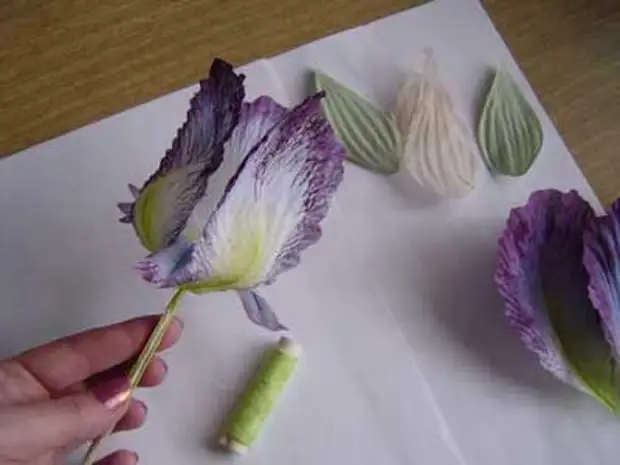
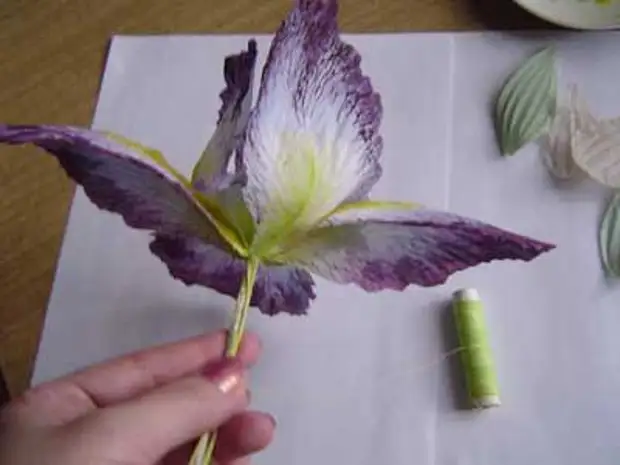
Now under the flower, make an elongated chishechka from the wool.
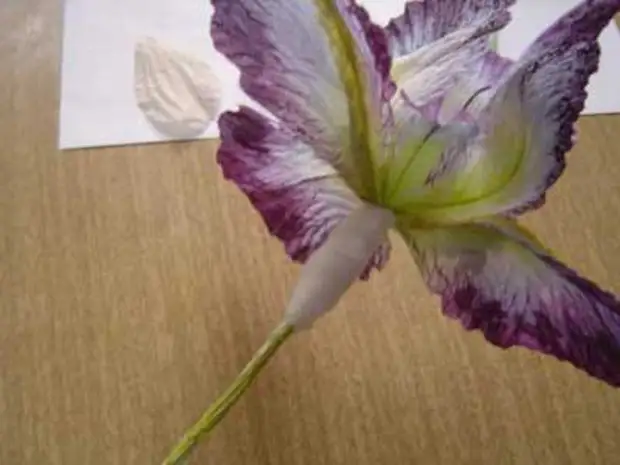
Color this part of light green paint mixed with PVA.
Dry.
Take a pairwise green leaflets under your thickening.
Observe the stem with a paper ribbon and paint the same green paint.
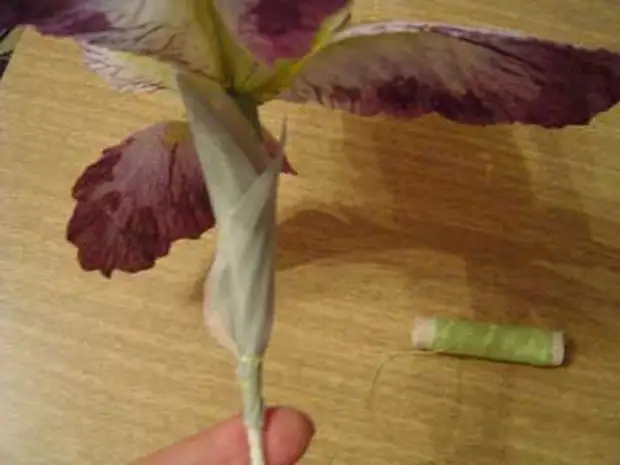
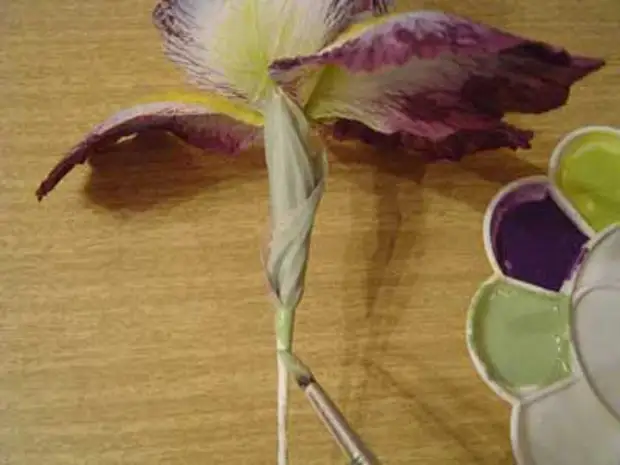
When everything dries - straighten the petals, correct the tips, slightly twisted with your fingers in different directions.
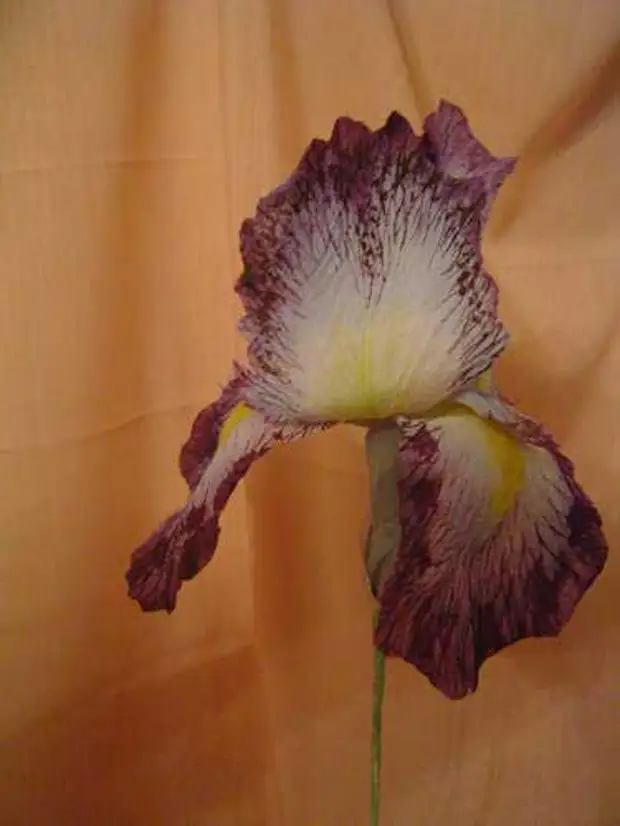
I got this Iris:
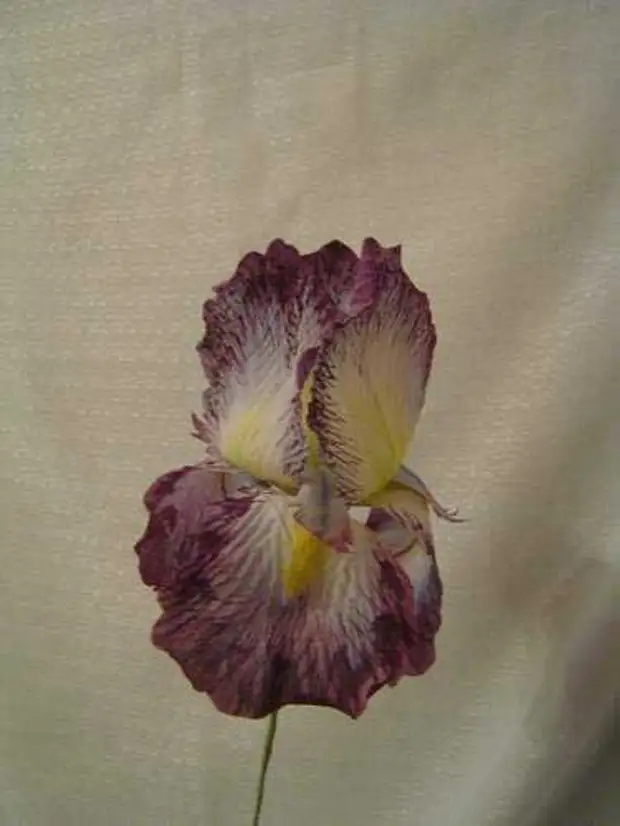
Tip: If you do not put the petals on thick wire, and simply connect them with each other you get a great finishing flower, which you can decorate a dress, costume, a hat, handbag ...
A source
