

I had a wonderful topic, which I contacted me in the 8th grade 8 (1998). In proof even found his old photo :)

My first is a full-fledged crochet thing, and even practically jewelry work: the crochet No. 0.6 was connected, very thin threads.
I knit it, dressed a couple of times and everything ... I didn't know how to sew a lining at that time, and I didn't even know from what, and wearing almost a naked body somehow it was uncomfortable ...
Because of this, the top has been preserved perfectly, larger in the cabinet for 14 years :)
And recently, having rummaged in the closet at Mom, I turned out on him and decided that there was nothing to disappear such a good thing! :)
Today, the elongated loops are very relevant, so I did not think long, I immediately decided that there would be a skirt in such a technique.
Since the exact same yarn is no longer possible, I decided to combine with other colors.
Yarn I bought:
1. Yarnart "BEGONIA", color 0077
2. Alize "Forever", color 26 (I will immediately clarify, the yarn is not the best as for me, but only they have the right dark brown, which I needed it ...)

Very similar motive that was used on the top, exactly the same I did not find

Now about the sequence of knitting. I started with a skirt, alternating colors. Brown, which is with narrow strips, dark brown - rows of elbow loops.
Here is a scheme for a skirt, quite understandable (the main thing is that the picture has increased well):

Long loops knitted in 2 threads for this principle

I just wondered them not to a ruler, but on the fork, it is more convenient to knit in bulk.
And I dropped them, only if they were already "connected" by the upper number of b / n columns.

Touching the skirt thus and finishing it, I tried the middle of each motive with dark brown threads to avoid an explicit "light piece" dresses.
Next, I switched to the sleeve. He knit it the same first, as well as the skirt, will also be rided and the collar.
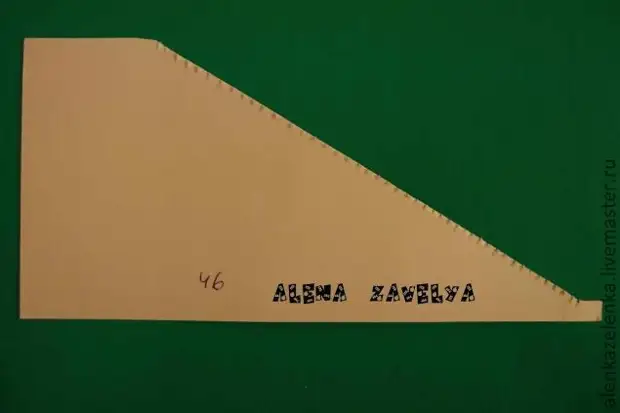
Then I cut out of a dense cardboard the shape of the sleeve and squeezed the number of future elbows on it (until the middle of the sleeve). Then scissors cut each label from above, so that the loops did not slip across the cardboard, and clinging to serfs.

We start pulling the loop from the armpit
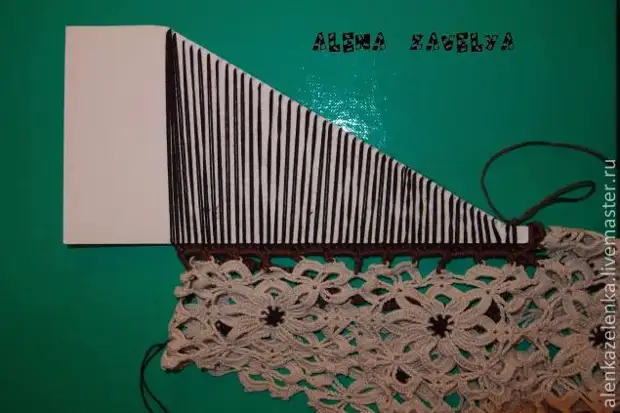
Tied the sleeve until the middle, gently descend the loop, so as not to damage the cardboard. Then the cardboard sheet is deployed and continue to take the sleeve from the middle to the armpit and take a neatly taking out the catron. Only after that we are tied up the elongated loops of the B / N. Moreover, in the middle of the sleeve, I captured several (almost a whole motive) of the elbows with one b / n hinge (from the middle to the middle of the motive), thus putting a lantern form "flashlight".
Similar to knit the second sleeve.
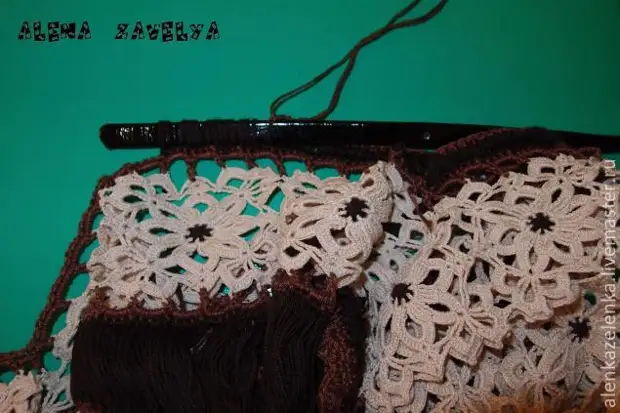
Go to the neck. You need a smaller loop. I got from the cabinet with a suitable slim belt. Of course, here it was possible to check the dark row with the columns with Nakud, but why spoil the concept of our dress?
The final row of Gorlonins, I knocked the "Ratchy step".
How it looked in the work:
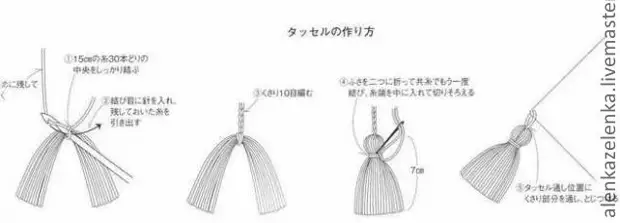
The next step is the lace on the belt. I tied the usual chain of three threads, with tassels at the ends.
How to make brushes:
The final stage is a lining.
I love the knitted grid and here also used it, in 2 additions, so that it was not so transparent :)
Outcome:
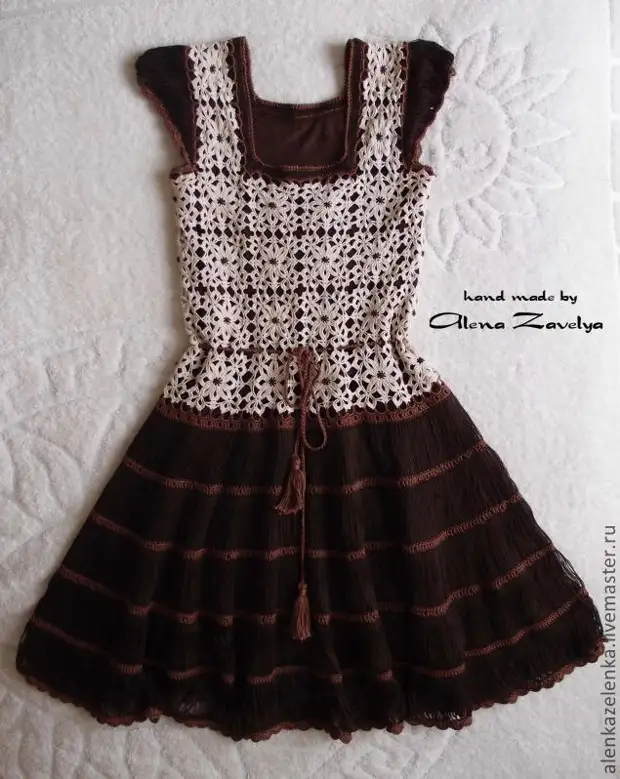

All inspiration and successful work!
A source