
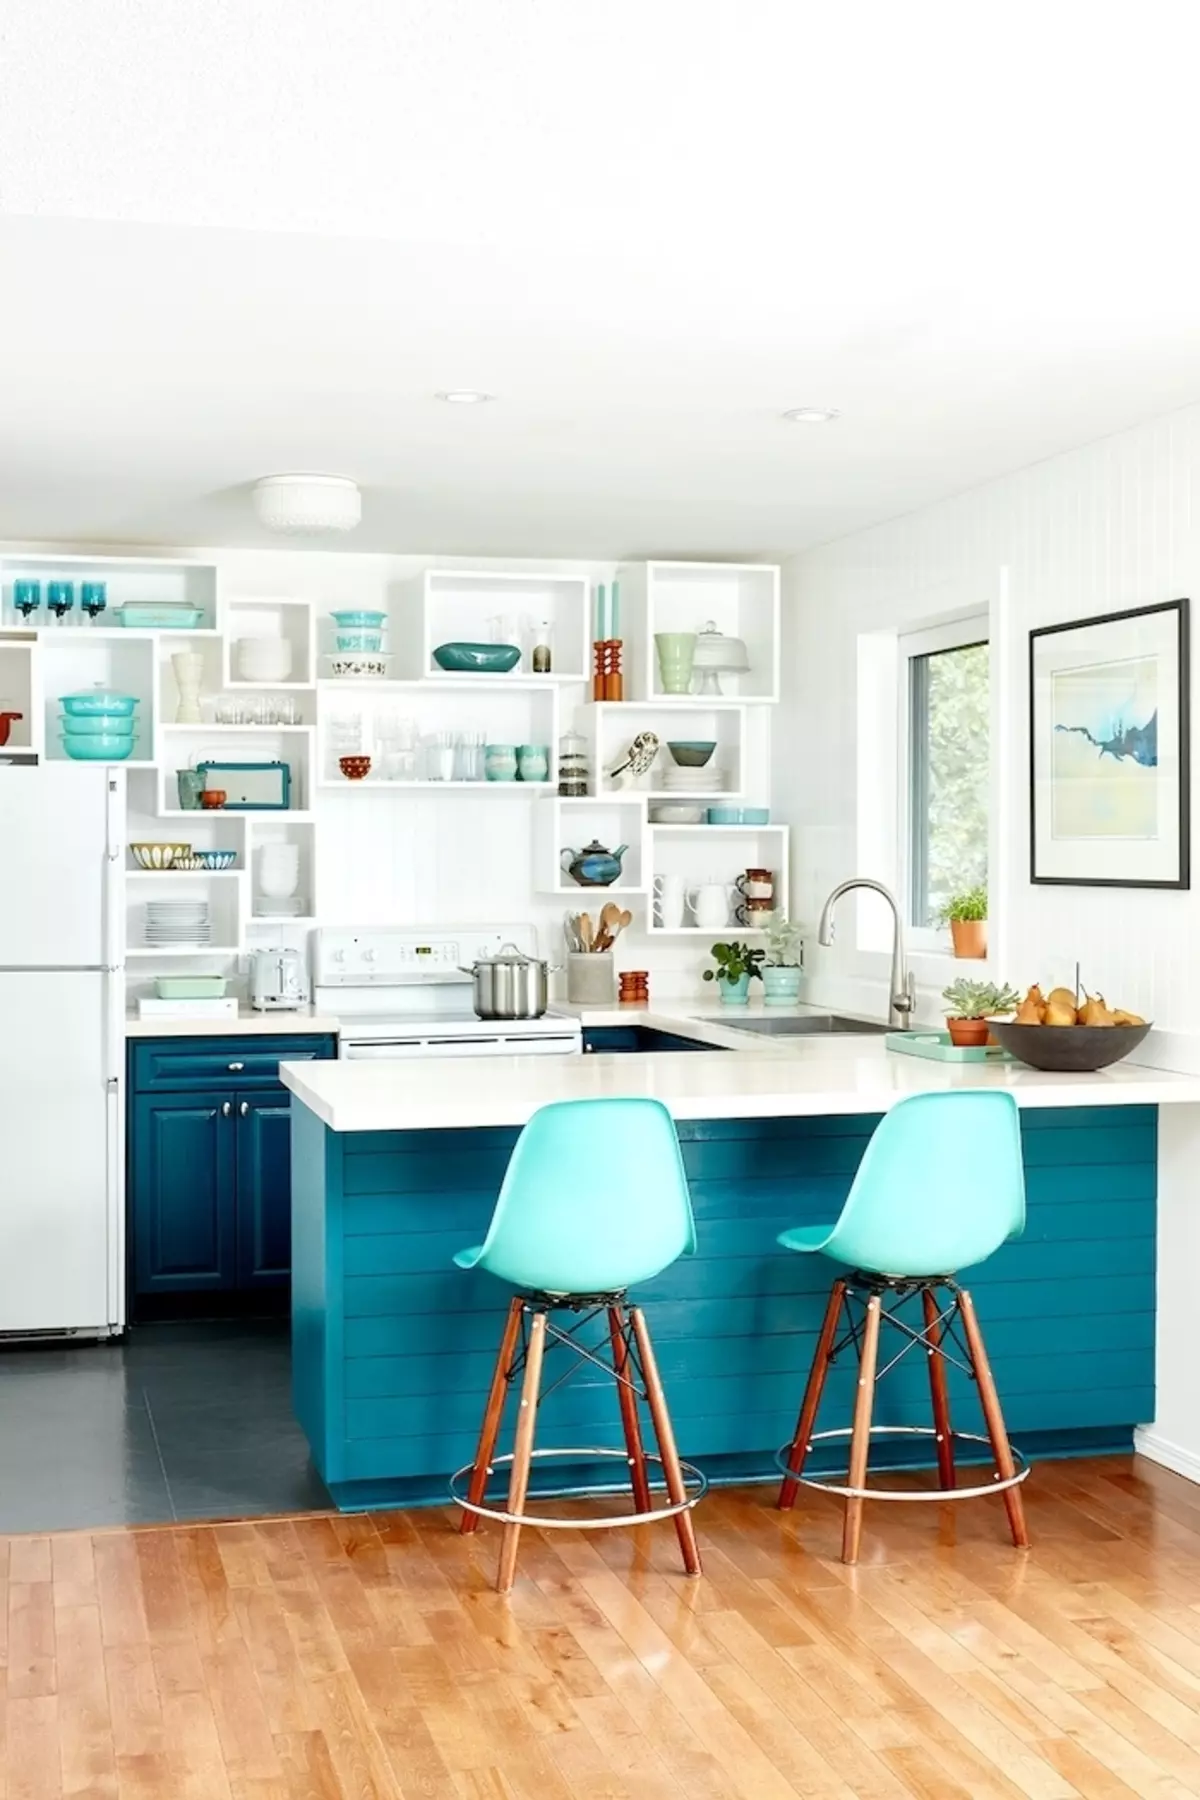
Stylish cubic shelves will become a useful addition to the kitchen: will decorate the wall, kitchen accessories. Do you like to drink tea often or keep the right things at hand? Then read how to make a rack from wooden shelves. The project on average will take up to 4 days, the costs will depend on the selected materials: 5-15 thousand rubles. The rack looks simple, but over the layout and preparation of materials will have to work. Therefore, think over the shelves hanging in advance and what will stand on them. Instructions for creating a rack are useful. Ready?
Instruments
- Detector of hidden wiring;
- pencil;
- Saw;
- clamps;
- gun to scoring nails;
- Ribbon grinding machine;
- drill;
- fine-grained sandpaper;
- small roller;
- 5-centimeter brush;
- Wet rag.
Materials
- painting tape;
- 12-inch pine boards;
- plywood;
- glue on a tree;
- nails;
- self-tapping screw;
- anchor;
- Wood putty;
- sealant;
- semi-tailed paint.
We make a rack from wooden shelves

We prepare the wall
If the shelves have already hung on the wall, they need to be removed, and the tracks from fasteners in the wall sharpen. It is possible that you will need to repaint the wall. Now attach your dishes to the wall and imagine what the sizes of the shelves will be needed. We will make the markup of the future rack on the wall using painting scotch. Check the detector of hidden wiring, whether there are no cable drills in the zone.

Cut and collect Cuba
We use a saw to cut the boards in accordance with the planned sizes. Pine boards will be on the sides, plywood - rear. If you use only Phaneru, the design will cost cheaper. We apply glue from all sides to connect the details of the cube.

Strengthen the shelves
Use wooden clips to connect the shelves together when the glue dries. Strengthen the compounds using a gun to clog nails. When the glue dries, go through the surface with a grinding machine to smooth out the angles, remove the remnants of the glue.

Install the shelves on the wall
Raise the shelves upstairs better together: one man drills and serves them, another hangs. We connect the shelves simultaneously with the mounts on the wall and with each other.

Whisch and pass sealant
Slide the surface slightly and fill the holes on the joints of the sealant.

Kras and decorate
When the sealant dries out, we paint the shelves with semi-convened paint. Create brush and roller. When the surface is dry, wipe it and apply the second layer. Repeat until you achieve the desired shade. Finish: We put the dishes and decor, enjoy new furniture.