
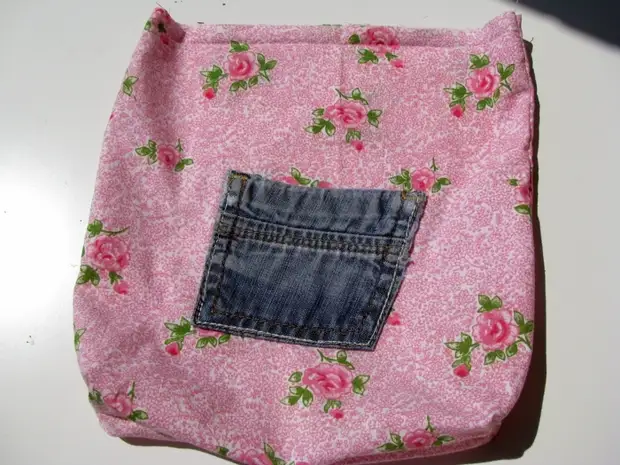
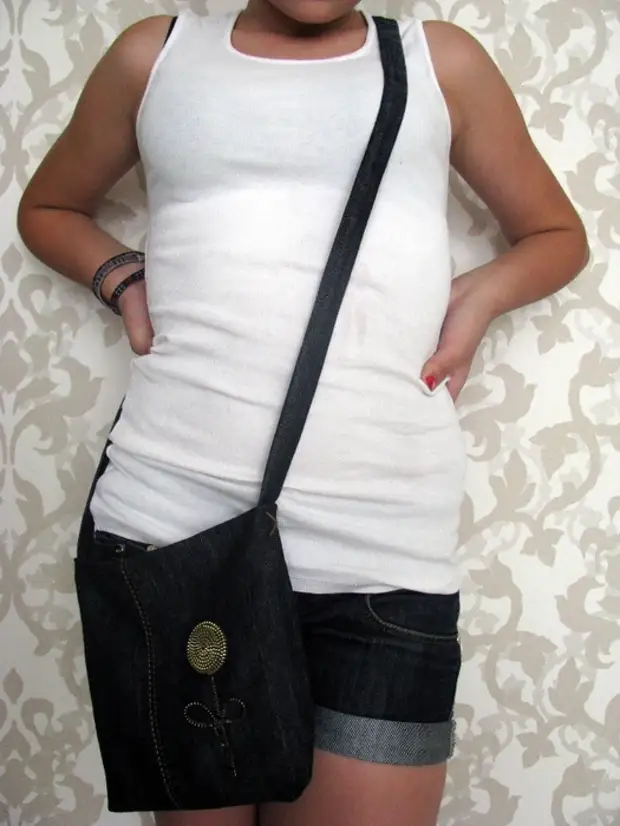
The handbag is small, but very comfortable. By the way, out of one jeans (29p.) It turned out shorts, there are two handbags in the photo!
Let's start!
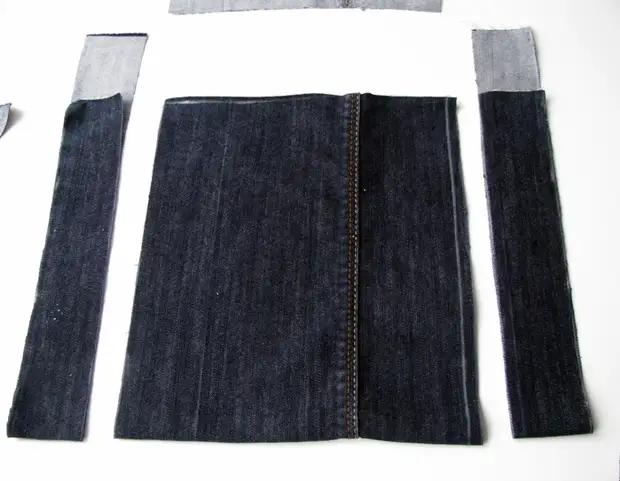
1. These are two, which remained after sewing shorts, Kalosh. Each will turn on the handbag. We break them from the other side where there is no finishing line. (Yes, I have such window sills :), you can sunbathe)
")
2. We take one of them and start working with it!
")
3. On the photo it is seen as I folded it, not in half because the extension of Kalosh is underway, it will be interfered with us. It is concluded before turning to fold the finishing sinks together, you can leather the pin.
")
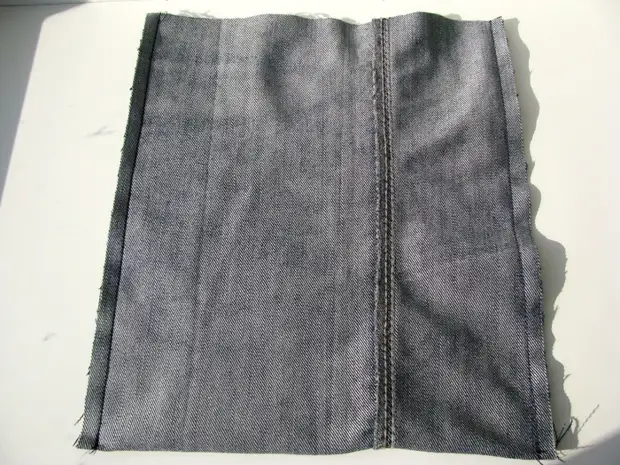
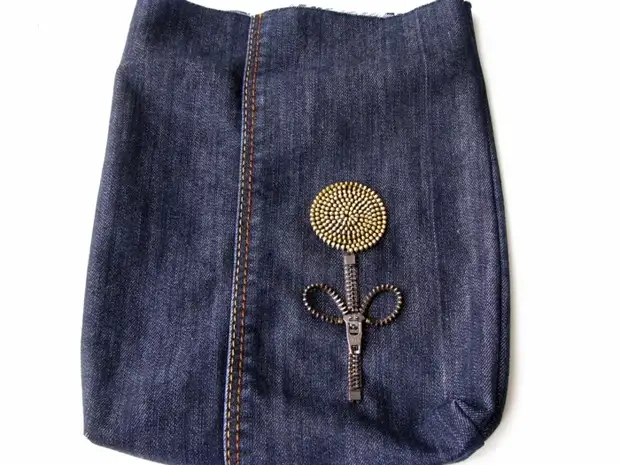
4. Hard drawing right on the fabric. On the front side to see the flaws of the fabric, it is not new. Handbag 24x27cm.This sizes with sutures
")
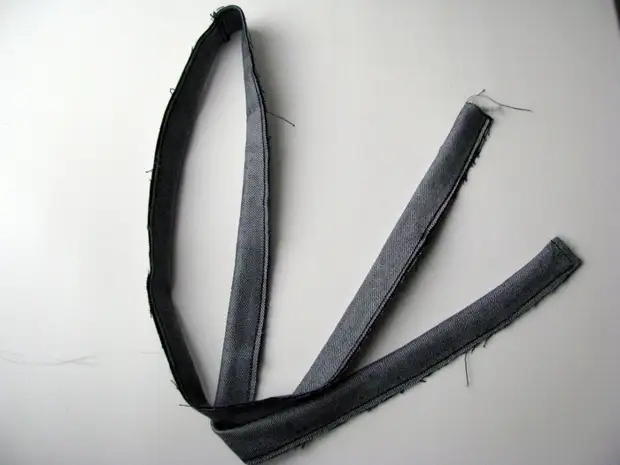
5. With the sides of the strip on the handles of 4cm. width (if the cloth allows you to handle 5-6cm. perham), and how much it turns out how long let it be longer, then you can cut off
6.An a strip of chalk on the right, do not pay attention, does not apply to
7. The creation is also made, only in length in short on 7cm.
8. Side seams
9. The figure shows how to fold the bag for the bottom and snap the corners, I measured from the angles of 2.5 cm.
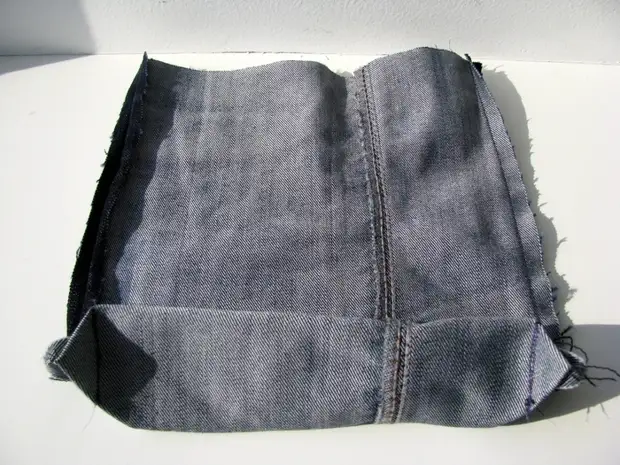
10. Cutting corners

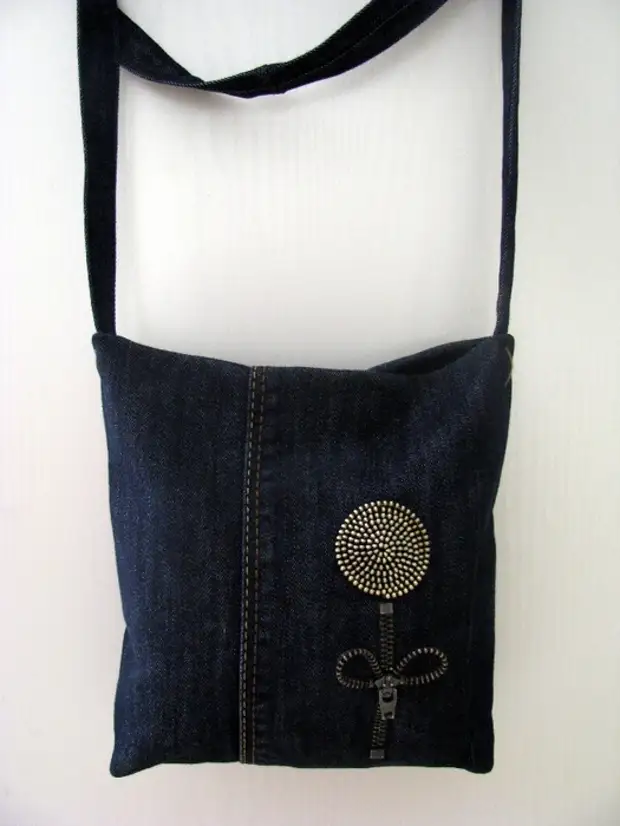
12. Cut! It was possible to decorate when the side seams were not stitched, but I was afraid to be mistaken with the location of the flower, suddenly it would be crooked. Millingly cut off close to the toads and slightly burned the edge lighter, so as not to fall. Flower started with a middle and twisting seeded through the links, the stem is one snake, a little unbuttoned, the edges are wrapped in leaflets, and the top of a separate detail from another zipper
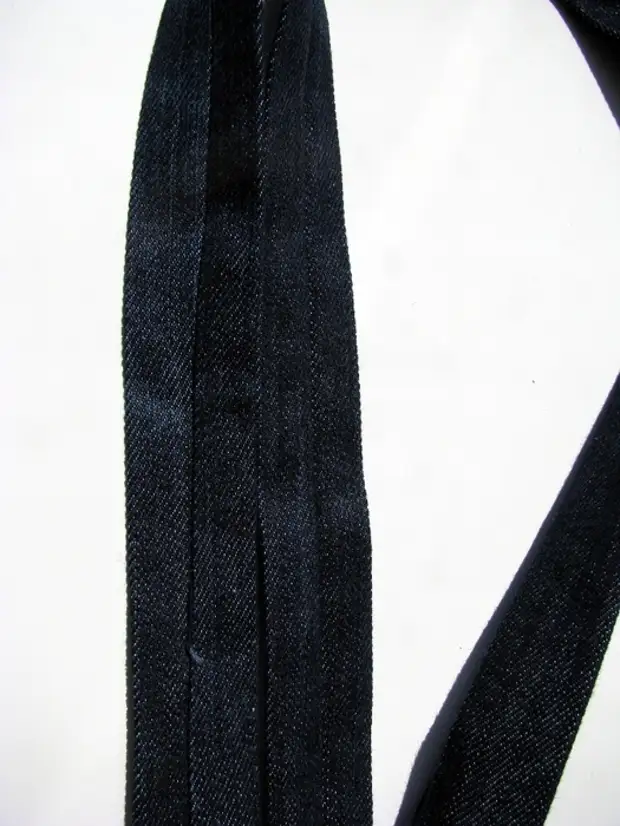
13. Wearing from two halves, stepping them, and then stitch the entire belt and one edge for convenient turning (as the sewing etiquette teaches - retrieving)
14. I turned a stick from orchid, you can need a spin, electrode, and so on.
15. Purchase
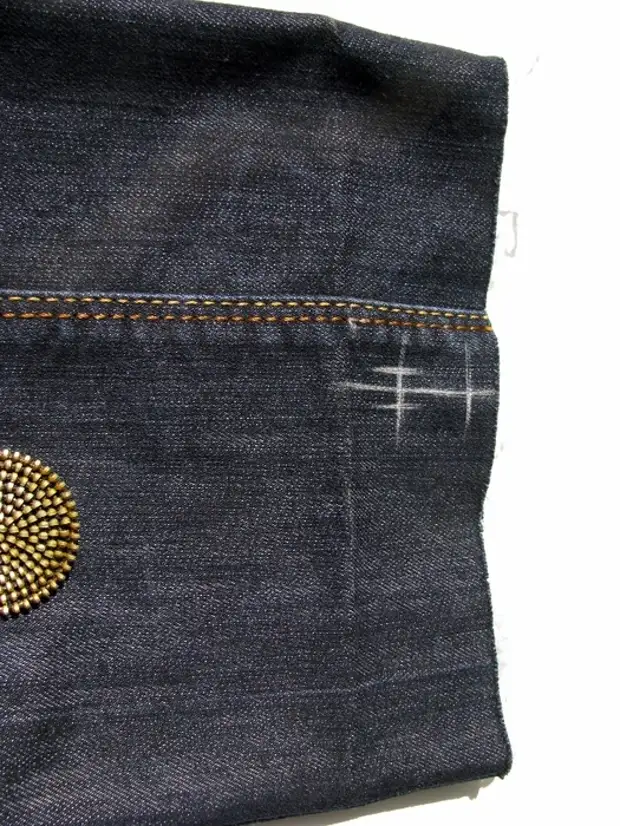
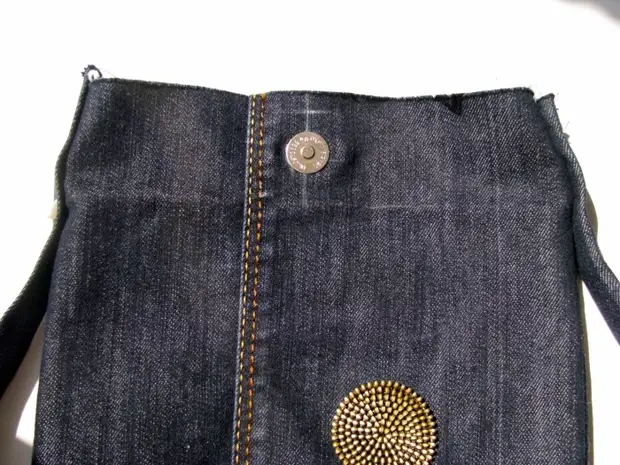
16. Let the magnetic button. We find the sideline of the bag, the progress in our way 4 cm, retreat from the fold 1cm., Drawed the place of the slot. The same on the other side
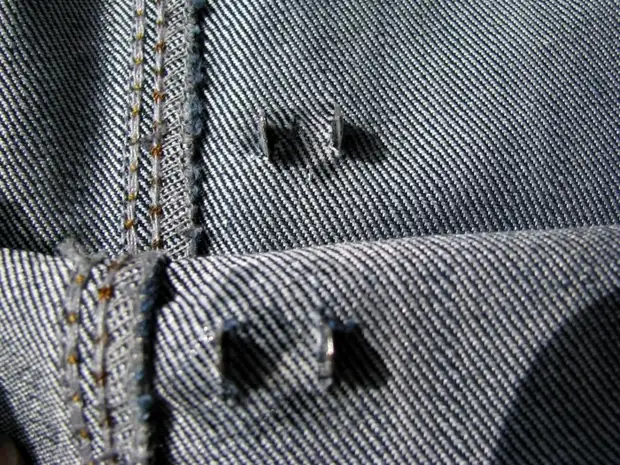
17. In the slits insert the magnetic button
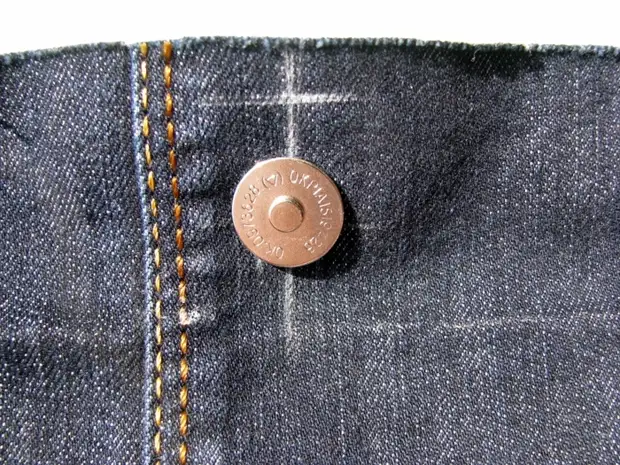
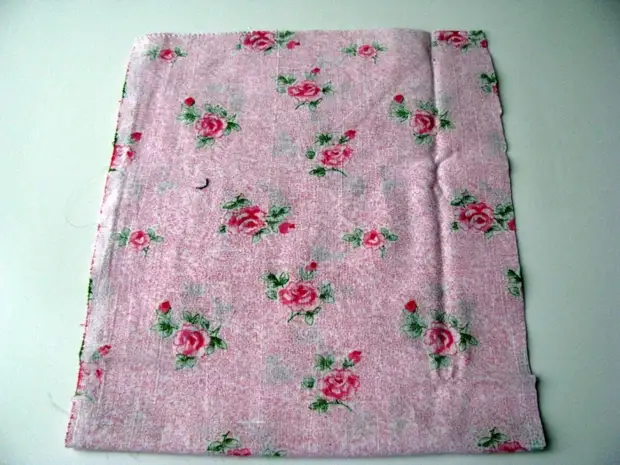
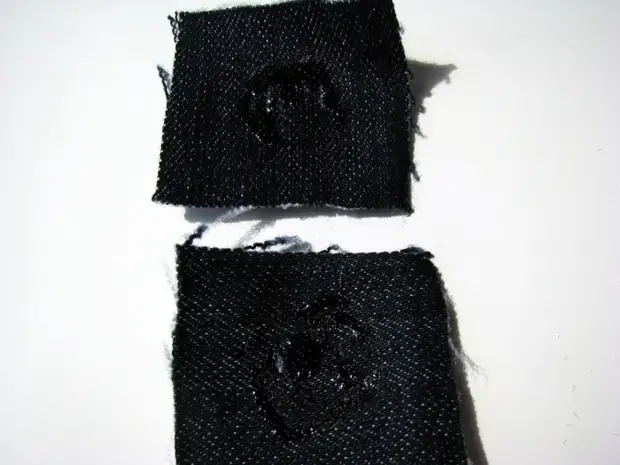
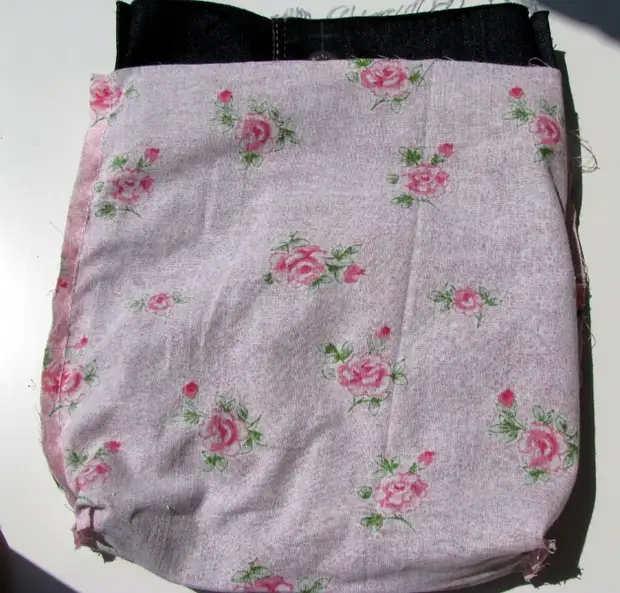
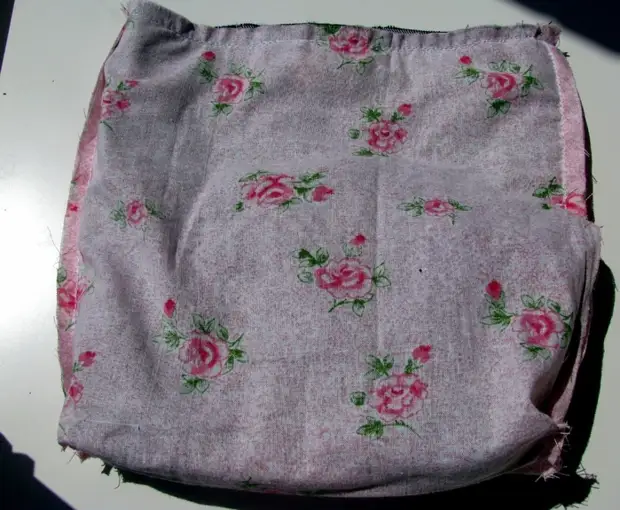
18. A view from the inside, insert the puck with the rosters from the inside (I do not understand why I took a picture without it ...), bend the legs and I was still a piece of denim stuffed to keep it better
19. At first glued by glue "moment" pieces of fabric, and then dressed the washer and bent
20.Criczzles with pens sides and check whether you are suitable for length
21.Clog is also ready! Fully side seam do not negotiate, leave a place to turn
22. We put the bag in the twisted lining, face to face, pocket on the lining should be on the opposite side of the decor on the bag
23. Still, it is better to fit first
24. Soak

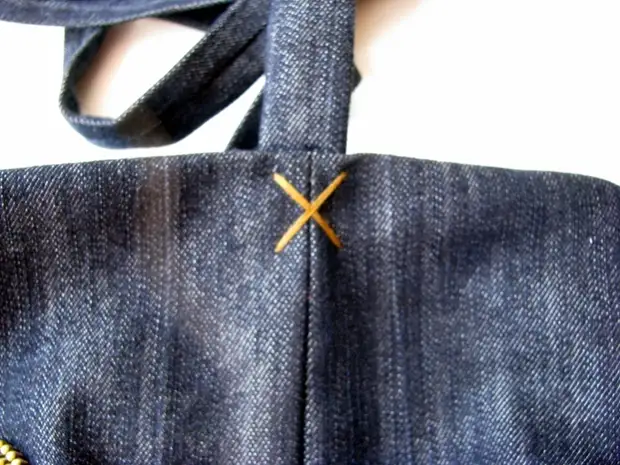
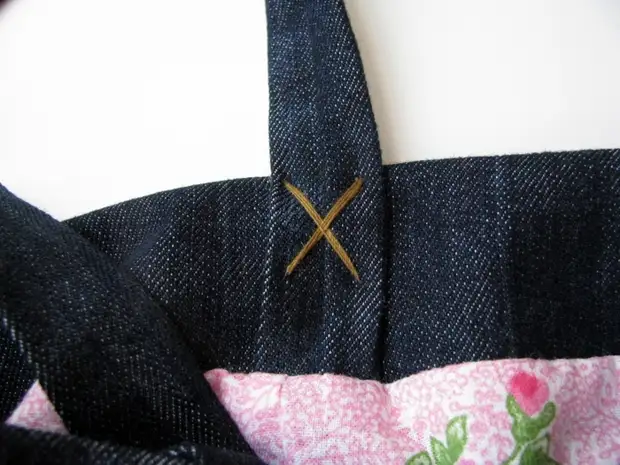
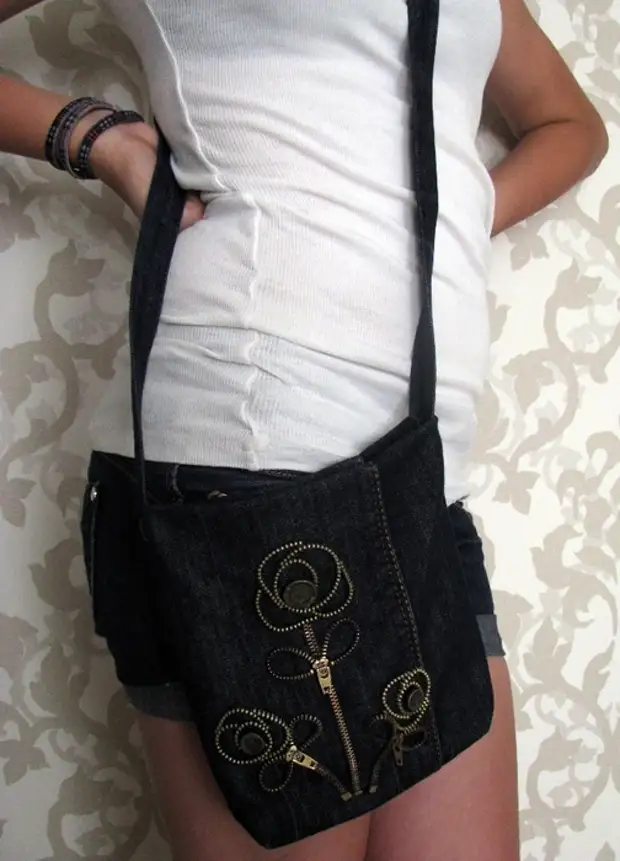
27. Thick thread (I have a thread for denim), suitable in color, fix the handle handle, or rather one handle, but fix from two sides
28. It is necessary to try to and with the inside it is beautiful :)
29. That's all! We carry with pleasure and shorts and handbags !!!
thirty.
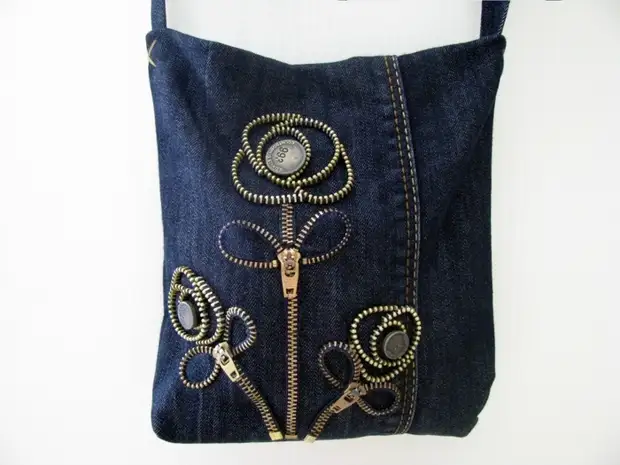
32. And this is the second! True, one rosette would have looked better, but I first cut the buttons and inserted (buttons, too, B.U., I was sticking them with an inside with a piece of cloth), the way back was closed ...
33.
A source