
I already laid out 4 carpentry products made with help, albeit at least a primitive and cheap, but still the power tool. In the comments to the posts, there were always people who were always: "And what is not to do that having such a set of tools." To which I always answered that the product is simple and it can be done with the help of a minimum set of tools, enough hacksaws, chisels, drills, sandpaper and glue.
And so that not to be unfounded, I decided to make a stool (according to the principle of the street table) using only hacksaws, knife - jamb, sandpaper and glue. As you can see the chisel is replaced by a knife, the drill is excluded.
Since the photos succeeded a lot to exclude, and what to leave did not know, so some photos united "to" and "after."
Well, then the slides with explanations, and remind you: I'm not a professional and not a hobbyst, I am a fan who likes to mess around with a tree.
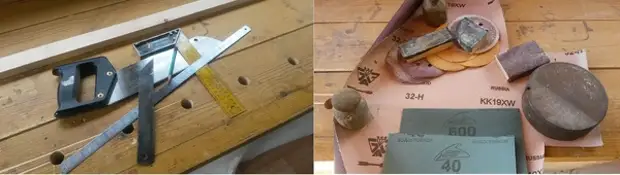
The tool used in the manufacture of the stub, sandpaper of different grindiness, the largest grain like 32 (the sheet was purchased from the year 4 ago, when she tried to worry a cat burned to the aquarium on the cover) as well as the remains of the circles from the organity of the grindness 60, 120, 180. And several sheets of 40-ki and 600ki (not useful).
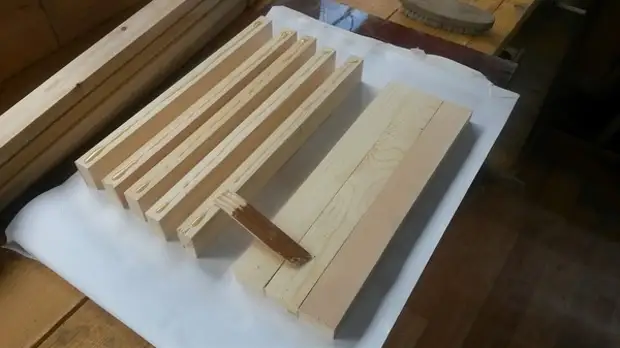
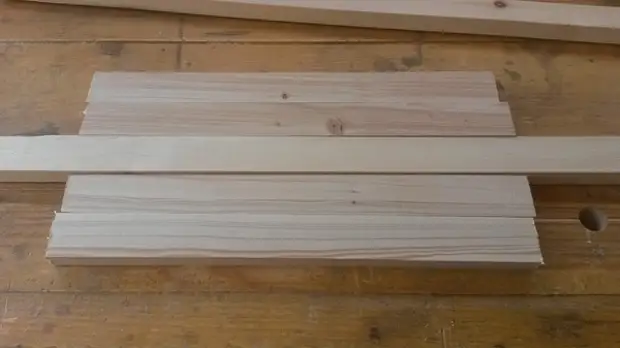
Pine Wood, rolled 6 bars 20 * 40 2 meters for a total of 240 rubles purchased in the store.
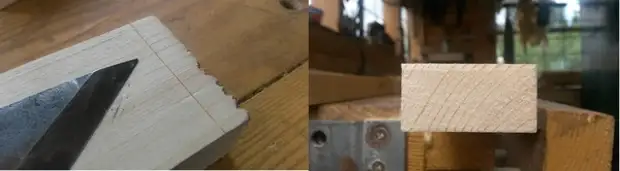
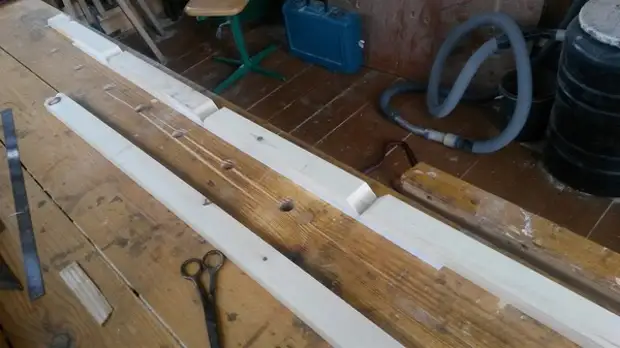
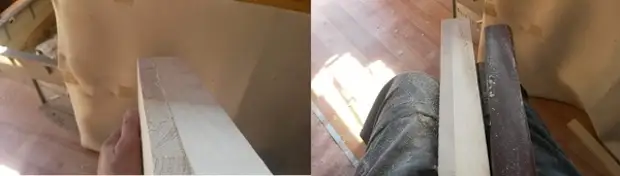
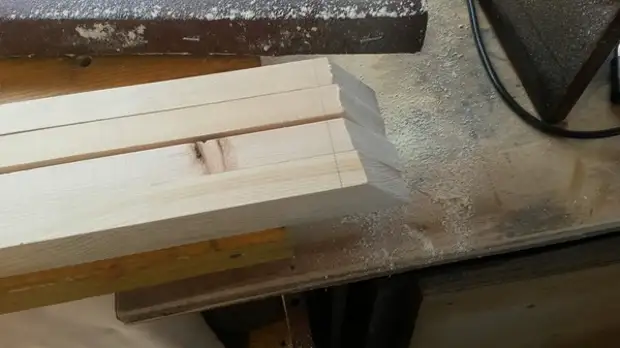
First of all, I decided to stake, which did not seem to be cut in me, but the preliminary trimming of the fibers. As can be seen edge of the cut, it is clean, without cleavages, and it is easier to start to cut, the teeth of the saw is already in the groove, do not try to go away.
Previously in Skatchape was made a drawing of the toaster with all the calculations, but the drawing was forgotten at home and all the sizes were taken from the head.
Gluing eight lamellas for tobabere seats:

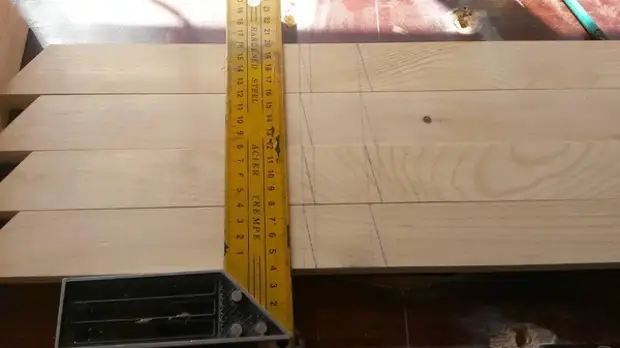
And I find out that somewhere I was wrong, the seat is not square ...
All moved anew, added another lamella and everything came out. Only it was a mistake. It was assumed that the stool would be a "cubic" with a side of 36 cm, as a result, it turned out to be cubic, but with a side of 40 cm. Slightly wider and higher than expected.
Blooming the first level of the Tsarg, on which lamellas will lie. Adhesion pre-laying the Tsargi to the greasy tape.
This is the first day of work (3 hours) was completed.
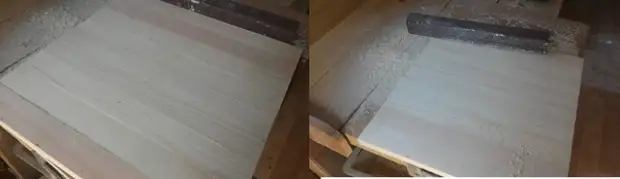
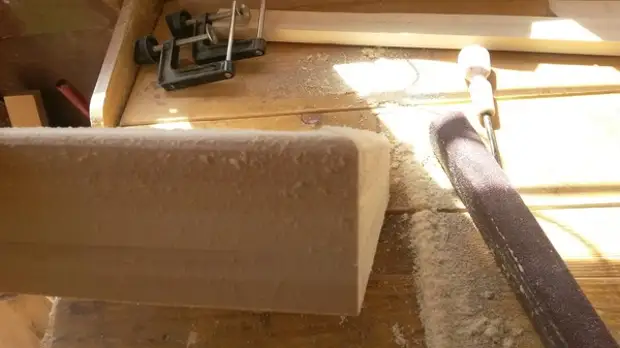
The next day, align the seat of sandpaper 32 pranidity fixed on Bruke. I did not expect such a speed of processing, the speed of removal is higher than LSHM from 120y, and taking into account the width of the bar also evenly. The wood is dry, the grain is large, practically not clogged (this bar lived before the end of the project and they can still work and work, practically did not beat).
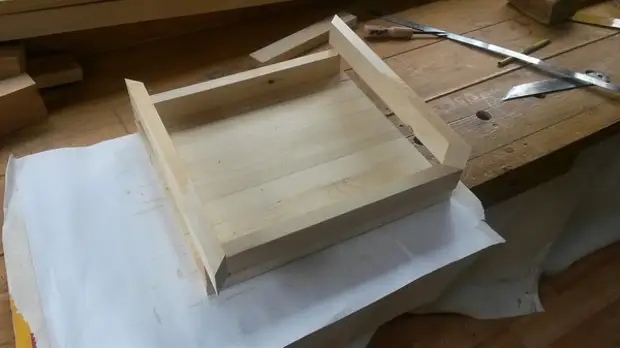
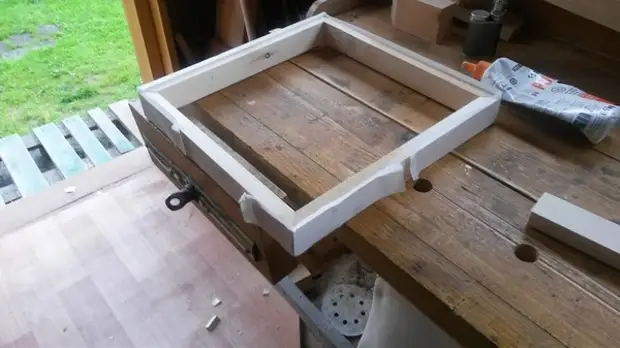
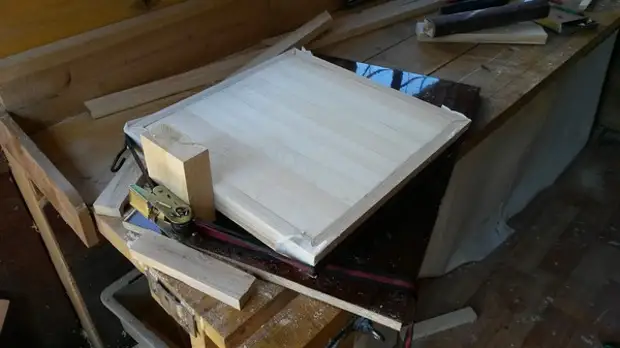
Well, I collect everything in a bunch, shield - we stick to the frame from the Tsarg.
While the seat gluits, I make external strapping. And then I realized that I was lucky, for not attentiveness, one acquired bar was obviously not pine. What kind of wood I did not understand, but the color is different, it is processed easier, though and firdly pine.
From these bars, I made an external frame that "wrapped" the beads of the seat and the inner frame. After dipping, there were minor discrepancies in size, corrected the same sandpaper after aligning the ends on one side.
The seat with an inner frame has sanded into a plane. Immediately, I'll spin the bottom of the frame, then it will be hard to get to her.
And glued to it the external strapping.
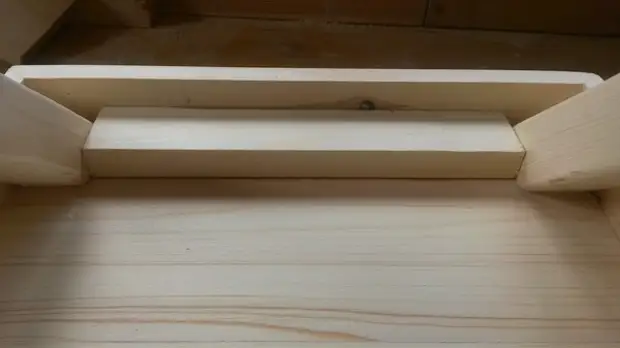
Thus, I was excluded from the process of manufacturing a milling mill, two bruises glued at different heights allow you to replace a "quarter" enough.
While the seat is glued, re-recaling the legs of the toaster and start their manufacture.
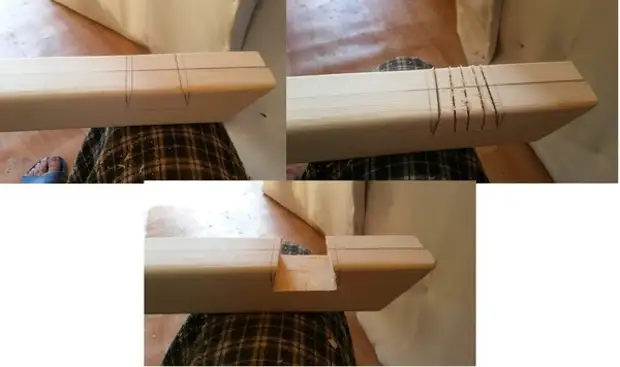
Each leg consists of two halves, which in the idea should crossed in the groove. The grooves could be made by a saw and a chisel (I do not use the milling mill), but at the stage of "design" I decided to make every half a team.
Eliminating the shoals of dipping aligning corners.
I make markup grooves.
And collecting halves.
The second day (4 hours) is over. Leave everything to glue.
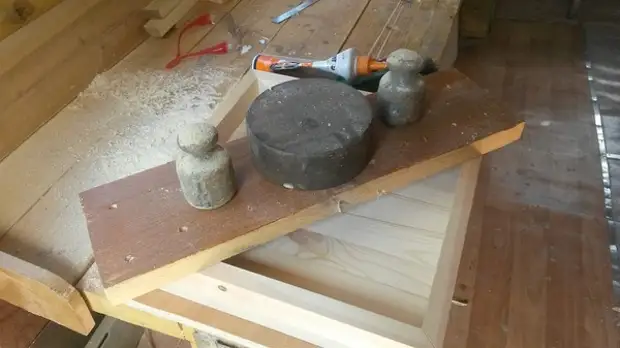
On the third day gluing the fellow of the legs with each other. The grooves sat tightly, did not even give the load.
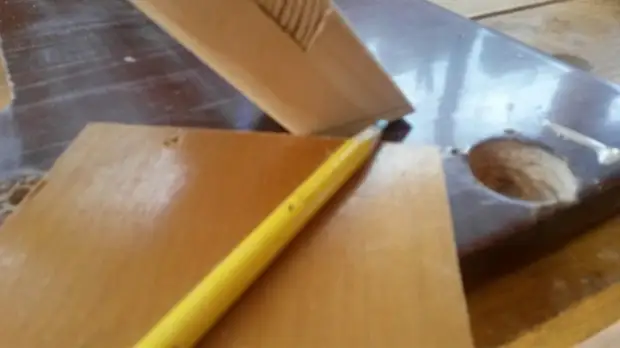
Since I do not use the ducks (the drill excluded from the manufacturing process), I decided to connect the legs with crossings, I thought for a long time how to do it, I really didn't want to bother with drinking grooves. Moreover, I made a mistake, I rounded the ribs on the legs, which added problems with marking. But the eyes fear, and the hands do.
And that's what happened in the end (photo after all treatments)

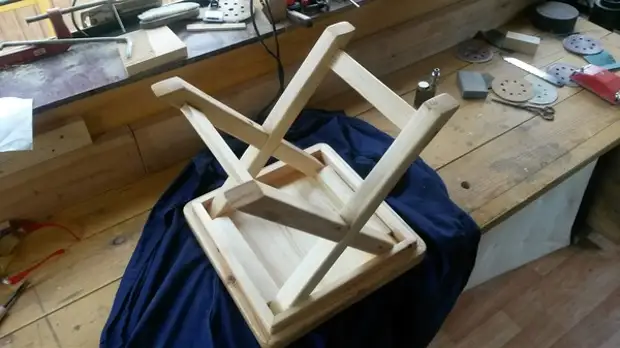
Having absorbed the legs into the inner frame of the seat.
The third day (3 hours) was completed on this. Leave everything to dry.
On the fourth day, the most tedious remained.
Pruning where only you can speaking glue. Putty small gaps.
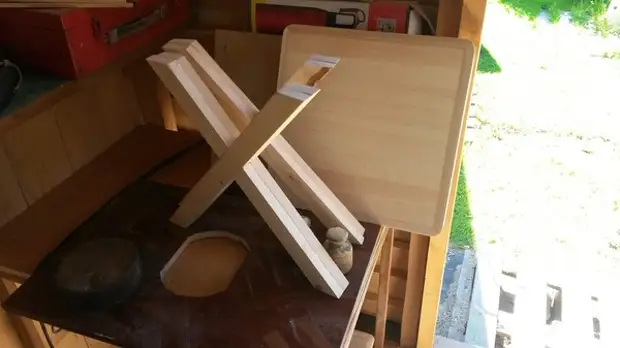
The spacer planks pasted (in the tension), an additional strengthening of the legs in the place of attachment to the seat, which will avoid loosening.
Aligning the stool horizontally, squeezed the legs (not sharp photo). A piece of plywood as an indent from the plane, the markers around the perimeter of all legs.
After that, a long and tedious grinding for aligning the buildings of the assembly, errors when sawing, rounding the ribs.
Before painting:
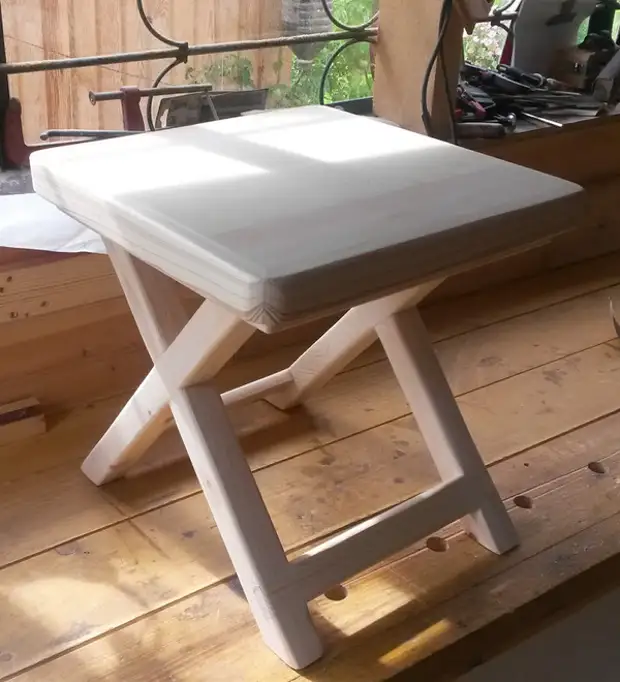
View of the stool from below is the fastening of the legs.
After coating with varnish. (Tsapap is colorless, 30 minutes of drying).
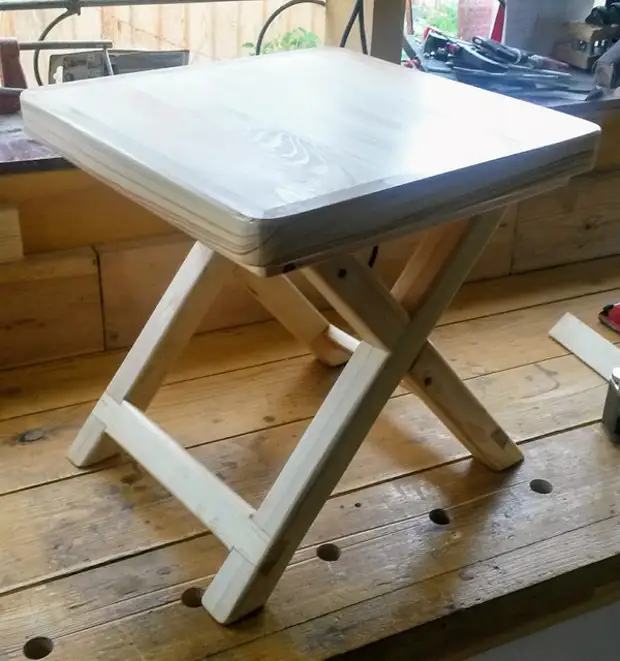
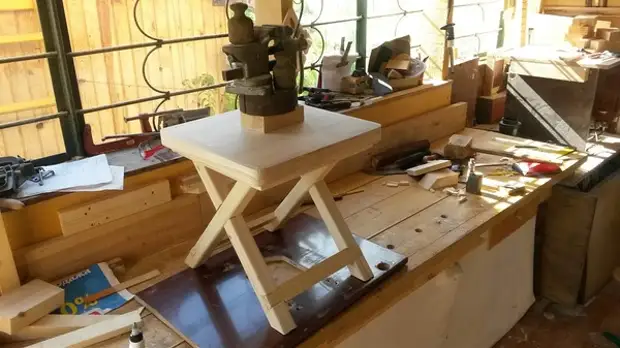
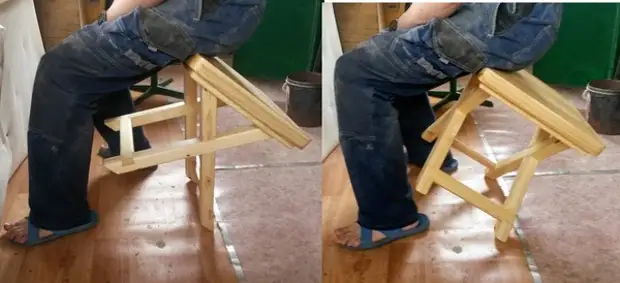
Well, the most important thing. The test is practically under GOST. My weight is more than 75 kg. I put a stool for two legs, I sit on the edge and swing :) It does not creak, it does not fall apart, it truths less than 1000 times, as GOST :)
The fourth and final day is completed (3-4 hours with a break on to eat and wait for the drying of varnish).
For a good leg, it was necessary to mount the minimum waders. However, I hope for the glue PUR-501 and the very design of the attachment.
That's all. Quest of furniture manufacturing (in this case, stools) using one knuckling, I consider successfully passed. The method of manufacturing the Tsarg - the strapping and grooves of the legs I think has the right to exist. And if you say directly about the legs, I really pleased me, I doubt that I would have done such a dense china connection.
Hello skeptics and nuts. There is a desire - do, the tool is secondary.
Thanks to those who subscribe to me, my projects for the near future for the manufacture of furniture for giving on this are completed. Therefore, you can unsubscribe :) So far I do not think about how to make the table - the secreter and massif of the tree (and I do not find really dry wood) I do not plan to engage in the furniture, everything you needd. What would take hands to make any small crafts, so to speak organizers for the office.
A source