An interesting and detailed photo report about how the author of the snapshots decided to make a body armor personally, which could withstand the shot from "Saiga", defending his owner from death. We read and look further as it was.
To begin with, it was not clear where the aluminum was bummed. Bought on ordinary metal supplies. Aluminum thickness 1.5 mm. And with him I bought and steel.
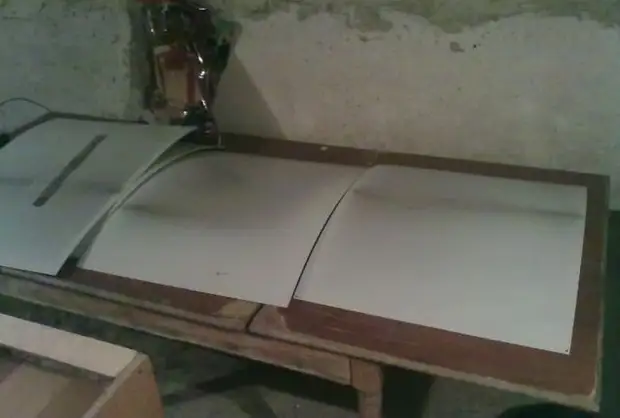
Aluminum brand, I do not know his name. She walked like sheets. May be removed from the old aircraft ....
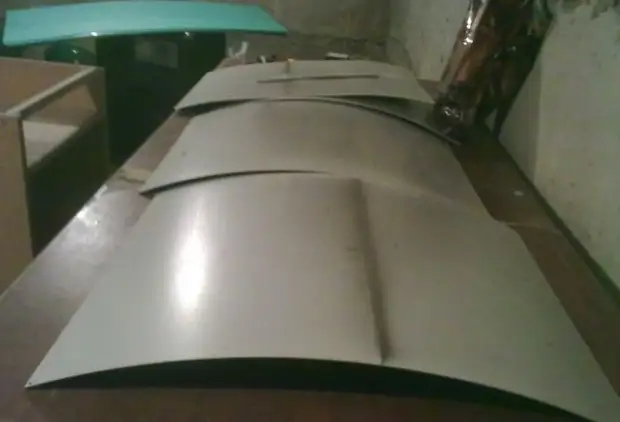
Next, it was necessary to buy a material that would well absorb the blows, restore the form and necessarily very light. Searching for shops and cods, this material was found. Polyesterol something there ... It is used as a lining for the parquet. He is fragile, but at the same time it is shy-durable.
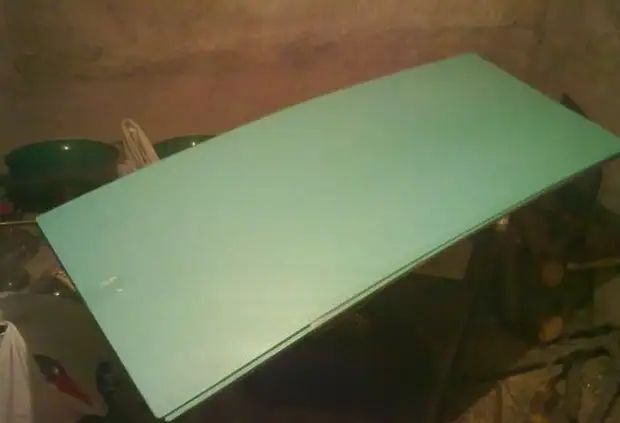
So even closer.
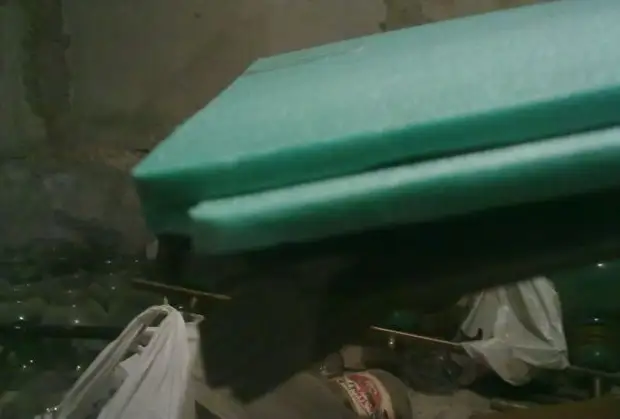
Aluminum sheets cut in half. One sheet was obtained, on one side of the body.
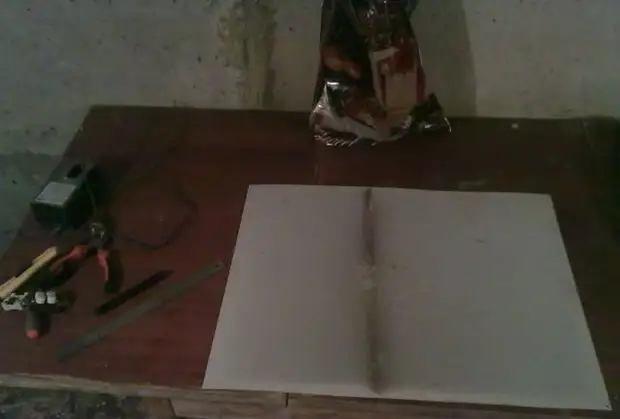
Next, it's time to collect everything in a bunch. Some pictures are not, because It was done quickly. The dimensions of the "sandwich" turned out to 49.5x31.5. Polyesterol, aluminum and steel were cut into this size.
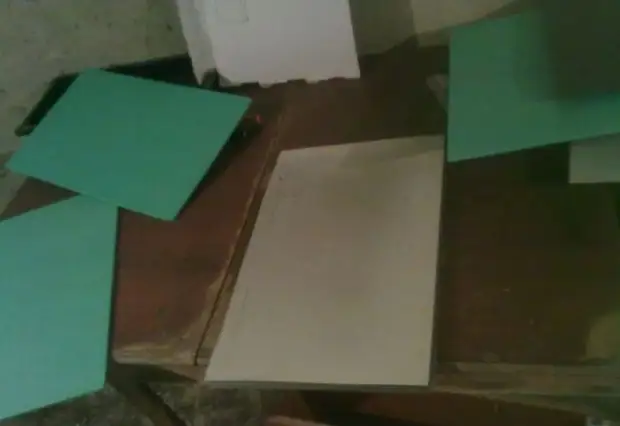
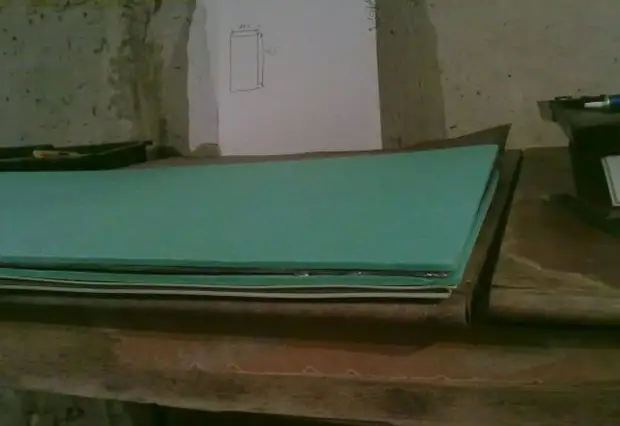
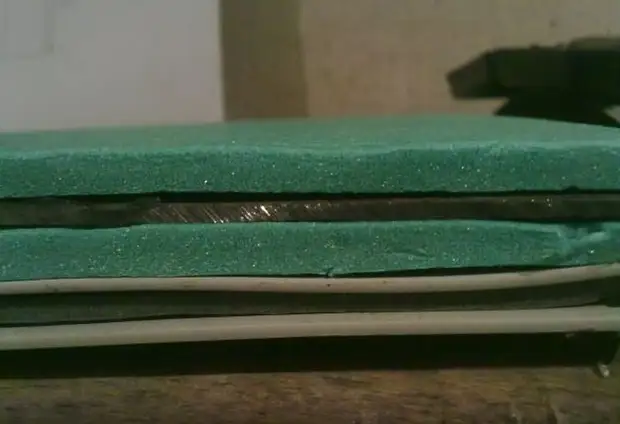
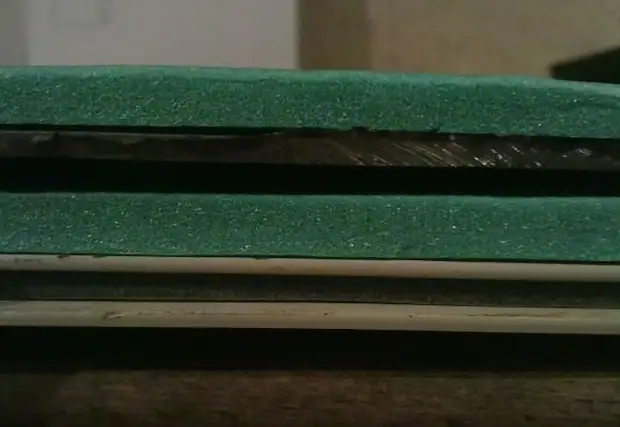
In fact, the sheets were as follows: polyesterol, aluminum, gray polyesterol fond, steel, gray polyesterol fond, aluminum and a polyesterol again. There is no photo of the green sheets, they simply glued on top.
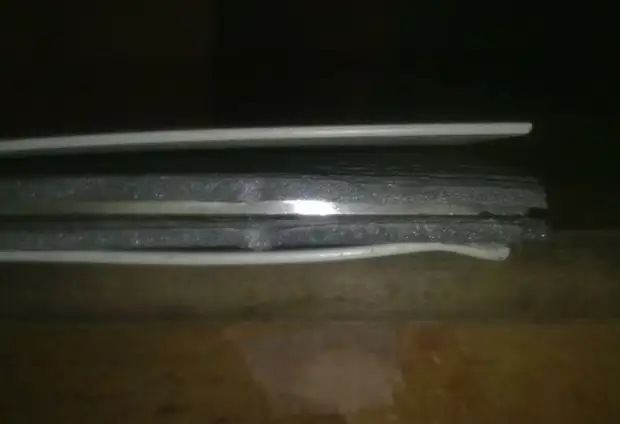
Then all this fastened rivets. Bolts, selflessness, etc. disappeared immediately. Well, on the same day, tests were carried out. Shot from Saiga, a distance of 2 meters. Booking does not break !!
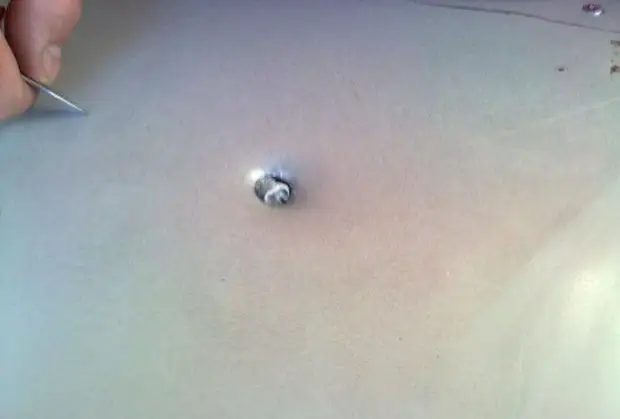
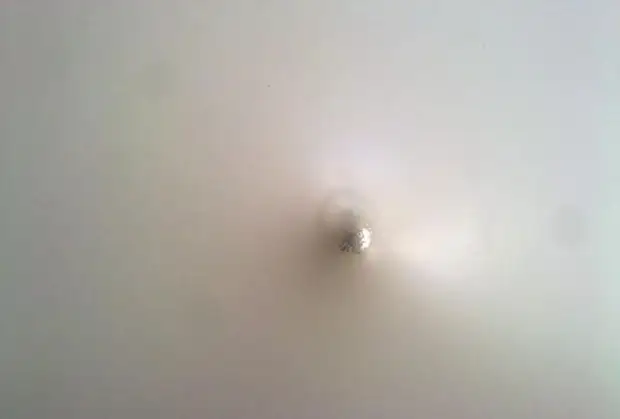
It traveled to him very not sweet.
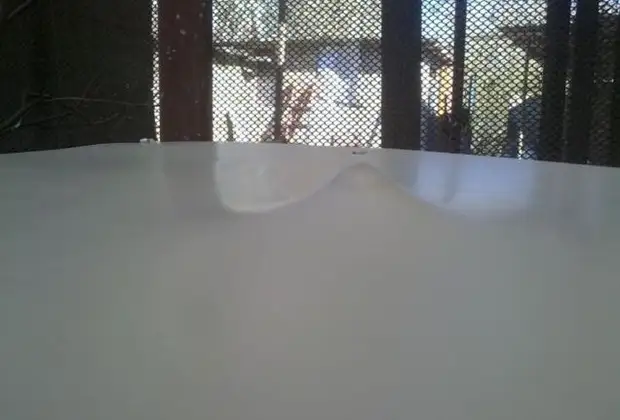
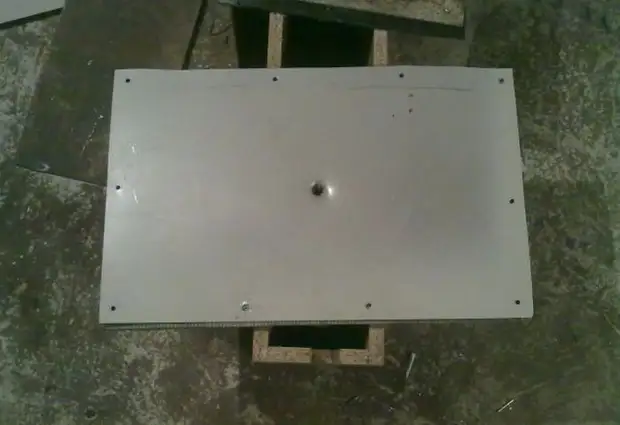
Then there will be more photos of the consequences of the shot:
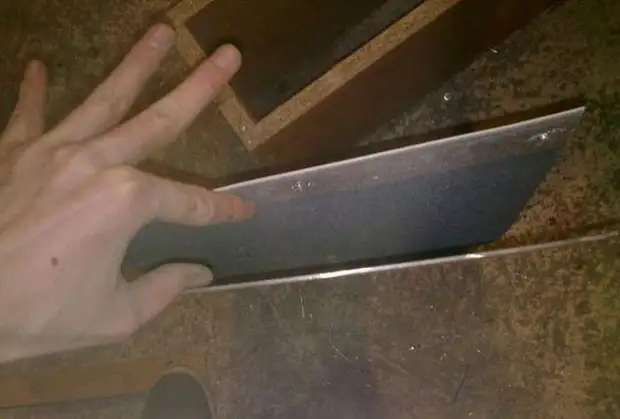
Flattened and looked in order
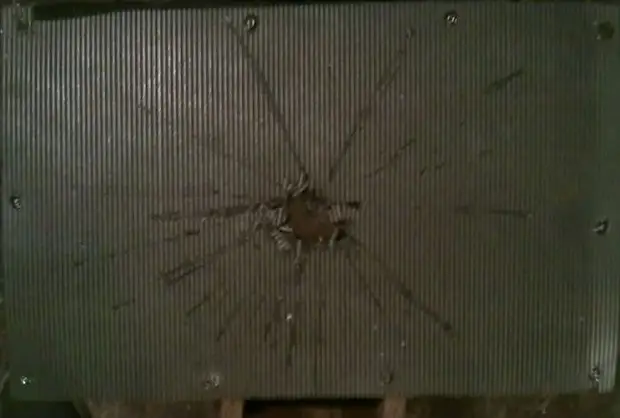
Hole in the first sheet of aluminum
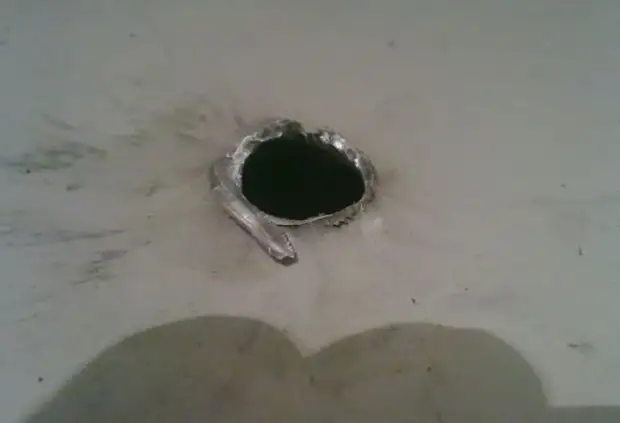
He fell into Steel
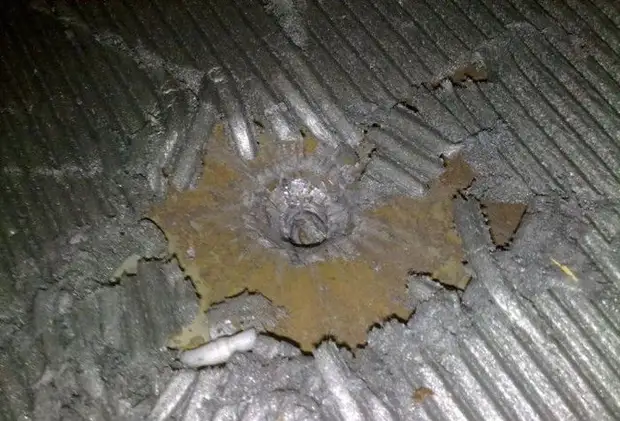
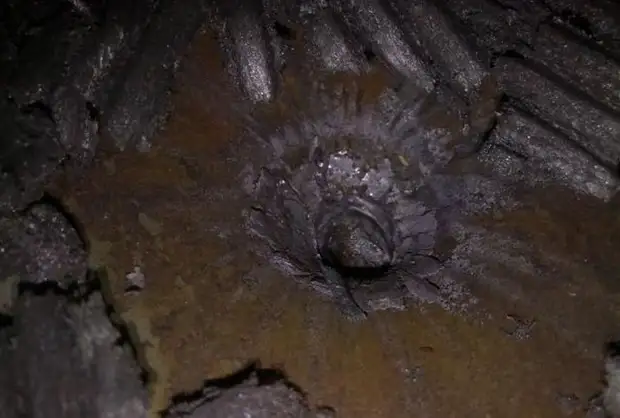
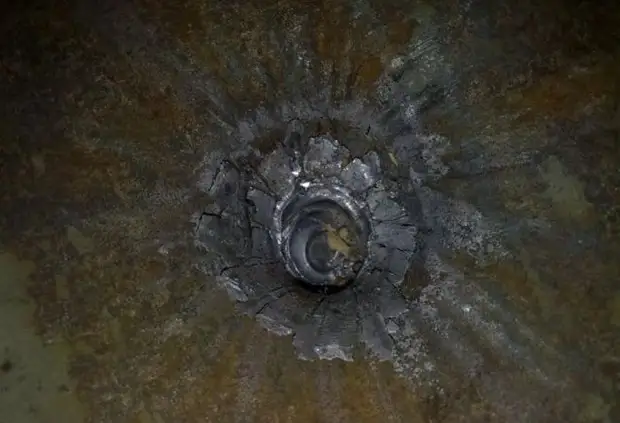
Bullet outlet
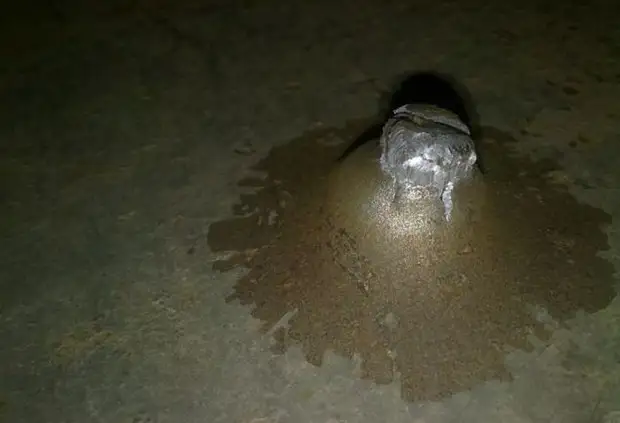
The 2nd sheet of aluminum did not give fragments to fly out and kept the bullet
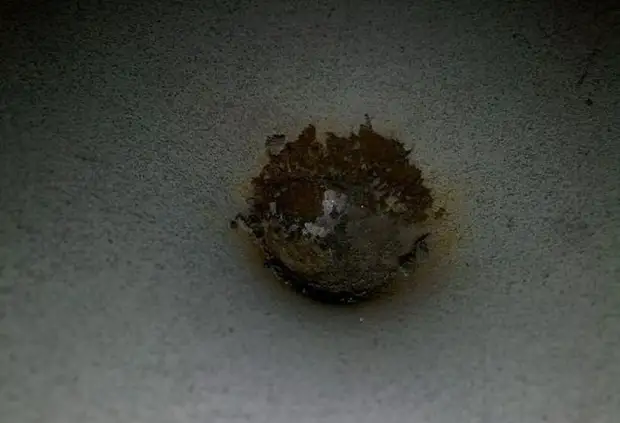
More for comparison
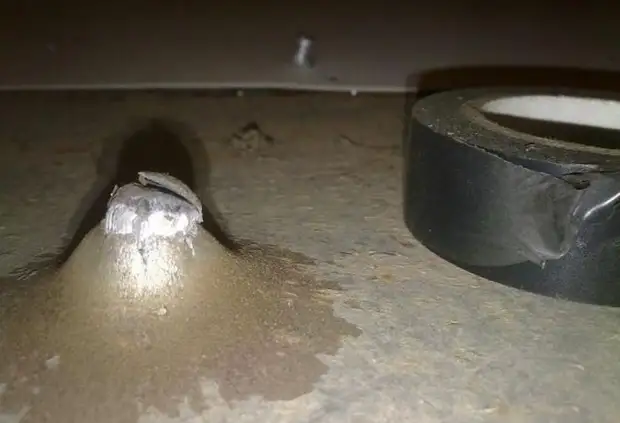
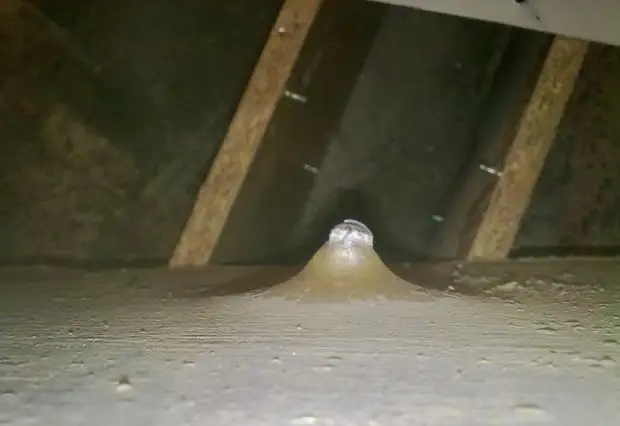
This sheet was thrown. Steel was twice as thicker, and everything is new. The same aluminum and polyesterol. Unfortunately, the photo of the second option is not left. A cover from Soviet burlap and conventional fabric was sewn.
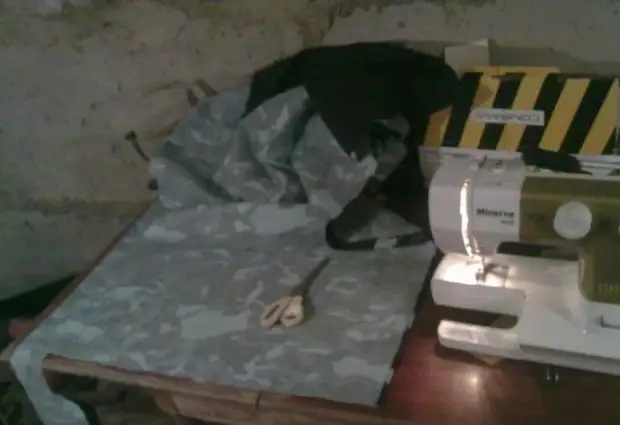
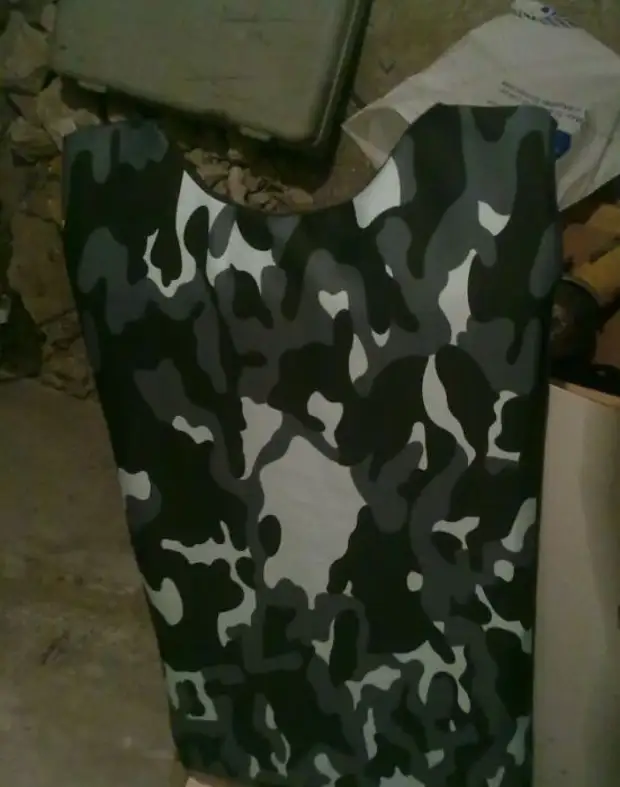
Well, the final version:
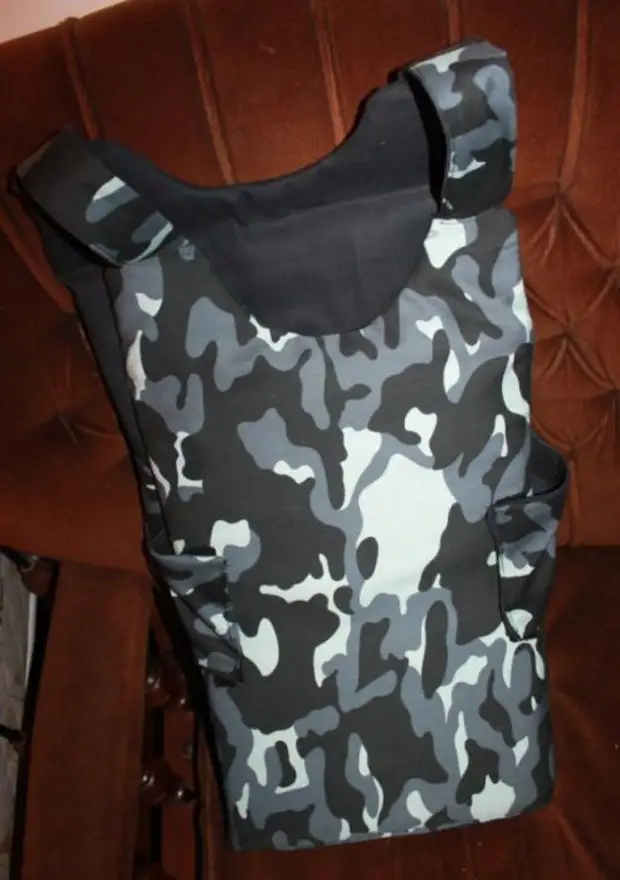
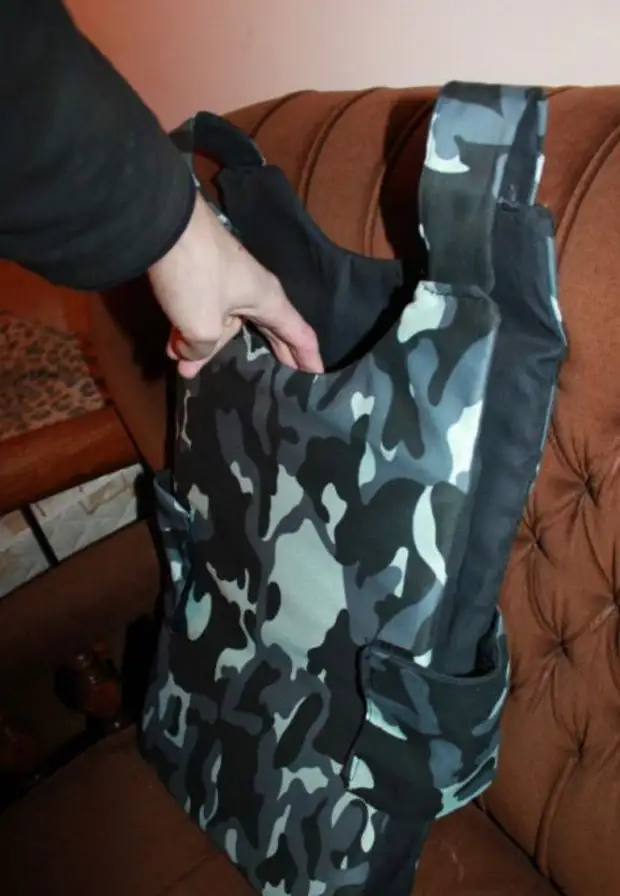
Well, final. Thanks to those who will treat the topic with understanding) there were no drawings, everything was only in my head)
A source
