
After repairing the kitchen is completed, all pipes are connected, the wiring is replaced, you can plan to plan, and more accurately think about how to locate the furniture for the kitchen. How to make a countertop yourself.
You will need: Waterproof chipboard - 30 mm, screws, glue, ceramic tile, measuring instrument, pencil, screwdriver, jigsaw, shoulder for mixing glue, tile cutting device, metal handwheel, spatula, pliers.
Operating procedure:
- Strengthening countertops;
- Composition from chipboard;
- laying tiles;
- demonstration.


Carefully measure the distance between the worktop items. Apply the glue to the details of the chipboard. Drill holes in the walls of the table according to the attachment of the table top. To avoid contact with water, treat the edges of silicone.

Start gluing the tile first along the edges of the table, then on the tabletop itself. The struts are not used. At the end glove pieces of tiles.

Within four days, moisture evaporates from the glue, after which the distance between the tiles is filled with sealant. Excessive sealant is cleaned with a sponge.
Once again, In more detail:
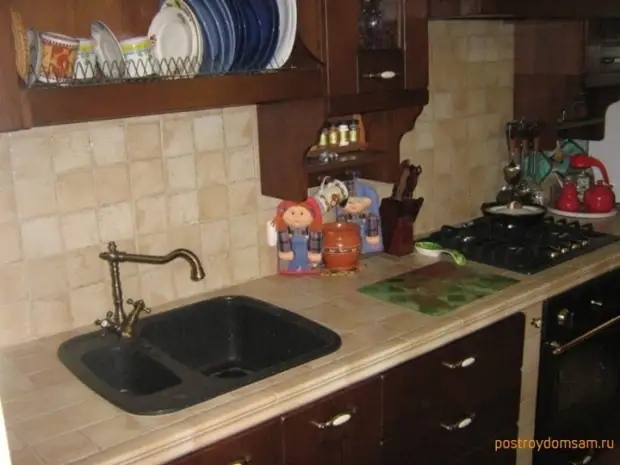
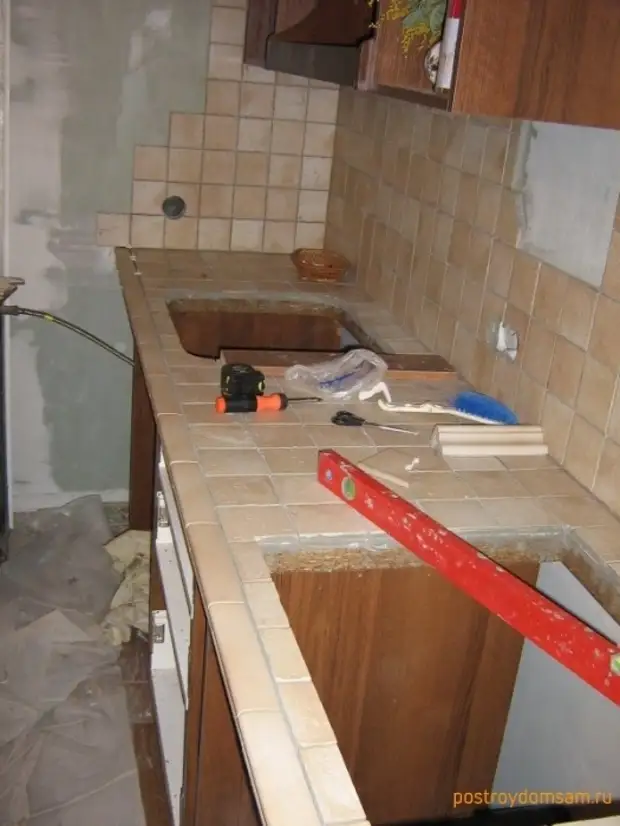
We dismantle. First of all, we remove the old worktop. She is no longer needed. | |
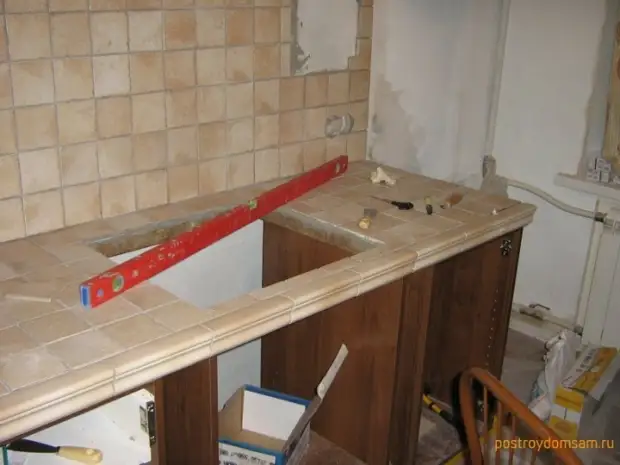
Complete. The new tabletop from the tile will be noticeably different from the old. There will make it half the thicker, and in order for the surface of the kitchen table to be smooth, the design will have to "drown" into the housing. To do this, in the depths of the table, we construct a carrier frame on which the tile table will rely on. Having measured the distance between the vertical elements of the table, cut out the support from the chipboard. | |
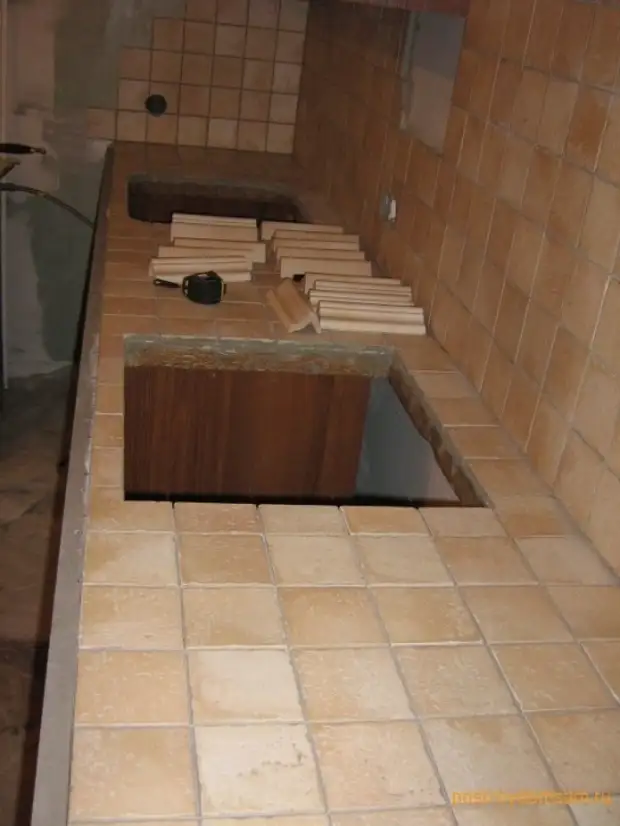
Fix. Fresh support to the walls of the table using the mounting glue at a depth in the thickness of the chipboard. When the glue "grab" with the surface, screw the bars with screws. Now it's time to do kitchen countertops. | |
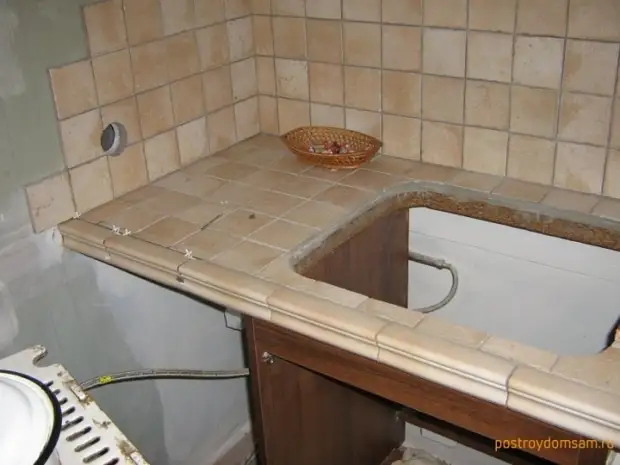
Cut. A new table lid drink from waterproof chipboard, pre-producing all necessary measurements. If you wish to have a built-in countertop for the kitchen, then taking into account your own calculations cut the holes in it under the sink and the cooking panel. | |
Mount. The tabletop is installed on the carrier frame. In those places where the stove contacts the supports, lubricate it with the mounting glue, and sticking, additionally fasten with screws. | |
Isolate. Spiles It is important to smell with silicone sealants by protecting them from potential contact with water. | |
We work with tiles. Mosaic countertop can be issued without prior plan. Another thing is a standard tile. The process of its laying will have to plan in advance. | |
We measure and black. By drawing the table, we try so that whole plates are on the joints of horizontal and vertical surfaces. Part of the tile will have to trim with stoveturis, tongs or a tungsten spraying milking. Marriage in this business is not avoided, so buy tiles with a margin. | |
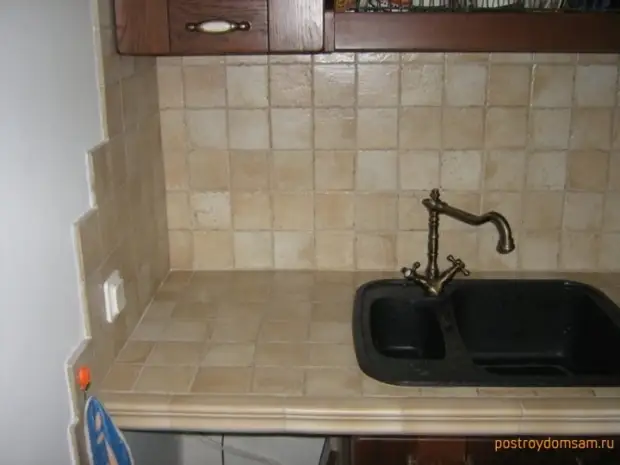
Glue. Stop the tile is needed on tile glue, which (attention!) Suitable for chipboard. Powered by Tiles Tabletop briefly leave alone. We need time so that water evaporated from the glue. | |
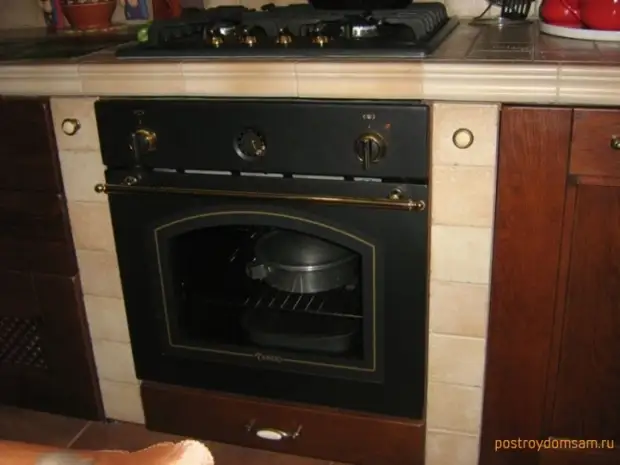
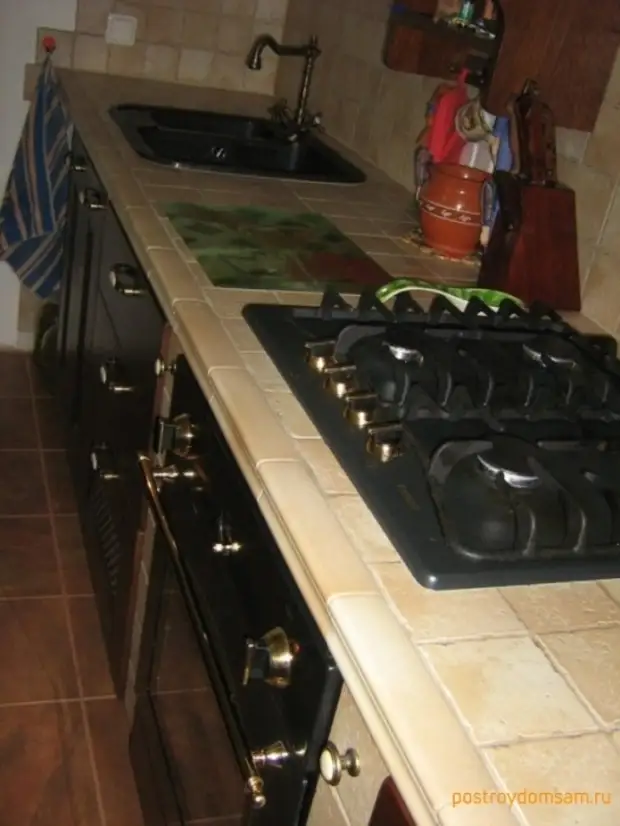
Explain. After four days, the seams can be wiping, align them, removing excess the grinding mass with a sponge. After that, the countertop will be ready for operation. |
Questions from the forum From here: - I understand that the tile should be put directly on the moisture-proof Faneru, - and then what? Can the usual chipboard? Which minimum thickness can be plywood?
- If you want to see old, but good technology, - here. Grouting ordinary, from a serious manufacturer, which is protected by impregnation 2 times. If the conditions are "Extremal", then epoxy grout is used. In modern conditions, the top of the tabletop is performed from 5-, 7- and 9-layer favners of coniferous rocks, desirable fir (unobed-up side up) 18/20/25 mm. For the kitchen - the top of plywood is covered (attached) metal. or plastic mesh with stretch without bloating and bulging. Fucked by a stapler, which simultaneously strengthens 3-4 layers of plywood, which prevents the possible bundles. If there is no experience of laying the tile, I would advise a porcelain stonework in a mosaic or 10 x 10 directly to the grid, first the mesh is covered with tiled glue and after 24 hours - tiles.
Brief: 1 Option - Plywood-waterproofing-grid / metal. or plastic / -lock. Tile, glue, grout, impregnation of seams - such a cake is quite sufficient. 2 Option - Plywood / MDF / -The tile glue / coat Mesh / Hydroesolation-tile-impression-impregnation.
Dimaster class, sorry, in English:
There are on Lirai Umaruskevi4 post "Repair of a kitchen", including the table topics with photos:
A source