
Hello, dear readers of my blog! Surely many of you dream of decorating our kitchen with something beautiful, comfortable and functional. And if it is still done with your handles, then in general class! I know how to help you! In this article specifically for you I prepared a master class basket with flowers. After reading this article to the end, you will learn how to make it pretty quickly and simply, even if you are very new in creativity.
Beautiful, comfortable and reliable - here are three keywords that are fully described!
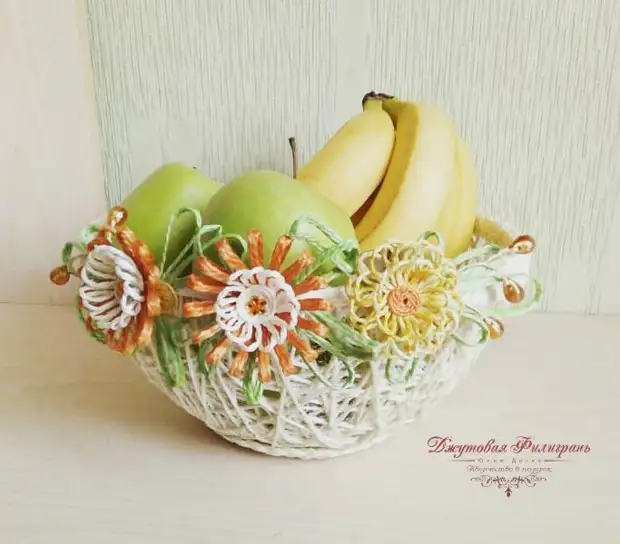
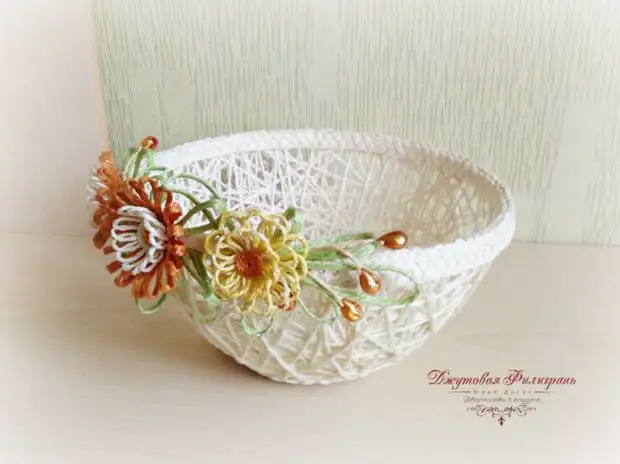
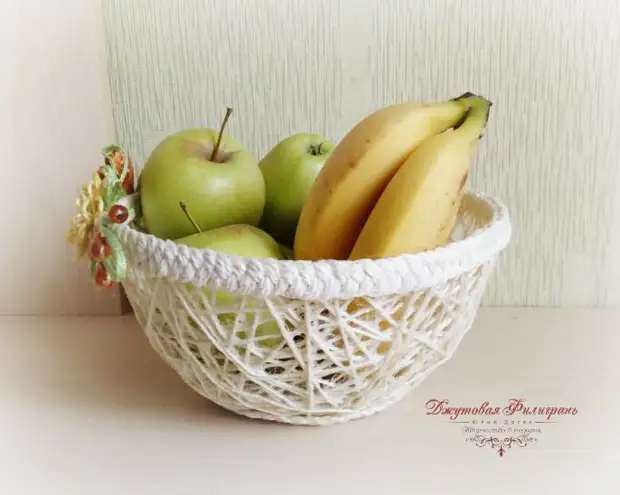
Not big and not small. Size just right! Put it on the table with fruit or cookies and in your home will always be a holiday! After all, it turns out as bright and beautiful that will always cause appetite and good mood!
So, to the point! I tell everything in stages and with photos.
For work we will need the following materials.
- Jute twine (I took white color)
- PVA glue
- Any kind of size you need and diameter
- Food film
- scissors
- Kusachachi
- File sheet
- good mood
We make the basis for basket with flowers
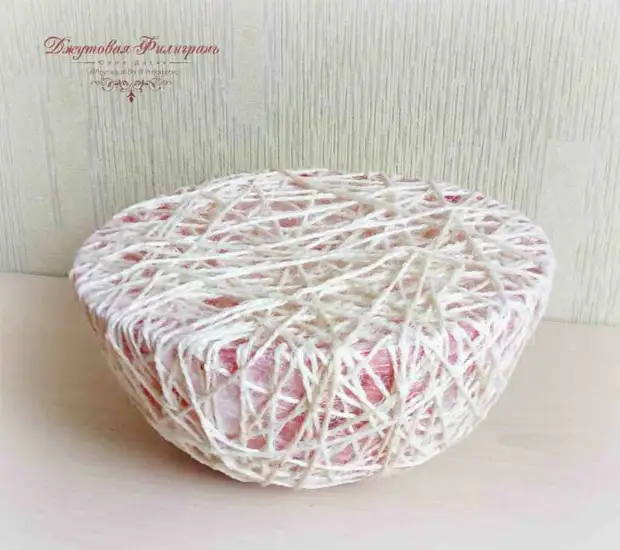
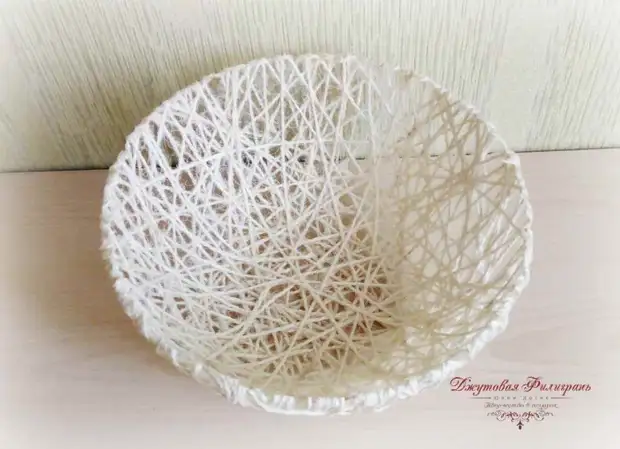
For a start, take a bowl and wrap it into the food film. If this is not done, then the threads will stick to the base and then they will be difficult to tear off. After that, wind the shape of threads in an arbitrary order.
Try so that the winding is uniform and sufficiently dense.
This will depend on how strong your basket will work. The photo shows how I did it.
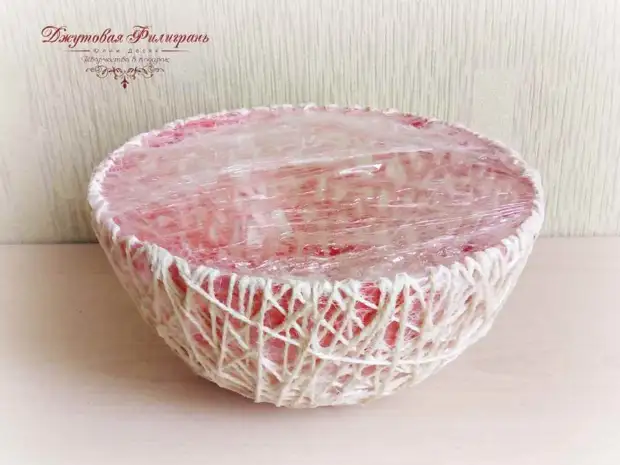
Further on the edge and the entire lower part are coated with PVA glue. I had a building glue. He is too thick, so it had to dilute it a bit with ordinary water. Soaking threads need very carefully. Jute twine has very high hygroscopicity, i.e. Well absorbs moisture, so the glue does not spare.
The better you feed the thread by glue, the stronger the basket will turn out!
After everything was covered with glue, we leave the workpiece alone until completely drying. I have it sued a day.
Now, when everything dried, you will see how the winding has become solid. And we proceed to the next stage: cut off the top of our workpiece.
In general, this is quite complicated. Complicated not in terms of technology, but in terms of strength. Due to the fact that the twine is wound in several layers, and still impregnated with glue (from which he became tough), I had a lot to make effort to cut up more.
Scissors for this will not fit. Although, here to someone like: can you mostly make everything. I recommend using nippers. With them, I coped with this task in literally in 20 minutes. And it turned out such a picture.
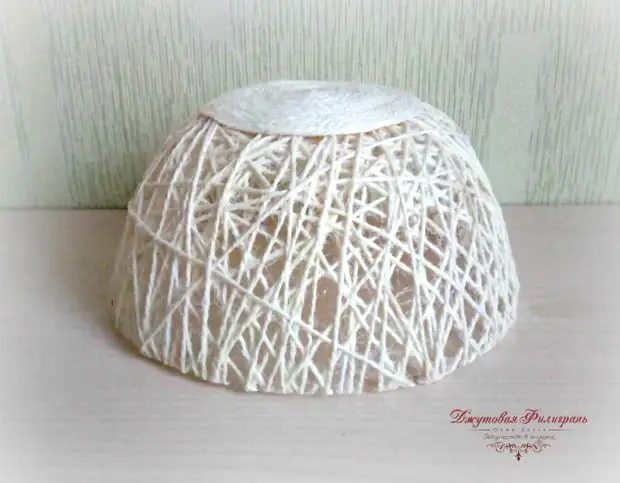
Further, everything is simple: we take out a bowl and remove the film. Film moves very well.
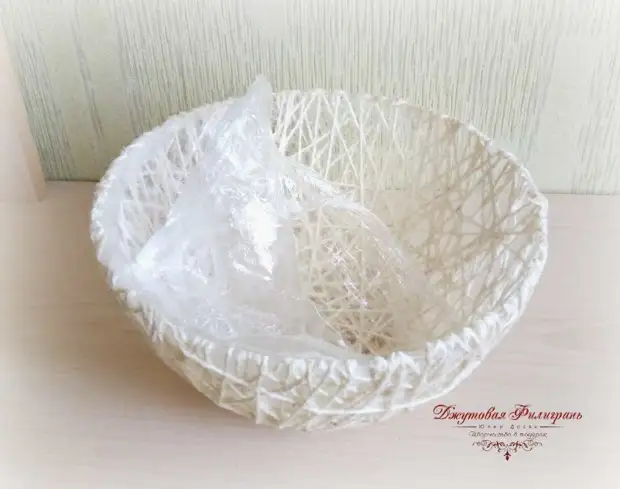
The form for our basket is ready. Cutting edges cut by forming a smooth edge.
And then - the most interesting! We are waiting for a decorative finish of the basket and start with the bottom.
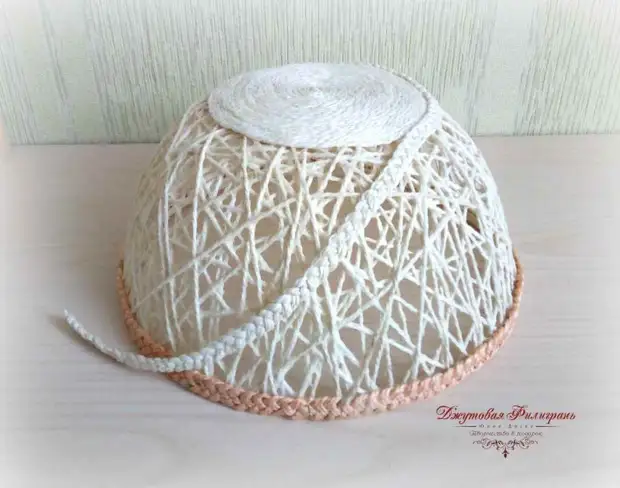
How to make the bottom basket
Complex, again, nothing. Everything can be done with your own hands simple and quickly.
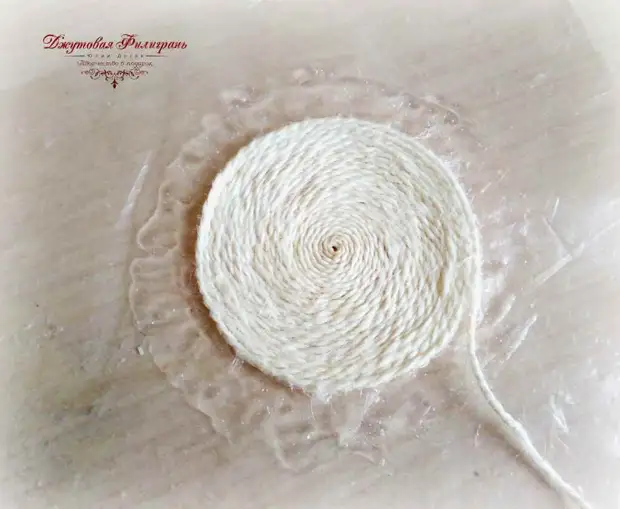
For the bottom on a sheet of file, lay out the circle of the desired diameter. Here, see your sizes of basket: Put the shape on a sheet of paper and circle a line where it comes into contact with the surface - the resulting circle and will be your bottom.
When the item dries, we put it off from the file, the excess glue along the edges cut with scissors and glue it into the form.
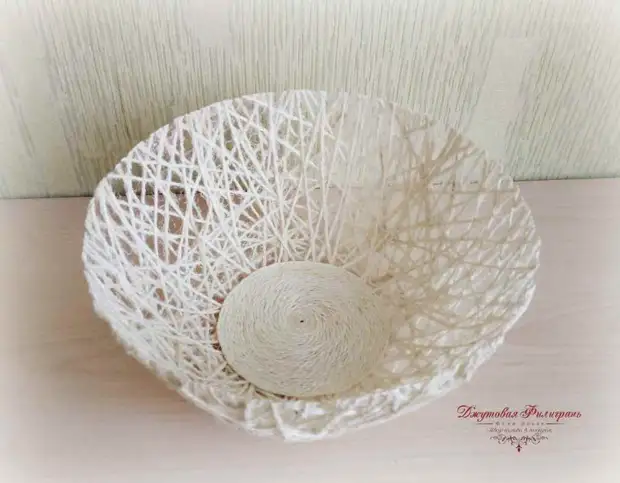
Outside, we do the same.
There is still a little more and our basket will be ready! The next stage we will have the edge of the basket.
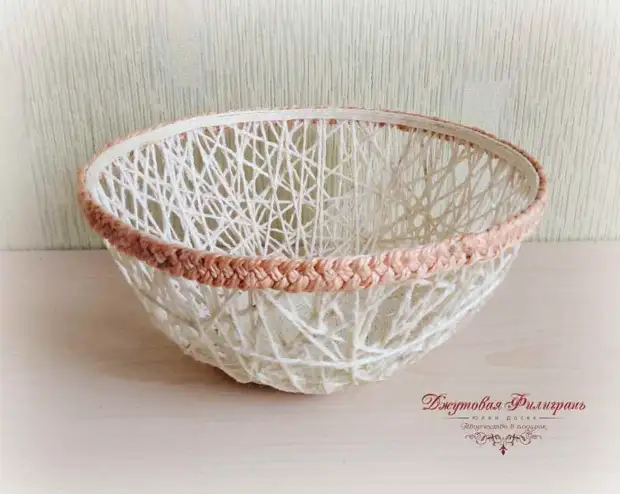
Decorate the top of the basket
You can make a beautiful edge at your request. This can be done lace, satin ribbons, or even leave the way it is.
But I still recommend to arrange the edge, because It will make your basket not only beautiful, but even more durable.
Personally, I believe that the simplicity is the key to success. Therefore, it did not become strongly "wise" with the edge.
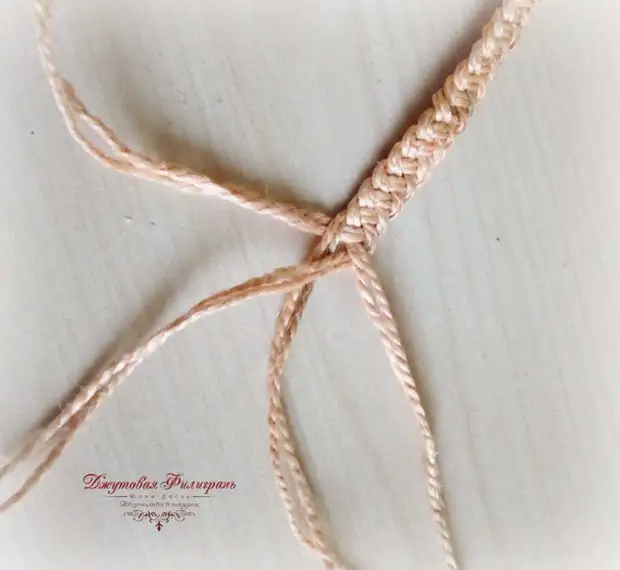
My decision is a pigtail decor. To do this, I split a braid of four strands with a length equal to the diameter of the basket.
The number of strands can be taken more. Circuits and master classes on weaving on the Internet are a lot. Choose your version and your basket from Jute will not be repeated!
Each strand I consists of two jute twine threads. This made it possible to make a braid volume and dense.
Next, we glue the basket on the outer edge, and from the inside - the jute tape of 4 threads. By the way, instead of a ribbon you can use all the tighter braid.
And I congratulate you! Our basket made with their own hands is ready!
And a little more about the bottom
For those who love all nuances in perfect form, you can make a pigtail and the edge of the bottom. I have it from three strands.
On this, my master class ends. I'm sure you can do the same and even better! After all, you yourself made sure that everything is pretty simple and such beauty can be done with the children.
The basket can be decorated with artificial flowers from jute twine. For flowers, I used painted threads of different colors and pasted out of random order. We went to move and suitable beads with rhinestones, which gave, in my opinion, a special charm's basket.
Admire yourself!

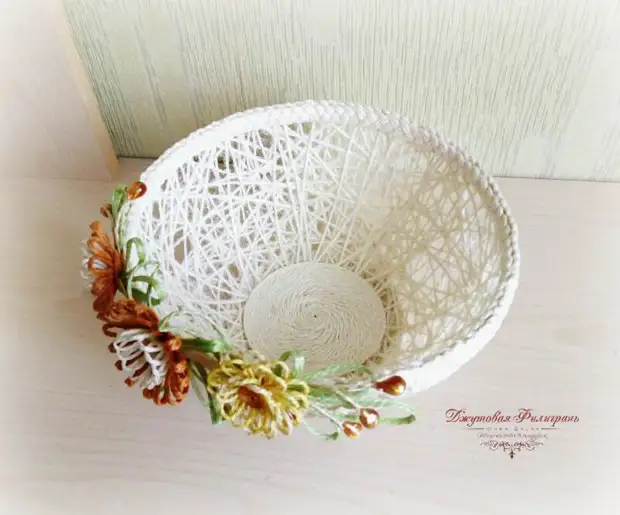
The basket can be made not only with flowers, but also, for example, with bows. Charming gets wonderful!
Now you can safely fill it with delicious sweets and call close and friends to drink tea! And if you put a vase with live flowers on the table, the tea party will become fragrant and even more pleasant. Such a basket made by their own hands will cause others the delight and sea of positive emotions. Your work will not remain not noticed!
I hope the master class basket with flowers you liked.
