Dear needlewomen, I want to offer you a vest, made in the technique of cord lace. If you like to improvise, the model in such a technique will have to do you like. You can, of course, come up with a pattern in advance, translate it into a pattern, then lay the cord and elements strictly along the contour. I propose a simplified version in which the pattern is created, which is called, "with the go".
So, we will need
1 - yarn
2 - hook
3 - Needle with a wide ear
4 - Portnovsky needles with an eye
5 - inspiration, fantasy, patience.
For the village "Gold Autumn", I chose the Peruvian yarn Alpaca Inca Sport 35% Alpaca, 15% wool, 50% acrylic. The yarn is interesting, slightly darling, with a light melange. For 44-46 sizes at a length of 55-60 centimeters, 200 grams took out.
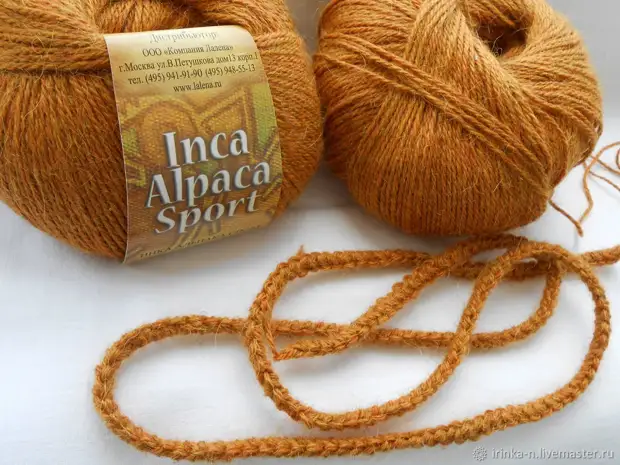
First, we knit a lot of a lot of cord "Crawler". Determine immediately how much the cord need, it will not work, but it is not necessary. In the process of assembly, you can take the desired cuts of the cord.
IMPORTANT! You should not knit a cord in one piece, it will then be inconvenient. It is better to knit segments of 1.5-2-2.5 m.
Next, knit the selected motifs. I have it leaves, flowers and mugs.
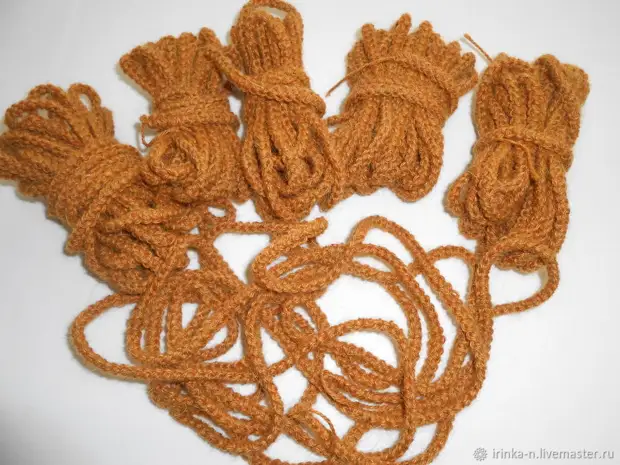
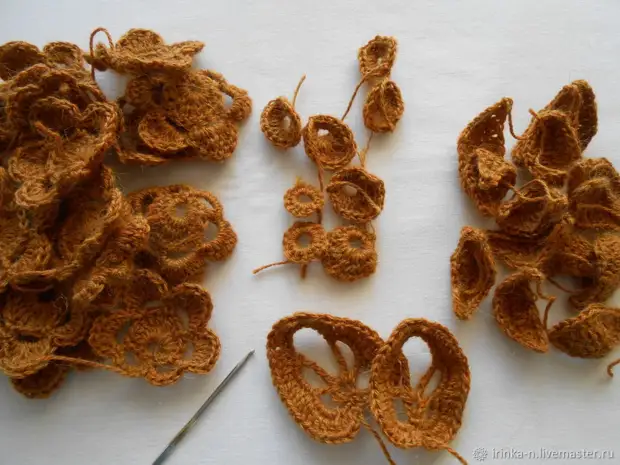
Then we proceed to a not very creative, but absolutely necessary process - hide the numerous tips of the threads. Put the elements. The cord is not necessary, when unscrewing it turns out to be smooth
After evaporation, the elements look more presentable :)
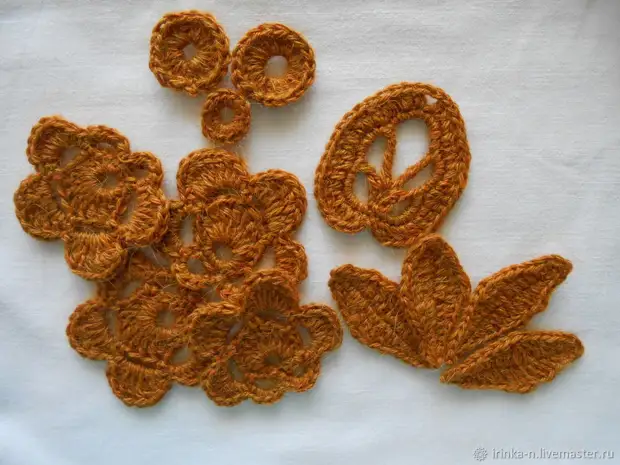
All ... Preparatory work is completed, we start creating our vest.
We make the desired pattern. It is better to make it from the fabric so that it was more convenient to pin the composition. We put it on a soft substrate, I have this folded in several layers of a nonvorean plaid.
And then - fantasize, improvise, create! :) We put the cord with the elements completely arbitrarily. It is better to simultaneously fill in the pattern and shelf, and the back to immediately see how the composition will be shrink. The laid cord pins with needles to the substrate.
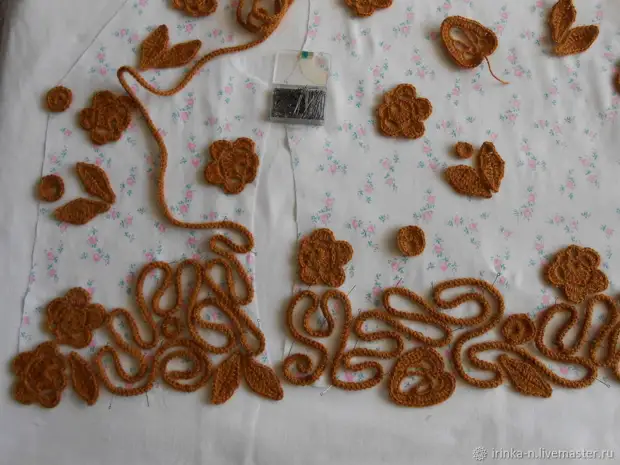
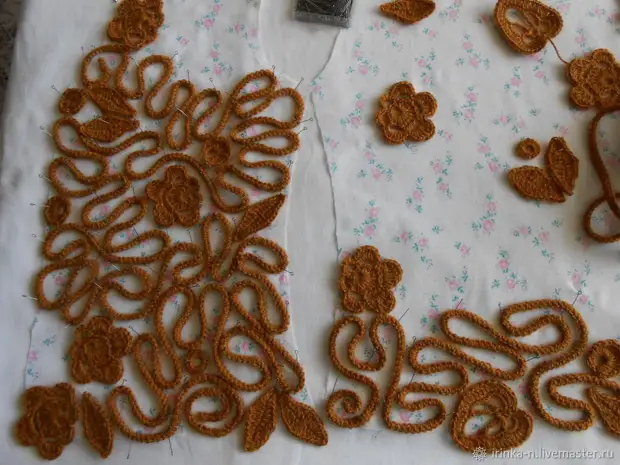
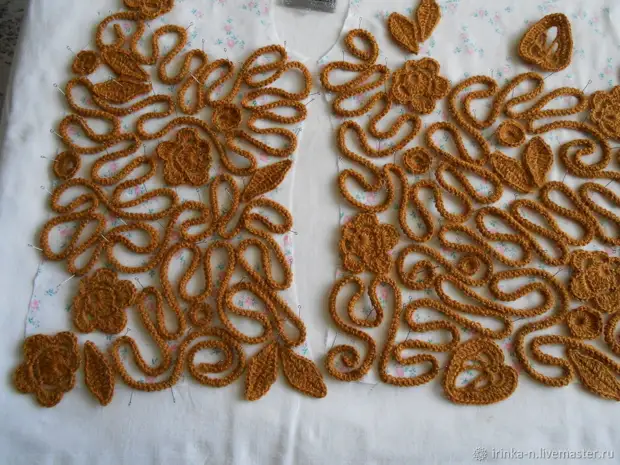
IMPORTANT! You should not fill in the pattern at once all the details. In the process of stitching, it still has to adjust the pattern, somewhere to shift, change and so on.
Sew the composition will be a needle with a wide ear and a rather long thread. We sew on the principle of the seam "Kozlik".
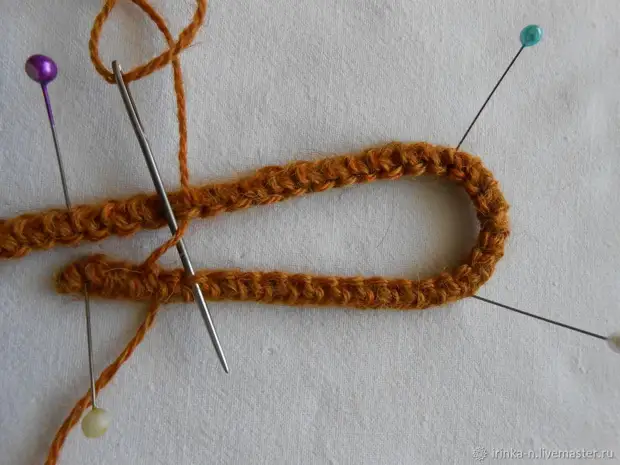
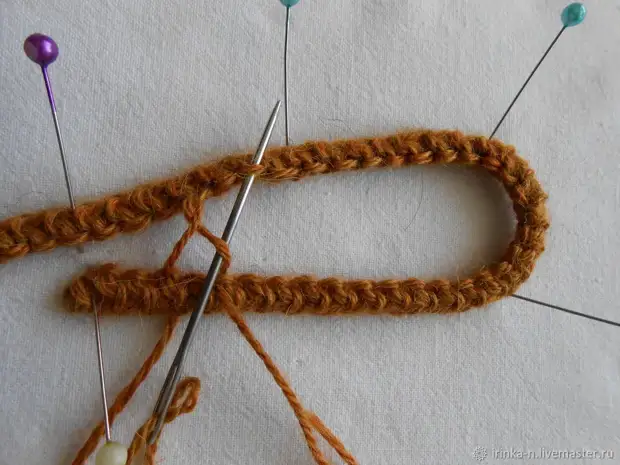
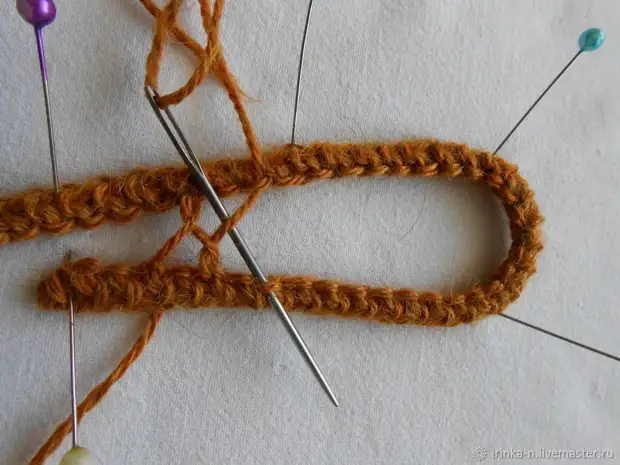
When crossing, the thread is slightly attracted so that it does not lay too much and has not saved. We gradually connect the pattern, arbitrarily as you want. Some fragments of the drawing fill in the connecting seam completely, left open. All spontaneously.
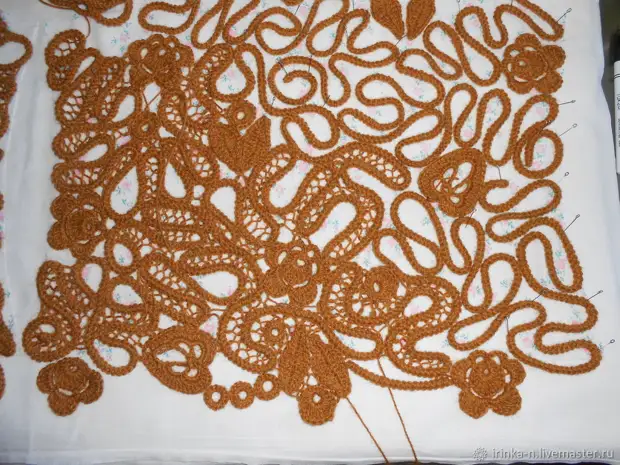
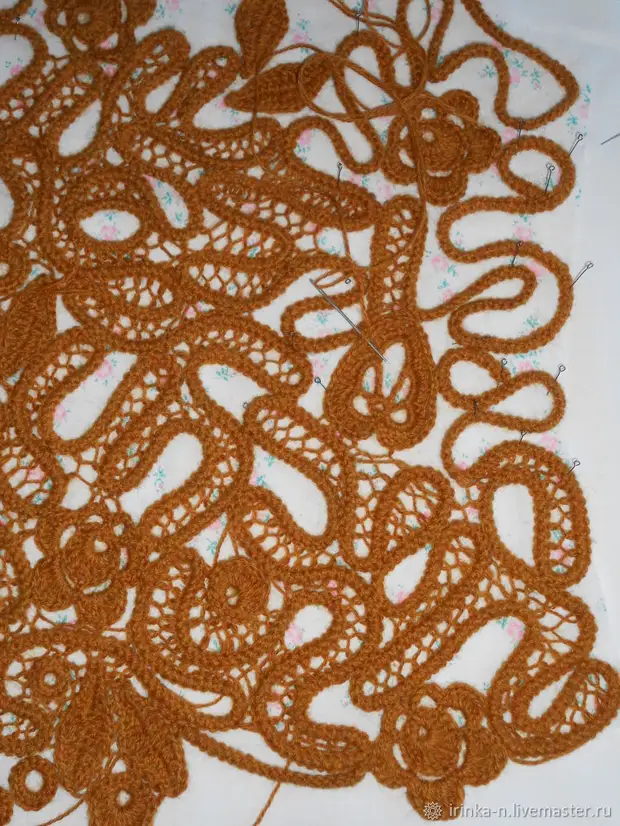
Connecting seams can be done in two ways - enter the needle into each loop of the cord or through one. The effect will be different. You can alternate both methods.
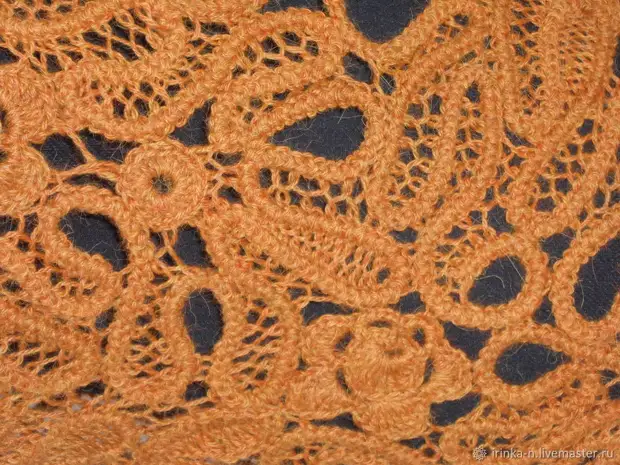
IMPORTANT! When the thread ends, you do not need to leave very short ends. It is better to leave 3-4 cm thread so that then they could be safely hidden and secured.
IMPORTANT! Ends of these threads do not refill immediately. It is possible that the entire vest will be assembled, you will want to change something and correct in the pattern. And the open end of the thread is very willing by the way.
By connecting some part of the part, about 10-15 cm, you need to split the assembled area from the substrate and see how properly the finished area is located on the pattern. If necessary, correct, we rush again, correct the upper part of the pattern and continue to sew.
Having collected one shelf, the second we do in the mirror image.
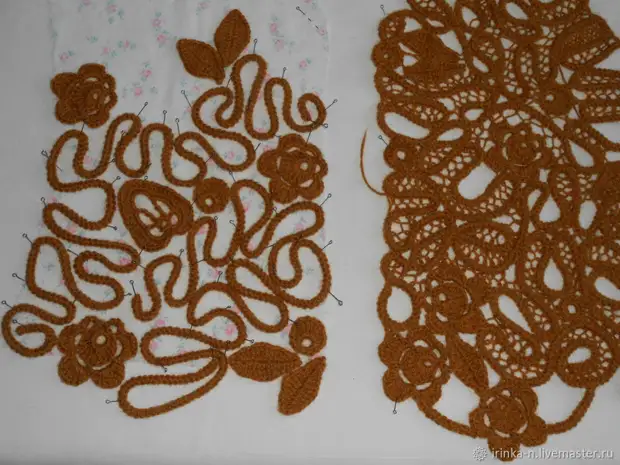
Low items can also be done by any - smooth or assimetric. In my vest at the request of the customers are low asymmetric.
The collected details are excavated, jokes to the pattern.
Shoulder seams are conveniently connected before the side seams are connected. Shoulder seams can be combined or on a mannequin ...
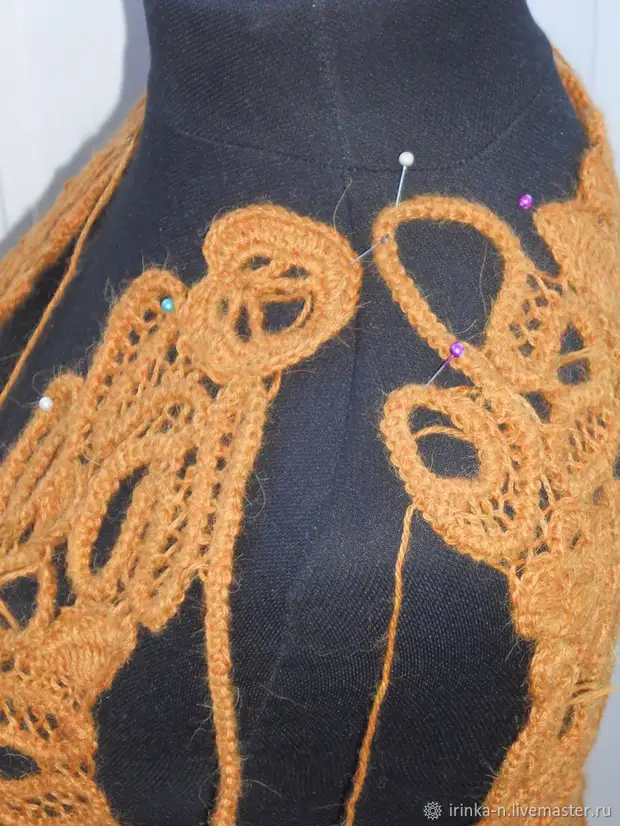
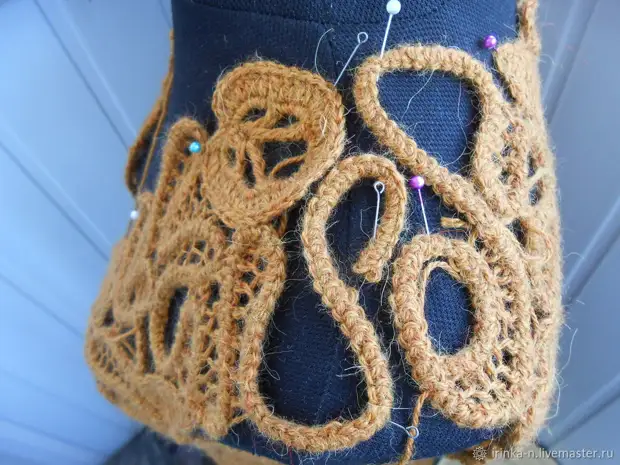
... or on the table, connecting the shoulder shelves and backs.
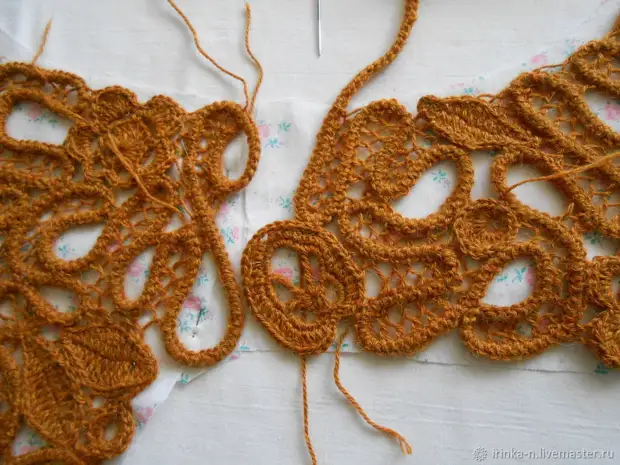
Connecting the shoulder seams, connect the side. We try, look, whether everything satisfies. Remember what I do not like. And just now fill all the ends of the threads. Then we are taking the edges of the vest and the armor. You can assign at first a number of failures, and then a rachy step - then the edge will turn out to be more rigid, or immediately a rachy step. When taking the edge, do not forget slightly charge the parts in the area of the cutout and sides.
Everything! URAA! :) We coped! Our vest is ready!
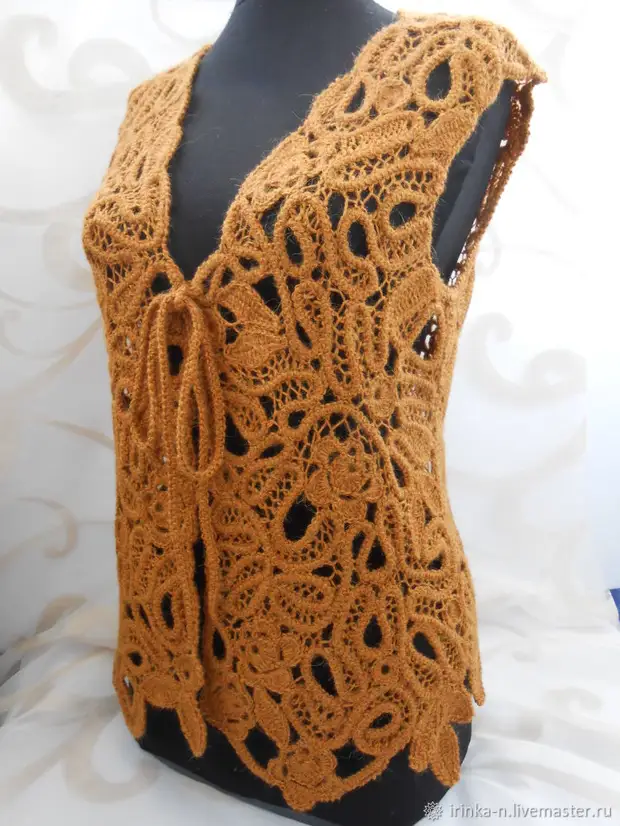
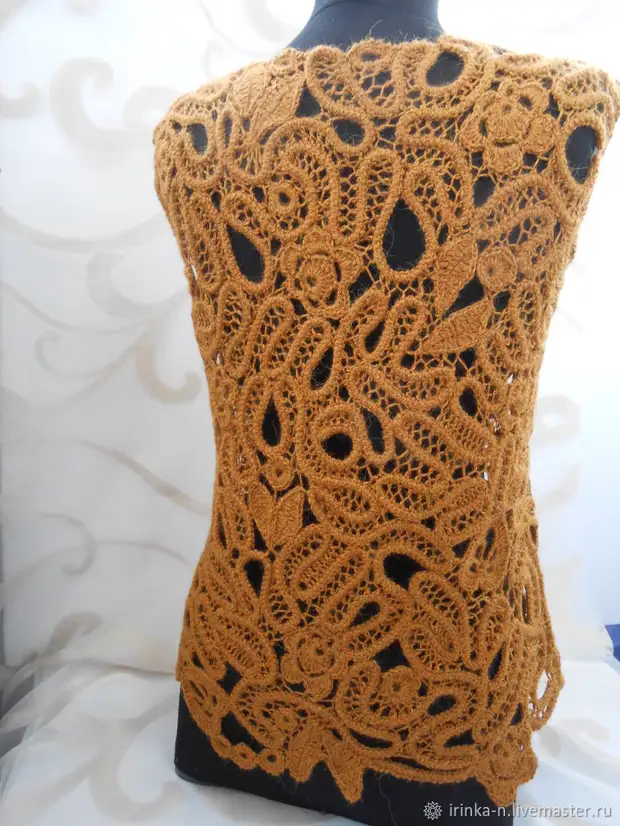
Thank you all for your attention! I hope the master class will be useful ...
P.s is my first master class ... I accept any constructive criticism! :)
A source
