
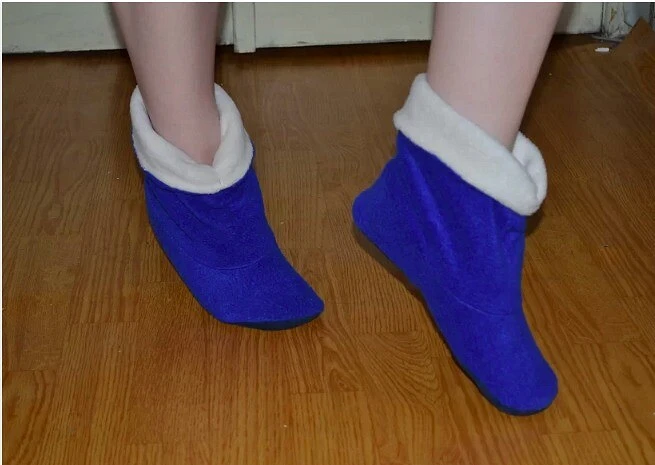
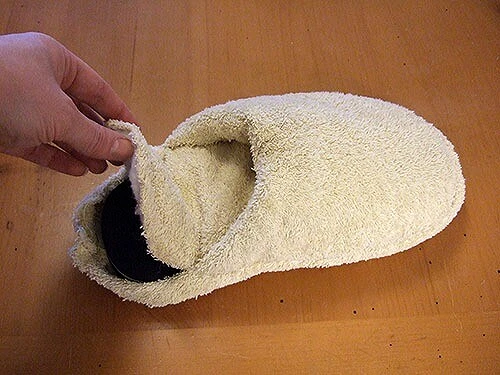
1. Slippers-slab with an open nose from the fabric do it yourself: master class
Universal option. Slippers are sewn from x / b fabric, Flizelin / Dublerin and Sinytender are used to strengthen and volume. Immediately let's say about the material for the sole. If it is important that it does not slide, you can use skin or ecocuse, a special material for soles (as a rule, it is a natural or synthetic fabric with rubber dotters), take microporous rubber (Foamiran) or purchased insoles made of material with suitable properties. In other cases, any dense material will suit the sole to hold the form. By the way, purchased insoles can also perform the role of the strengthener for soles of slippers (it is necessary to strengthen the sole, otherwise it will be inconvenient).
You will need:
- Fabric for facial and inside sides of slippers;- syntheps for the volume of slippers;
- rather dense fliesline or other material to strengthen the sole;
- material for soles or purchased insoles;
- paper, pencil and scissors for pattern;
- cloth scissors;
- clamps;
- Iron;
- Sewing machine and thread.
STEP 1
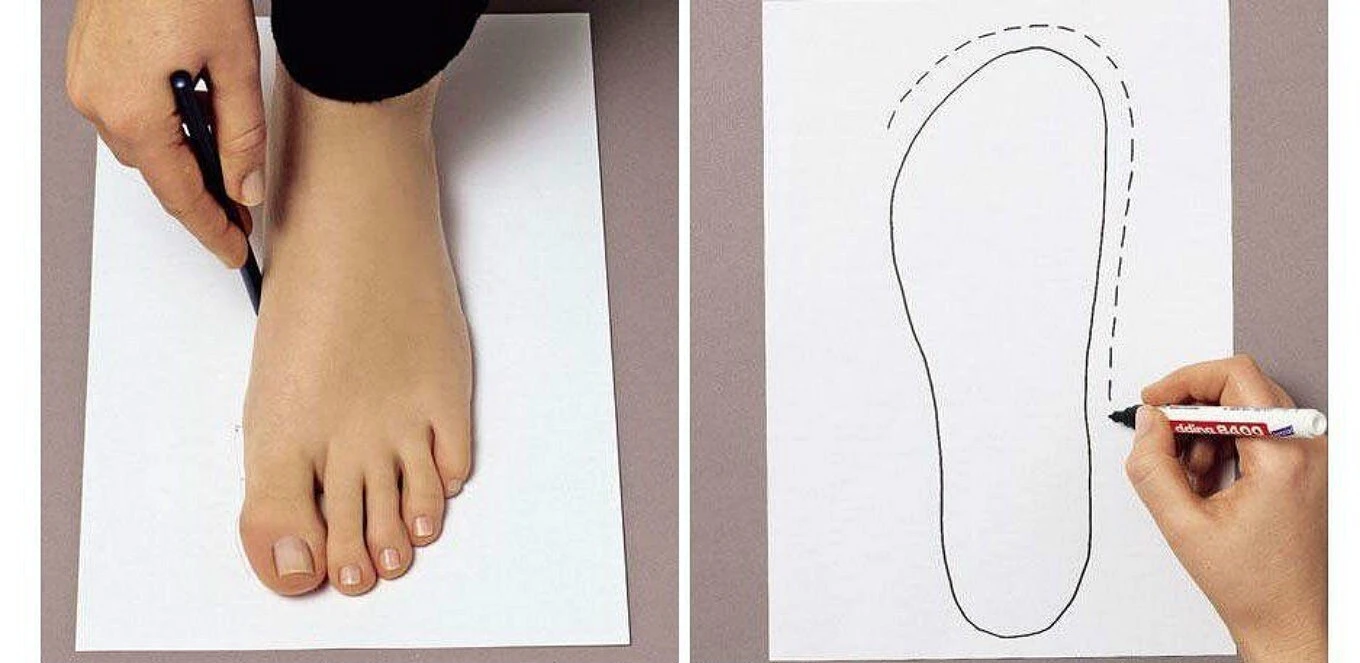
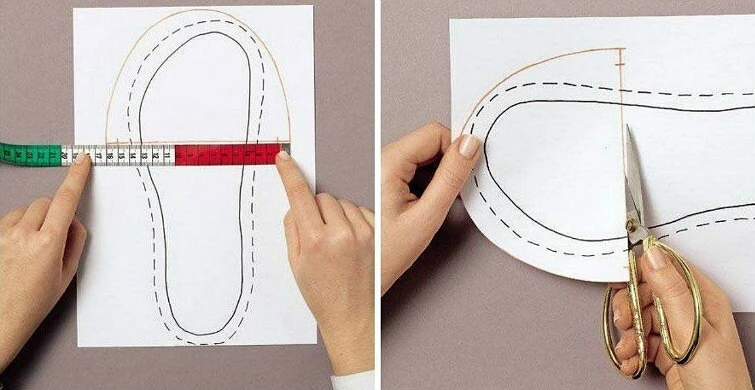
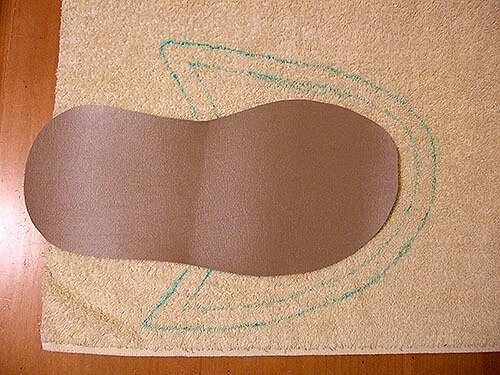
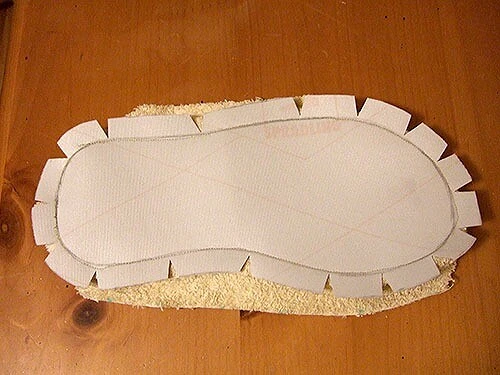
First you need to make the pattern of the sole and the top of the slippers. How to do it, read here. If you sew the slippers with an open toe, as in our example, there are also cutout.
Step 2.
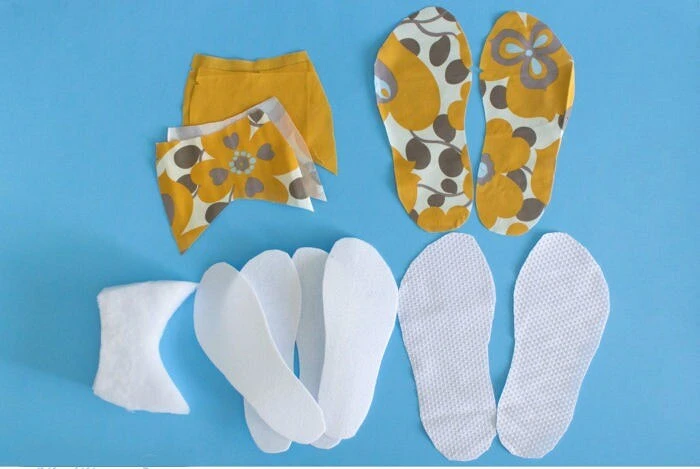
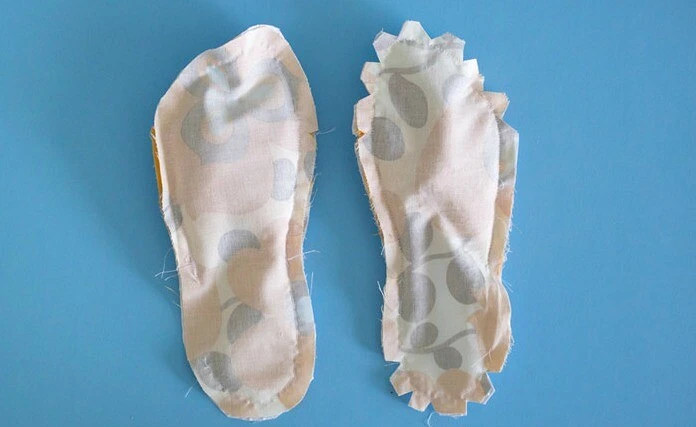
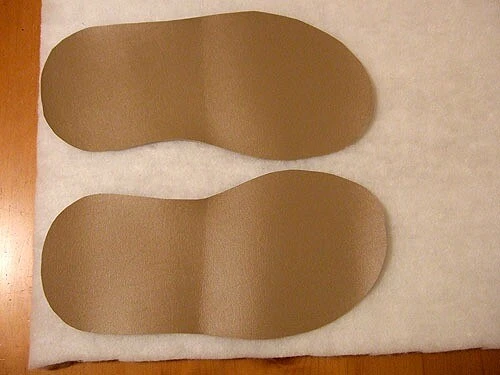
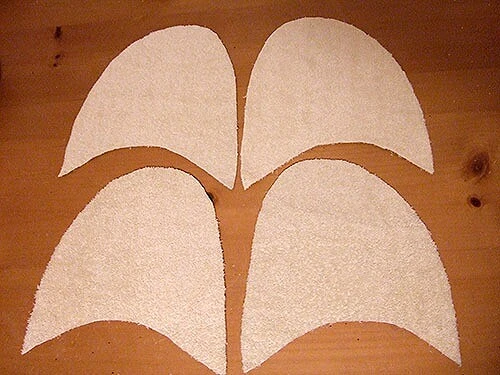
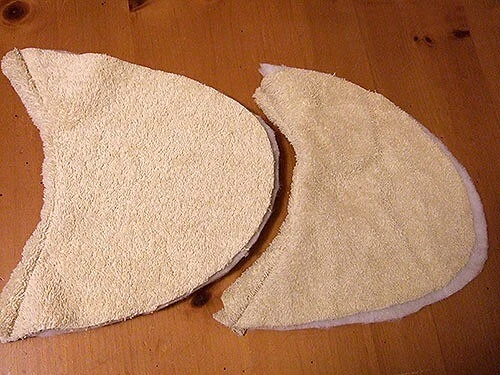
Strip details. For each slipper need: 1 Detail of the sole material, 1 part of the sole from the seal, 1 part of the sole from the fabric, 2 parts of the top of the tissue slippers (1 of the fabric for lining and 1 of the fabric for the outside), 1 Detail of the top of the slippers from Sintepona.
Step 3.
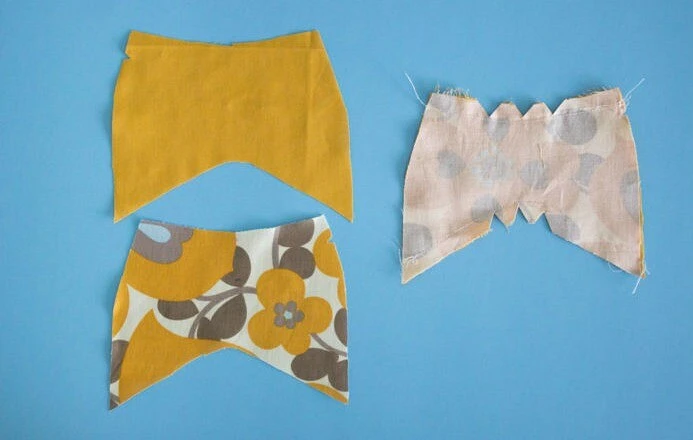
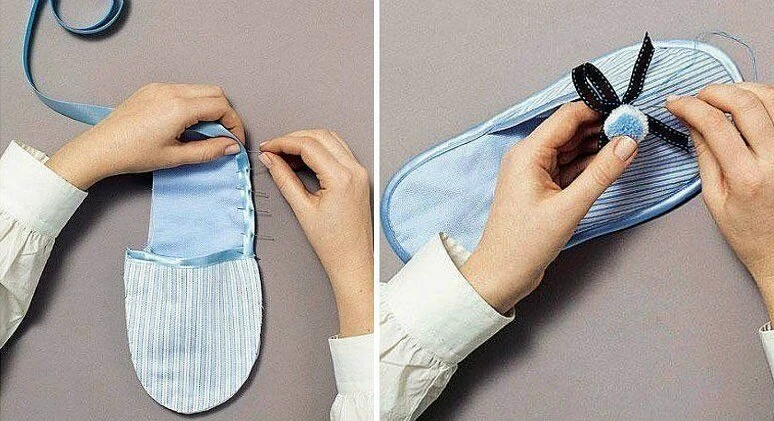
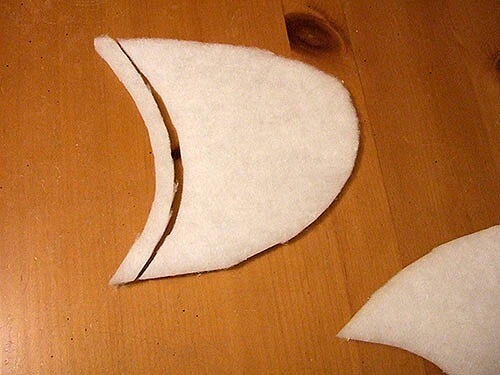
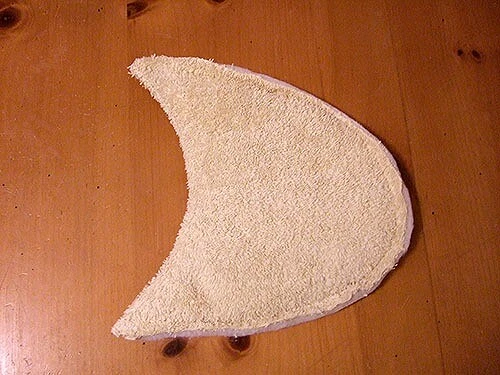
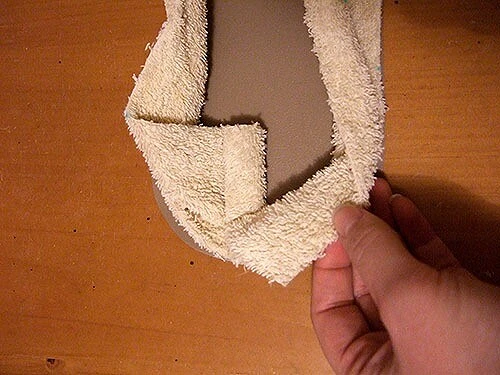
Details of the top of the slippers from the fabric fold the front sides inside and susht the long sides. In the middle from above and bottom cut triangles (see photo), without reaching 2 mm to the seams.
Step 4.
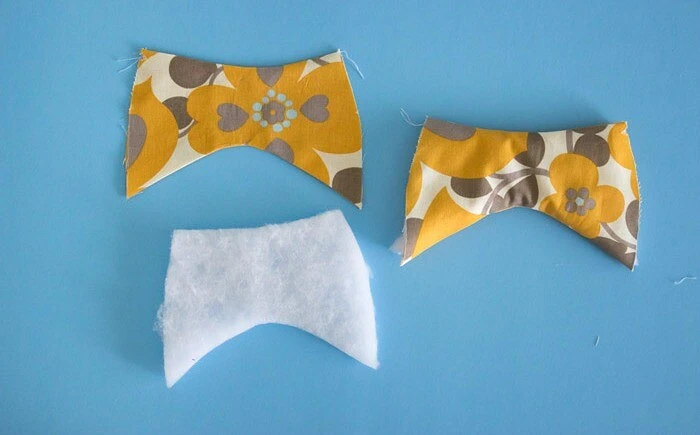
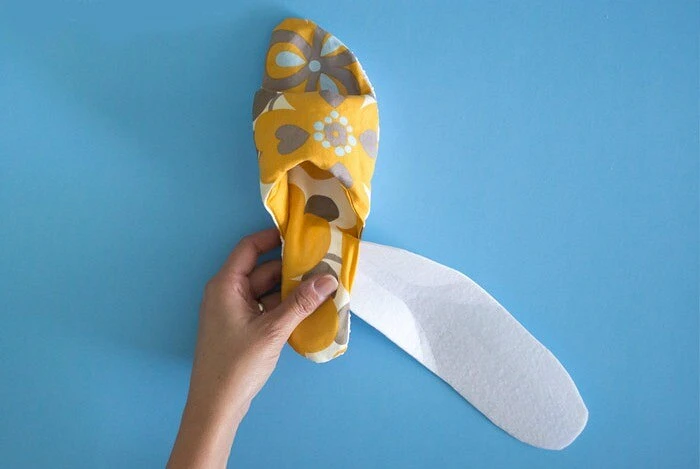
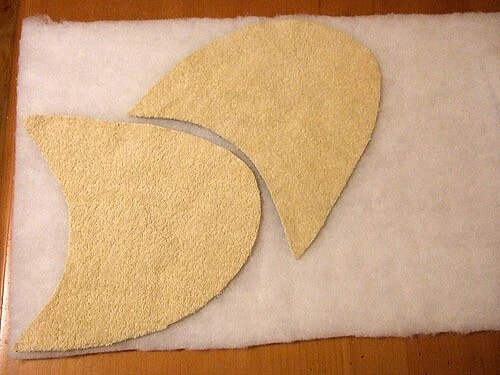
Details of the top slipper remove, reveal and place inside the syntheps.
Step 5.
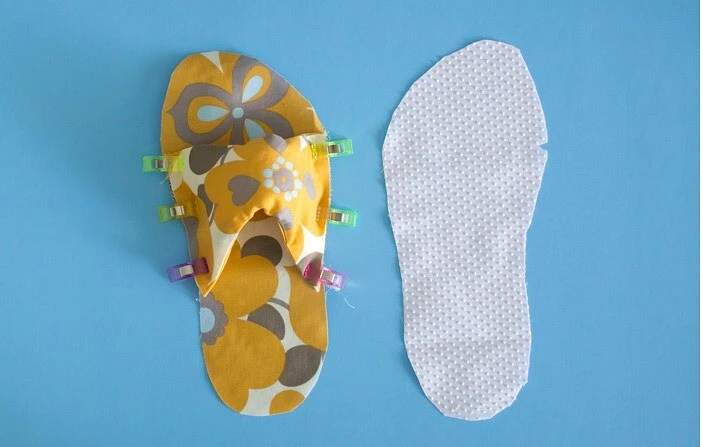
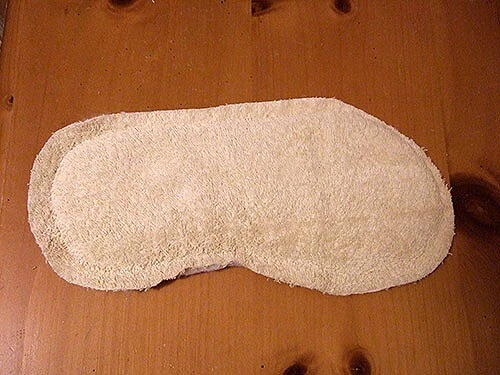
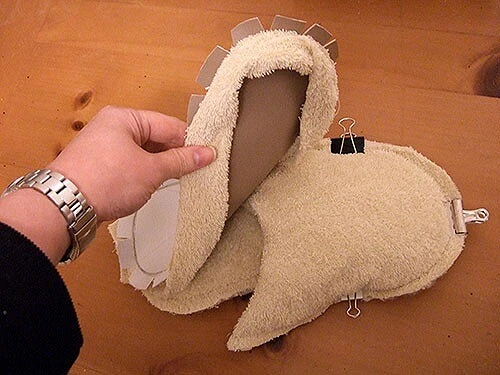
Attach the top of the slipper to the sole parts from the fabric (see photo).

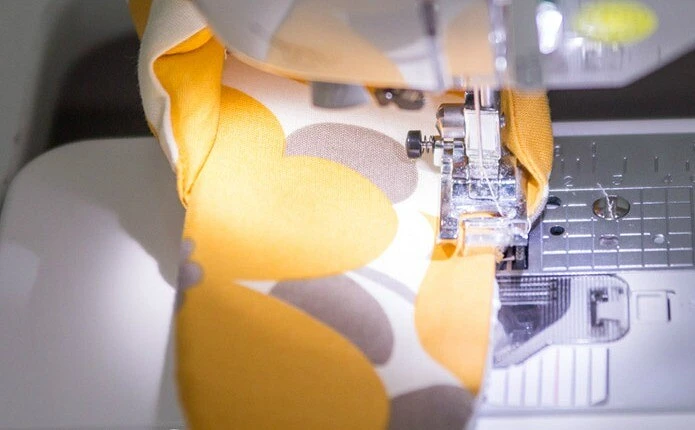
At the top at the bottom of the bottom of the soles with an invalion up (see photo). Repeat for the second slipper.
Step 6.
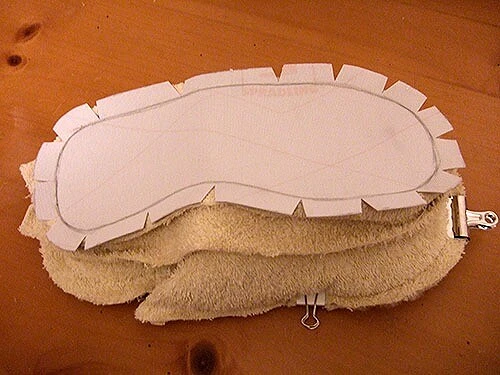
Sew the part around the perimeter, leaving the turning hole. On the sock and heel cut the corners (see photo). Repeat for the second slipper.
Step 7.
Remove the slippers and insert the seal inside. Repeat for the second.
Step 8.
Slow the lower part of the slippers, simultaneously stitching holes. Ready.
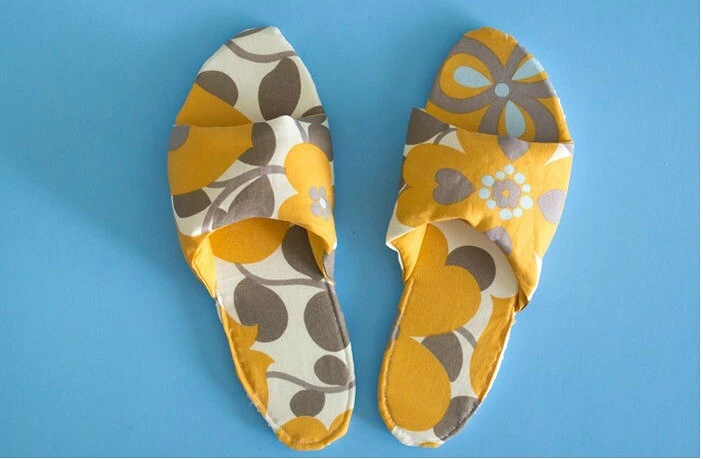
Photo and Source: Burdastyle.ru, Mellysews.com
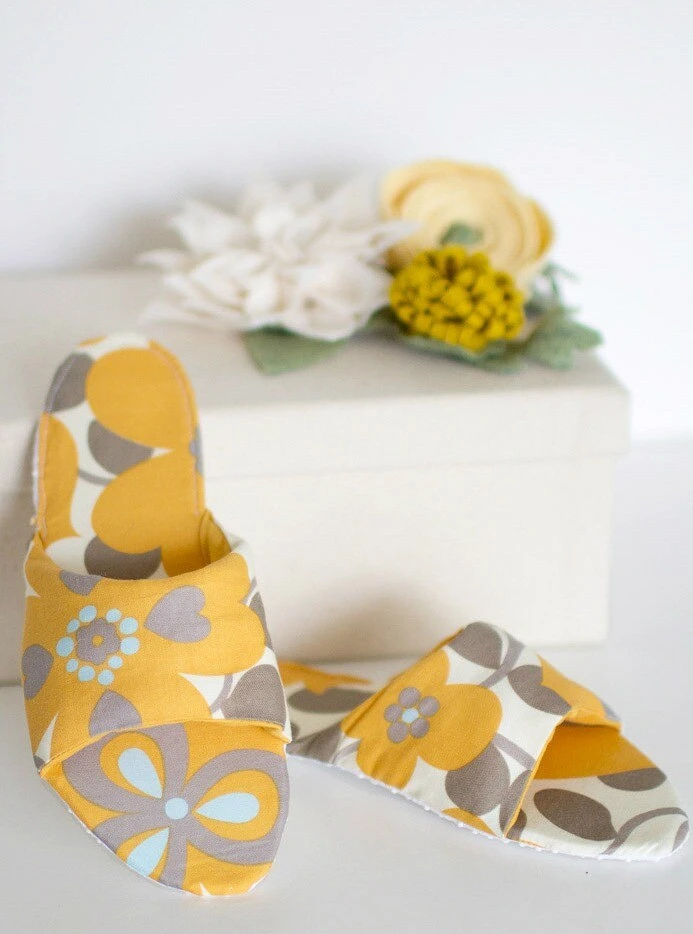
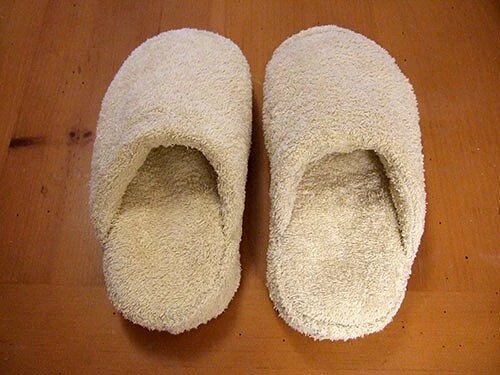
2. Slippers-slapted fabric with closed toe
These slippers are similar to the previous ones. They are distinguished by a closed toe and the presence of decor from the tapes.
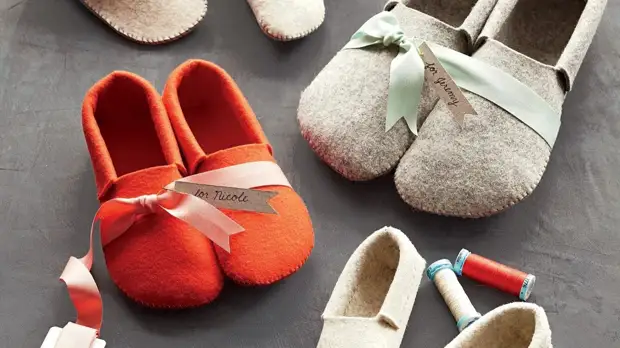
3. Felt slippers with their own hands

Cozy warm felt slippers are sewn manually from one piece!
You will need:
- printer and paper to print the pattern;- felt;
- pencil or marker for fabric;
- scissors;
- Pretty thick durable threads and needle for manual sewing.
STEP 1
Print and cut pattern
Step 2.
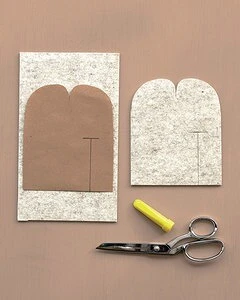
Pour 2 mirror parts from felt, transfer and perform T-shaped cuts.
Step 3.
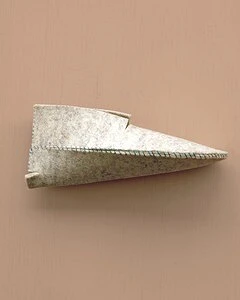
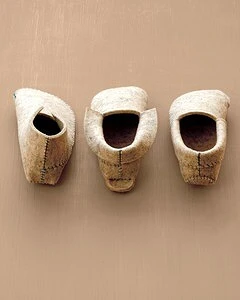
Fold slippers and walk through the edge manually. First, we cross the vertical seam on the heel, without sewing 1.2-2 cm below (depending on the size of the slippers). A little descend the felt by 1.5-2 cm in 2 places on the heel to create a valve. Round his corners. Valve Turn up the top and arrive. Sust a long seam. Complete the lapse and (if you wish) the trick it.
4. Wool slippers from wool do it yourself

If you know how to bang or want to master this craft, here is a master class on filling the slip of slippers with their own hands.
5. Homemade boots / felt boots with their own hands

Boots designed by the principle of ughows are fairly easy.
6. Terry slippers from old flip flops (Vietnamese)
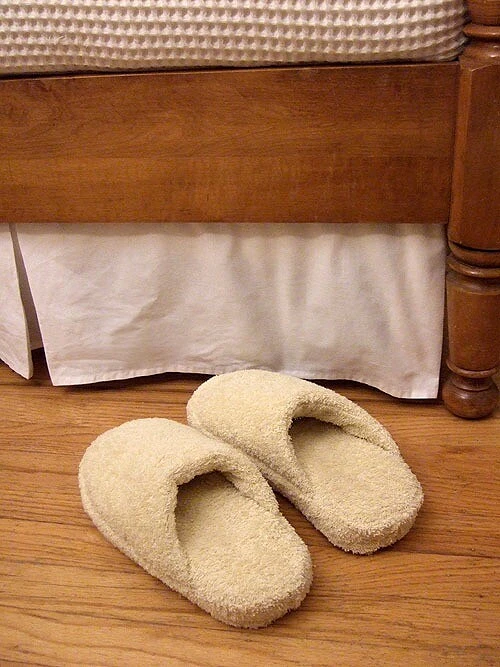
Cute slippers from terry fabric are sewn based on old flip flops. As a tissue for slippers, you can use, for example, a terry towel. Recommendations for the choice of material for the sole see in 1 master class.
You will need:
- terry fabric;- unnecessary slags;
- material for the sole;
- Sinypron;
- pencil or marker for fabric;
- tape measure;
- scissors;
- clamps;
- Sewing machine and thread.
STEP 1
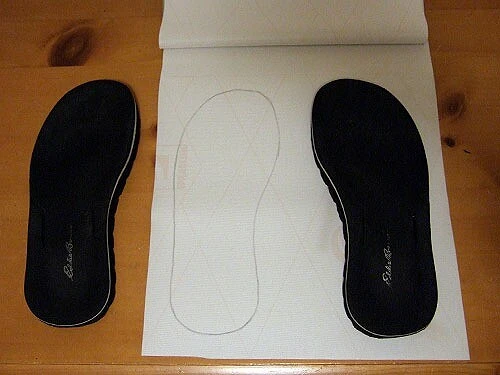
Free the slap from the straps. Druel the soles on the material for the bottom of the slippers (artificial leather is used here).
Step 2.

Add 1.5 cm per battery from all sides and take the details.
Step 3.
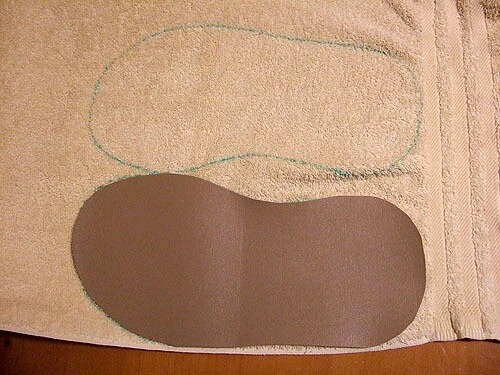
Taking advantage of the seeded outs of the soles as templates, take the same details from the terry fabric and from the synthetic procession.
Step 4.
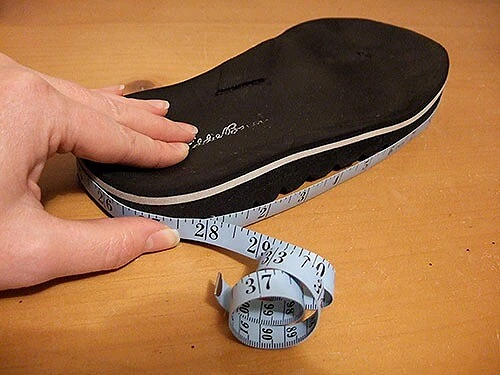
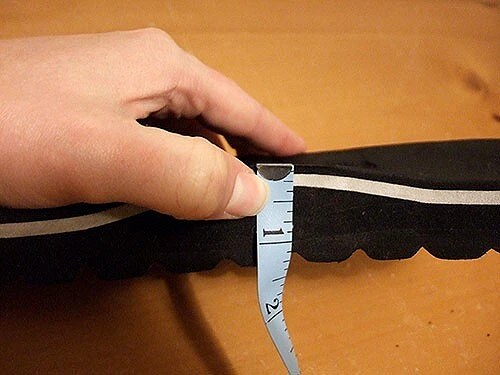
Measure the sole around the perimeter + measure its thickness.
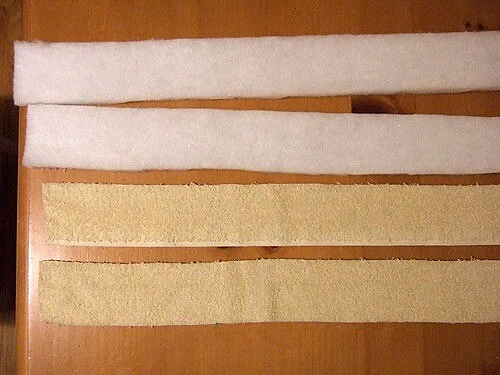
Cap 2 side parts from terry tissue and syntheps: Add 5 cm to the resulting strip length, to width - 2-3 cm.
Step 5.
Note the pattern details of the top of the slippers.
Pour from the terry fabric to 2 vertex parts for each slipper.
Step 6.
Taking advantage of the details of the milestone from the terry fabric as templates, take the same detail from the synthetic procession for each slipper. Cut 1.5 cm at the bottom of each detail.
Step 7.
Squeeze the details of the top parts of the slippers at the bottom line (see photo). Punches - 1.5 cm. Remove and put the synthesis.
Step 8.
Fasten the synthet board by paving a line of 1.2 cm from the edge.
Step 9.
Squeeze the details of the soles from the synthet board and the terry fabric. Package - 1.2 cm.
Step 10.
Turn one of the edges of the strip (see photo) and the strip to the bottom of the sole of artificial leather.
Strips are manually strips.
Cut corners on the details of artificial leather, not reaching the seam 1-2 mm.
Note: Initially, it was planned to add to the lateral details from the inside strip from the synthet board, but it was decided to refuse from this extra volume.
Step 11.
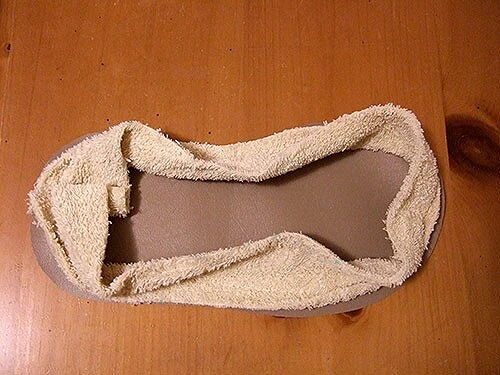
Collect the parts of the slipper in the sequence shown in the photo. Sust around the perimeter, leaving a fairly wide hole on the heel (it is to insert the sole from the slab).
Step 12.
Turn slip slippers. Insert inside the soles. Hole hole manually.
