

On the example of knitted blouse with Lurex, we consider the processing in detail.
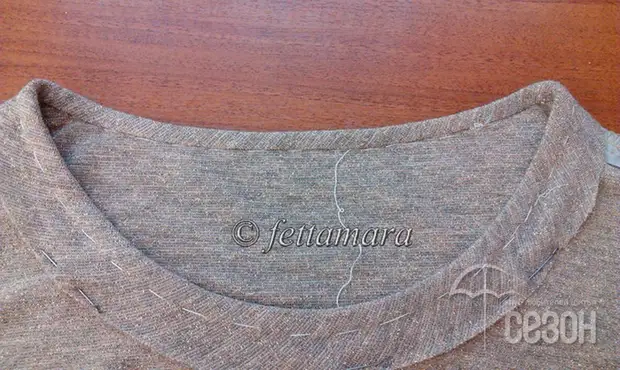
We prepare the neck to edging: try on the product and specify the size of the neck - we erect. In the photo, the ONNOROK is shown in the chalk line, on which manual stitch is laid. It is this line that will be the finished edge of the neck.
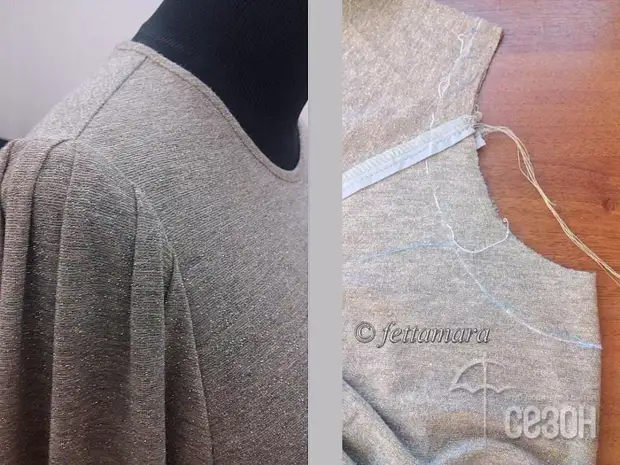
Cut off the excess on the line of the ONNOR.
Duplicate the neck of the neck with a strip, carved from knitted adhesive. In order for the adhesive well in the circumference, we cut the strip on the transverse thread. Pay special attention to a small landing in places marked with chalk lines. It is these parts that are usually stretched in work and then the neck looks not aesthetically in the finished product, so, do not forget to pay it before duplication.
From the knitted canvase, we cut 3-4 cm wide boobs and pins to the neck along the oblique bay. The closure of the beaks in the ring is performed on the transverse thread, which gives the greatest elasticity of the seam.
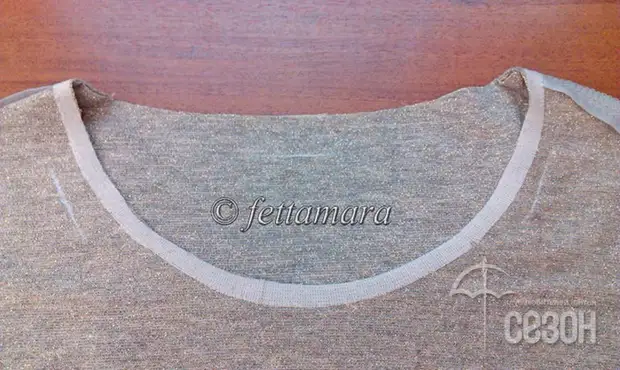
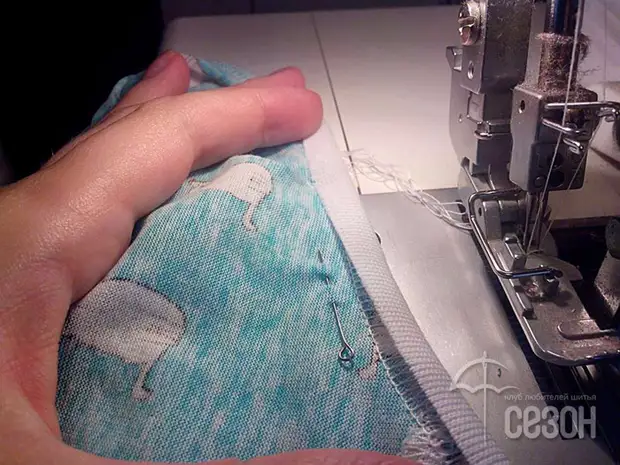
We feed the faucet to the neck on Overlock, receiving stretchable and very even seams, due to the fixed width of the overlocked seam - 0.6 cm in our example.
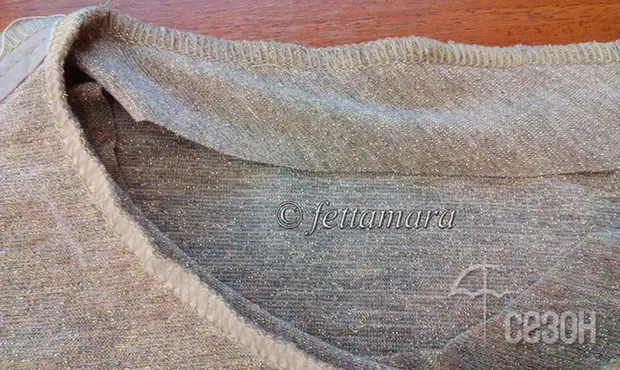
We start baik to the side of the seam.

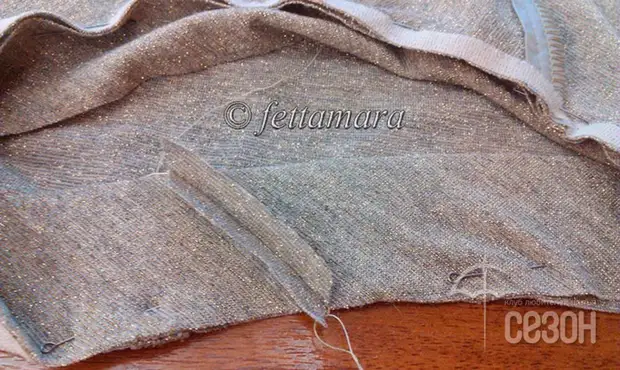
We turn off the plaque on the wrong side, rich seam and take it.
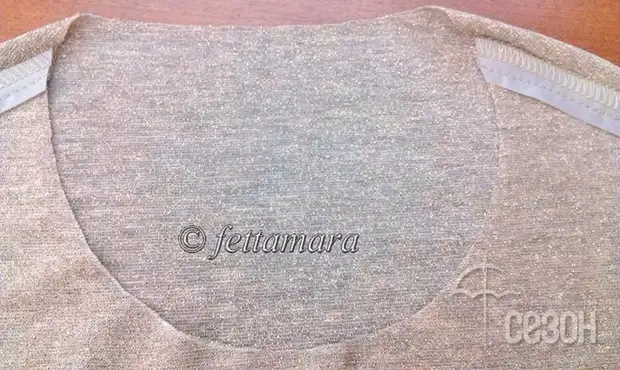
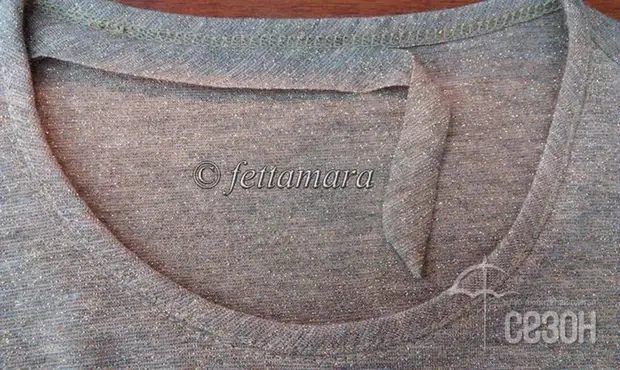
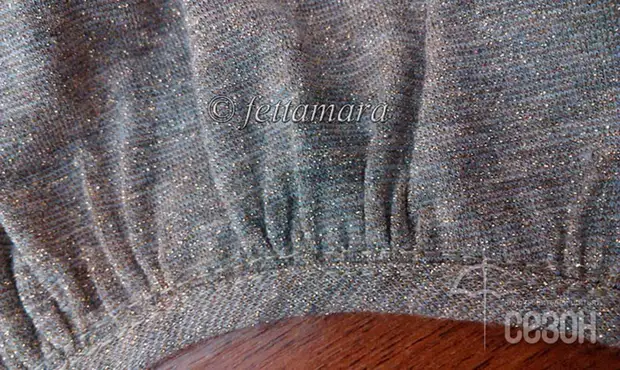
We tighten the neck from the front side on a playshkam. Important! Please note how the lines are located - one goes along the bay, the second is on the product. If there is no plays, all this can be done on a regular household machine with a double needle. Surplus fabric on the bay cut from the wrong side close to the line, without damaging it.
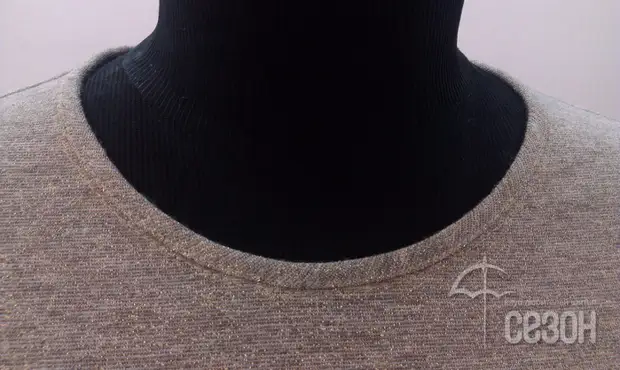
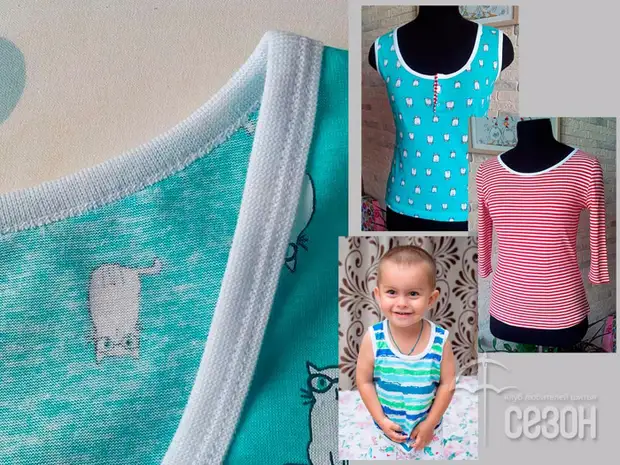
Flat, well adjacent to the neck and elastic edging of the neck is ready.
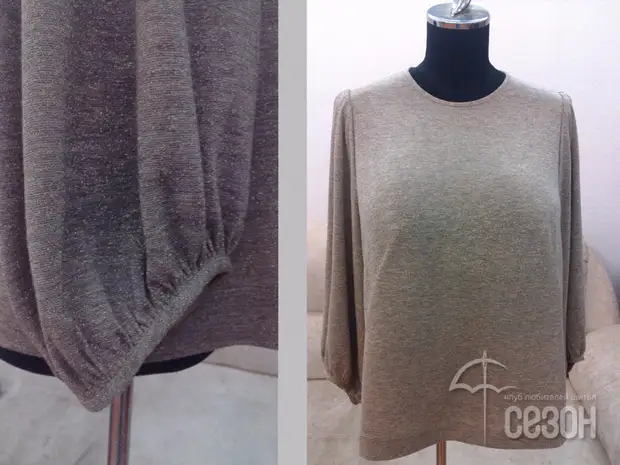
Similarly, you can handle the bottom of the sleeves of the product.
Ready product.
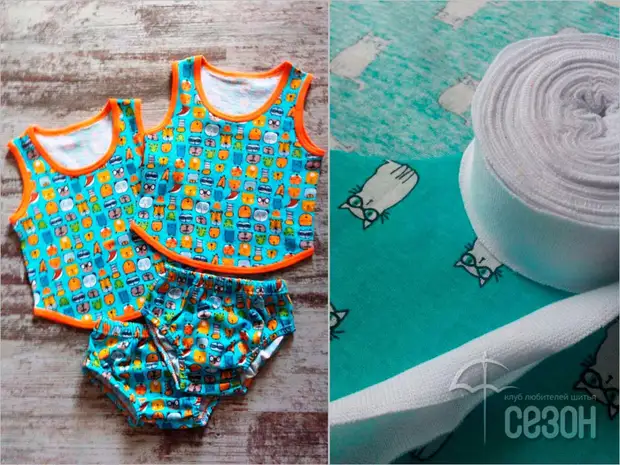
Edging of knitted products with a couch of a pulp
A simple edging of the neck, the bottom of the product and the sleeves is possible on a household sewing machine and a 4-line overlock. As a rule, this technology is used for summer T-shirts and children's clothing. You can buy a ready-made beaken, but it is easy to make it yourself, having filled a 35 cm wide band with a width. Small remnants of previous projects are suitable.
We apply a bay to the neck and feed overlock. If it is not, the line can be made of a zigzag on the domestic machine, the stitch length is 4-5 mm, the stitch width is 2-2.5 mm.
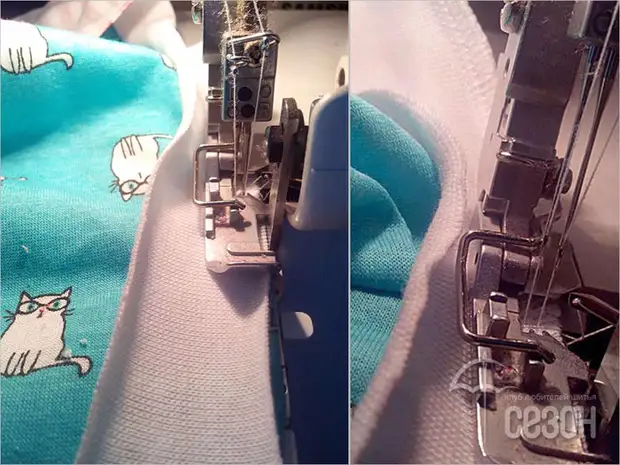
I flex a bay on the wrong side, wrapping her seam overlock.
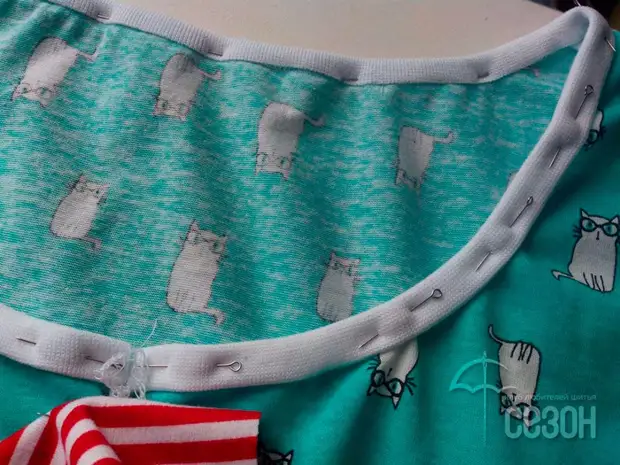
Pins or hint stitches fix all the baiks around the neck. On the involving side, Baiki completely overlaps the seam.
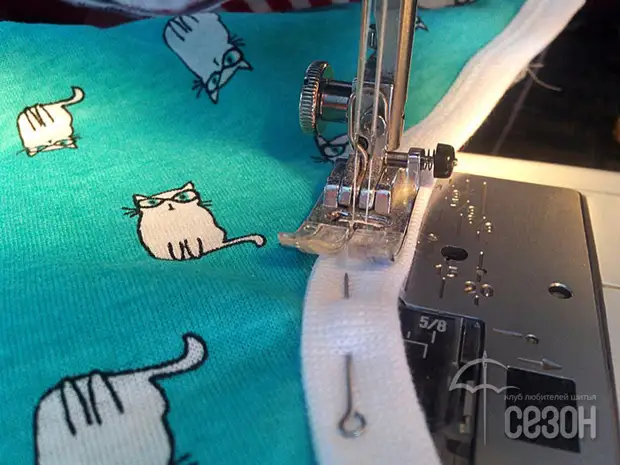
We insert a double needle for knitted canvases into the machine, and facing your facial faces. Both lines are located on Baik.
After that, you can perform a clambe of the center of the transfer, as in our example or the second shoulder seam if there are no clashes. It is possible to close it in the ring before applying the beaks and only after that sews to the neck. Bey You can elaborate the premows and the bottom of the product.
A source