From the author: "It's time to warm up, again, the additional warm room will not be superfluous. I understood the "builders" to the office of "builders", I will do it myself, since the prices "bent" unreal (by the way, I'm not at all the builder and even "close" is not a builder). "
So, we went ... I started with the studding of profile forums, what, how, why and why, what is the point of dew and with which it is eating (by the way, I subsequently useful to me), in general approached the issue with all the proletarian liability. When with the head "Porridge" from the received information, it was finally ruled out on the "plates" the material was purchased and the most interesting thing began ... the construction process.
True, before "buy something unnecessary, it is necessary to sell something that is not necessary", so the halls are what is.
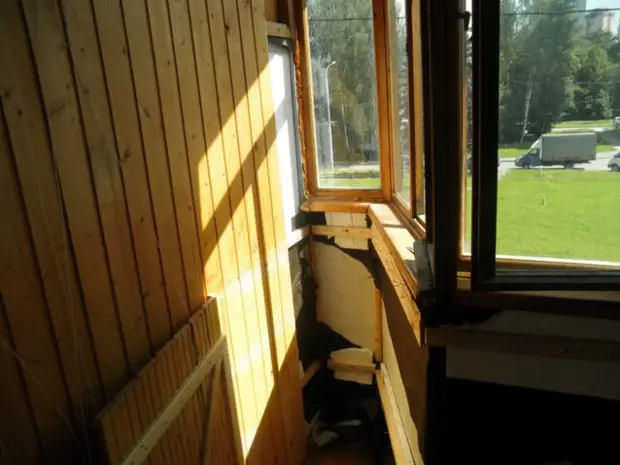
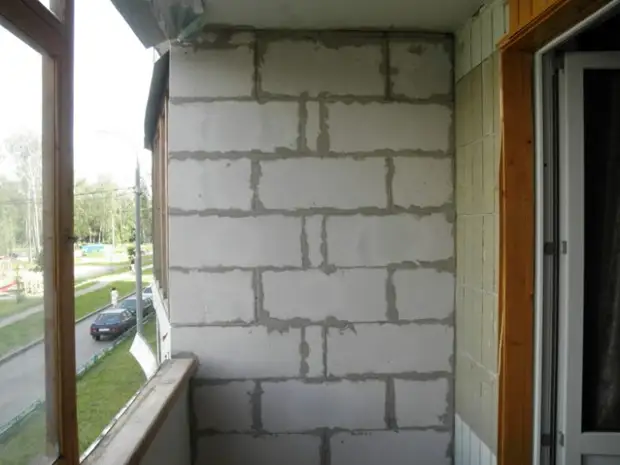
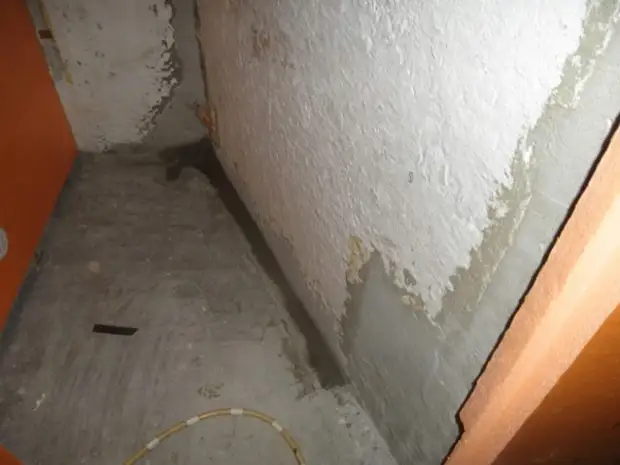
In the process of defeat, two "muddy" partitions to the neighbors were found. Neighbors did not bother and their lining attached to mine, that he delivered not a little head as a broken one and not damage someone else's.
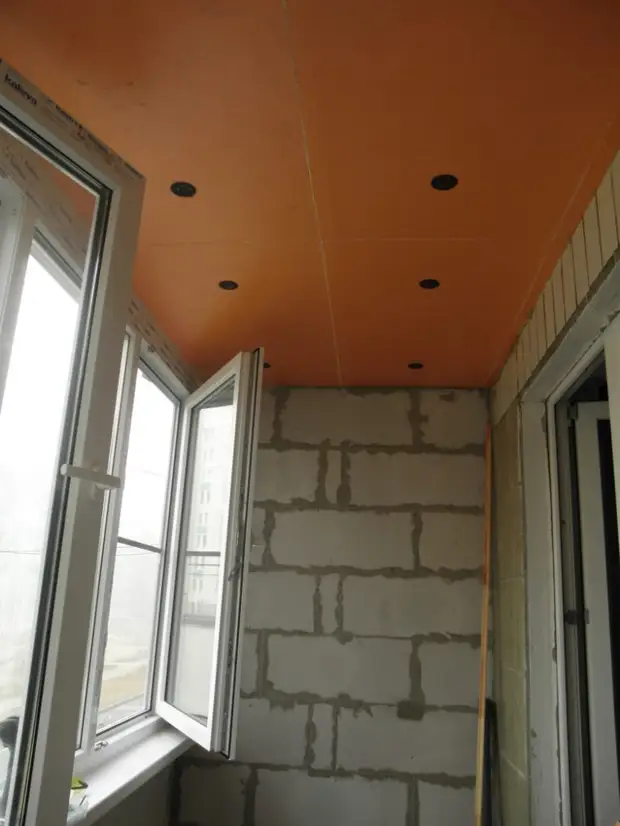
I rightly close the foam blocks, otherwise not to put the glass. Along the way, the walls were treated with an anti-grapple preparation.
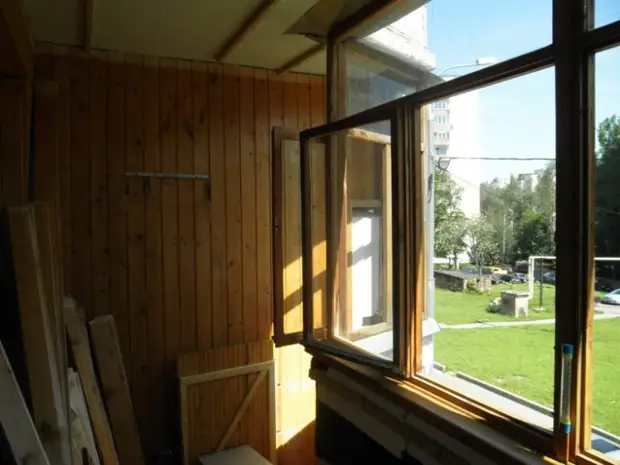
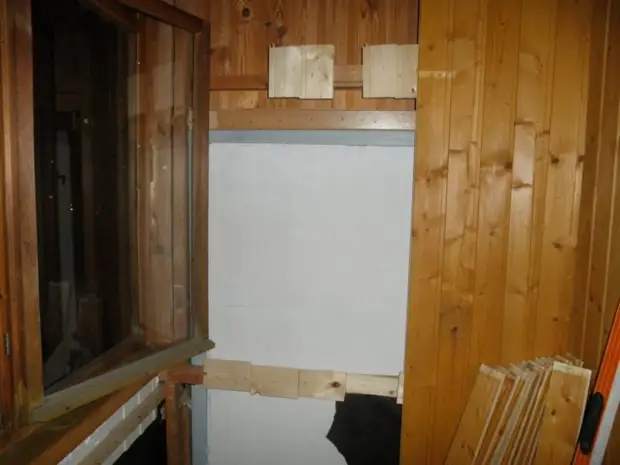
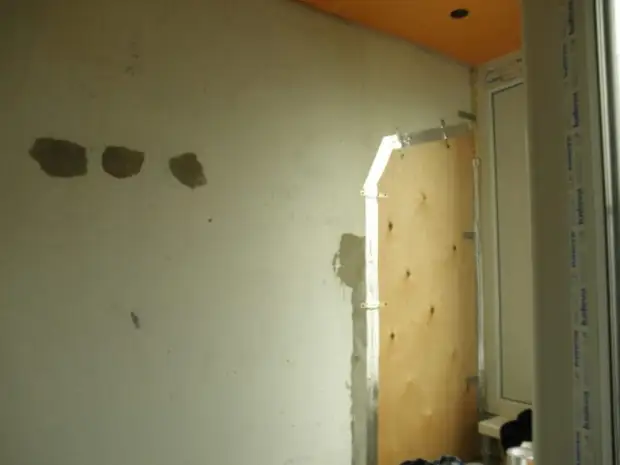
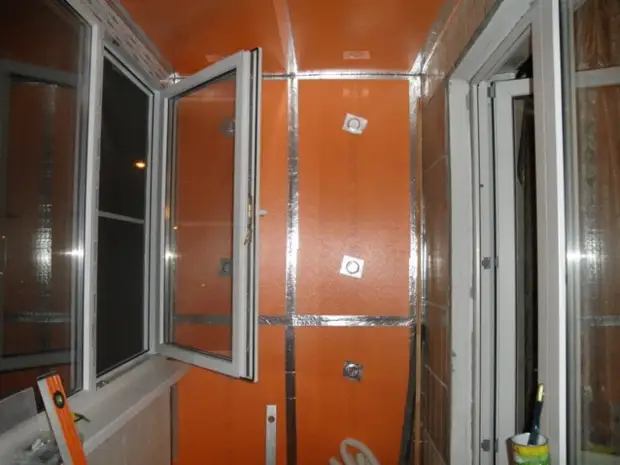
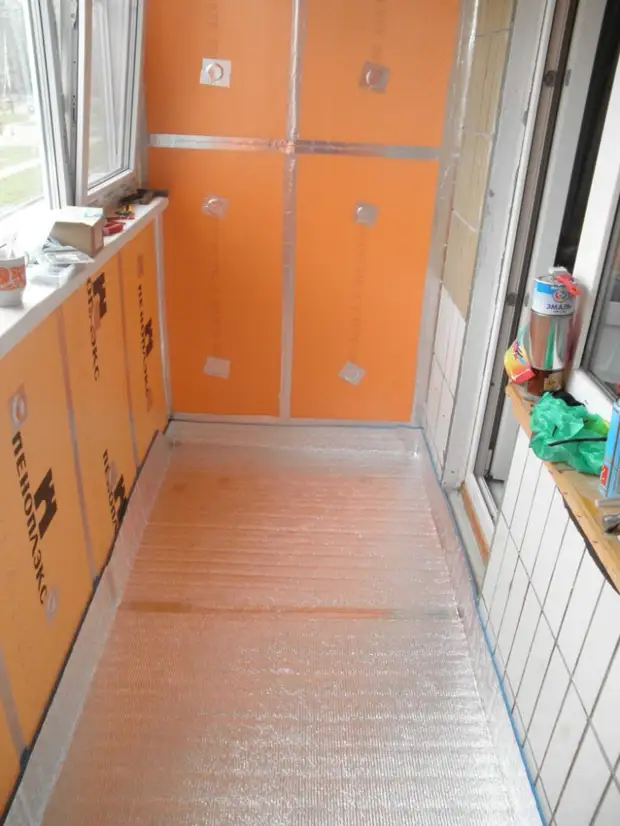
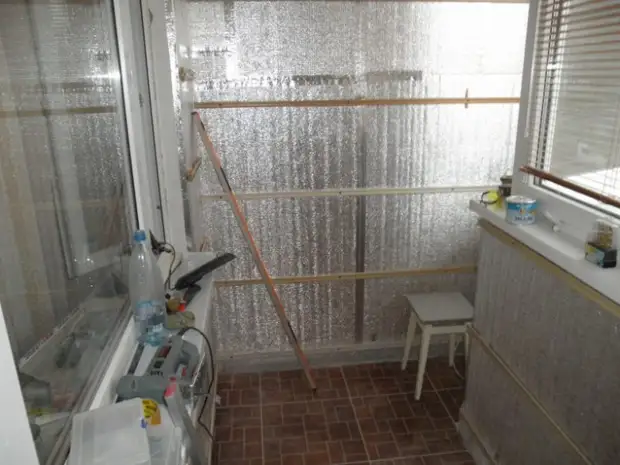
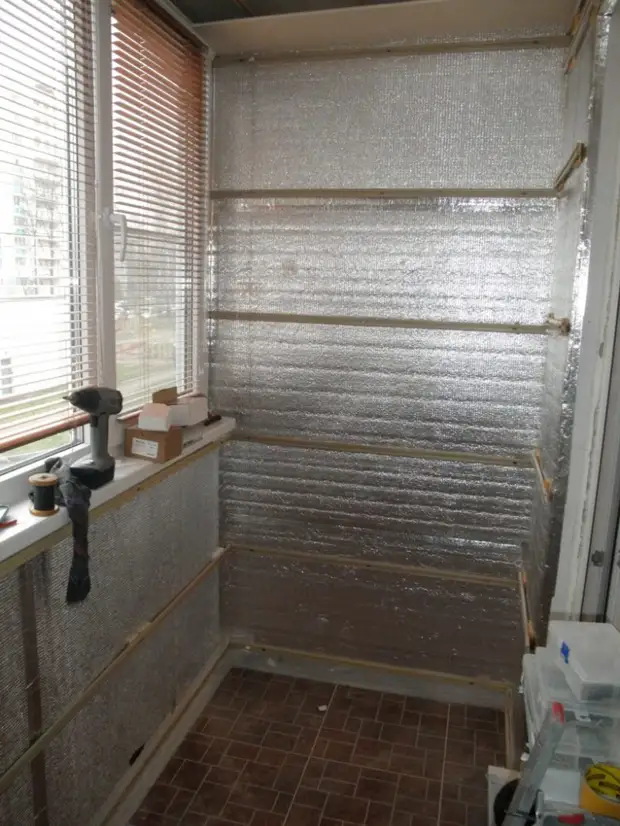
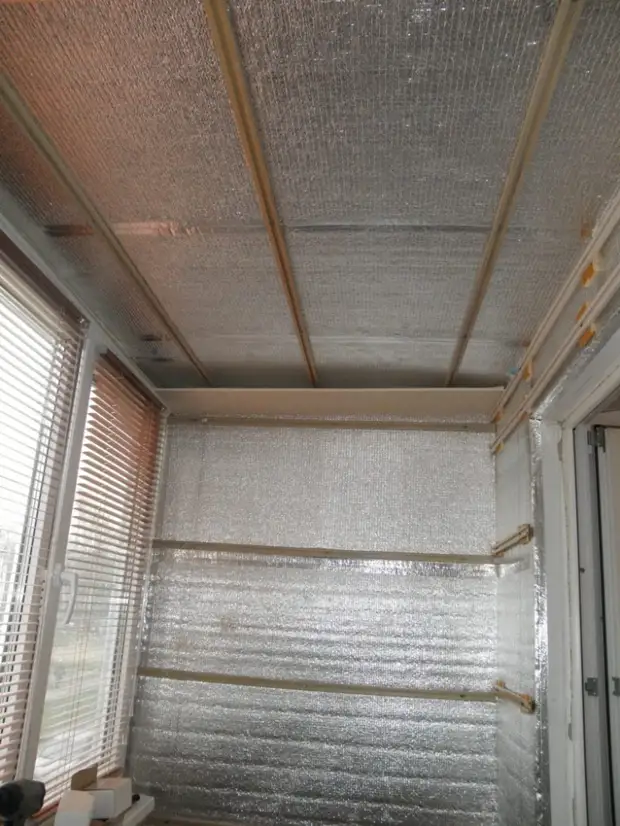
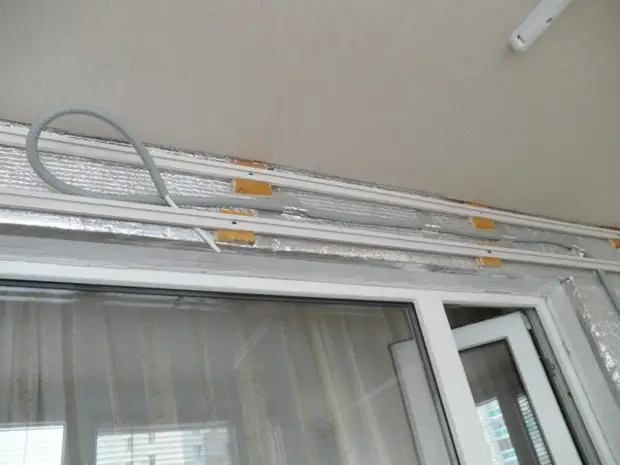
Installed double-glazed, fastex is screwed on the ceiling. All panels stand on "fungi". Seams, by the way, was repaid.The passage to the left neighbors was embellished without clauses, simply plywood. All the seams, hereinafter, will be punctured with metallized scotch.I continue the insulation of the walls, 50-ka on the floor and the outside wall, on the side - 30-ka (because there is no street), the inner wall is not instep.
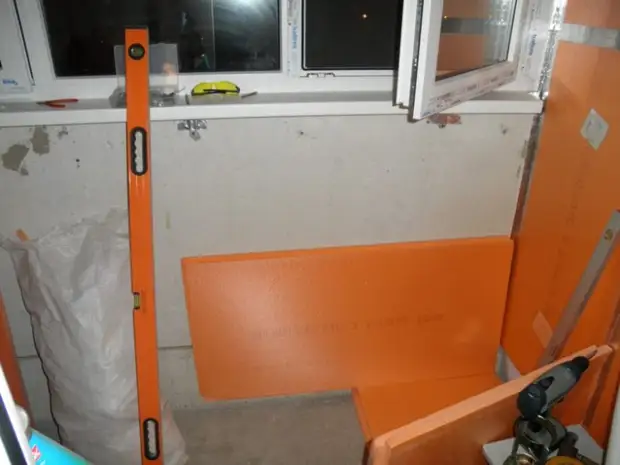
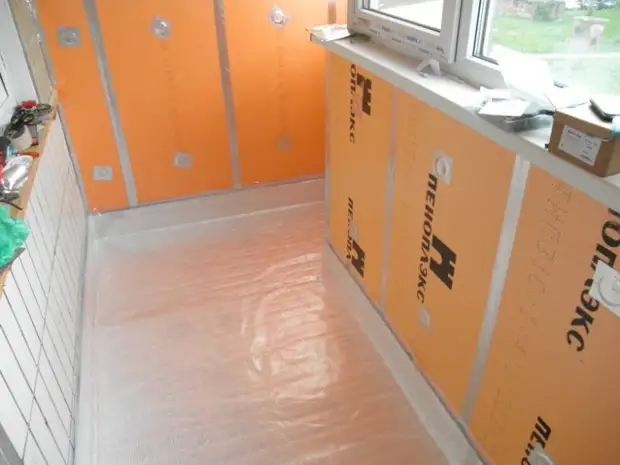
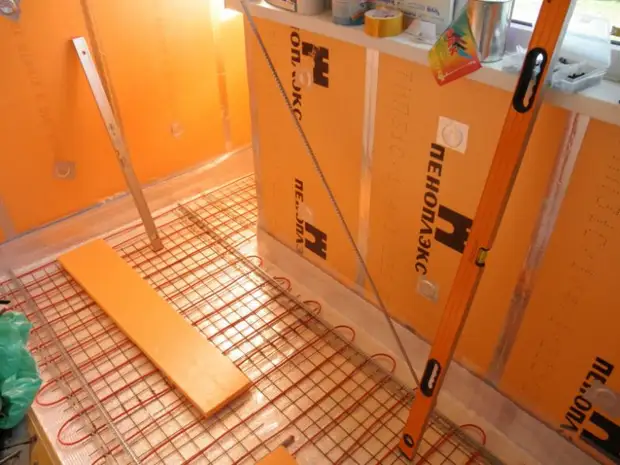
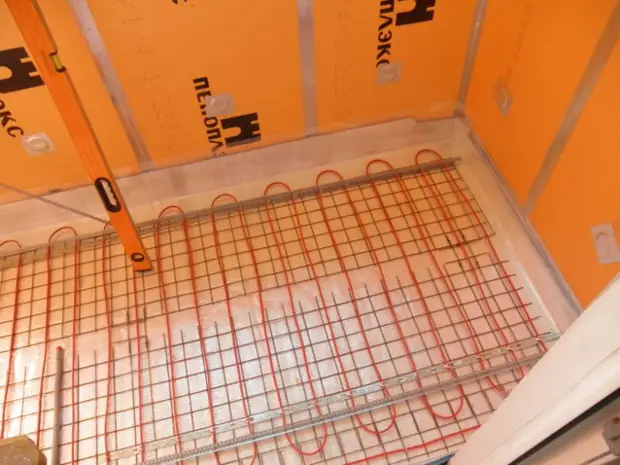
There were "outlets" to the street, embedded with a solution.When finished with the walls, I start the floor, I put the foam in the form of a bodied on the insulation, on the foam - the film (in no way there is no solution).Warm floor, as well as without it, first metal mesh, fastener for heating cable, cable and beacons for fill.
In the Hard, the temperature sensor is stubborn in the corrugation. Before the fill, the whole design was raised by lining by 1 cm, otherwise it was not convenient to walk.I did not remove the fill process and laying the tile, because in this process there is nothing interesting.
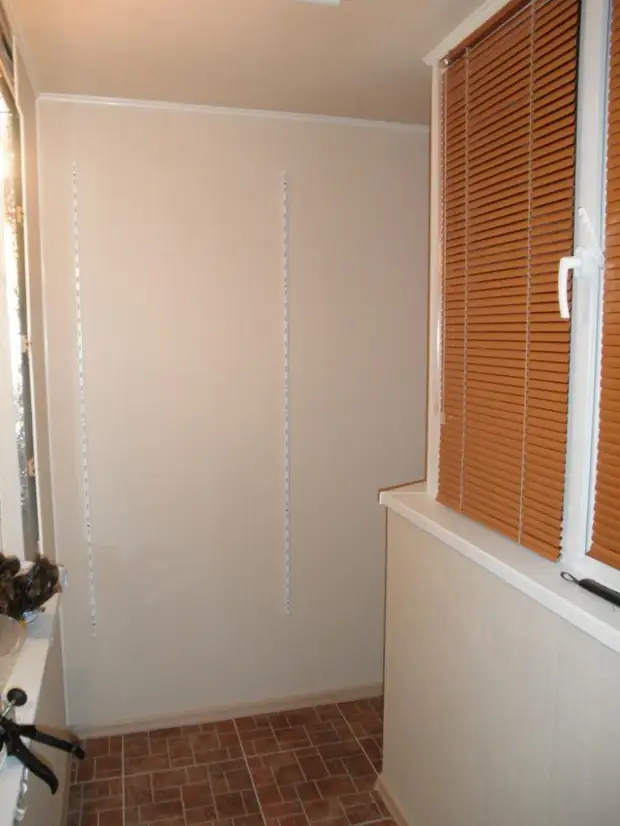
Pucked by the walls by foam on the bilateral scotch and pressed the panels for PVC panels.
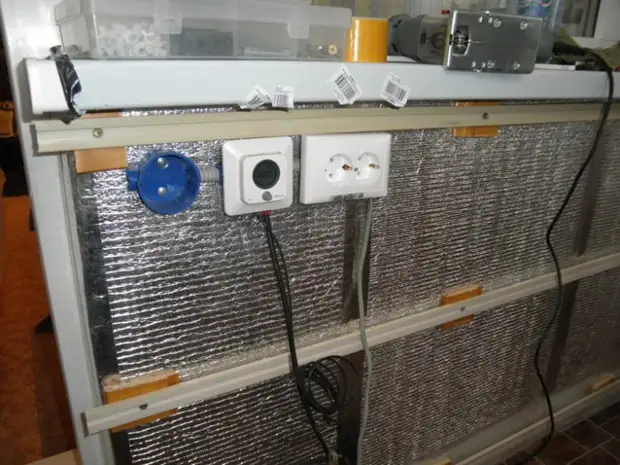
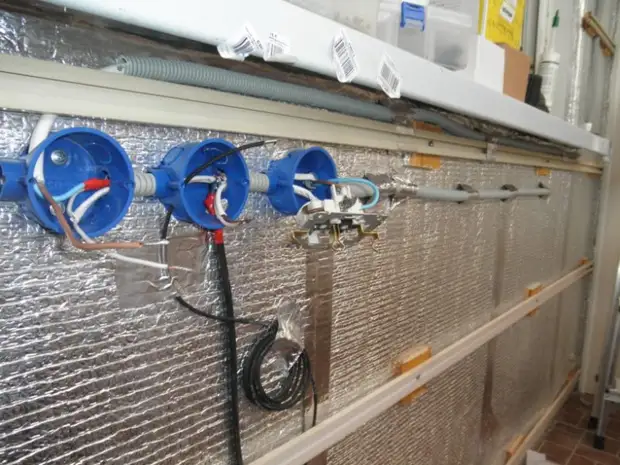
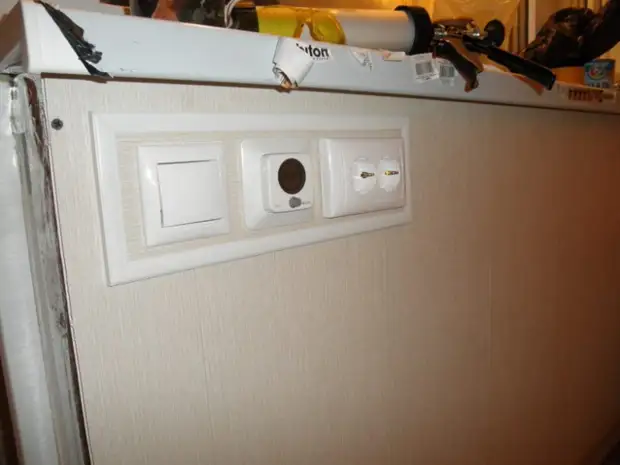
Electrician: switch, wiremate knob and dual socket.
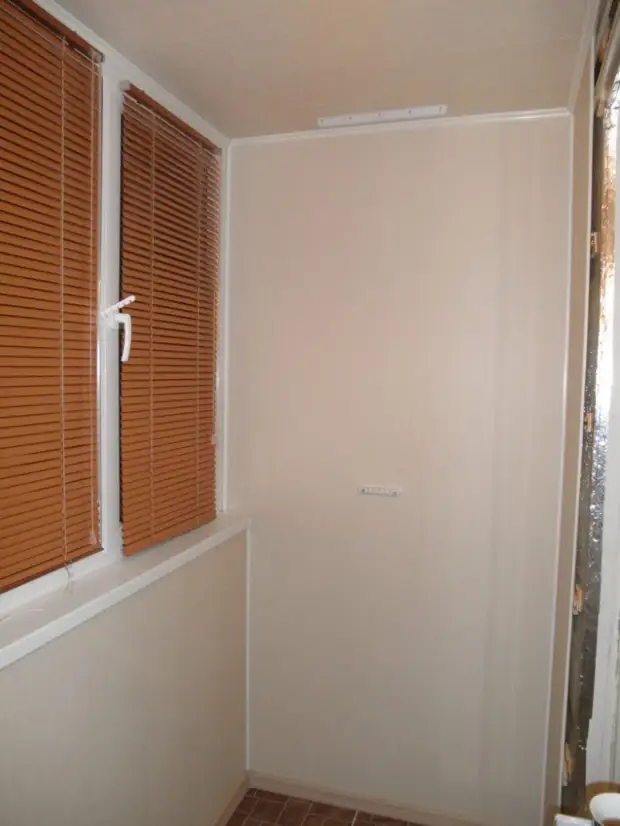
Panels fixed on clips, on one of the walls of the rail for adjustable shelves.Block electricians ... No, these are not design sizes, I flew with sizes, I had to come up with something on the go.View of the entrance.Briefly summ up:
1. Everything was done with their own hands in the evenings and weekends.
2. By time - about three weeks.
3. On the warm floor, it was possible to save, with such a warming, it was simply not needed. In winter, the door to the loggia was not closed, the room was much warmer.
I hope my experience will be useful to someone. Good luck!