
The soft worn structure and scuffs make such a material ideal for creating new things. So get your old jeans from the closet and create a stylish wardrobe subject of them.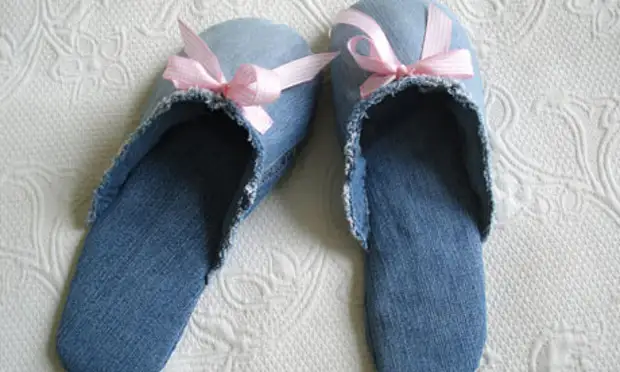
If you have at least some initial ideas about sewing, the manufacture of a pair of denim slippers for yourself-beloved will not be a problem for you. When you finish work and your legs slide into soft cozy slippers, you will feel satisfied. Put the legs in slippers on the stand and admire. This elegant invention is the matter of your hands!
What you need
· A pair of old worn jeans;· A piece of thin-penetrated cardboard (approximately 30 x 30cm);
· Tapes (about 60 cm);
· Scissors;
· Pencil;
· a piece of chalk;
· Needle;
· Threads;
· sewing machine;
· Sewing pins;
· Batting (sintepon or something soft) about 25 cm;
· Tight material for the base (rubber, polyurethane, etc.);
· Ribbons for decorations.
Step One: Preparing Pattern
Print the pattern and increase to the required size. In order not to be mistaken in the amount, become barefoot in the foot figure. The edge of the picture must be over the boundaries of your leg approximately 2 cm (for points on the seams). Cut paper templates.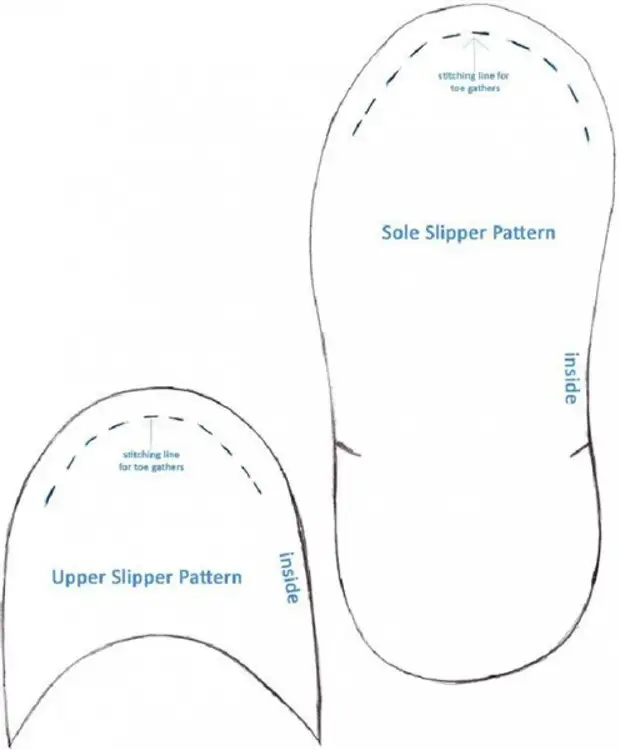
Step Two: Preparation of Denim Details
Schedule the iron and decompose jeans in front of you. Carefully inspect witching fabric. The losses of jeans have a large number of shades. You need to choose the most beautiful places for top slippers. Verify the vertex pattern on the denim fabric and circle a pencil or chalk. Then cut the resulting item.Find on jeans another beautiful place and make the top for the second slipper.
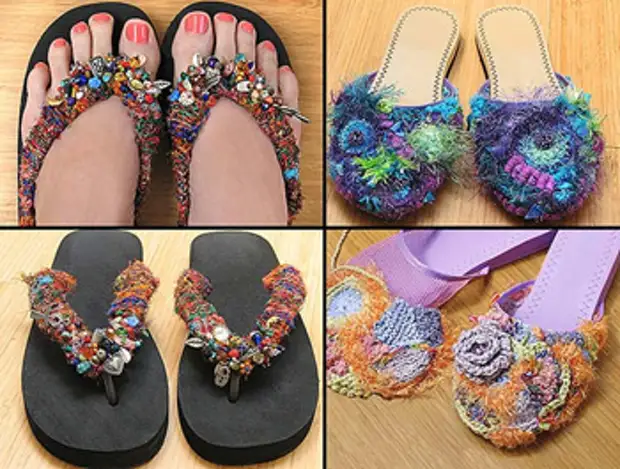
The remaining parts can be cut without a special selection, as they will not be so visible on the leg. And if you have a felt and beads, you can make other slippers. How? Watch a video:
Step Three: Work with other details
Using the prepared templates, cut two parts of the sole and two pieces of batting (or syntheps) for top.
The same four parts you need to cut out of the material for the base.
Using one sample, cut two parts from the prepared cardboard. In cardboard parts, we do not take into account points on the seams, so they are less than others by 1.5-2 cm.
Give all the details in order, ignite them and decompose in parts.
Step Four: Top Making
We start with the left upper part. Fold the cloth along with the Vatin and fix all sewing pins. You must have a three-core layer. Alone around the perimeter approximately 1, 5 cm from the edge.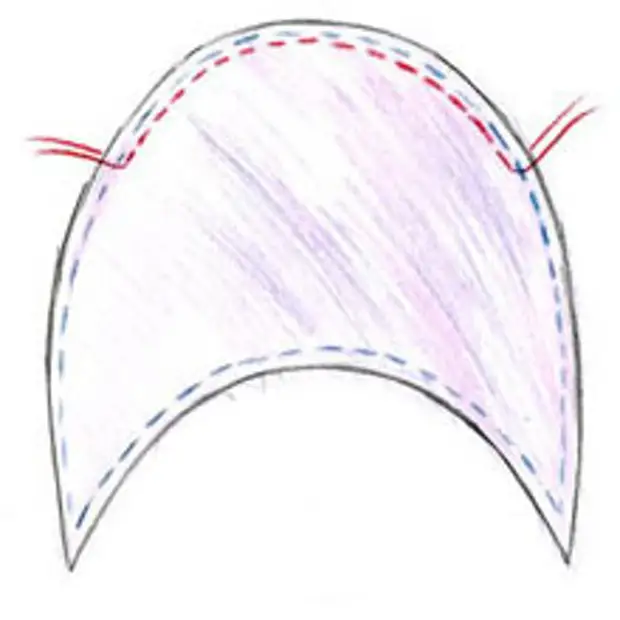
Purge a separate thread only sock (in the figure of a red thread), it will be needed later for the assembly.
Repeat the process for the right upper part.
Step Fifth: Sole Preparation
Start with the left sole. Connect all parts of the sole with the sewing pin. Sust around the perimeter. Separately position a part of the sock. Later it is useful for assembly.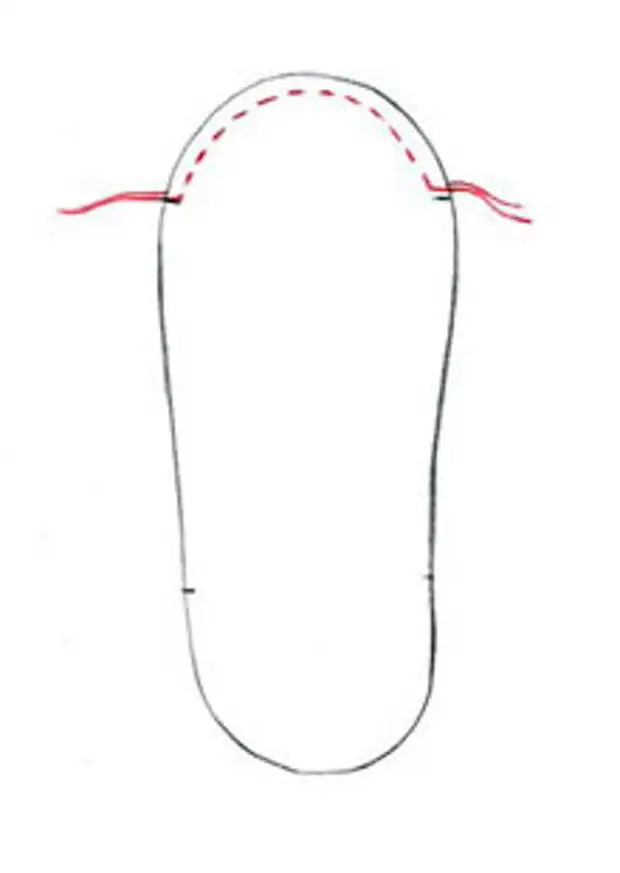
Step Six: The connection of the soles with top
This step is quite serious, because the strength and convenience of slipper depends on it. Therefore, you need to do everything as careful. Do not worry, everything will turn out.
Start from the left slipper. Align the top and sole so that the control strings are in front (as in the figure). Carefully bore pieces with sewing pins.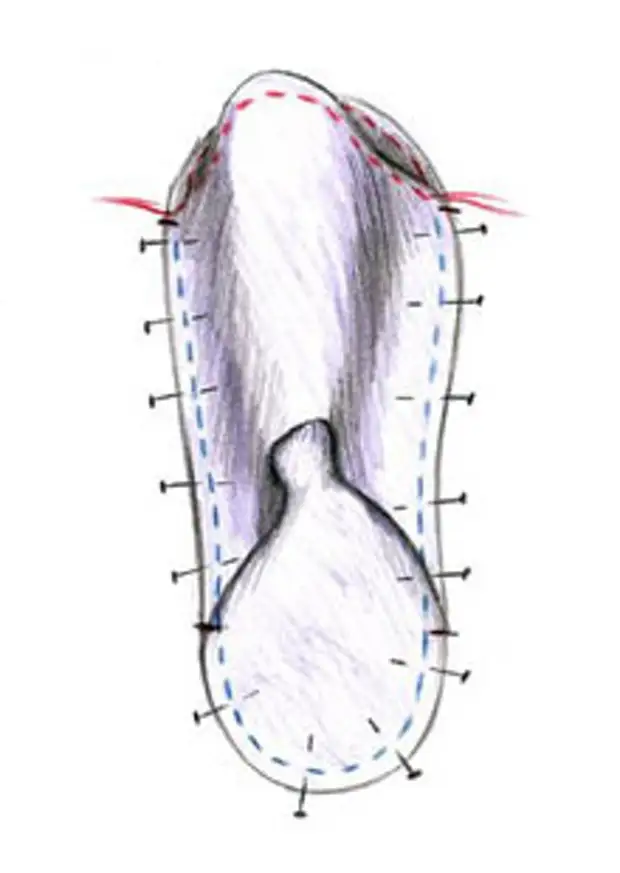
Another option to create domestic slippers with your own hands you can see here:
Do not forget to insert cardboard in the middle of the layers. Cardboard parts should not be striking, it will make them less durable. In order not to hurt them while collapse, we made the cards slightly less than the main parts of Croy.
Repeat all manipulations with the right slipper.
Step seventh: finishing part
Start from the left leg. You have left looped control threads on the sole and the upper part. Watch your leg in slippers. Tighten the test strings so that slippers firmly faced your fingers. Secure the threads in a convenient position.Repeat the process now with the right slipper.
Step Eighth: Slip Decoration
Cut the tape into four parts is equal to the length. Position the two parts of the tape on the top of the slipper so that it is convenient to bind them.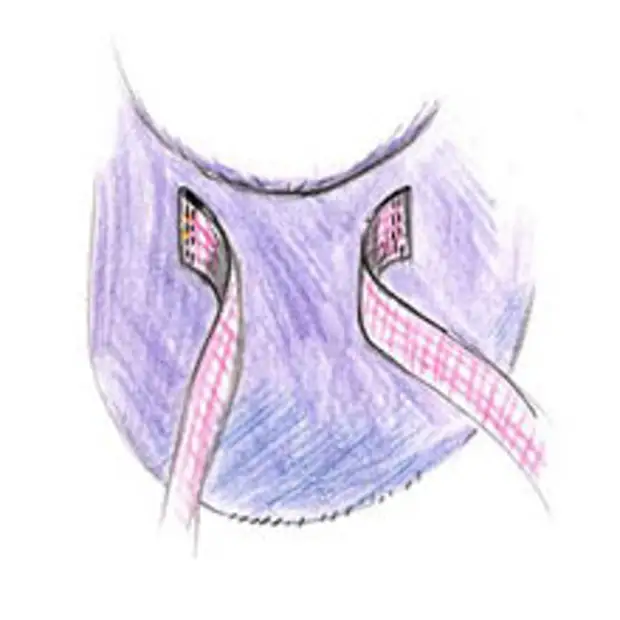
Tie a beautiful bow. Ribbon tips Cut the male. If the tape is scattered, quickly spend on the edge of the tight match so that the tips are laughing. Repeat the process and with the right slipper. So that the bows do not be untied, make a couple of stitches in the middle of a needle with a thread. It will relieve you from the need to constantly tie the bows.
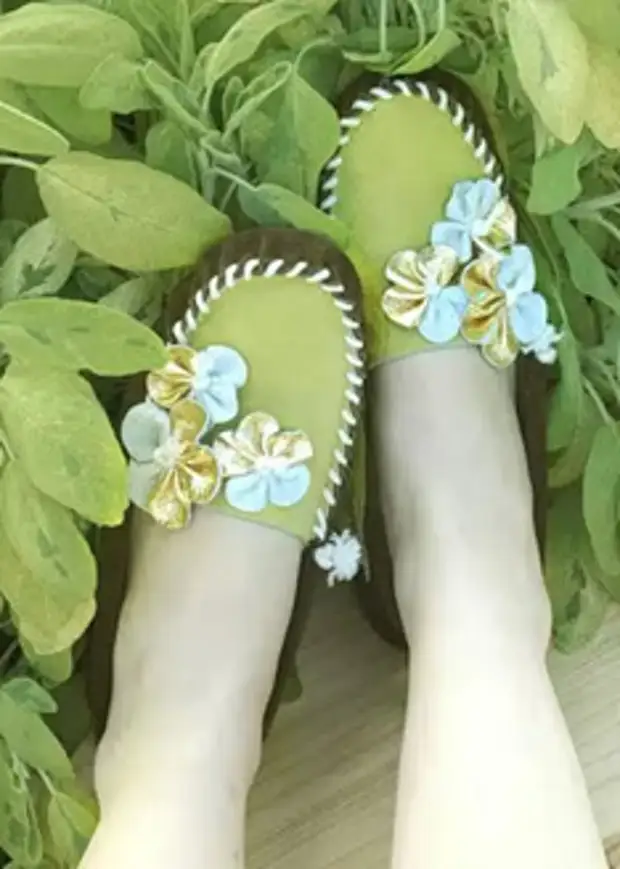
A pair of comfortable stylish slippers is ready. You can thank your golden handles and immediately start wearing such wonderful shoes. But if you wanted to check your designer talents, express yourself, you can come up with a decoration of slippers.
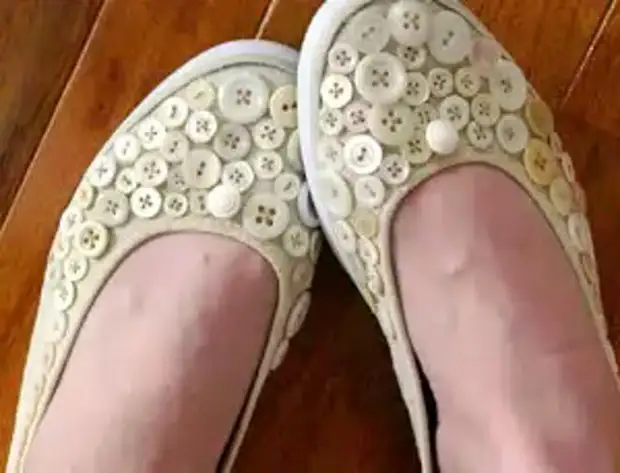
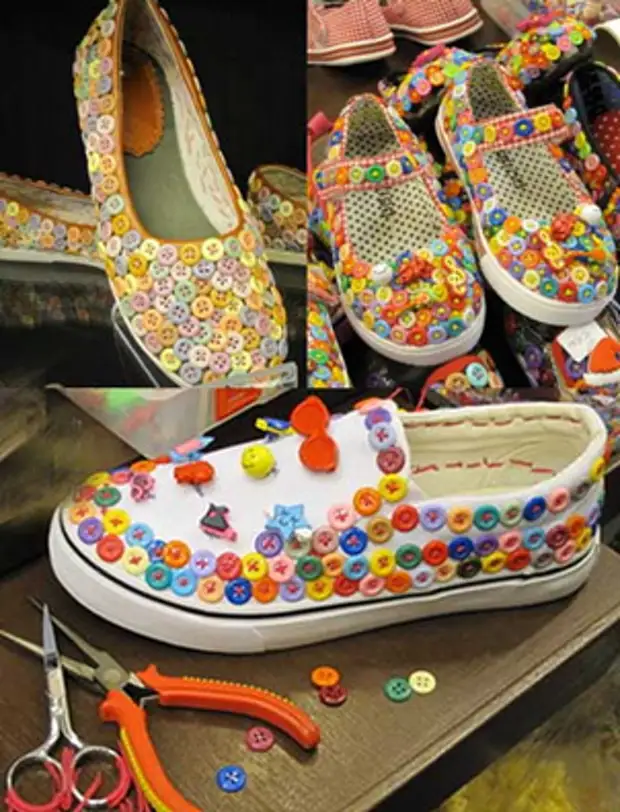
- You can shelter slippers with a variety of butchers. It raises the mood and looks very impressive.
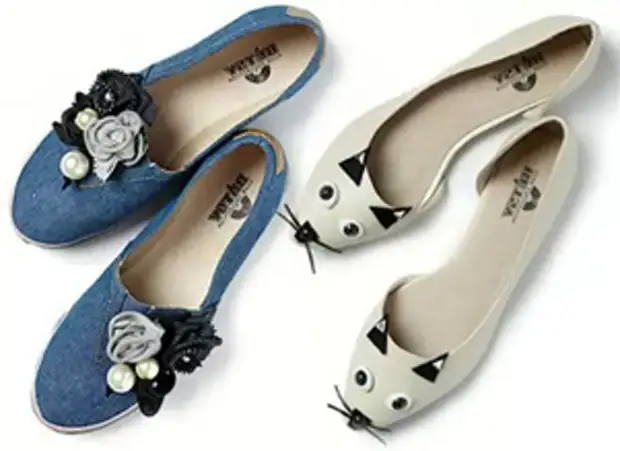
- Independently make small flowers and make up the top either will not be difficult.
- You can cut leather flowers and attach to slippers. Each such drawing will be unique.

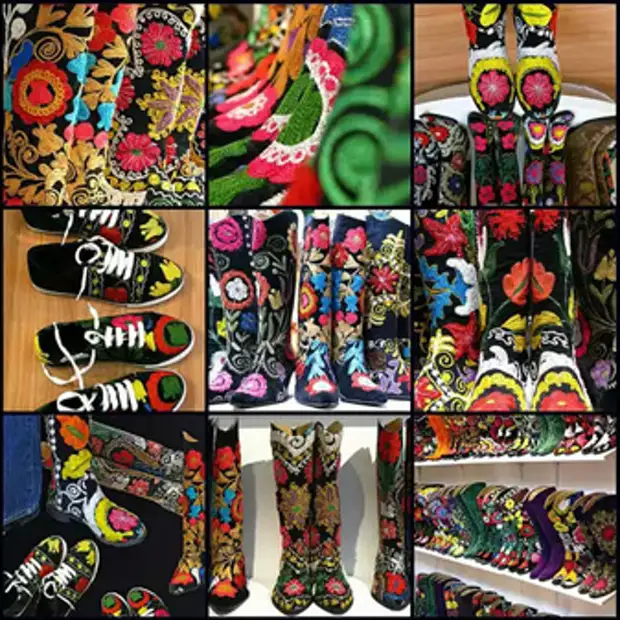
- If you own embroidery technique, then decorate slippers will be completely easy.
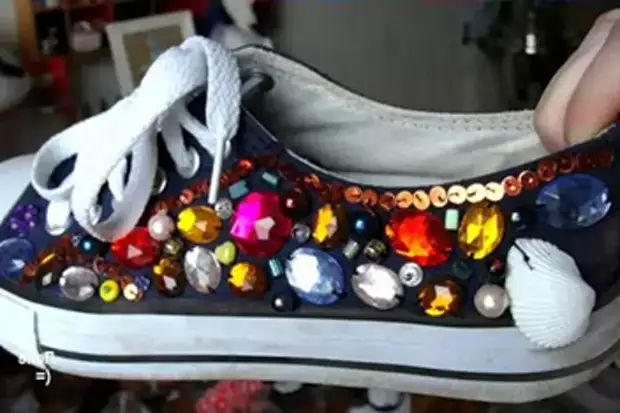
- The unique pattern can be created using sequins and rhinestones.
- You can decorate knitted parts, beads and beads.
- If you are a lover of animals, you can turn the front of the slippers into the original face. It's cute and raises the mood.
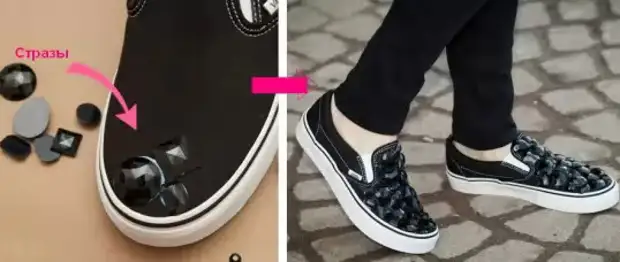
- If you sometimes want to show aggressiveness, you can reflect this trait in your shoes. With the help of glue, turn your soft slippers into the Sado Mazo style shoes. This is modern and stylish.

a source