
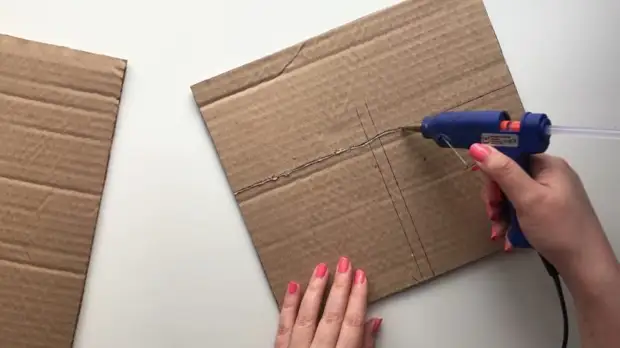
Take a tight cardboard with the sides of 24 * 27 cm. Return 13 cm and spend lines. To the central glue cardboard 27 * 15 cm.
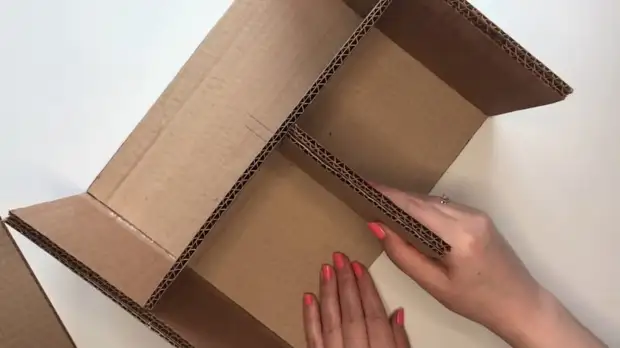
On the sides, glue a double cardboard (two identical parts glued together) with parties 24 * 15.5 cm. At the center of the edge, glue a small double cardboard 15 * 13 cm.
Finally, cut and glue the base of the organiser with the parties 29.3 * 15 cm.
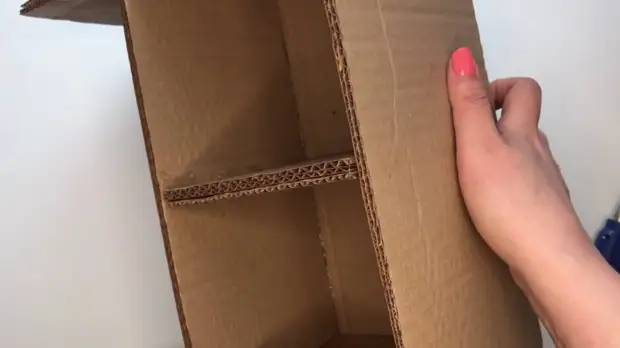
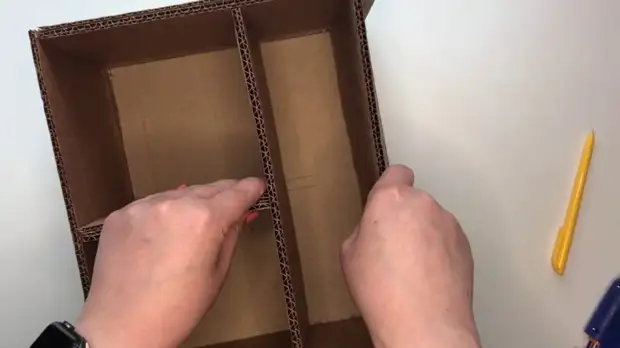
It turns out such a design. Lower two compartments - for future extended boxes. Now we plan the upper narrow nominal compartment. We glue the cardboard with the parties 27 * 15 cm. From above, 2.5 cm of empty space remains on top.
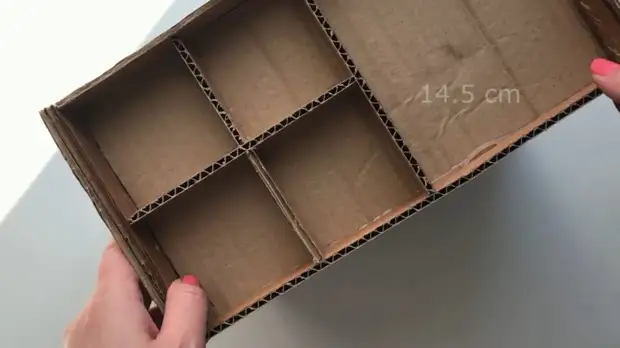
We put the organizer on the edge so that the remaining empty space of 2.5 cm turned out to be top. We divide it visually in half, we close the wall with a narrow, but long cardboard 27.5 * 2.5 cm. On the left, we glue the cardboard 14 * 2.5 cm, which divides the left half still in half. Then, on top and bottom, we glue the pieces of cardboard 7 * 2.5 cm. Close the partition in the center 14.5 * 2.5 cm.
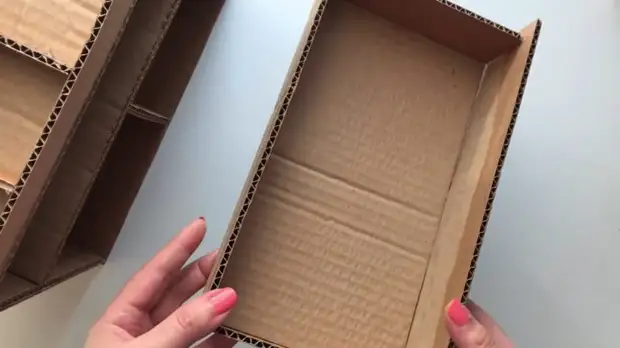
The upper part of the organizer, as well as the internal branches are ready. Therefore, make the drawers. Let's start with the oblong, for which the place remains. To a narrow piece of cardboard 26 * 5 cm we glue parts on the sides 14 * 5 cm, then we glue the base 25 * 14 cm. Close the front wall on the right (28 * 7 cm), which will be outside when the box is extended.
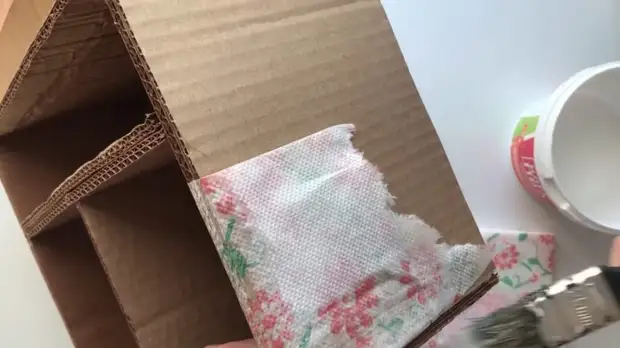
Now all parts of the organizer must be saved with a napkin and plow glue.
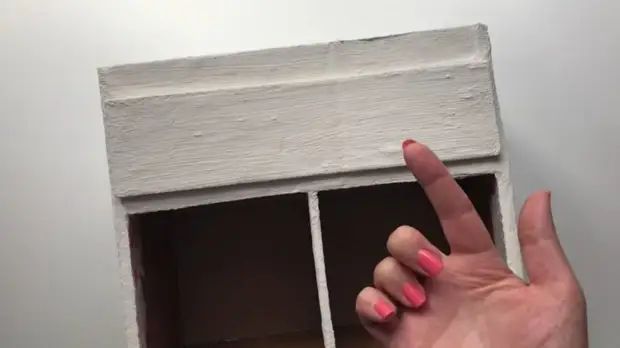
When the design is driving, apply putty and acrylic varnish.
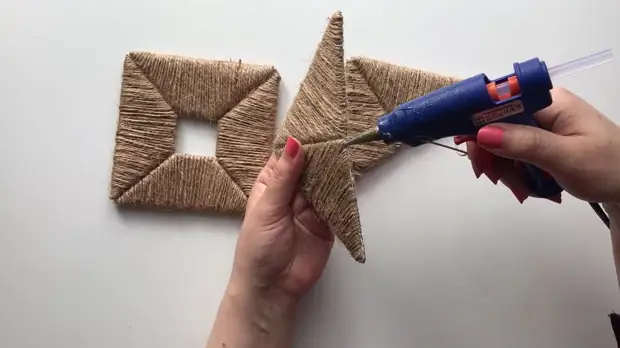
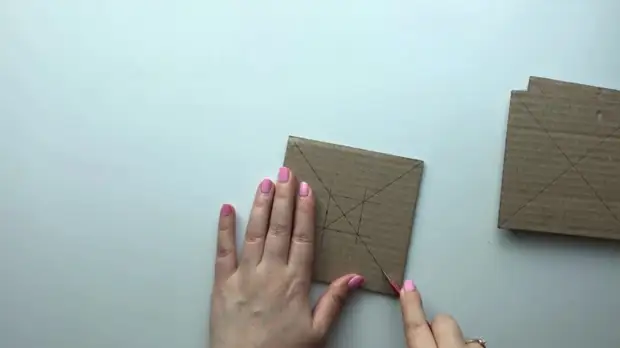
It remains only to collect square pull-out boxes for the lower branch of the organizer. Squares 12 * 12 cm are drawn and cut, as shown in the photo below.
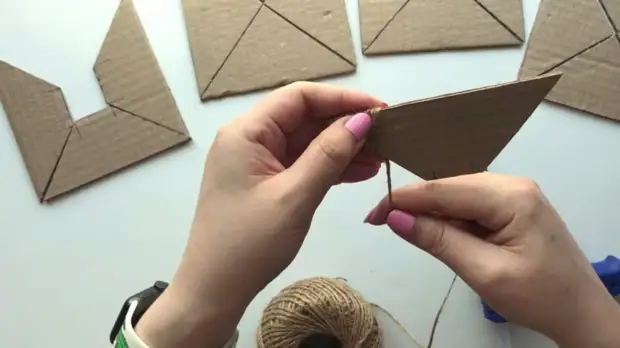
Each item is wrapped with jute and fix the thread with hot glue.
We collect details together.
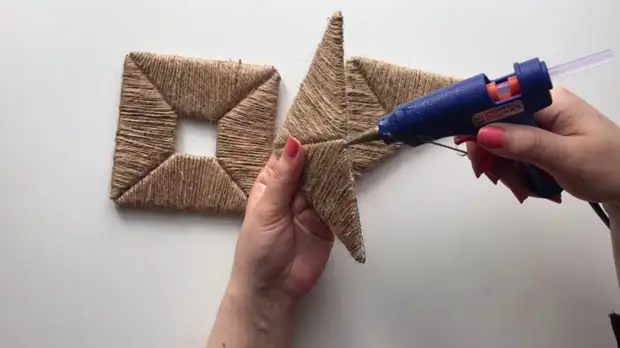
Glue the walls with each other. Also do not forget to glue bottom.
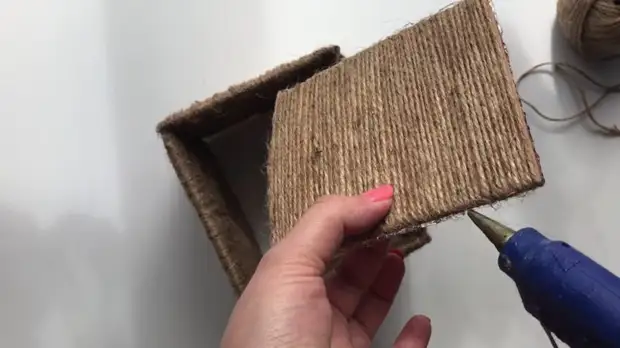
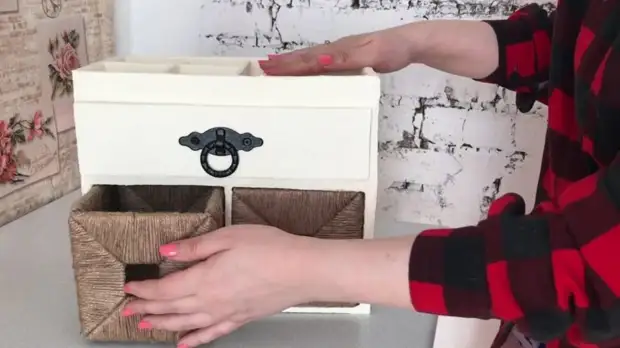
To the narrow retractable compartment we glue the handle. Insert lower retractable square boxes. Organizer "Book" is ready!

For details on how to make a "book" organizer, see the video below: