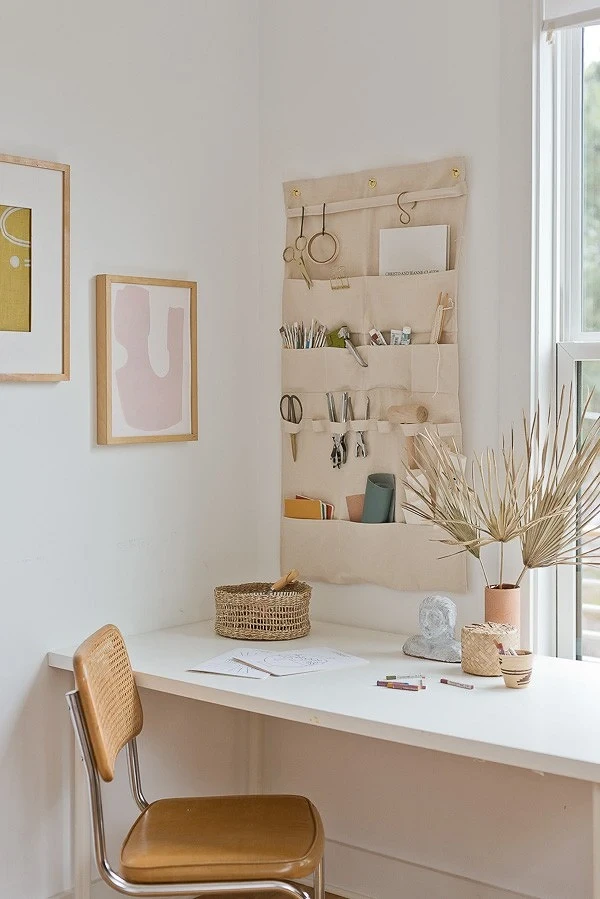
This organizer is conveniently located on the wall so that different desired sewing and needleworking trifles have always been at hand.
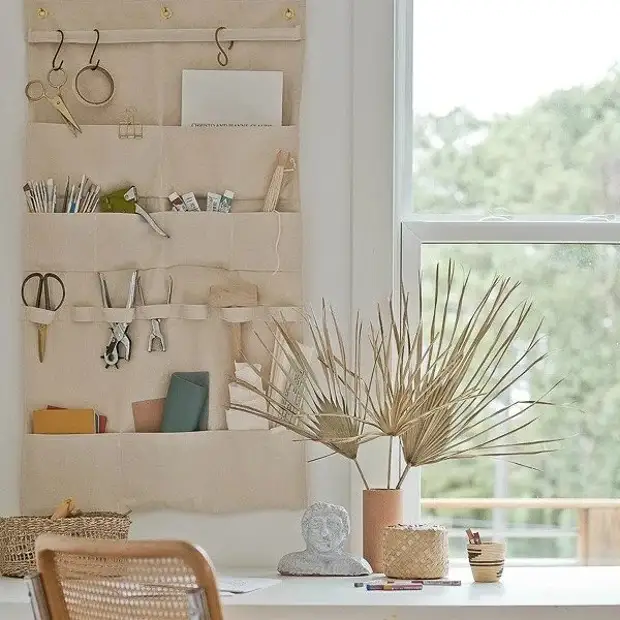
Such an organizer will help in cases of the need to save space: it is placed on the wall, and all things cleaned it will not require places on the table or in its boxes. Another plus of the organizer is that everything you need is at hand: things are comfortable to take and put on the place, everything is in order. Organizer size and number of pockets and loops you can think about yourself, depending on your needs.
By the way, a similar organizer can be hung in the hallway, in the bathroom or in the closet: in each of these cases it will help streamline different little things.
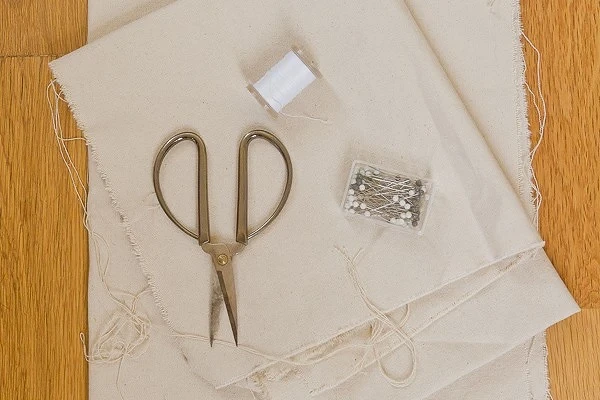
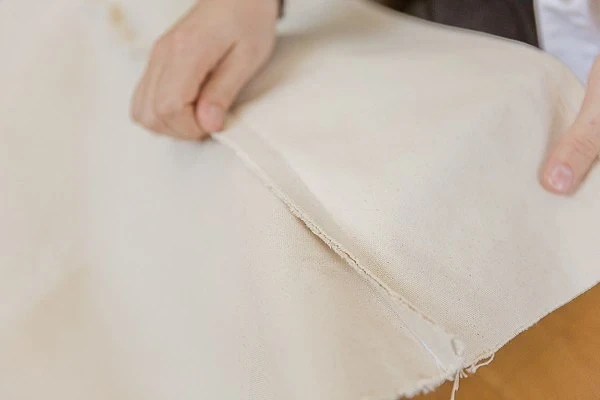
For the organizer, a dense durable fabric is needed. Here, for example, a canvas from the store for artists is used. Pick up the appropriate needles for the machine.
You will need:
- dense fabric;
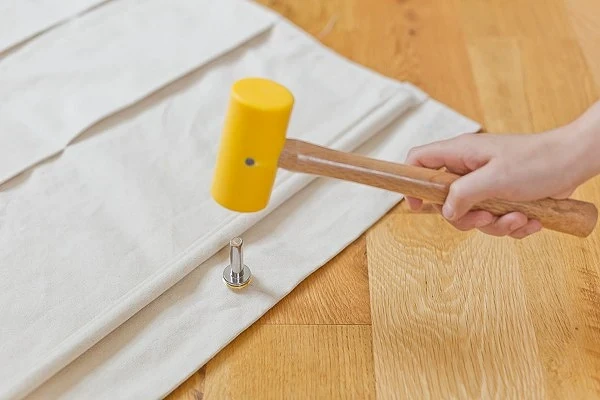
- 3 small lumens and fixture for their installation (you can also make a loop of fabric or braid to suspend the organizer);
- Round wooden rake with a cross section of about 1.5 cm, a little less than your organizer width (here - about 55 cm);
- several bilateral hooks;
- ruler and centimeter tape;
- Portnovo scissors;
- Portnovo pins;
- chalk;
- Sewing machine and thread.
STEP 1
Put the details:- 1 Basic part (a) 66x122 cm;
- 2 parts for large pockets (B + C) 18x66 cm;
- 1 Detail for small pockets (D) 13x66 cm;
- 1 Detail for loops (E) 5x80 cm;
- 1 Detail for rail (F) 5x66 cm.
Step 2.

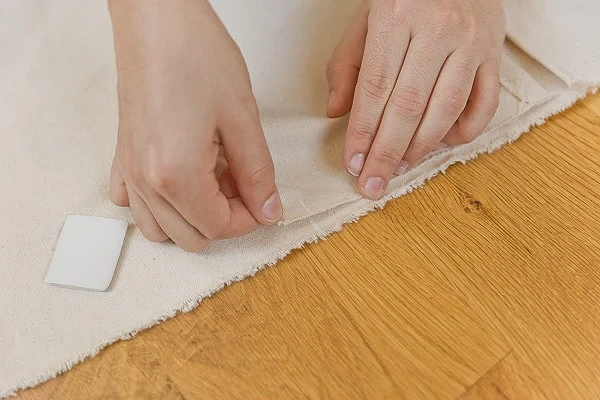
The top edge of each of the parts for pockets (B, C, D) is twice with 0.7 cm on the wrong side and start it. Load the line, fixing the grounds.
Detail for loops (E) process in the same way on both long sides.
Step 3.
The main detail (a) and one of the parts for large pockets (c) fold to face, aligning the lower and side edges. Still at the bottom edge (1,3 cm battery). Expand the details so that the allowance is between them, and affect. Pocket side pockets to the main part of the pins.
Step 4.
On the front side of the main part from the bottom edge line of the lower pocket (part B) measure 36 cm up, put tags. On the details for small pockets (D) from the inside, measure 1.3 cm from the bottom edge and also place the labels. To the main detail, attach the item for small pockets to face to face, so that the processed edge of the details for small pockets looked down in the direction of the fallen pocket. Align the labels (see photo) and pin items with pins.
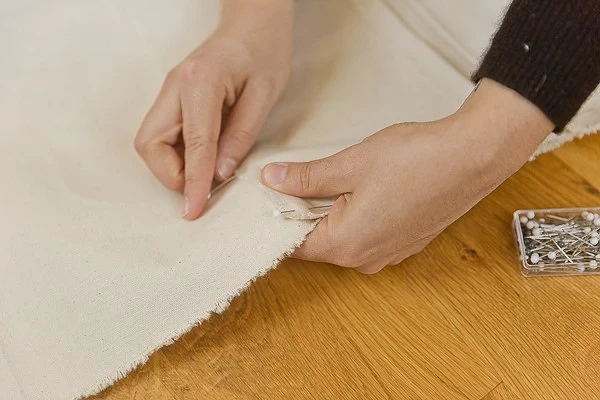
Pick the pocket, focusing on the labels (the allowance will be 1.3 cm). Then unscrew the part of the pocket up and start. Pocket side pockets to the main part of the pins.
Step 5.
Measure 5 cm up from the top edge of the just sewn pocket and set tags. Acting, as in step 4, the Sew the remaining pocket (part C).
Step 6.
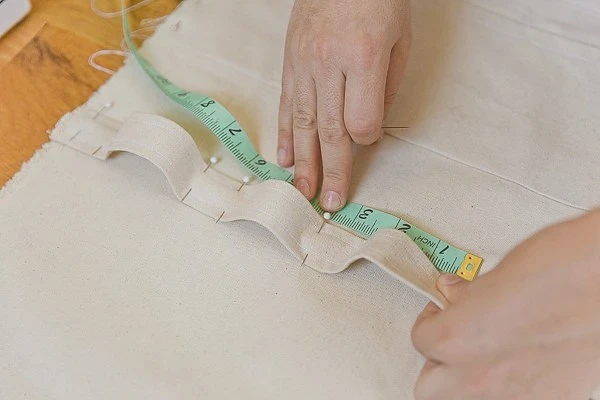
Now join the detail of the loops. Place it where it is convenient for you. Here it is sewn at 8 cm below the lower edge of the pocket, which is located in the middle of the organizer. Spend a line or put tags along the line on which the detail of the loops will be located, and start pinning the detail of the loops to the main part. First pin the end of the part of 5 cm flat flat (see photo).
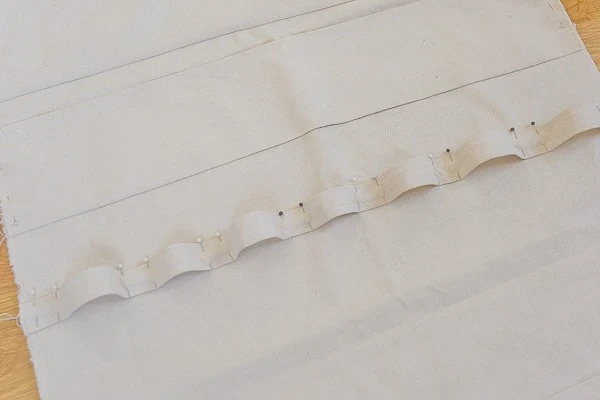
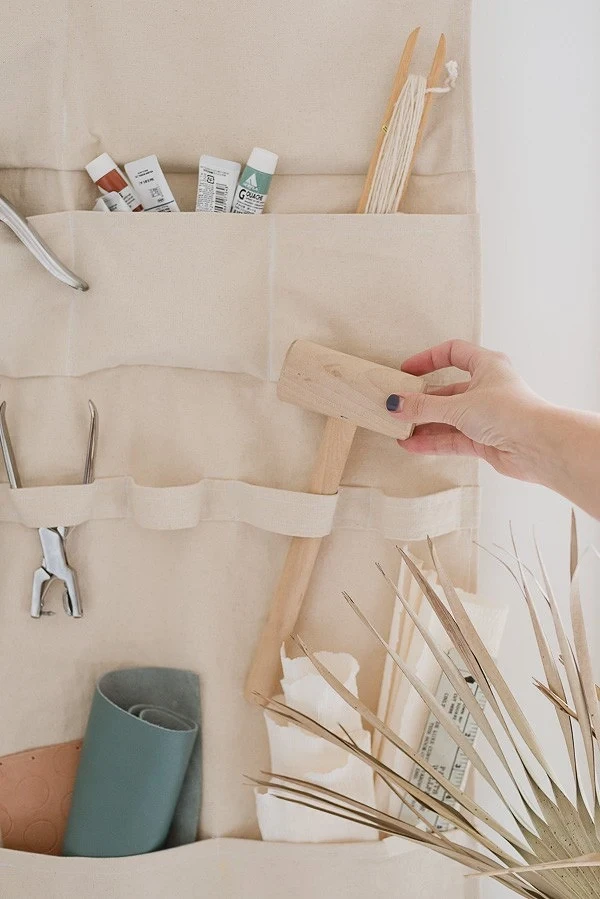
Then make the volumetric loops for your tools, mocking them with plots attached flat.
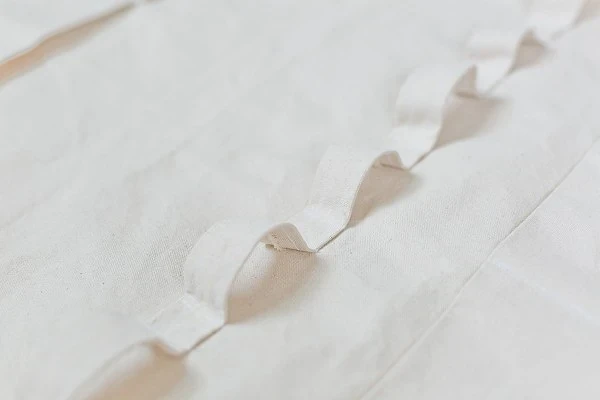
Put the item in places of flat sections, paving the line with squares or rectangles.
Step 7.
Before sewing the rails for hooks, process the top edge of the main part of the organizer (the rack then will interfere with this). To do this, the top edge is twice with 0.7 cm on the wrong side and begin. Load the line by locking the champion.Step 8.
Check the length of your rail. So that it was convenient then to sew it to the organiser, it is necessary that its length is about 8 cm less than the width of the finished organizer, or 11 cm is less than the width of the unprocessed main part of the organizer.
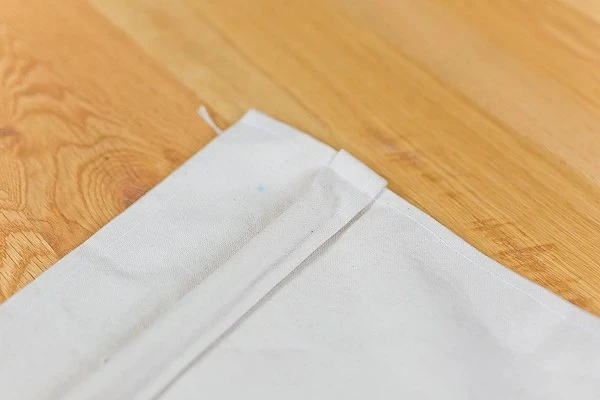
Detail for rail (F) Position out the inside. The upper and lower long edges are 1 cm on the wrong side and begin. Fold the part along the inside inside. Make sure the widths of the parts are enough to ensure that the rail entered the seam inside. Lay the line along the long side along the fold. Place inside the rail. Print item 3 cm from the top edge of the main part parallel to the upper edge.
Step 9.
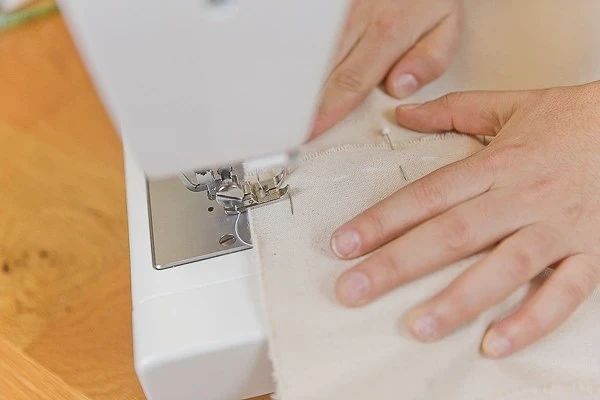
Process the side and lower edges of the organizer, while simultaneously sewing the part with the rail and side sides of the pockets and loops. To do this, override the edges of the main part along with the edges of other parts on the wrong side by 0.7 cm, then 1 cm, start and laid the line, fixing the champion.
Step 10.
Vertical lines divide large pockets on the number of small you need.Step 11.
Take the place of installation of the chalks and install them. The lubers will be used to hang the organizer on the wall. Instead of chalks, you can make loops from braid or tissue.