

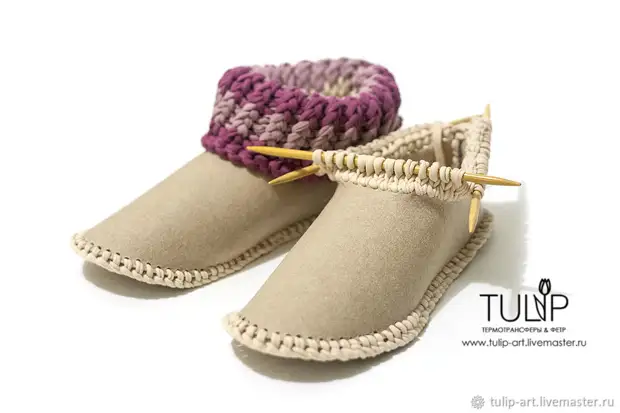
Winter is getting closer and this means that it comes the most comfortable, the most domestic time is the season of warm knitted things, hot drinks and quiet evenings for needlework. I admit honestly, I have this time of the year. Ahead of New Year holidays, time of gifts and joyful fuss, but you can also enjoy calm and homely comfort. It is such an atmosphere that the thing that I suggests you today to sew with me - warm homemade boots from felt with a knitted riding - they can and please yourself, and to make someone's love as a gift.
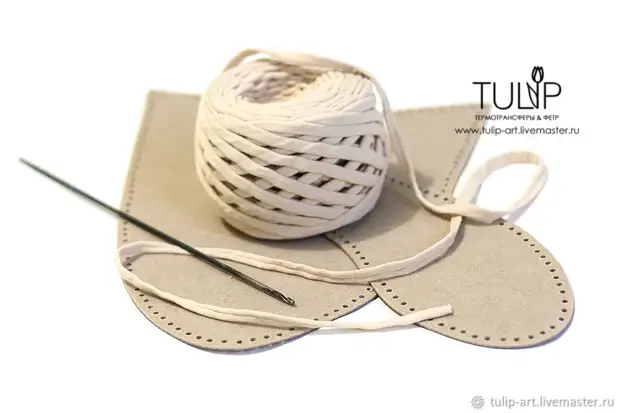
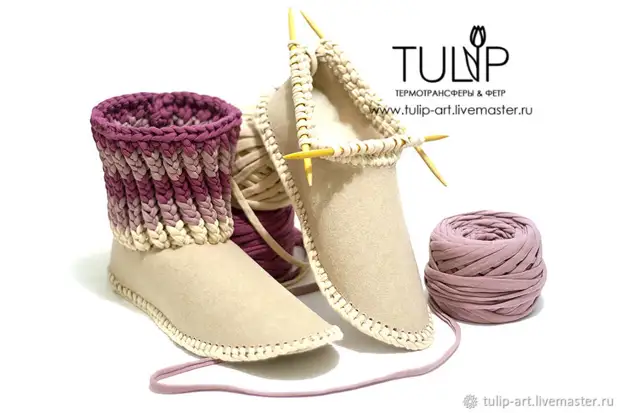
To work, we will need:
1. Felt 2 mm, cut 22 cm by 90 cm.
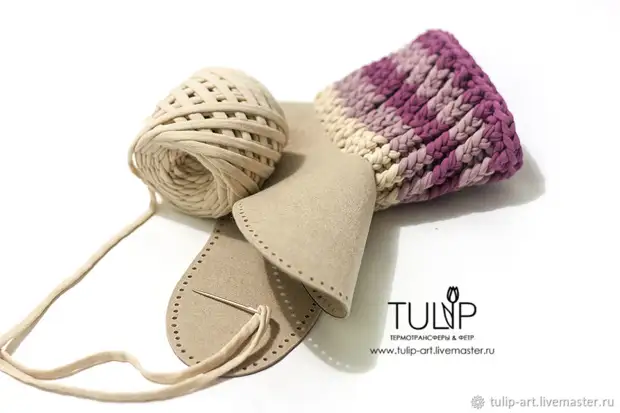
2. Fat yarn or knitted tape for knitting.
3. Hook, spokes of suitable thickness.
4. Large needle with a big ear (for yarn).
5. Pobbler, hole punch or sewn, scissors, marker or textile pencil.
6. Optionally - thick insoles (ready or self-made, I used the insole cut on the same pattern of sheepskin).
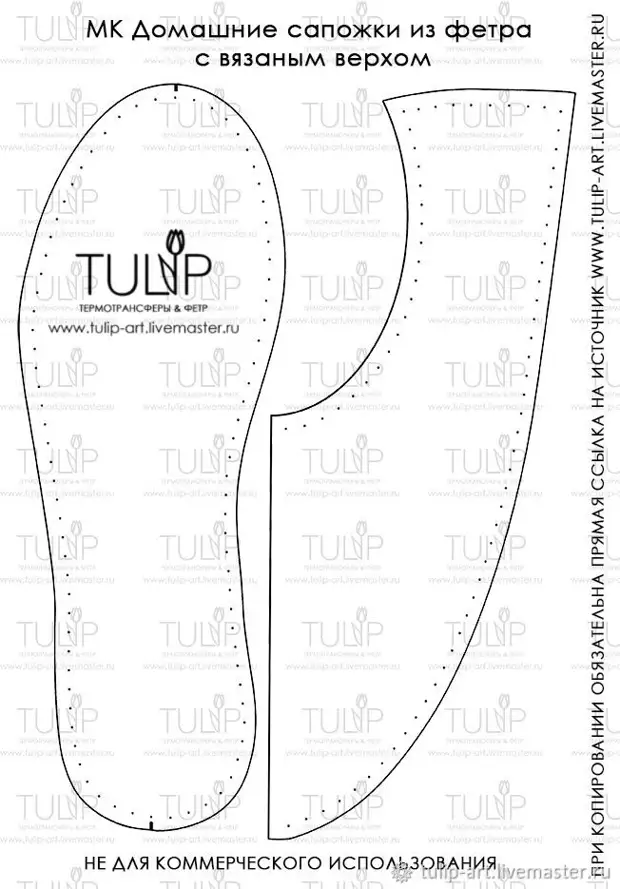
It is also necessary to print the pattern. If you print it on 1: 1, then the sample slippers are 38-39. If you need to get another size, change the scales of the print or adjust the size manually, cutting up unnecessary or adding the length of the contour.
The pattern is created by me for personal use, you can sell products created based on it, but please do not distribute the pattern and any other parts of the master class on a commercial basis, such as: sale of patterns, sale of sets for creativity, master classes and more. When copying this material, you must specify a direct link to the original source www.tulip-art.livemaster.ru
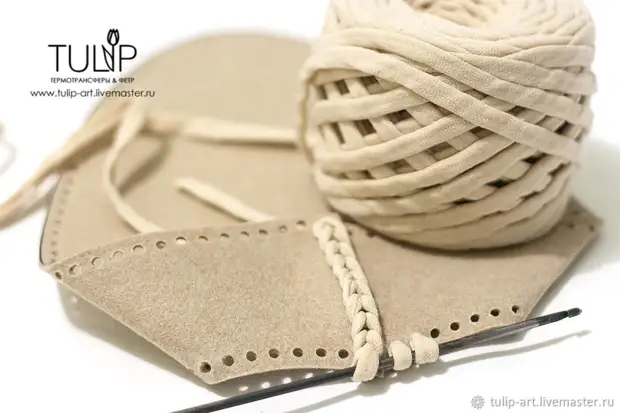
We carry out the contours of the pattern, including points around the perimeter of the parts, on the felt. Given the specifics of the work of our workshop, I completed printing parts directly on fetra, you can do it with a textile marker.
Cut the parts and with the help of a displacement, hole punch or ordinary sewn, we do the holes on the ground specified by the points. The diameter of the holes should be the greater, the thicker you plan to use the yarn.
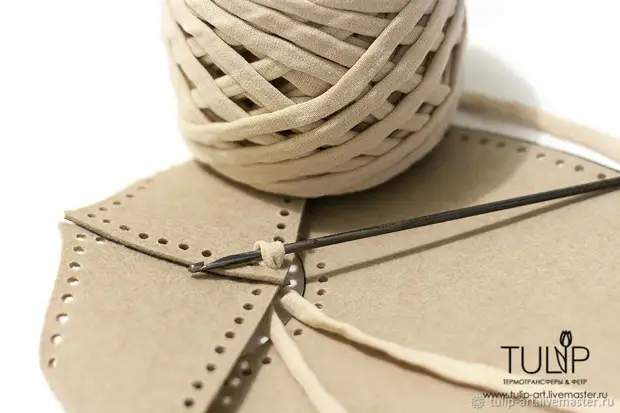
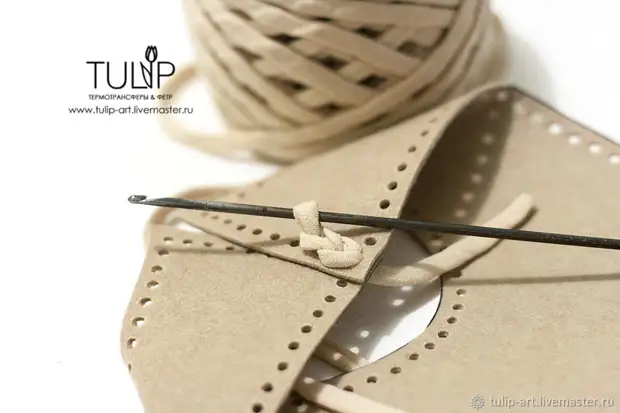
We proceed to the assembly of slippers. At this stage you will need a hook. The hook should pass through the thick holes on the felt items.
We begin the assembly from the rear seam. We connect the holes on the rear edges of the vertex parts of the slippers and stretch through the bottom holes the thread with the help of the hook.
Go to the next hole and pull another loop with crochet.
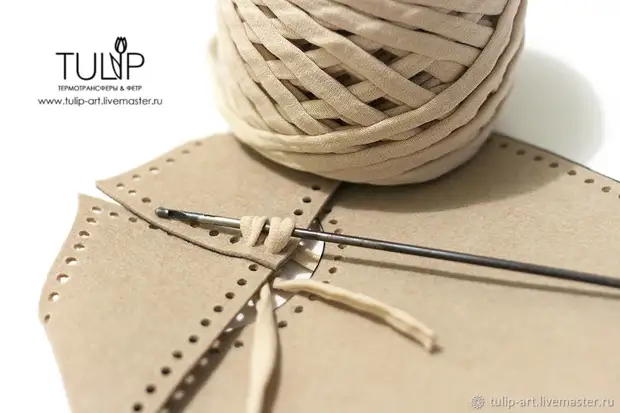
Take the second loop through the first.
Now we go to the third opening and pull another loop through it.
We again do it through the previous one.
Thus, we go through the crochet through all the holes and complete the rear seam.

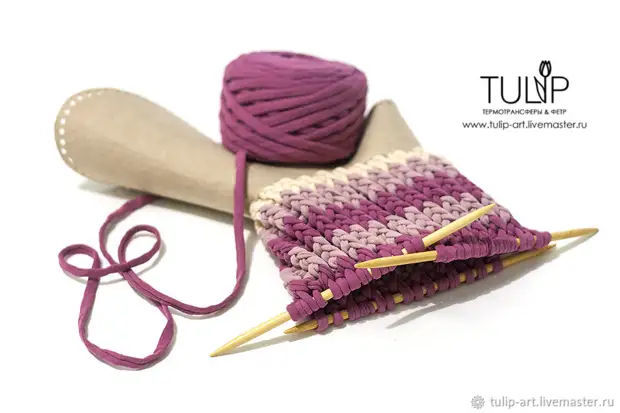
We continue to work with crochet - now you have a loop from the upper holes for knitting the top. Here I will do a small reservation - if you know how and love to knit with crochet, then you will not need the knitting needles, you can recover the boots with a hook with any way, the pattern that you like, as they say, the taste. I personally do not like to crochet and do not know and I do not know how I feel more about the knitting needles. Therefore, the hook I use minimally, only to stretch the thread through the holes in fiet. Thus, with the help of a hook, I simply scored a loop in order to tie the top on the knitting needles.
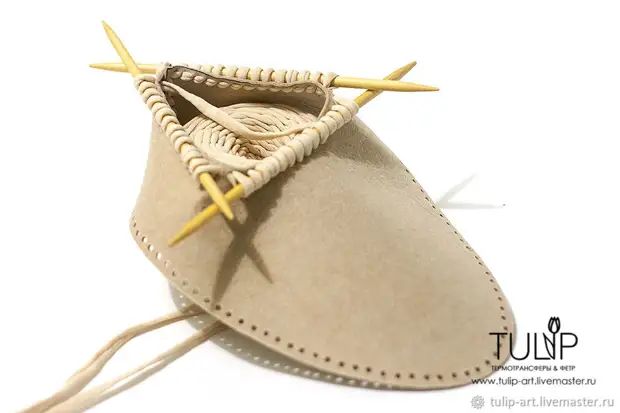
Stretching new loops through all the holes in felt, we recruit the required amount of loops and divide them by 3-4 knitting needles.

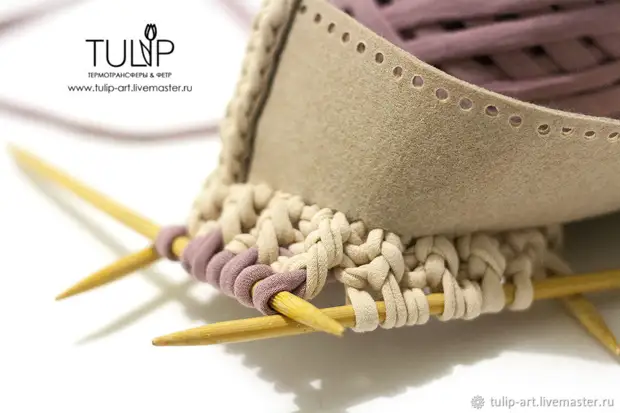
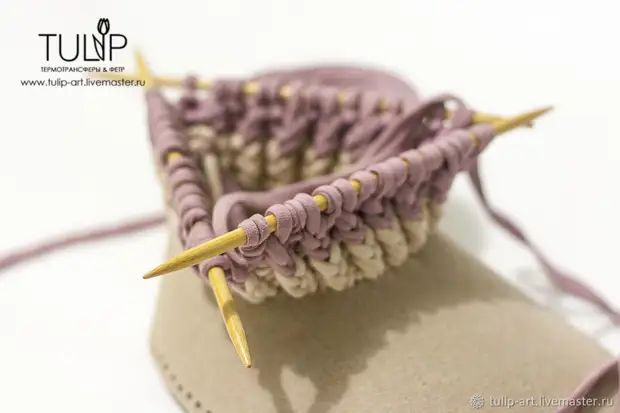
Here, I think, for everyone there will be a moment of free creativity - knit in a circle as I want: Spit, Jacquard, stripes - what we want and what we can. I knit a simple gum 1: 1, alternating a few shades of knitted tape.
When the top reaches the desired height, finish knitting, closing the loop.

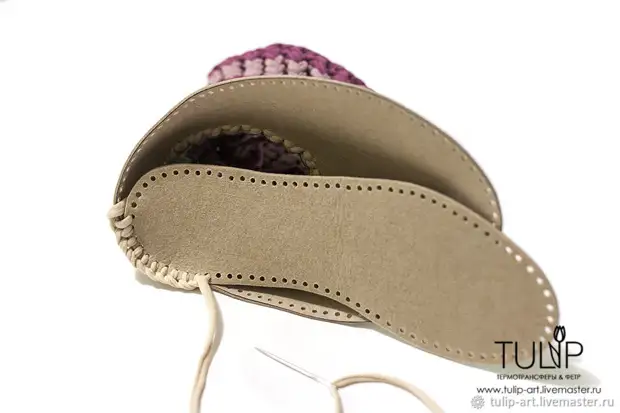
Now you enjoy the sole to our boot. We take a thick needle for knitwear, make a thread in the ear.
We connect the label on the heel with the rear seam and stitch the sole with the top. It will be very easy, whatever seams you use, as the pattern is prepared by me so that the number of holes of the soles and tops exactly coincide.
We finish the seam by passing around the perimeter and fix the thread.
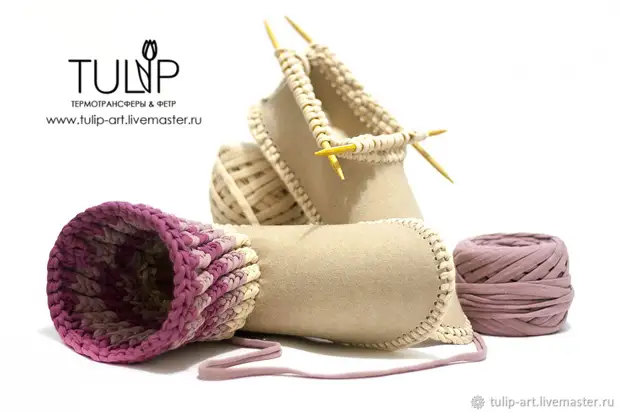
Sapproat ready! In order to wear it was warm and nice, inside you need to put the insole. I took fluffy racks from the sheepskin, demonstrate them on the example of the second booze - in it I first stitched the sole and the top and only then began to mate the top. So you can also :)
By the way, you can turn the top!
I wish you all a pleasant creativity and cozy warm autumn!
If you like my master class and you wish to add it to your favorites or use the ideas presented above, work or materials - please click on the "Like" button. This will give me an idea of the relevance of the topic and will serve as feedback, and, of course, it will simply be nice to your respectful attitude towards our work. Thank you!
A source