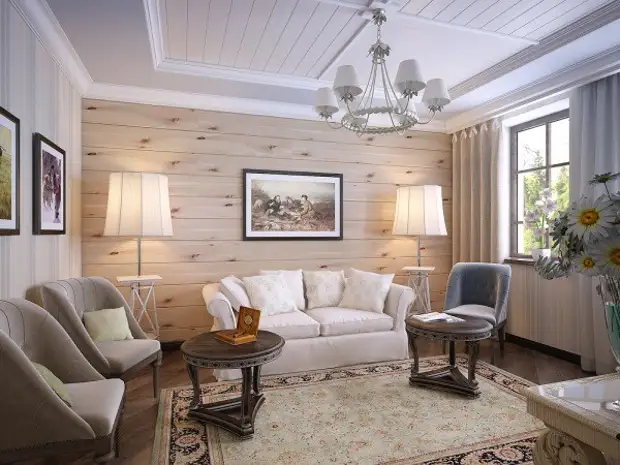
Lining painted: white, and not only
The board-lining, as a finishing material, is rarely used in apartments - except that they are squeezed by her balconies and loggias. Even if the design of the rooms implies a decoration with a tree of one wall, it is often used by plaquen, which can be mounted with a gap or an outdoor board, as she has no chamfer. But in private houses: urban, and especially country, painted lining looks quite harmonious, and it is this option to design the premises we will discuss in this article.
Our instruction will help those who want to carry out such a finish with their own hands, but does not know how to do it right.
What types of lining are suitable for residential interiors
You can see at least five types of blackboard profile with a puzzle connection, which we all accustomed to call the clapboard, and some of them you can see in the photo below. In addition to the types of profiles, there is still "Landhaz", having a curly surface, and an "American", whose profile is an elongated triangle. These are purely facade options (see Lining for Outdoor Finish: Choose the best), so it makes no sense to talk about them now.
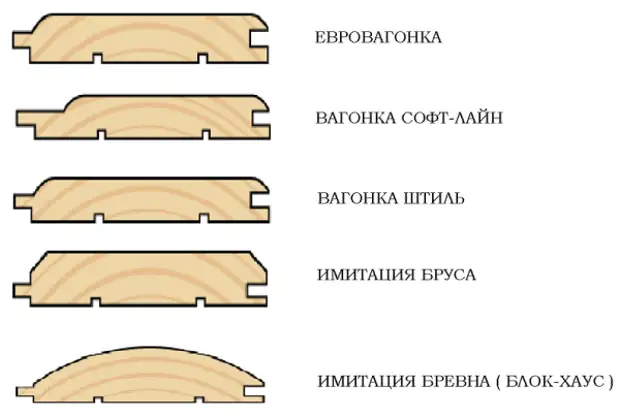
Types of profile lining
In addition, the board varies according to the sizes, and, of course, according to the varieties. The discrepancy of the profile and the size of the material is selected, depending on which its installation will be performed. As for the quality, it is necessary to take only the highest grade for finishing the premises, which is called "Extra".
Variety of wood is also important. For decoration of residential premises, the material from coniferous rocks does not use, as it highlights the resin, which will spoil your finish. Pine or spruce is appropriate only for the inside of the bath.
How to pick up the board
Let's return to the options of the sections of the board. Most often, the ceilings are triggered, but not all profile fit for this purpose.
Imitation logs and bar immediately disappear - these are options for the walls, and then, depending on which design is supposed to be implemented. If you want a house built of foam blocks, it looks like a wooden, the use of block house or simulation of a bar without problems solves this task.
So:
- The ceiling looks better than a board with a flat surface, especially when the room does not differ in a large height. On the usual horizontal ceiling, wide lining looks better. If the ceiling has several planes, as it happens in the attic, the narrow board is suitable for the skin much better - especially if it is painted in different colors, as is done on the example below.
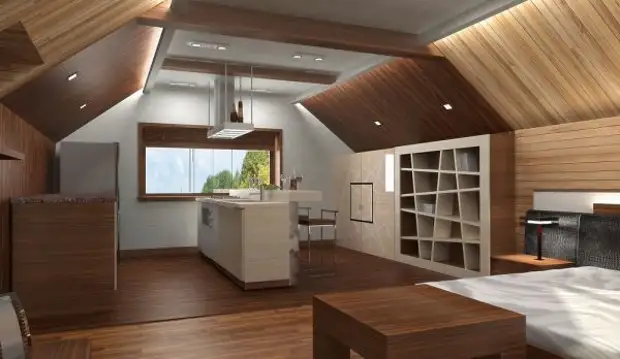
Lining in the design of the ceiling
- In general, painted lining in the interior of the dwelling, it looks more than harmonious. The natural colors of wood, of course, is very pleasant to look, but if it is a flat plane, and the same tone, the finish loses its charm and becomes monotonous. To get away from such an effect and help dosage accents, contrasting shades, as well as changing the direction of installation of the board.
- When it comes to the ceilings, it really helps to break this monotonicity of transversely mounted bars. Although, in many private houses with beam overlap, there is an opportunity to engage in the design of the ceiling beams. To implement such a design, it is also better to use a narrow board.
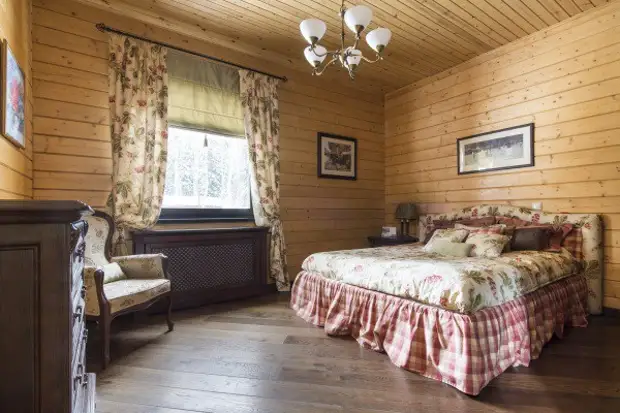
Ceiling in a brusade house
- But on the walls, it should be wider, not less than 20 cm. The elements of the cover of such a width, look at the most harmonious - and therefore many other wall materials (plastic panels, MDF) are produced in the same size.
The lining, imitating the timber or log, is usually horizontally, so that the sruba imitation is complete. Board with other types of sections: Softline, Calle, Eurovantia - Can be placed as you please.
The difference between these profiles is only in the configuration and the number of grooves and chamdes, the structure of the puzzle compound. Their facial surface will not be too different - in any case, if we compare the material of the same class.
Secrets of boardwalk
The quality of the material affects, of course, to the end result, but it still needs to be installed correctly. First of all, the board must be given at least two days to lie down in the room where the finish will be made, after which it is necessary to immediately produce its processing with flame-protected composition.
- In addition, he makes a more expressive wood pattern, which will be very by the way, if you decide not to paint the trim, and use, for example, a transparent azure. It is necessary to apply the protective composition carefully, not forgetting the same about the ends and grooves.
- While the impregnation dries, you can take the preparation of surfaces to facing. Of course, it is not necessary to clean them to the ground - if only the old plaster does not appear. But if somewhere there are cracks, cracks, sweeps - and other troubles, they need to be eliminated.
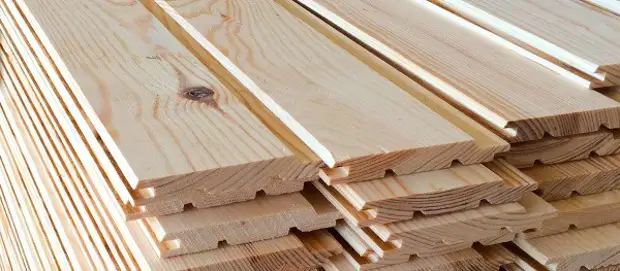
Waiting for the installation of the lining should be searched
- In general, wood does not like drafts, so the insulation is better in the trim. In any case, it must be done on the outer walls, ceilings under the attic room, in the attic. You can mount the lining on both the aluminum profile and on a wooden doom.
Construction with insulation may include and profile, and rack. We will not go into these details now to pay more attention to the installation of the board itself and its finish finish. If you decide to do an independent trim and her decor, you will certainly watch the video in this article.
Installing the root and molding board
We will tell about the mounting of the wallboard in brief, taking the option on the wooden frame. For the root, the rail will be required with a cross section of 30 * 40 mm, which should also be processed in advance by protective impregnation.
So:
- Install the frame elements in the direction perpendicular to the board position. So, if the elements of the skin will be located vertically, the belts of the root should be installed horizontally.
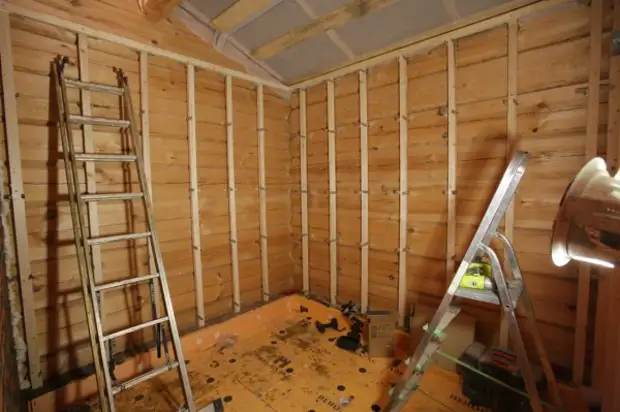
Dooming under the horizontal version of the trim
- The most difficult thing is to remove the frame into a single plane, since absolutely smooth walls do not happen in principle. To determine the degree of irregularity of the surface, they are dragged and fluent in the level. If the deviations do not exceed 5-7 mm, consider you are lucky - so minor depressions can be compensated by lining bars.
- You need to start with the definition of the most outstanding point, install a rack on it, which will play the role of the guide, and already stretch and fix on the nail to the fishing line, which can be focused on.
- The distances between the rails usually do not exceed 60 cm. If you are in between the insulation between them, the step between the belts of the roasting is determined, based on its width - it will be not 60, and 50 cm. But in this case, the frame does not make a frame And from the bar, the cross section of which should take into account the thickness of the material.
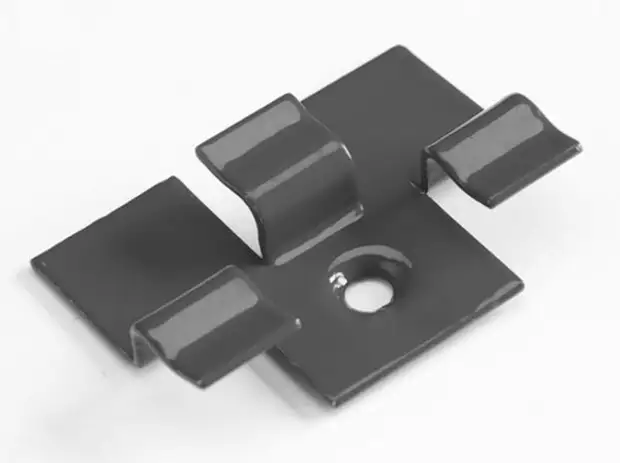
Klimmer: Hidden Fastening for Lining
- If the walls are very uneven, that is, there are only two outputs: to pre-align the wall with a plaster way, or to install a doom on direct suspensions. With their help, you can easily level the plane of the root. Since the price of plaster is higher, the owners usually prefer the option with suspensions.
- Fastening the lining to the doom is made with a broken method - with the help of curvators. Self-tapping screws or nails use only for fixing the first and last boards. If in order, then it looks like this. The trim starts from the wall, having the first board so that her spool looks into the angle - it is precisely it and fasten with a self-tapping screw to the bar.
From the opposite side, the beammers are installed, which, entering the groove on the rib clap, are firmly held it. After all the beammers are fastened, the second board is installed. Its spool will start in the groove of the previous one, and on the other hand, the hidden fastener is carried out. As you can see, everything is pretty prose.
Painting of the surface of the surface
For painting of wood, almost any paints are suitable - including water-dispersive, which stained plaster surfaces. But they have high shelterness, and under such a layer, the tree drawing is no longer visible.
- If you have a desire to admire the natural texture of wood, use transparent paints specially intended for it. These are all sorts of simulators, impregnations, lesing compositions, varnishes, which can be both completely transparent and slightly tinted.
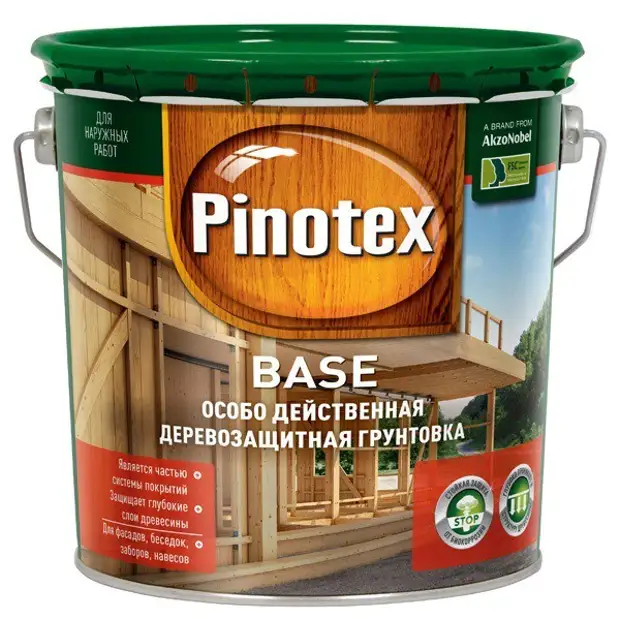
Tinting impregnation for wood
- Suppose, an acrylic decorative azure, which is also called color protection for wood, can be used not only as an intermediate coating, applied before proceeding with surface varnishing. It is also a full-fledged finish coating, as it will decorate the trim, and protects it from unwanted effects.
Tip! Painting the tree is always better manually - so smaller flutters, and below the consumption of paint. Before applying, the composition must be well mixed, and otherwise the shade can be obtained uneven. There should be no greasy layers - it's better if it is necessary, paint the wall is not two, but in three layers, but thin.
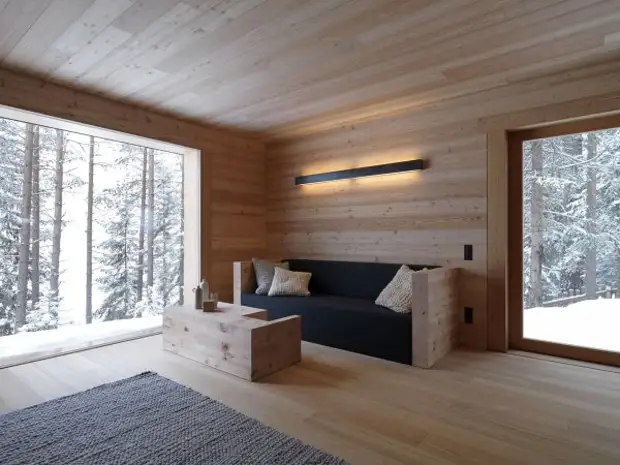
Tinting wood with different shades
- Start painting from an invisible place, a small stroke - suddenly the shade of paint will not be like you imagined him. As already mentioned, the ground formulations may have a shade, but if you use a transparent option, it can also be smoked.
- In general, not all compositions are amenable to the caller - such an opportunity, as a rule, is negotiated in the manufacturer's instructions. By the way, it is possible to use the paint of two shades for painting, and alternate them through one or two boards. In the interior, this version of the finish looks great, eliminating it from the very monotony, which was said at the beginning of the article.
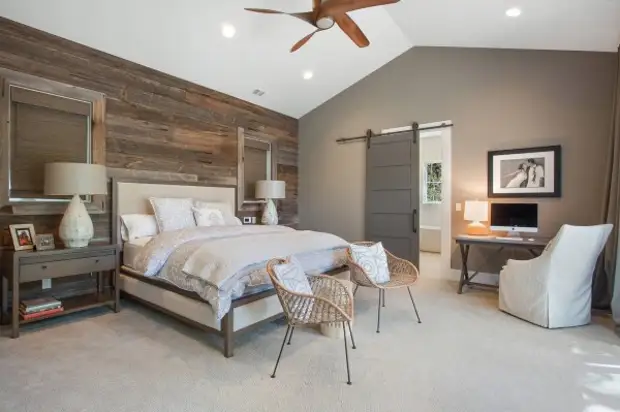
Board in the headboard bed covered with patina
The ideal solution for painting lining is half-making paints - they allow you to hide the wood texture, but leave on the surface of the relief. Well, if you want to focus on one wall, and decorate wood, for example, under ancient, you need to use patinating compositions. An example of such a finish you can see on the photo from above.
a source
