
Make a practical folding table for a small apartment.

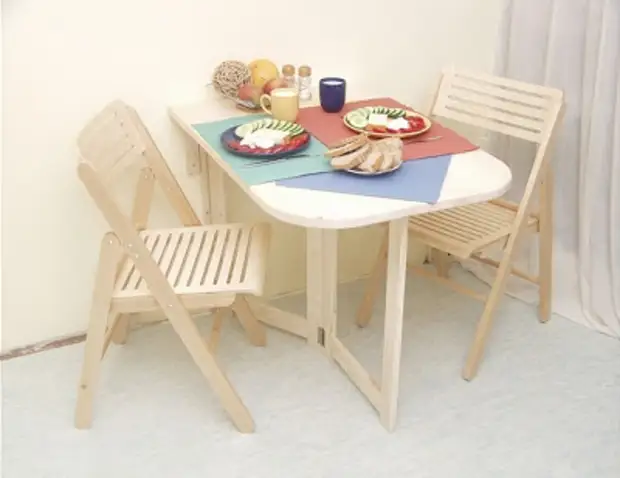
It may come in handy everywhere where there is little space for the big table. You can also sew and stroke on it. If necessary, it can be quickly folded and decomposed. A small fixed part can serve for things that do not need to clean each time when the table is folded or declined.
Sizes can be accommodated to the room in which it will be located. However, do not forget that the folding part cannot be longer than the height of the table, otherwise it is impossible to fully fold it.
The surface can be covered with colorless varnish or separated into the tone of furniture indoors. The varnish is applied 2-3 layers, before applying the last layer, it follows all the colors to go through the skin.
The unfolded table is stable enough to eat or iron, get up, however, it's not worth it, you can "be faster than the table itself.
Step by step:
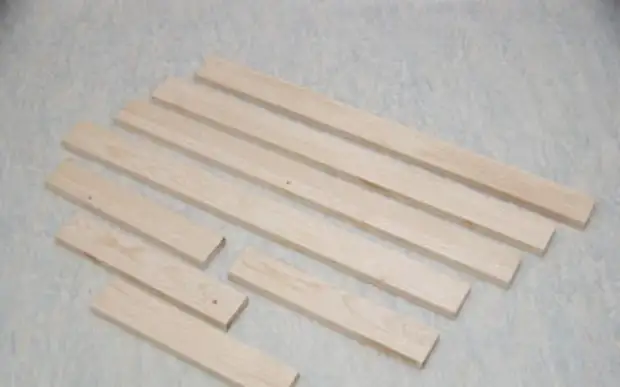
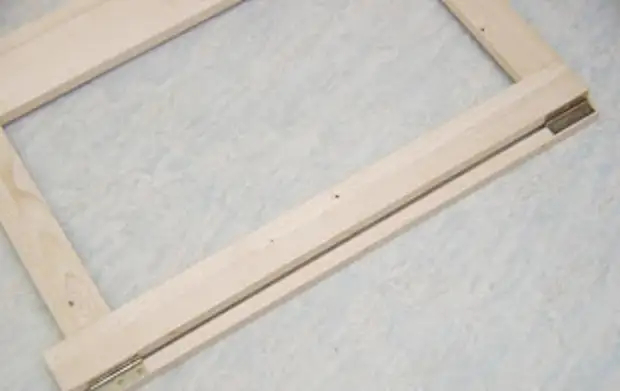
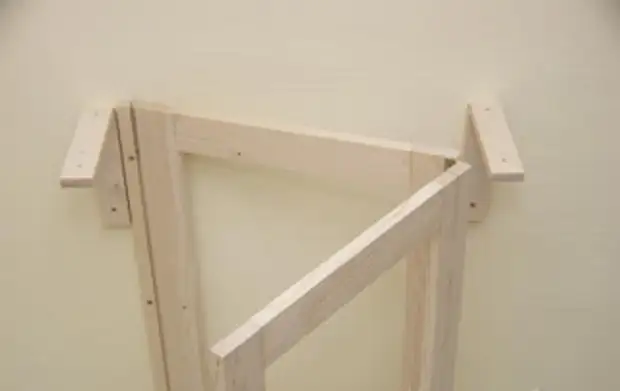
1. For the manufacture of two frames that make up folding legs, we will need fir shovels 6x2 cm. Four length 72 cm and four shorter - 32 cm long. Long planks are the height of the table.
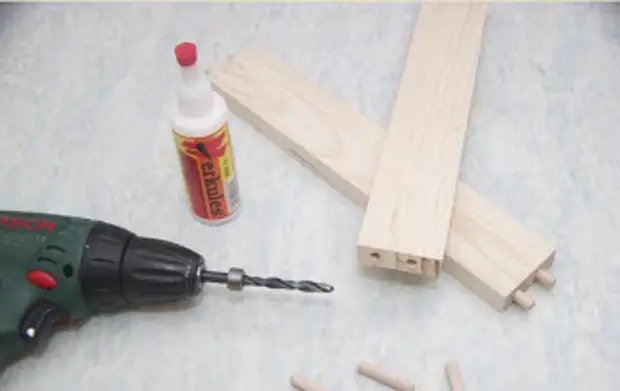
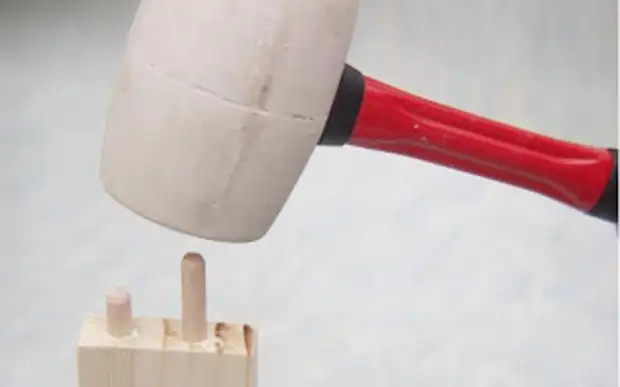
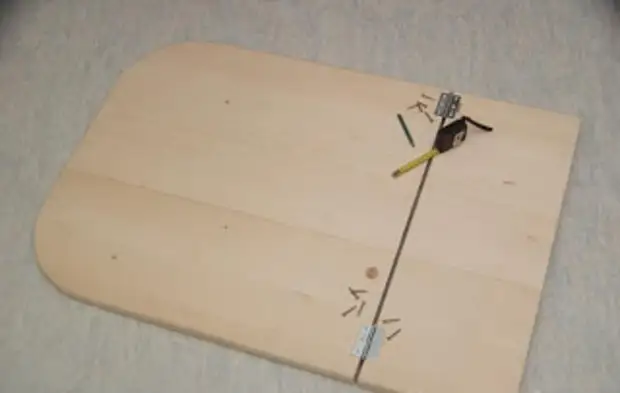
2. With the help of a stencil and drill with stopping, drill holes for wooden connective peasants. And diameter 8mm, length - 45mm.
3. The frame that makes up the folding leg is drilled so that the lower plate is frank up to the top by 5 cm and formed legs.
4. In the holes, we boar the dispersion glue for the tree, insert the connecting pegs and lay the frame. Excessive adhesive glue immediately, until dye.
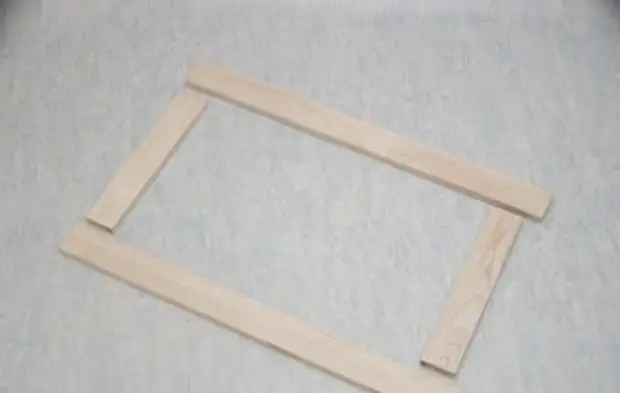
5. Staining the frame with carpentry clips. Follow it not to be pulled and did not twist. We retire the perpendicularity of the angles. So shove two frames. After final drying, we will remove the clamps.

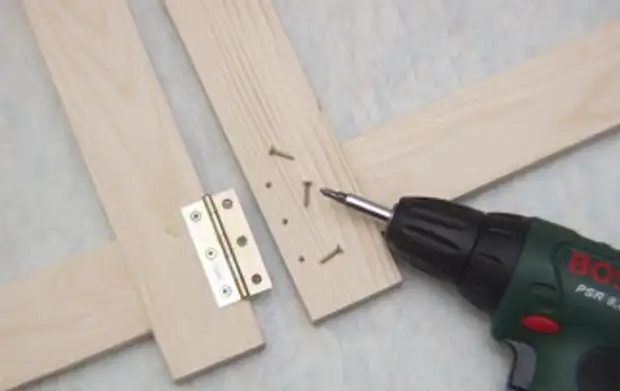
6. Both ready-made frames with short loops. We can take long loops and connect along the entire length. Secure with small screws, nails are not suitable.
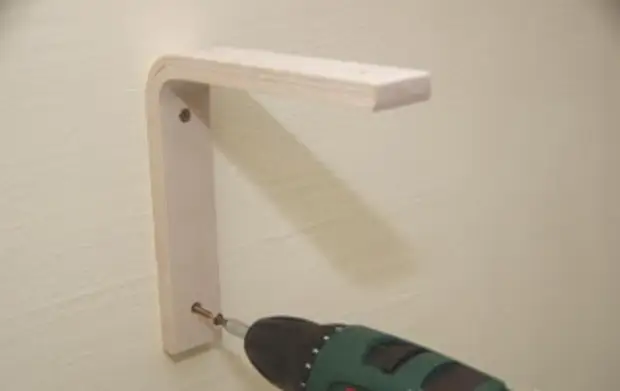
7. To another end of one frame, it is necessary to attach a narrow bar 2x2 cm. It is also connected by loop. The bar is tightly attached to the wall, and with its help the legs fold.
8. In the wall, we drill holes for the dowels. The entire table and its fixed part is installed on two wooden supports. Previously, thoroughly follow the place for the holes with the level and triangle.
9. The distance between the supports should not exceed 2 cm from the edge of the table. However, you need to quote, so that the legs come there.
10. The countertop is made of 90x60 cm pine boards and 28mm thick. If you wish, the front corners can round. As a stencil can serve a cover from a pan.
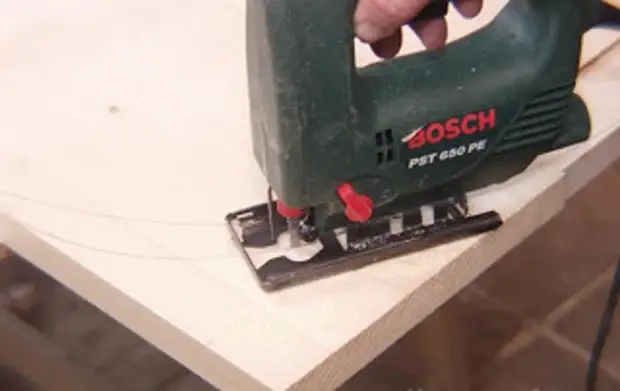
11. Rounded edges in departure. For simplicity, this can be made by sandpaper.
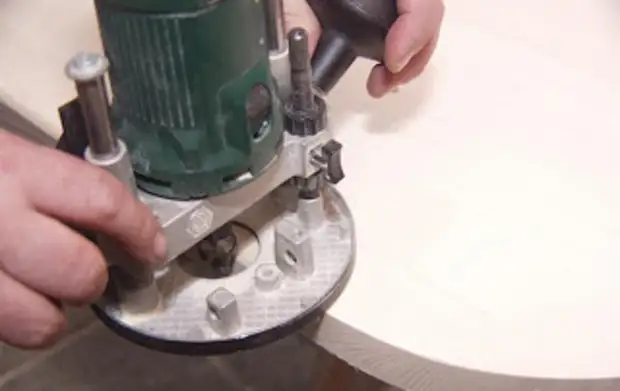
12. The prepared countertop required to reduce 25 cm. Under this short part there will be a table. If you do not have the opportunity to make the edge smooth and neat, please give a specialist - the appearance of the entire table depends on it.
14. A smaller challenge of the table is put on support and strengthen it with two screws in front. Their length is chosen so that they do not pass through. Piles for screw heads will pre-make in wooden consoles.
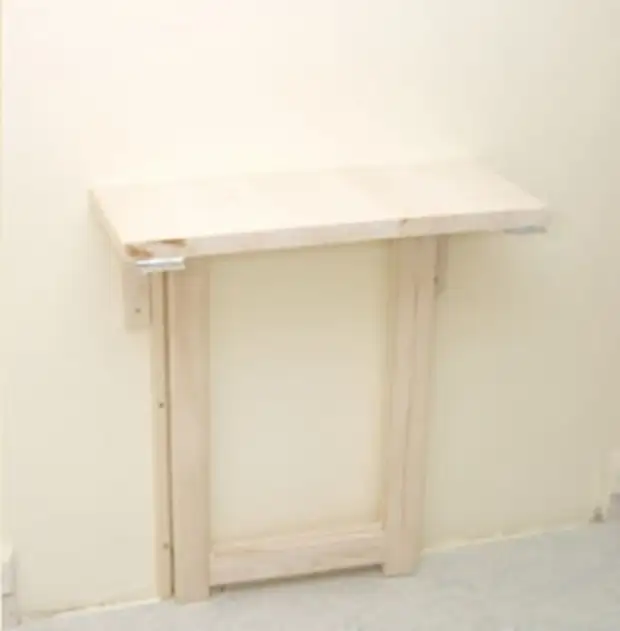
15. Now we can completely decompose the tabletop leg. The laid leg should not exceed the area of the table top.
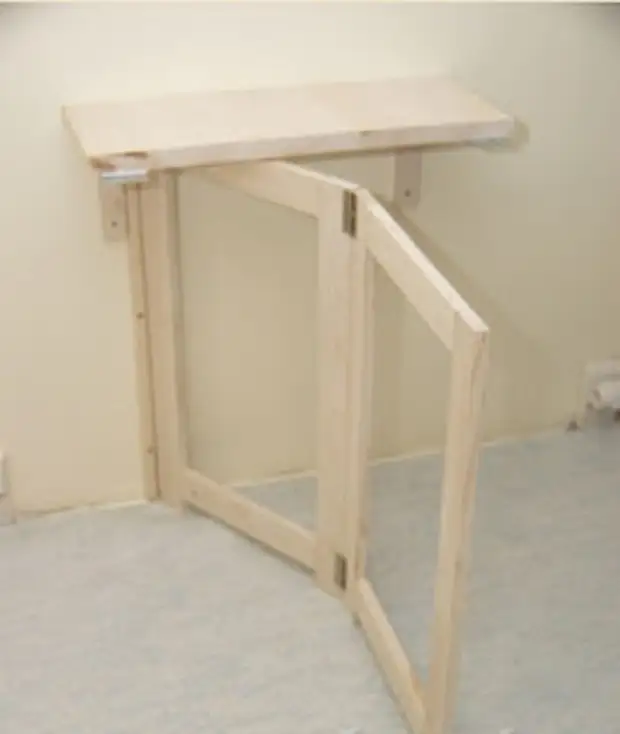
16. On the unfolded leg, consisting of two frames, we put a folding part of the table top. From the bottom side through the previously drilled holes, connect it to the unbalanced part with the hinge. From the bottom side, we will attach two strips that fix the unfolded leg so that it is impossible to add it to the most inappropriate moment.
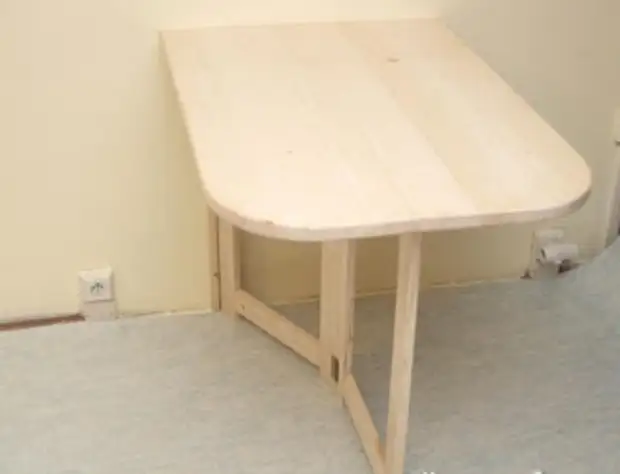
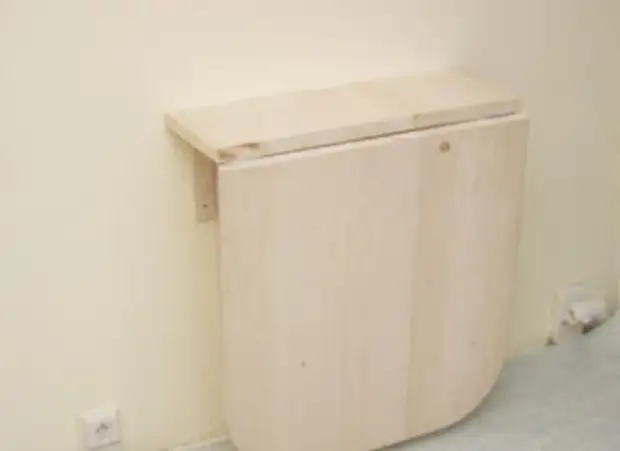
17. Table is ready! Folded occupies only 28 cm.
A source