
Have you seen such a master class? He caught me for the first time.
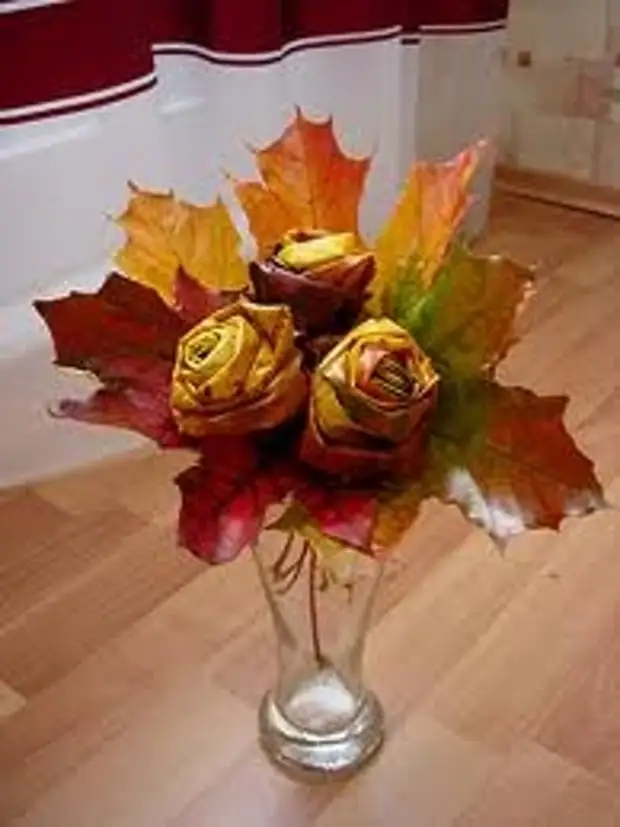
This is beautiful The basis for the bouquet of flowers from a plastic bottle . Well, and since we have autumn, then in such a basis you can insert flowers from autumn leaves. Many probably have learned them to do? For those who still do not know how to make flowers from autumn leaves, watch the video master class below. I think this bouquet will not leave anyone indifferent.
The words of the author are not changed
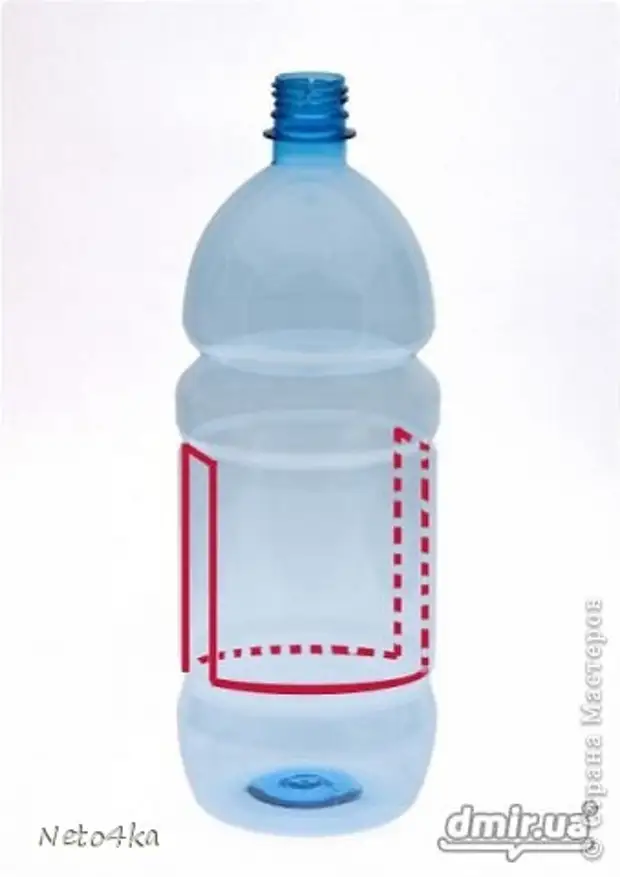
So, I cut the bottle in such a way as in the diagram
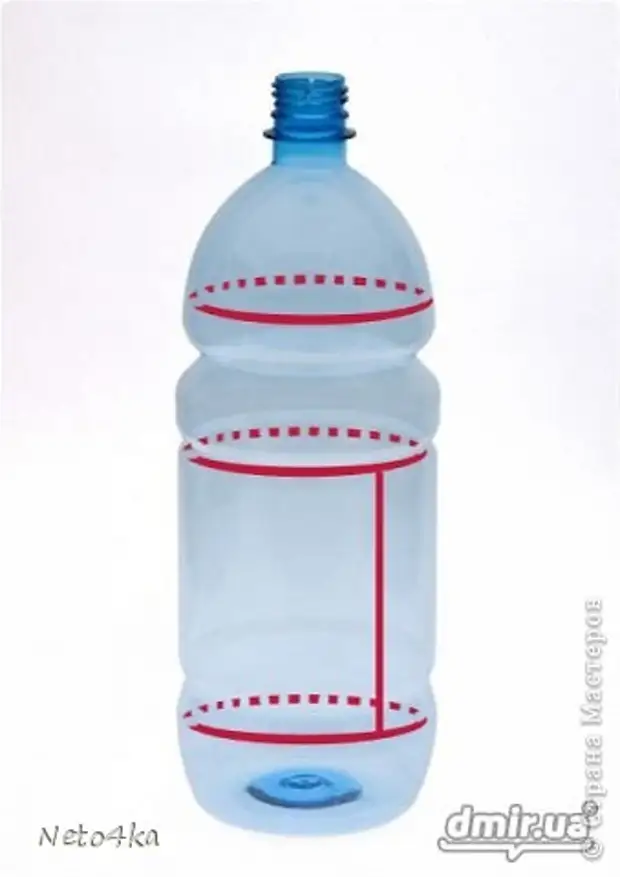
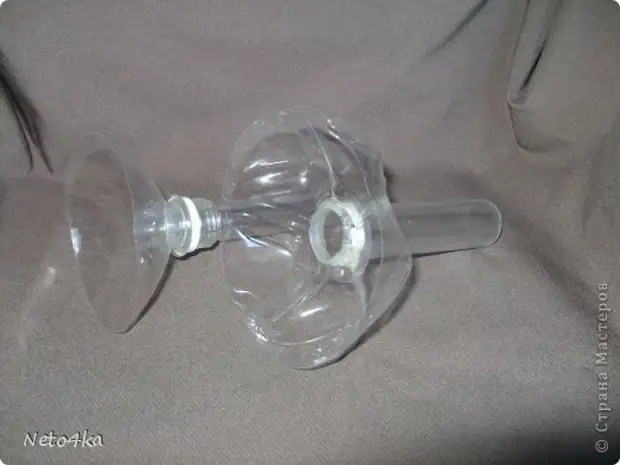
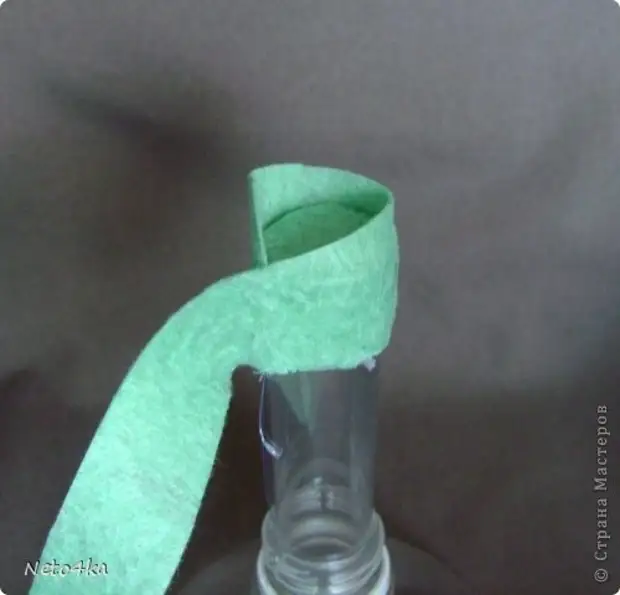
Three details turned out: Funnel-Zorlashko, the bottom and the cylinder, which I cut into two rectangles (only the place of the bottle curvature was left in the garbage). In the bottom she made a chopped round hole. Each rectangle rolled into the tube and inserted one of them into the neck-funnel, the second in the bottom of the bottom. The joint is better to be made with glue or scotch. It turned out two small basics.
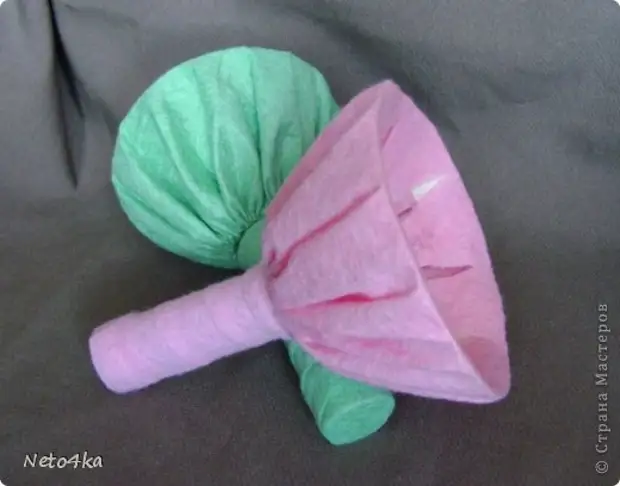
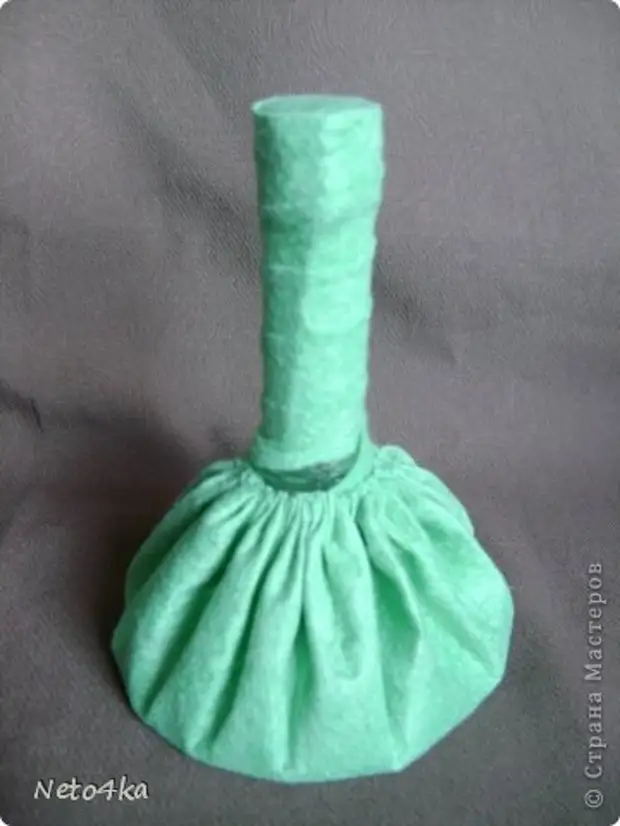
You can decorate the foundations in your taste. I decided to do it with cleaning napkins. They are durable, velvety to the touch, there are multi-colored, cute (especially, if you still add all sorts of beads-ribbons) and, importantly, cheap.
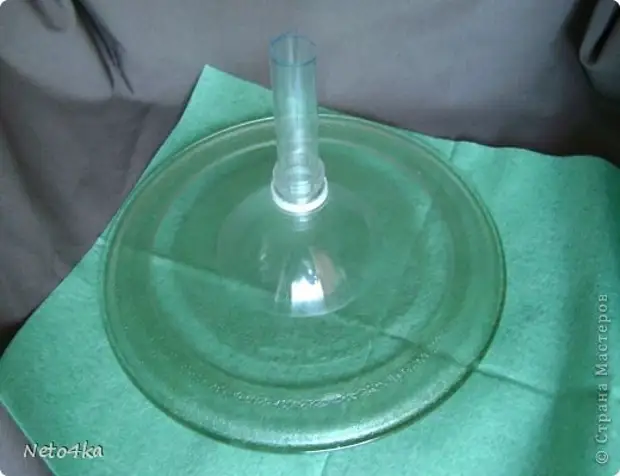
From the napkins cut a large circle (I have a diameter of the base of 9.5 cm, the diameter of the plate-template is 24.5 cm)
We also need a strip of a width of 1.5-2 cm and a small circle with a diameter of about 5-6 cm.

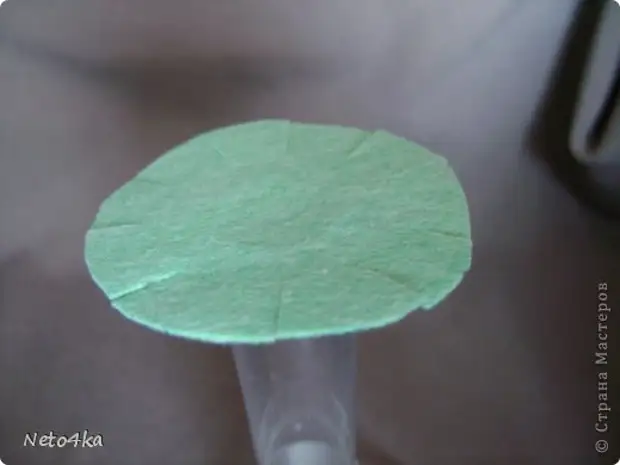
Little circle stick in the center by the end of the tube stick.

We make cuts, a little not reaching the handle.
nine.
We drive down the "petals" down and glue.
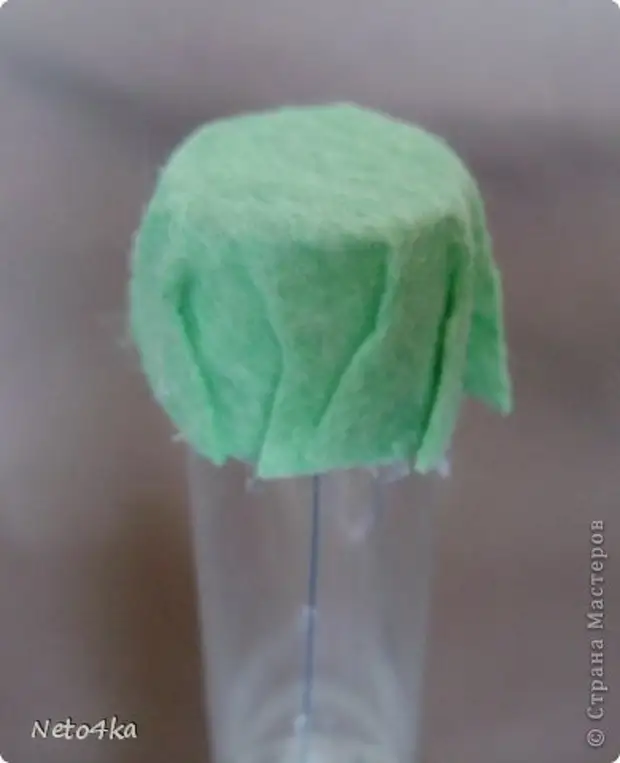
We take stripes and begin to glue, necessarily coming out half the width of the strip over the edge of the handle.
It turns out so.
12.
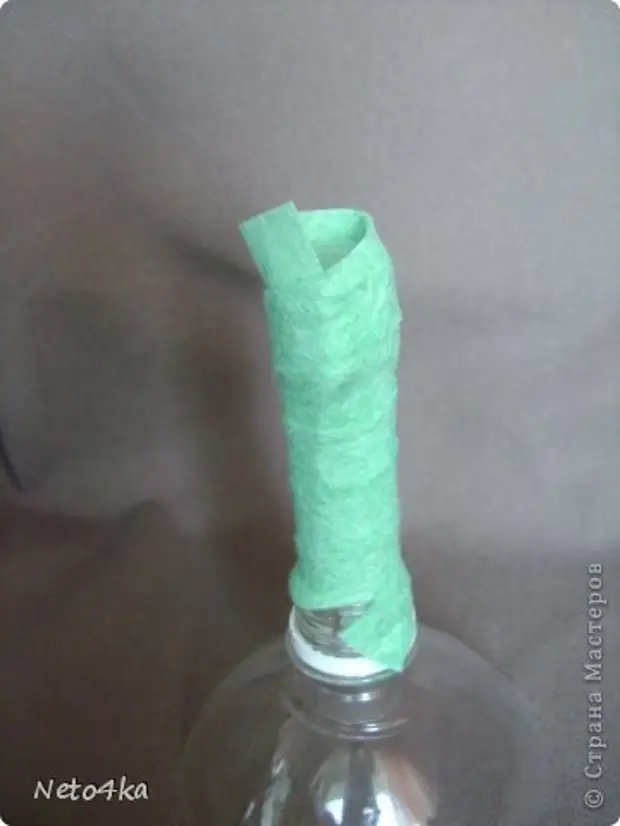
Now carefully cut the protruding edge. It turns out a rovy handle.

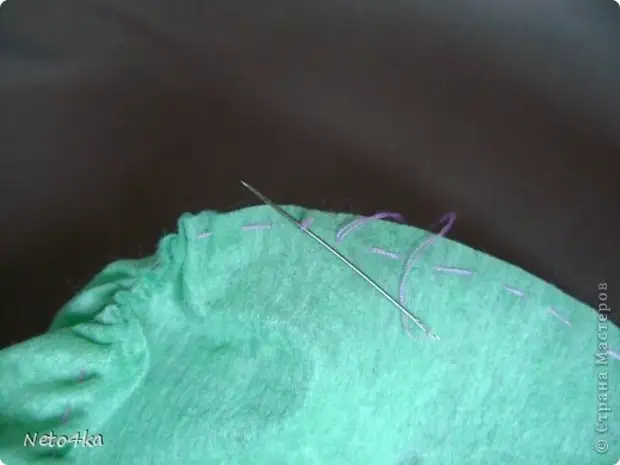
Along the edge of a large circle, retreating from it about 3 mm. We deploy the simplest seam "Forward needle." So that the nodules did not run into the punctured holes, I sew threads in two additions, and at the end of the sewing I did a needle in the loop, which was obtained from the nodule.
Place our foundation in the center of the circle and tighten the thread by forming neat folds.
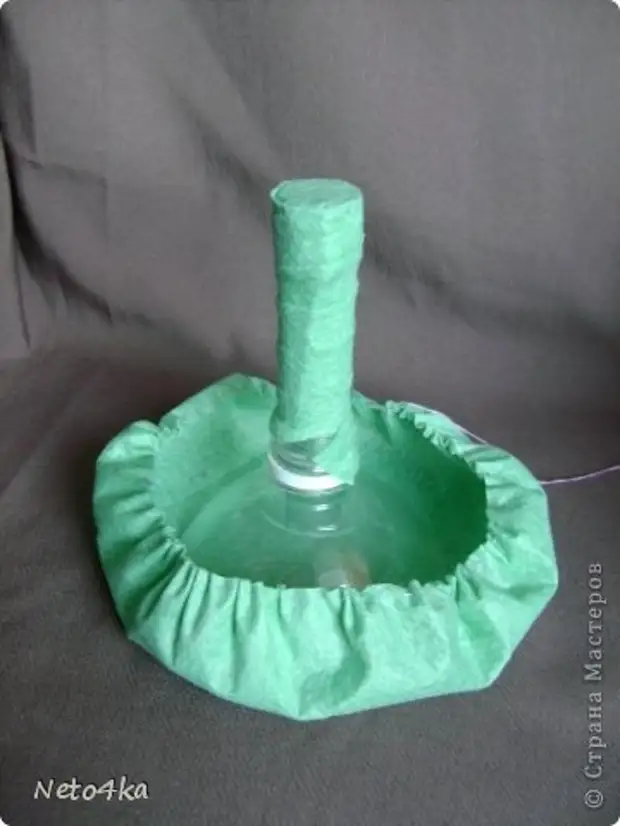
It turned out such a billet. The junction of the handle and the "bowl" will later be decorated, so you can not pay attention to the unclosed clearance.
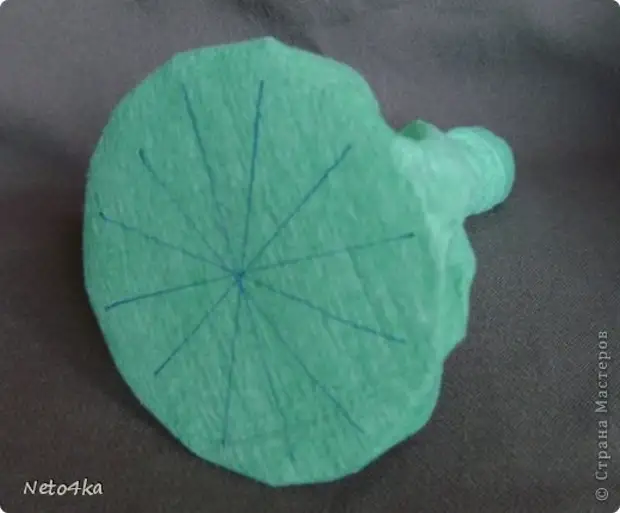
From the center to the edges of the "bowls" make cuts, not reaching the edge of about 5 mm.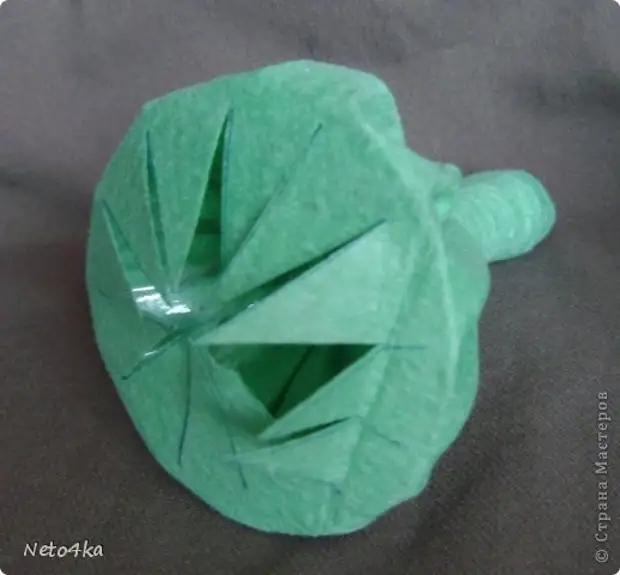
We glue inside the resulting triangles. The basis is ready. It remains to insert inside the foam, the penplex or something else (I, for example, insert a dried assembly foam) and make a gift to someone who you are roads.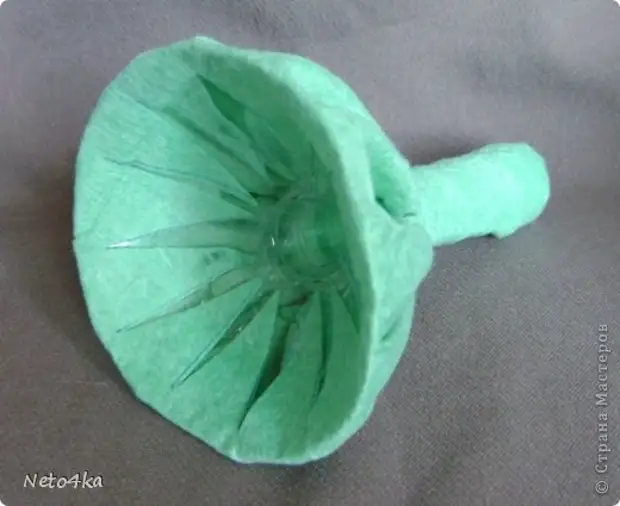
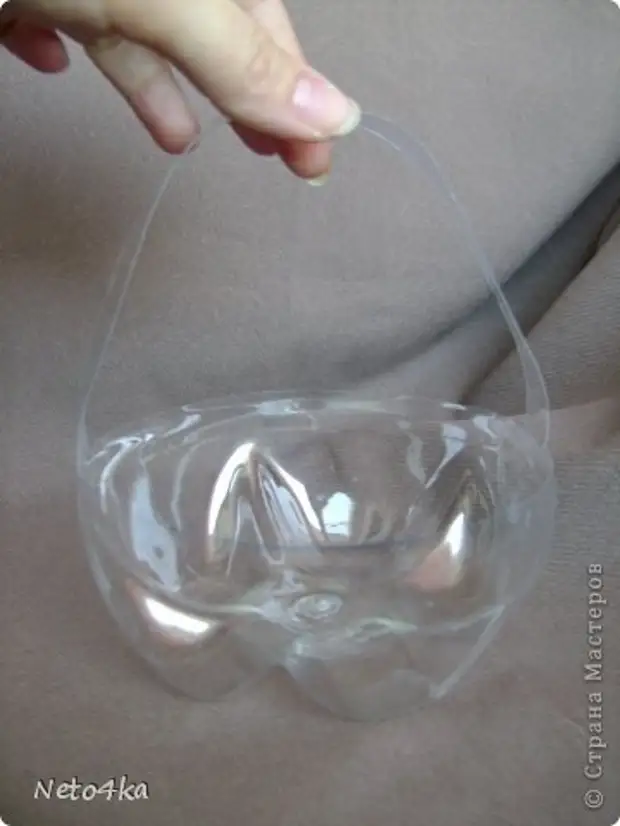
From the bottle you can make a basket (and still remain parts for the manufacture of the base for the bouquet). Cut the bottom with the handles, cutting the bottle according to the scheme.

Edges of the handles fasten. The handle strengthen the wire or, gluing the cardboard strip. You can decorate.
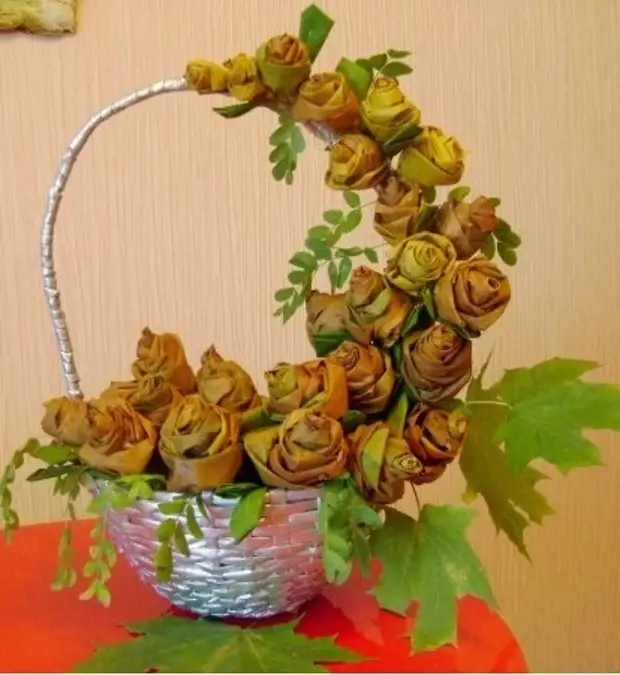
And now you can make flowers. It is very exciting! The result is awesome!
A source