
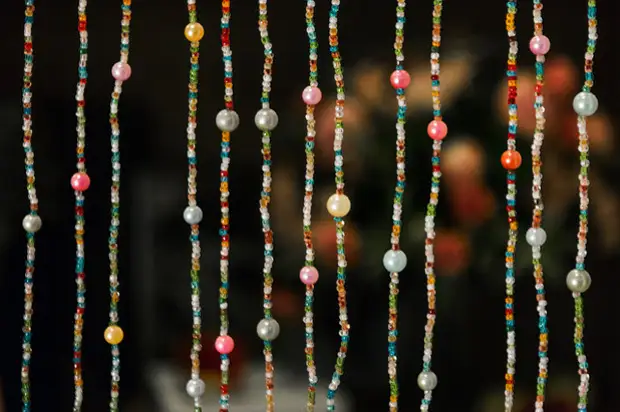
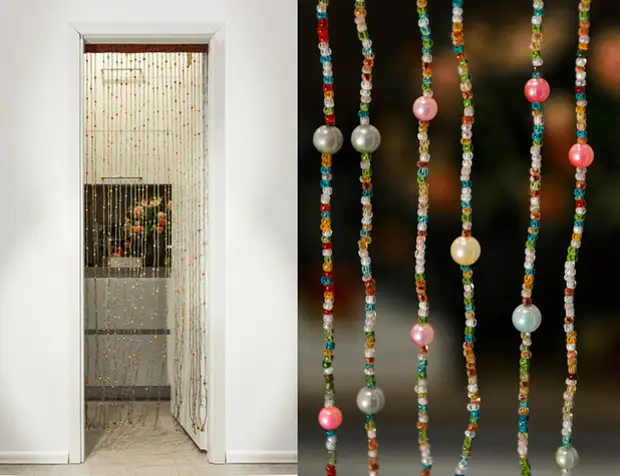
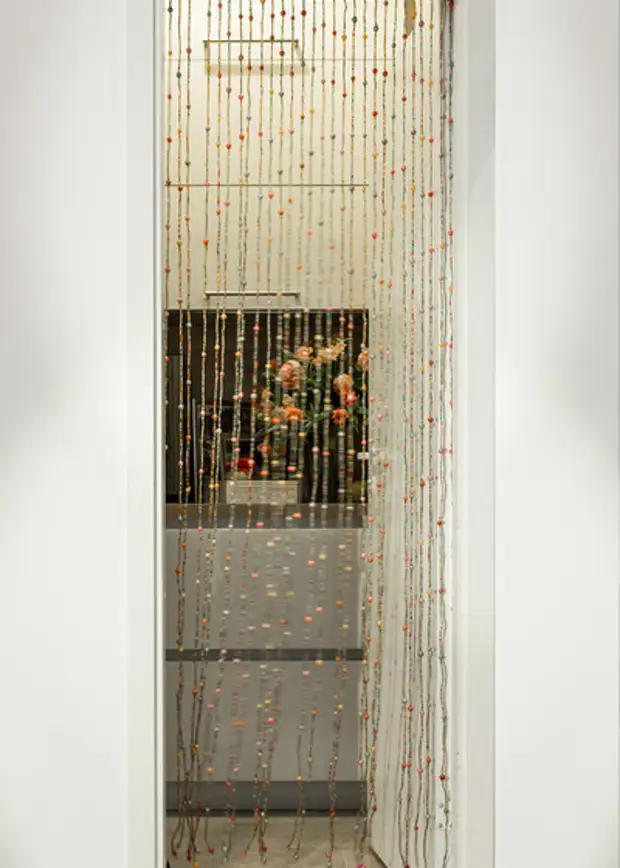
There are situations where the door in the opening is simply not needed, but this opening is "naked" it looks empty. In this case, an excellent alternative to the door will be the lightweight and air curtain from beads and beads - the dense curtains do it yourself. Look for a master class with detailed instructions in this article - you can easily handle over the next weekend, it is only worth buying enough beads.
Time: Depends on the length and number of threads
Difficulty level: Can be repeated
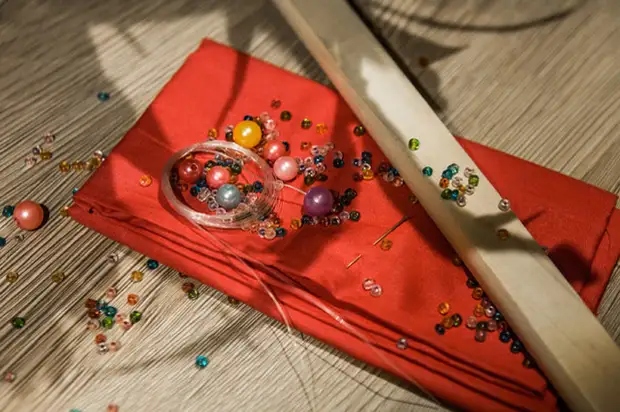
Materials and tools
- Large beads and beads with a diameter of 1 cm (accurate recommendations in quantity and weight give it difficult - it all depends on the desired length and frequency of the threads of your future filament curtains)
- Basis for curtains (fishing line, ribbons, cords)
- Cornice
- Scissors
Step 1. Come up with a pattern pattern
Before making the filament curtains with your own hands, come up and make a color scheme of the bead. You can depict the drawing or ornament on the curtains - to do this, download and print the finished embroidery scheme with a cross. But if this is your first experience in beading, I recommend to ride beads in an arbitrary "motley" order.
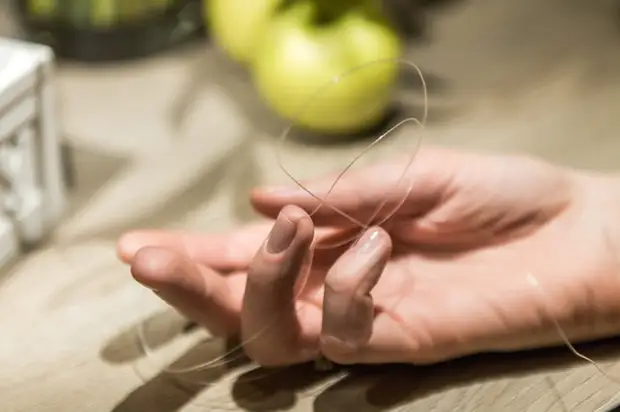
Step 2. Cock the fishing line
Measure each thread on double-length, add stock to the mount to the base.
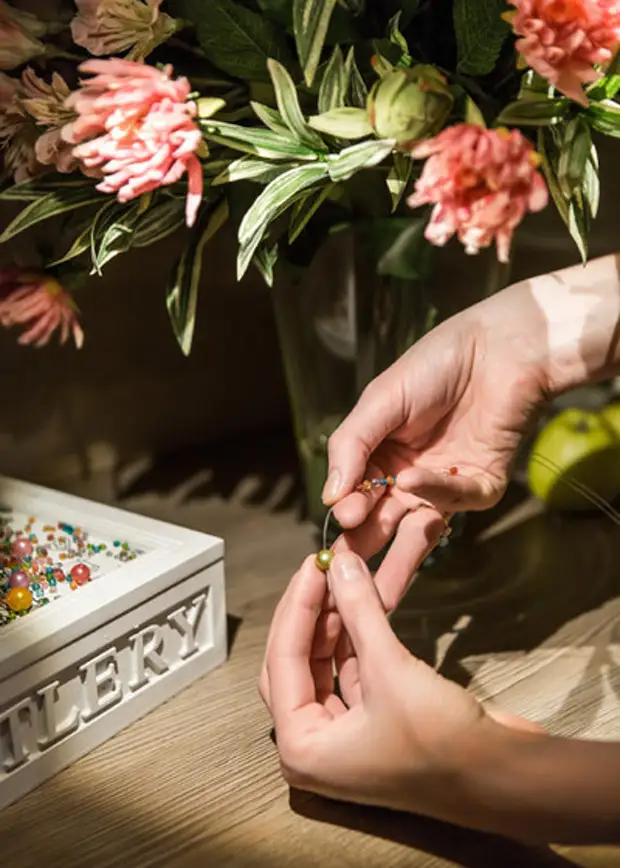
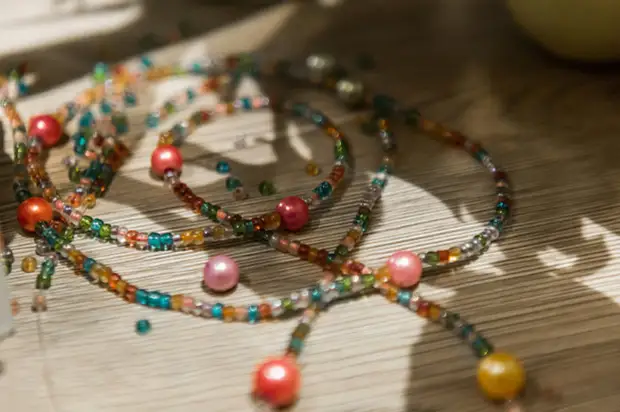
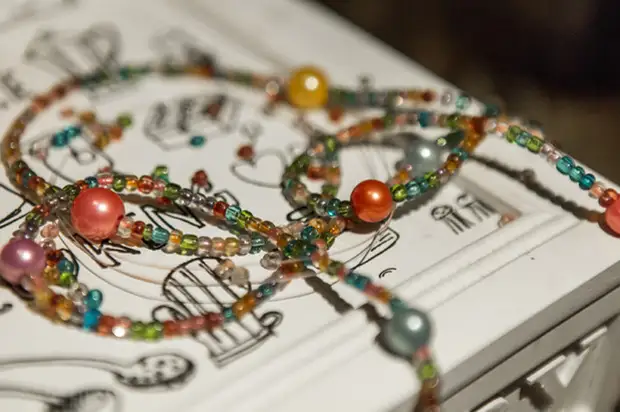
Step 3. Start beading
Take beads in the desired or arbitrary sequence, putting the first bead on the single fishing line in the middle, and the rest - on top of it on double. (It seems to me it does not hurt the knot to tie between beads. (S.Z.))
Tip: To drag the threads of the future dense curtains, use major beads. I rolled them around every 10 cm along the entire length of the thread and completed the work of a major bead.
Step 4. Prepare a bar
A wooden bar that will perform the role of a cornice, cut the width of the opening - windows or doors - on which the curtain filament will hang. It can be attached both along the inside of the platband (and then there must be less frame) and on the external width (and then measure the most extreme points). We think about the fasteners in advance (it can be the usual loops for fastening the photo frames) - the product is quite easy.
Step 5. Decide how to decorate the bar
If you are a real dock of beads, you can weigh a wide "ribbon" from beads - so the curtain will look even more interesting. But not trouble, if you lack experience or patience: to close the places of fastening the threads to the base, and a wide satin ribbon is suitable.
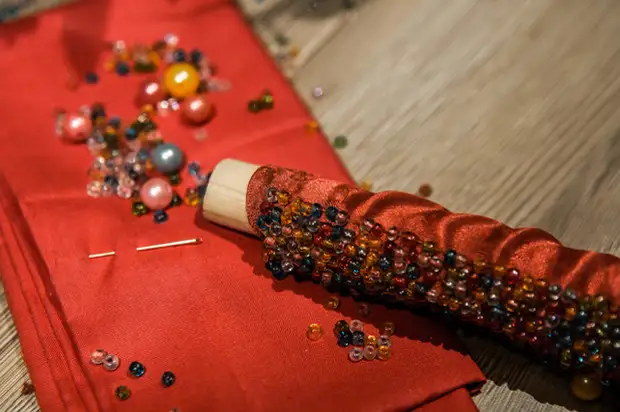
Tip: If you do not know how to weave complex patterns, and you want to make a bead decor - just make a very long bead thread and sushach it to a tape or fabric that you decorated the bar.
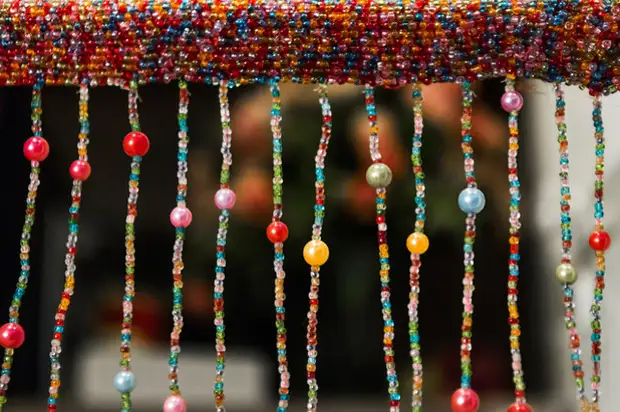
Step 6. Attach the thread to the eternity
Fix the finished threads on the base-rail can be in several ways. The simplest is to drill holes and tie the collected threads on the bar. After that, decorate it with the selected way: a ribbon, a bead fragment or a fabric with beaded stripe.
A slightly more difficult solution is to fix the threads on small curtain rings. In a pair with a string, they will allow moving the thread along the opening and you will receive mobile filament curtains. Ready!
A source