
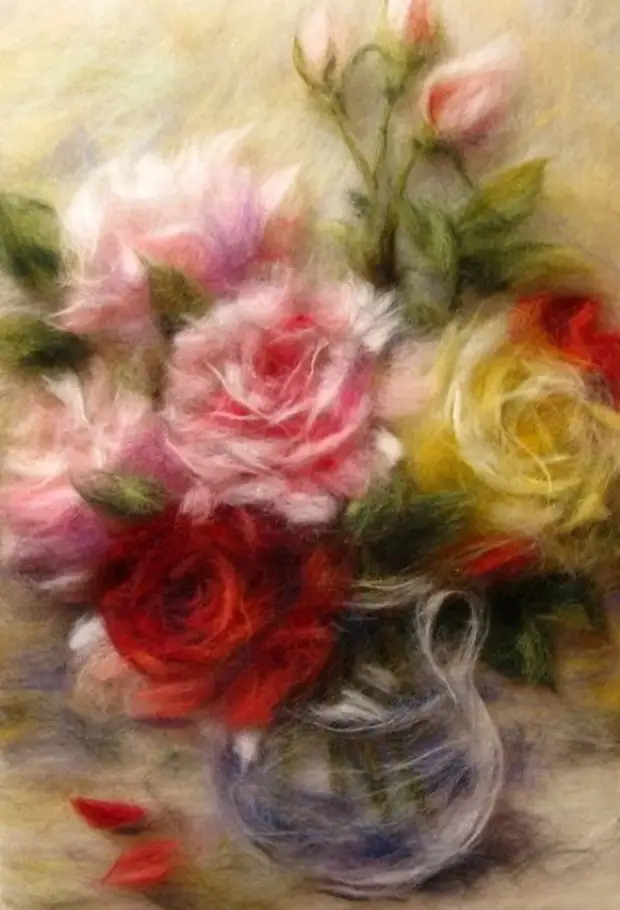
The layout of the paintings of the wool is the process of layer-by-layer formation of an image from a fibrous material, in which the picture is formed gradually from the multicolored strands of the wool layer on the layer.
Drawing of wool is performed according to the same principles as paints drawing. The volume of the items depicted is expressed by color taking into account lighting. Wool appears as a color medium, this painted material that can be given the desired shape and decompose on the plane in the form of a pattern.
Video about the basics of drawing paintings with wool without flipping:
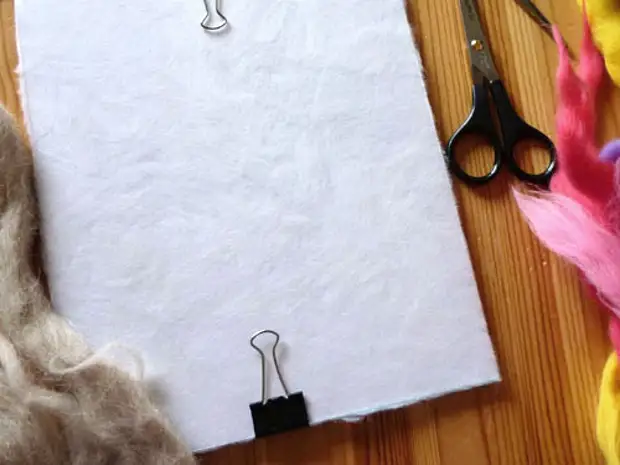
The formation of the picture comes from the background to the front, i.e. First background, then foreground items. The fibers are not bonded between themselves (in fact, under the weight of the glass, the wool settles, is compacted and the layers are tightly held with each other, but still it is not felting). The finished picture is a multi-layer loose fiber pie from wool fibers, enclosed in a hard frame on both sides - glass and backs (see photo below). In other words, dry indirect wool is laid out on the tissue base under the glass. As a backbone usually performs fiberboard (organite). For drawing the paintings of the wool very convenient to use the clip-frames for photos (glass + organite + clips-clips).

You can use a conventional photo frame purchased in any store, and for convenience between sessions to fasten the picture with the help of stationery clamps. In this case, the picture will quickly get ready, it will be flat and the next session will work comfortably.
Tools and materials required for drawing wool:
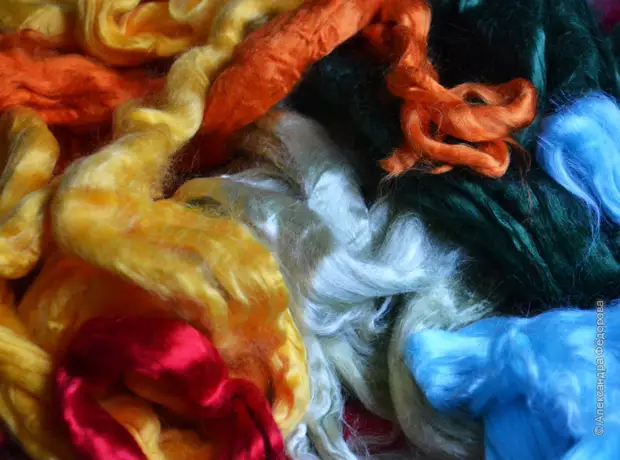
- wool of different colors (selected under a specific plot), as well as silk fibers, viscose, acrylic, etc.;
- scissors (the most sharp);
- tweezers (ordinary - for eyebrows);
- clip-frame or ordinary photo frame, it is desirable that the back will be tough;
- Flizelin, felt, velvet paper or any cloth with a small pile as a substrate (the substrate is designed to keep fibers of wool, this is the basis of the picture). Read more in the article: "What kind of substrate to use for painting wool paintings".
If you use Fliselin (it is transparent), and the pattern of the picture is planned to be made very light, it is better to glue white paper on dark organic. The finished picture is drawn up in the frame.
To lad out pictures, wool is mainly used, but other fibrous materials can also be used: viscose, acrylic, silk, etc. It should be remembered that wool is obedient in work compared to other fibers. This is due to its physical properties. However, using, for example, silk fibers, you can increase the decorative pattern - elements with the addition of silk will reflect and refract the light that creating a live game of light and shadow.
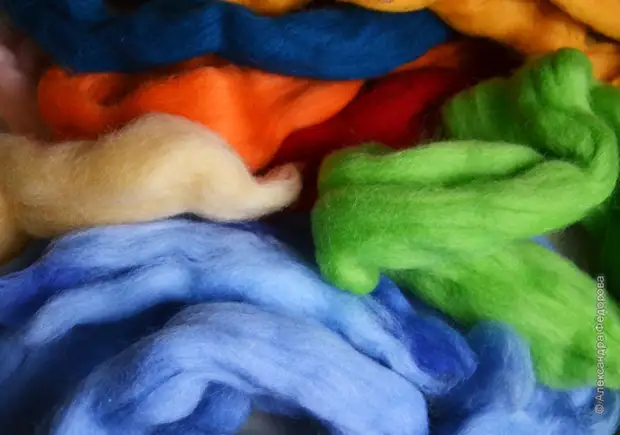
Wool in stores is most often sold in the form of a tape, but you can find cardoches.
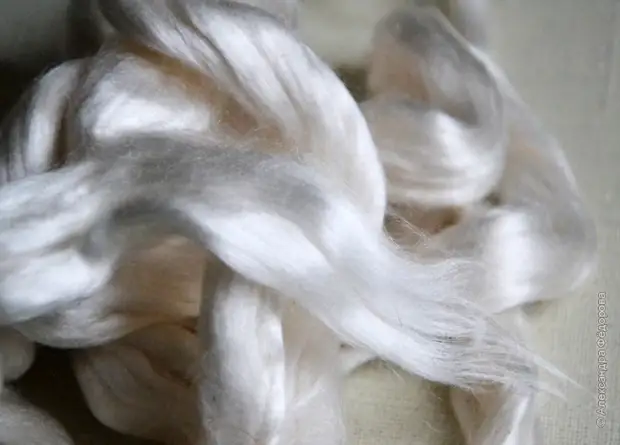
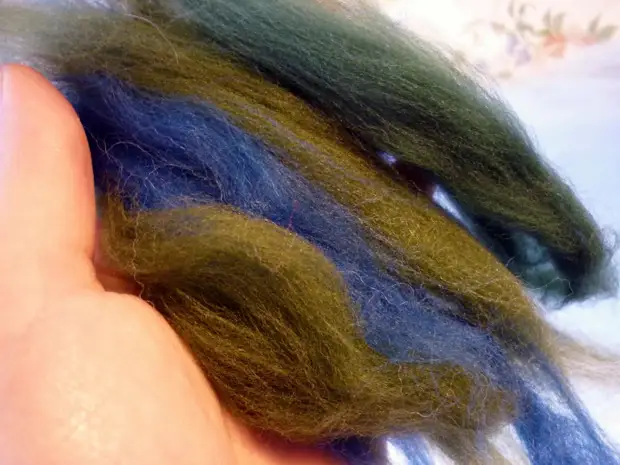
Comb Ribbon or Tops - Combanish Wool (see photo on the left below), in which all fibers are stretched in one direction and are laid in the tape.
Cardhessa wool (cardoches, "wool wool") is a product of scania (photo below the right), in which, in contrast to the comb ribbon, all fibers are curved and directed in different directions. It can be represented in the rune or in the form of a chest ribbon.
For the first acquaintance with the technique of laying out pictures from the wool Cardica, you do not need to buy. Wool cotton wool easily get a split ribbon.
Decorative fibers also do not need to buy immediately. It is more difficult to work with them, so it is desirable to first learn how to work with wool. In pure form, decorative fibers are not applied, they always admire the wool. If working, for example, clean silk, then when picked up the glass while working, silk rises together with glass - is strongly electrified. Therefore, if you still decide to work with silk (or viscose), add wool to it, at least 5-10%, mix and quietly work.
The quality of wool to create paintings without flipping is in second place after color. The main thing is color, bright, rich. There is no felting process, the drawing is obtained by laying wool under the glass, so the tonin (thickness) of the fibers is not always important. In coarse wool, the embracing effect is coarse, factor, attracts primarily with its decorativeness. Rough and halftone wool comfortably imitate oil painting. Thin wool (Merino) is good when you want to achieve watercolor lightness, weightless color transitions, etc. Also, thin wool is convenient for drawing parts. This applies to complex and highly artistic plots. In any case, each master by samples and errors itself finds "its" wool, with which it is comfortable to work.
Basic equipment drawing wool for beginners
1. Exhaust
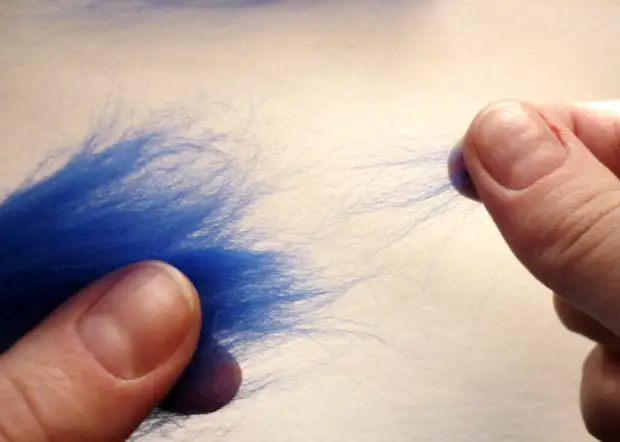
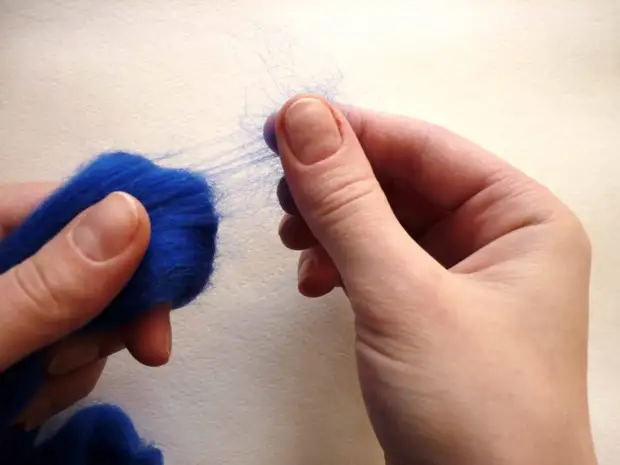
From the comb ribbon, you can pull the strands of different thickness - thin, through which the previous colored layers will be shifted, or more dense, with a good covering ability (from the latter it is convenient to start the process of laying the picture when you need to quickly form the first dense base layer).
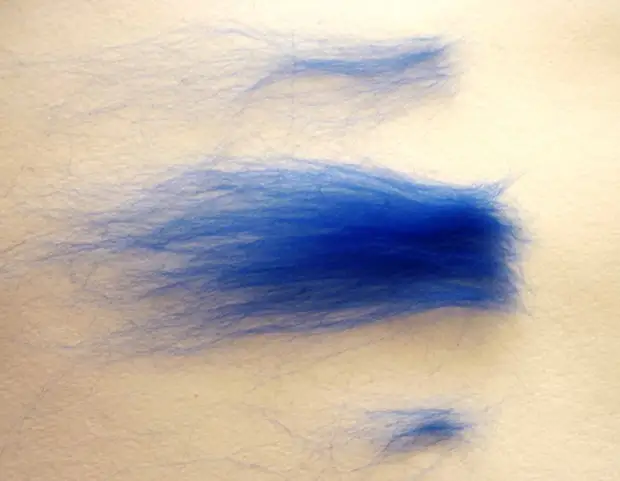
It is realized to pull it out (the photo on the left below): in the left hand, the ribbon ribbon, stretch the right hand, stretch the right-handed ribbon, the desired size. The photo on the right below shows two spars of different density and size.
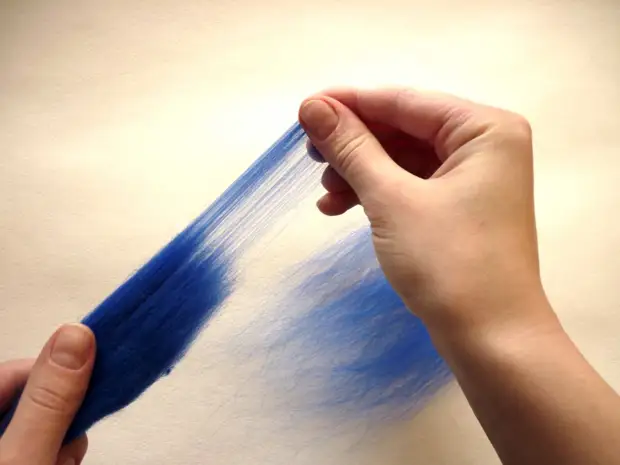
Note that in no case should the hands (nor left or right). Otherwise they will simply be tired, and strands will not be pulled out, but to get out with effort. It is not right. The process should deliver pleasure. Less frequently, in the drawing of the foreground (parts), the skill with some effort is useful to pull short minor strands:
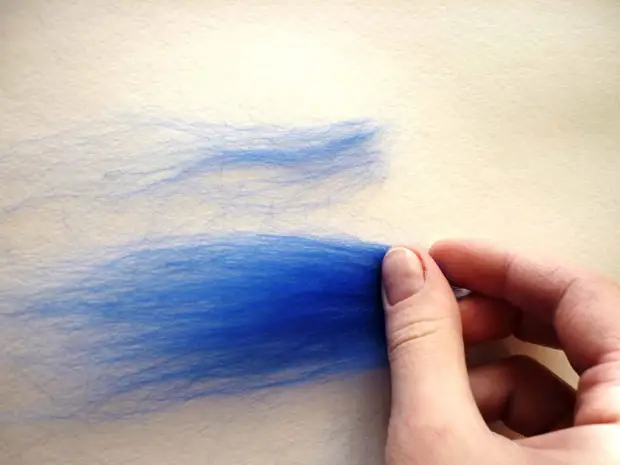
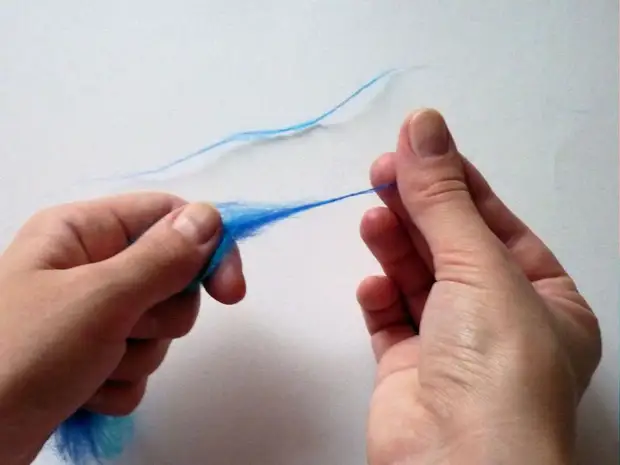
You can pull the "stalks", "blade" and "twigs", and "string" to draw contours of items to draw. We capture the tip of the strands and pull the fibers while simultaneously touched them. The more the fibers captured, the thicker get a thread.
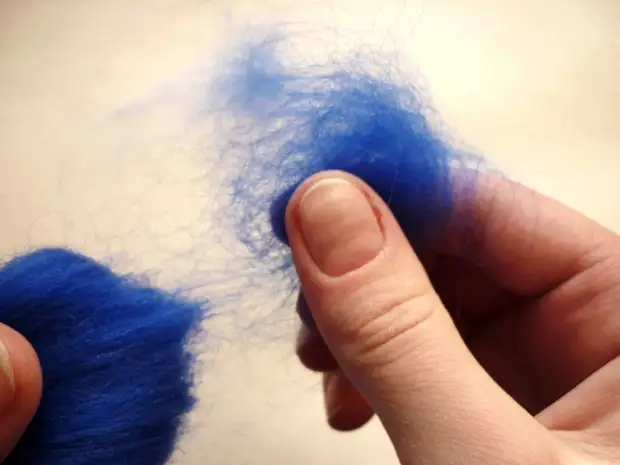
2. Shielding (this technique of drawing wool beginners can be replaced by the use of Cardichees)
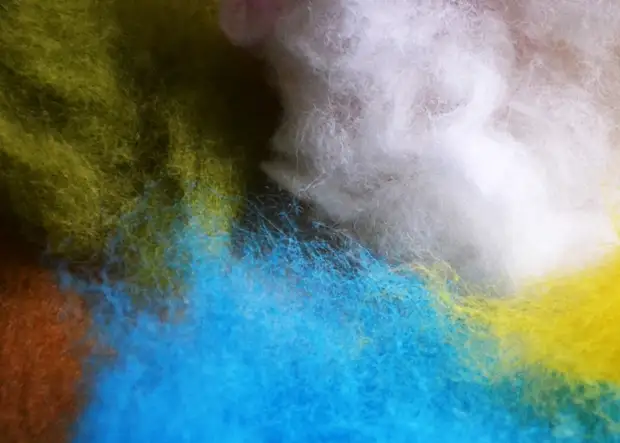
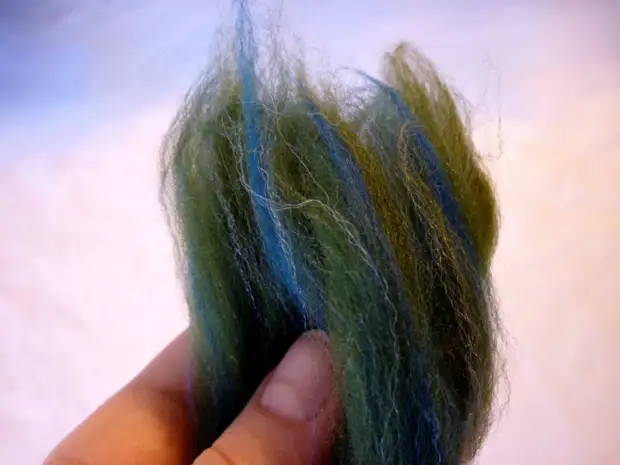
As a result of the cigarette, fluffy closets are coils, in which all the fibers are confused (curved and directed in different directions). Such fluffy is easy to achieve soft transitions from one color to another. The background laid out in this way looks like fluffy, watercolor.
A shielding is realized in this way: in the left hand (if you right-hander), hold the ribbon to the ribbon so that the fold (photo on the left below), with your fingers with frequent and fast movements with the surface of the combed ribbon (on bending).
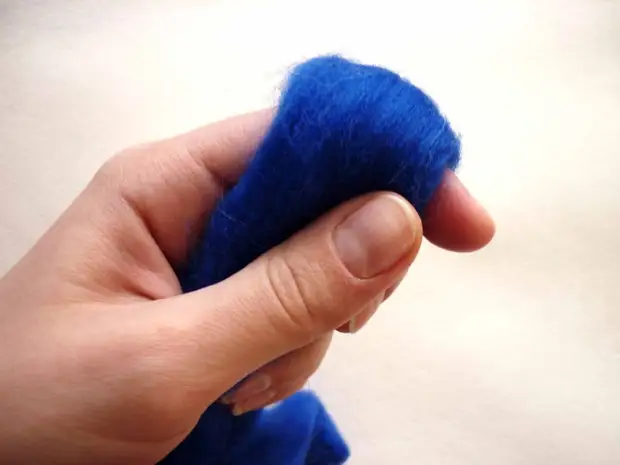
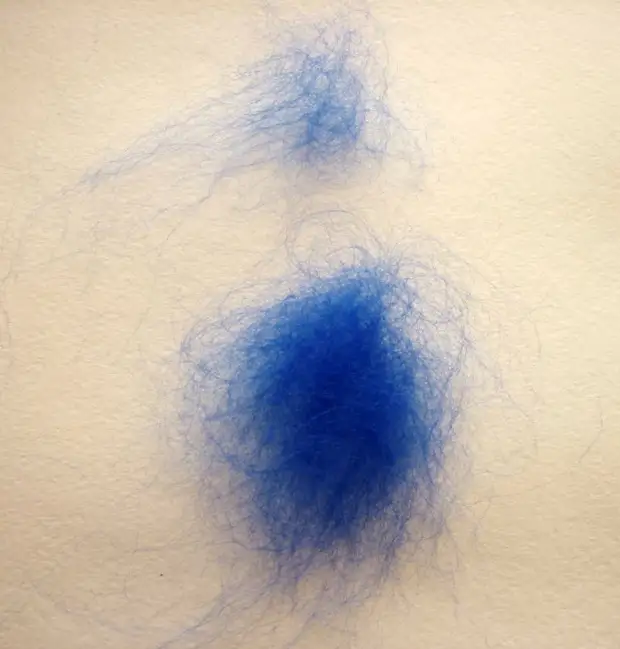
In the photo below, two different fluffy density are shown on the density of the fluffy, which is different. When clarified, you need to strive to obtain homogeneous fluffy lumps without looping. Over time (with experience), this is obtained from everyone. For watercolor effect, highly dense fluffy can be "breaking around" (stretching in different directions, while receiving a transparent cage of larger area).
If you have a cardochess of the desired color at hand, then the cuckro can be omitted. Cardhessal wool simplifies everything and increases the speed of work. However, high-quality cardoches with very thin fibers is rarely found on sale. More often, it happens from halftone or coarse wool, in this case it will be more difficult to achieve a beautiful gentle watercolor effect.
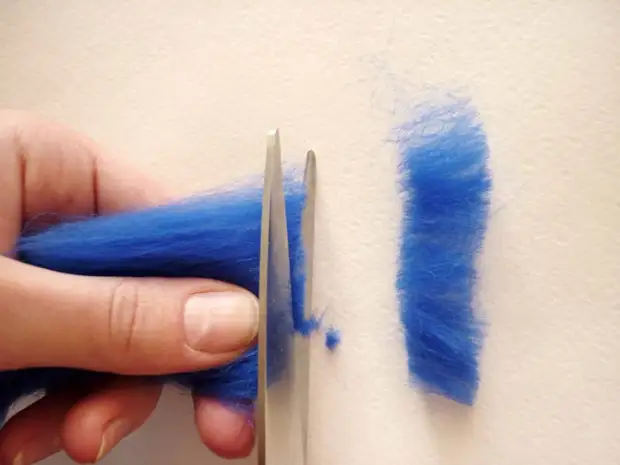
3. Sliced wool with scissors
Often, when painting the picture, the wool has to cut. Here the scissors come to the rescue. Wool cuts (cut) directly to the picture in the right place, and it should be understood that the flux resulting can have a different size and form (which you define yourself, based on your needs). Hands and / or tweezers can somehow position the wool on the surface of the picture. From the chopped woolen "sawdust", for example, you can form a crown of wood (foliage).
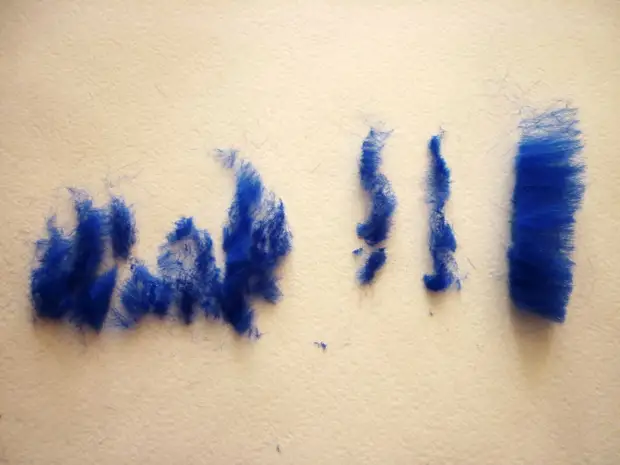
I would like to emphasize that the wool can be mixed (the photo below). That is, you can take 2-3 colors of wool and form one inhomogeneous strand in color. The degree of homogeneity can be obtained different, so again it is necessary to take into account the pictorial effect you want to achieve (everything is checked by an experimental way, we consider the result under glass). It is clear that to form a tree crown, for example, one color of the wool is not enough - the crown will be flat, without volume.
There are also many different techniques used in the lays out of paintings from fibrous materials, but they are most often a combination of these three main techniques for working with wool and good in specific cases due to the specifics of the plot.
Tips for drawing wool for beginners
• It is recommended to perform a picture not for one session, but for several. Let it spend a few days for 1-3 hours than 1 day for which you are very tired with unaccustomed. Fatigue leads to non-accuracy in work.
• Before your eyes you need to have a sketch for work. It can be the picture you drawn (watercolor, butter, pencils, etc.) or the picture of the painting of your favorite artist, or another photo material that you will navigate in the process of work. Without a sketch, it is difficult to work, especially beginners, especially people who do not know how to draw. If it is not possible to print a photo, you can open it on the phone, tablet, etc. At least so ... the sketch should be at hand.
• Glass must be applied to the picture very often. So you will be able to detect the flaws of your work and quickly correct them. After all, the end result is a picture under glass, therefore, and navigate in the process of working with wool you need exactly the image that you see under glass. Glass serves as a kind of indicator. Having attached it to the already laid out layers, you will see how well these layers of wool are lying (you can see, for example, that the layer is not sufficiently dense and poorly covers the working surface) or you can see how small parts look under the glass (usually with glass and glass and Everything looks different without it). Volume wool when pressing it with glass, the details of the painting "flatten" and increase due to this in size. It often happens that we put a thin skener, but, applying glass, you understand that it turned out to be a Velika for this flower and has to decrease it.
• Wool pictures are fairly easy to fix. You can "rewind" the process back, because you work with wool and lay out it with layers; You just need to remove part of the layer or remove those details that you did not work. You lose some time, but acquire invaluable experience. Do not be afraid to hold - you always have a chance to remake everything. Just do not overdo it with "alterations", otherwise the picture will lose freshness and ease, will become "tortured."
• If the picture was postponed to finish tomorrow, or simply moved somewhere, you need to cover it with glass and it is desirable to be made by stationery clips or clips. Under the weight of the glass, the picture will be searched and mounted, which will make a more comfortable further work.
A source