
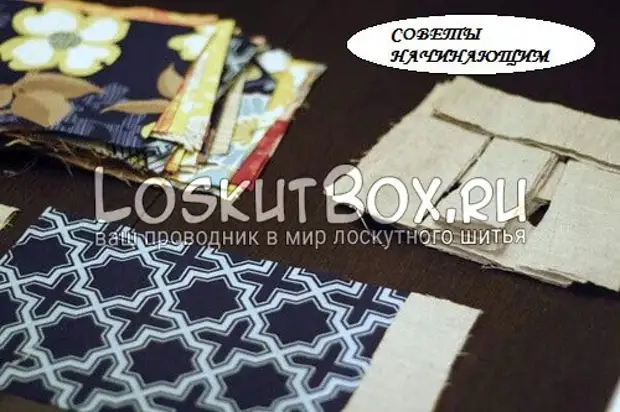
This master class for those who make their first steps in the world of patchwork sewing. Of course, mistakes and difficulties in the manufacture of patchwork products cannot be avoided, but it is quite possible to minimize them.
Patchwork sewing step-by-step for beginners
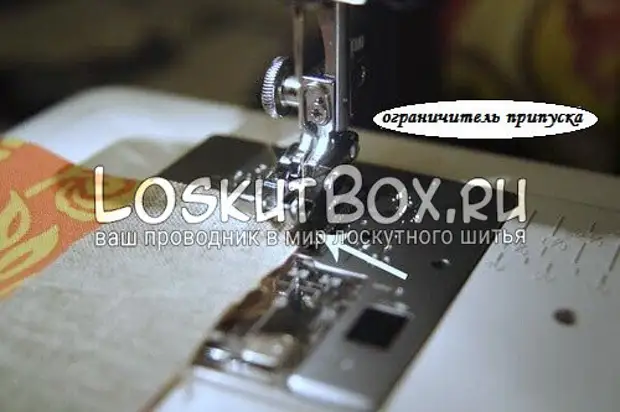
Step 1: Package on the seam
Use your paw with an allowance limiter.
When working with a sewing machine, use a paw with an allowance limiter on the seam. This will allow to sew rack lines with uniform allowance.
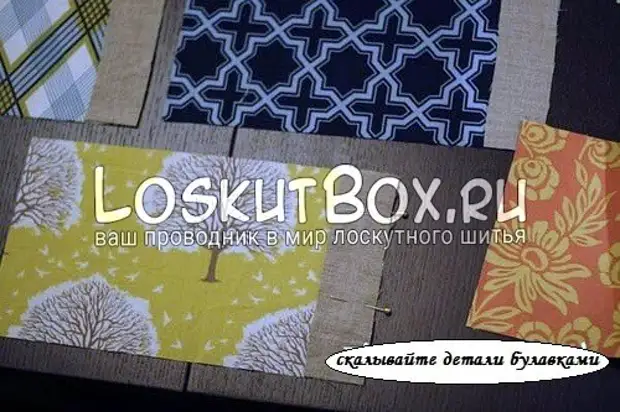
Step 2: Connect the details from the pillars
Before laying a seam, scalp the details of the pins
If the items that you need to flash have a small size and simple shape, you can do without climbing pins. However, still at first, it is better not to neglect this step. In this case, the fabric will not slide and will not deliver inconvenience.
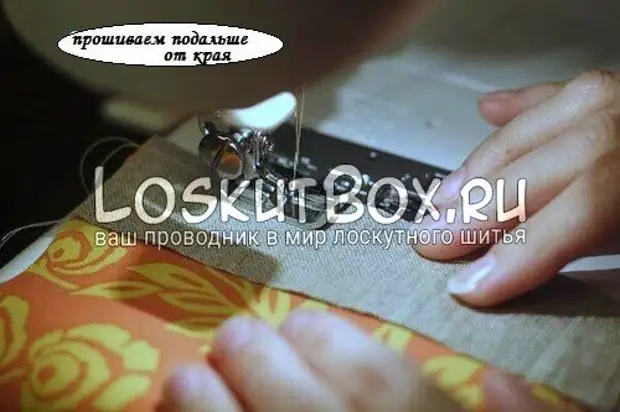
Step 3: Smooth seam
Do not save on the allowance
Try to lay the seam as younger and retreat from the edge of the same distance. If it is too close to closer to the edge of the fabric, it can gather in the "harmonic" (everything depends on the density of the tissue, but it is better not to risk). But do not make too much allowance - the part is finished on the front side can be deformed from surplus along the seam.
Step 4: We flash blocks without cutting threads
By flashing one block of details, do not cut the thread, apply the next block under the paw. Nothing terrible, if a few stitches are made frown not on fabric - there will be no damage to the machine.

Step 5: We share and stroke
We share the chain from the blocks simply by cutting the thread between them.

When stroking the seams, leave them straightened, do not align them in one direction. First, the subsequent stitch will be much easier, the seam from the front side will look even more accurate.

Patchwork sewing is a fascinating process that will not leave indifferent any creative nature. And to receive pleasure from the process of creating products, you need to learn how to competently use small tricks that make it easier for us. Dare!
A source