
Wait for suitable weather and follow our instructions.
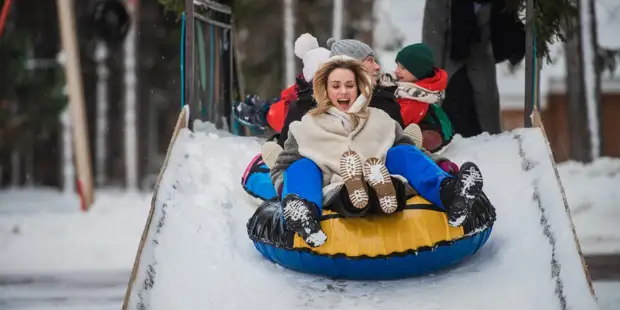
Skolka riding is one of the unchanged attributes of New Year holidays. Do not refuse to children and yourself in such joy. Build a slide of snow, and you are guaranteed a cheerful pastime and a good mood for the entire winter. Besides, she is pretty simple - and Lifechaker will help you with it.
1. Prepare everything you need
For the manufacture of the slides will need not so many materials and tools. In addition to good mood and suitable weather, you will need the following:- a lot of snow;
- water from watering can or hose;
- warm gloves;
- large rubber gloves;
- shovel for snow harvesting;
- broom;
- Mop with a cloth;
- pair of boards;
- Construction spatula.
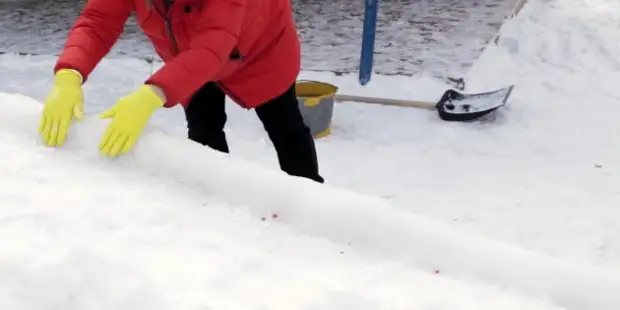
2. Sit down and protect your hands
You will work for a few hours in the fresh air, so you should get dwelled. At the same time, it is important that the clothes do not throw movements, because you will have to work a shovel, lean and actively move.
Because you have to mess with wet snow and cold water, it is very important to take care of the protection of hands. Ordinary warm gloves will quickly burst, so that on top of them you need to put out economic rubber. The main thing is that they were for a couple of sizes more and did not squeeze their fingers. The first hand will immediately be frozen.
3. Find a suitable place.
First of all, it is necessary to choose the right location for the construction of the slide. It is better to choose a safe place away from the roadway, pedestrian paths, as well as pillars, fences and other obstacles. In addition, there must be convenient access to the rise on the slide and free space next to the descent from it.
If there are not many places or on the way there are attendant objects - you can arrange turns in the right places to change the trajectory and bypass obstacles.
If possible, it is worth using a natural relief. The existing height differences like hills and ravines will greatly facilitate the creation of a slope. It will be enough to cut the sides and make a smooth scat at the end.
4. Decide
When choosing a height, length and shape of the roller, it is necessary to take into account who will ride it. For kids, a hill is approaching up to 1 m high, and for older children you can build a design higher - 1.5-2 m. However, consider that in this case there will be more space for smooth descent.It is not worth the hidden hill, it will not be unsafe, and quite difficult in the manufacture. It is better to make it more authentic - at least 5-6 m. If the place allows, then it is possible.
It is also important not to overdo it with an angle of inclination. For kids, 20 ° is enough, for older children - 20-30 °. The bias of more than 40 ° is undesirable: to ride such a steep slide will be simply dangerous.
The width is chosen on the basis of what children will ride. For conventional icebreakers, there are enough 80-90 cm, for tubing-cheesecakes - 1-1.2 m. In both cases, it is necessary to supply a hill with sides with a height from 15 to 30 cm so as not to crawl off the route.
5. Think out the form
The straight hill is quite boring. You can do this anything for the youngest children. It is advisable to provide at least one turn at the end of the descent, and it is better to do somewhat along the entire trajectory of movement. With the help of zigzags, it is easy to get around obstacles on a close area and redirect to the other way.
If you have enough patience and materials, you can build a slide with two parallel skates to ride in pairs.
If there are snow, you can show fantasy and make the arch or cut the slide in the form of a castle or some character like a dragon.
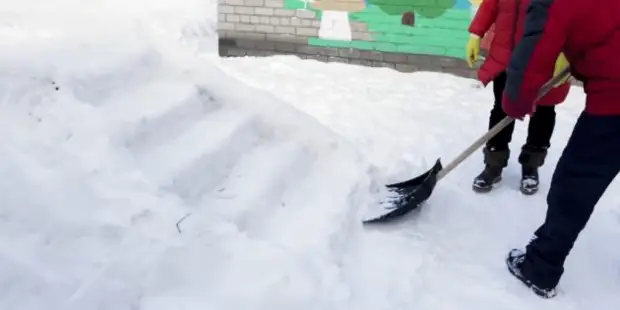
6. Form the hill
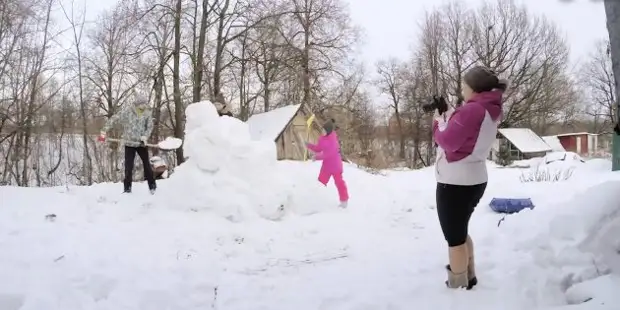
Now it's time to start creating a roller base. It is necessary to sketch a bunch of snow, thoroughly tamping each layer, and give the design black shape roller with the desired tilt, turns. It is best to do this during a thaw or with a small frost about 2-3 ° C, when the snow sticky and well compacted.
To simplify the task, you can make a lot of snowballs and make the slope of them.
The base of the slide must be as strong as possible and dense so that it can hold out all winter. Otherwise, it will have to restore it after each thaw. If snow or do not want to mess around - you can use a frame from boards, pallets, stairs, or old tires, carefully sealed them with snow.
7. Align the descent
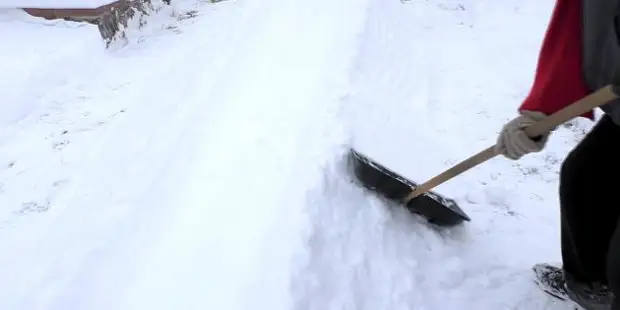
For the best slip slope, the slide must be as smooth as possible and smooth. The latter can be achieved when pouring later, but it is necessary to remove all irregularities and pits at the stage of molding design.
For this, the descent is aligned and tamped with a shovel or board. Clean the broom and cut off with a spatula sticking glands. The depressions and failures close up with snow and also trambed well.
8. Crack the bortals
In order not to fly beyond the route, protective sides should be made on both sides of the descent. They are comfortable to cut out of the snow mass, which is getting, falling asleep in a bucket with cold water.
Naked snow reminds of consistency with something mean between clay and plasticine.
Straight with hands in gloves from this mass you need to form a board with a height of 15-30 cm on both sides of the descent. They need to thoroughly round and smooth down until the snow is frozen. At the turns, the side of the outer radius should be higher and stronger to not fly from the slide.
9. Make a platform and steps
At the top of the hill, equip a flat area with dimensions of approximately 1 × 1 m to calmly grasp the ice or tubing before the descent. This patch is aligned with a shovel or board and thoroughly tamper. The playground should be fenced with strong sides of a 40-50 cm high, which will protect from falling from the slide.
For the lift it is necessary to make steps. They are cut straight in a pile of snow using a shovel and hanging the spatula. Also, neat steps can be formed by two boards, forming a straight angle of them. The height of each step is 15-20 cm, width - 50-60 cm.
In order not to slip when the rise, the steps are made with an inclination and later sprinkle with ordinary snow or sand.
10. Fill the hill
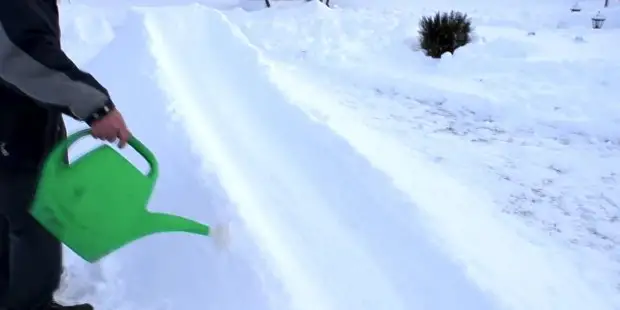
The slide is almost ready, it remains only to pour it, turning the surface of the slope from the snowy into the ice. Do it better the next day or every other day after the construction of the design. And desirable - with good frost.
Pouring is carried out in two stages to achieve an ideally smooth surface. After the first spray, it is necessary to give a hill well to climb overnight and repeat the procedure the next day.
Warm water will not fit: it will pull the snow and leave holes. Therefore, leave a filled bucket in a snowdrift for a few minutes and sketch a little snow. When an icy crust appears on the surface, it is possible to remove the snow and start working.
Fill the hill, side, steps and ending the descent follows from the watering can, gently distributing fluid on the skate. All the fots that are formed after the fill, you need to fill with wet snow and shed again.
However, hot water can also be used, but a little different. It is necessary to take a mop with a cloth, and then water it with water and move on the skate. So hot fabric will melt the upper layer of snow, turning it into a smooth ice crust.
Hurry when pouring is inappropriate. It is better to shed a little bit several times and achieve not only perfectly smooth, but also a strong surface. In order for the slide to serve the entire winter, the layer of ice should be at least 5 cm.
Bonus: examples of designs slides from snow and not only
Finally, several specific examples of the manufacture of slides of different types and structures. Choose the one that is suitable in your case, and repeat. If necessary, change and combine the details along the construction.
A small hill with wooden railing for children is 3-5 years old.
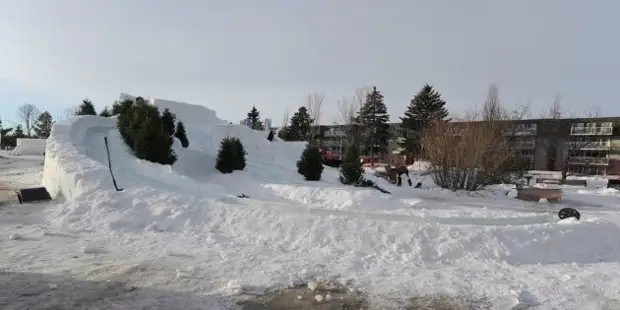
12-meter adult slide with top of the boards and fastening to the balcony of the house.
A slide with a frame of building pallets, which will fit well in situations when little snow.
A low slide of snow with several turns for riding on the tubing.