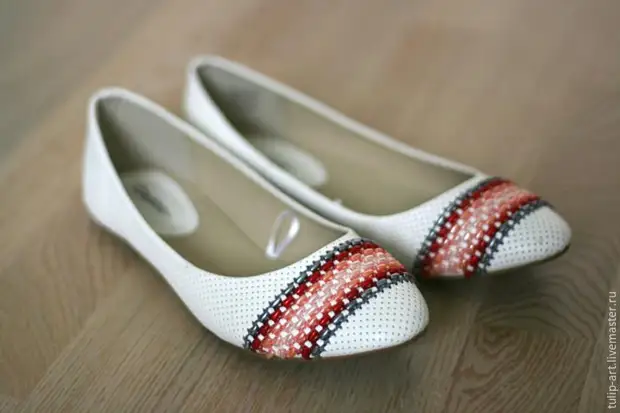
Ballets are one of the most popular varieties of maiden shoes in the spring-summer season and I, among many, also use some love for them. In the wardrobe, I have no one variety of them, however, when I saw this white couple in the store - with a perforated texture - I could not resist buying.
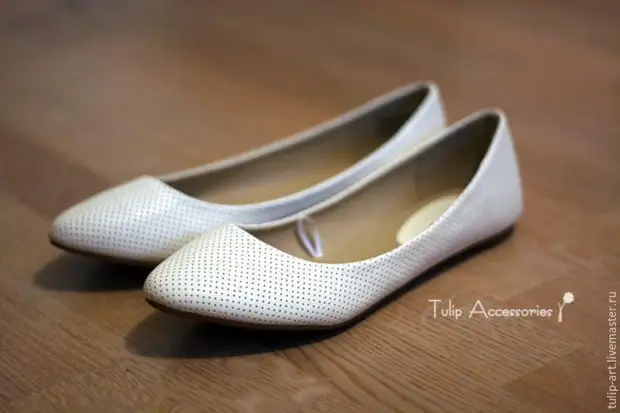
Look at this texture, attentive to these holes ... See, see? :)
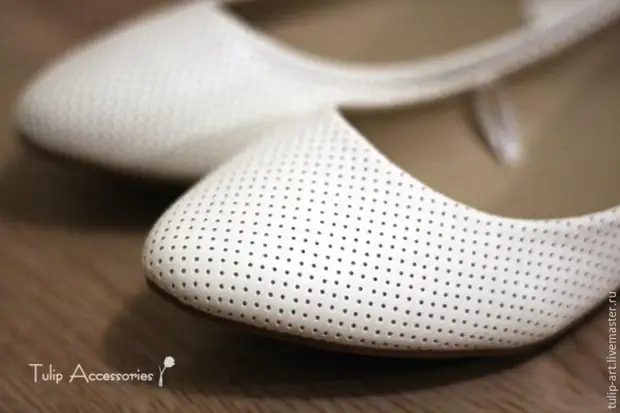
This is ready, in fact, Kanva! And we all know what you need to do with it - of course, embroider!
I can not say that in my original shape of the slippers I did not like, but the idea very captured :)
So, first invent or look for the pattern. I, as a fan of geometry, I love the simple shape and lines and does not particularly bother, I made such a scheme in the editor, not so much for the pattern, how much to select colors:
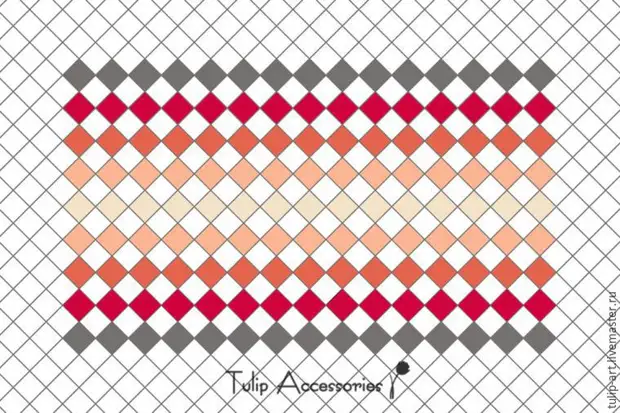
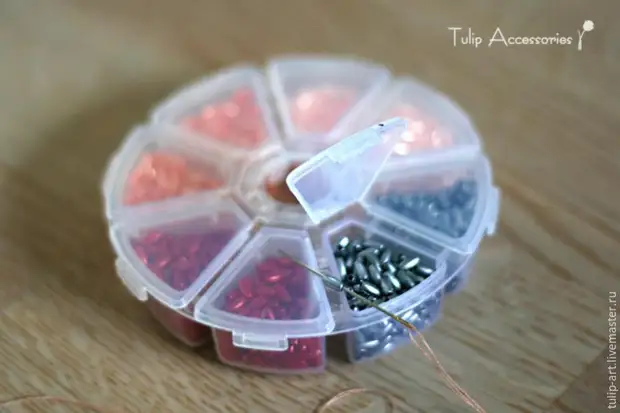
Preparing threads and sit down for work :)
First of all, it will be necessary to beat a slightly / dug the insole from one of the edges of the shoes. If the insole is removed - it is generally wonderful, it can still be put aside.
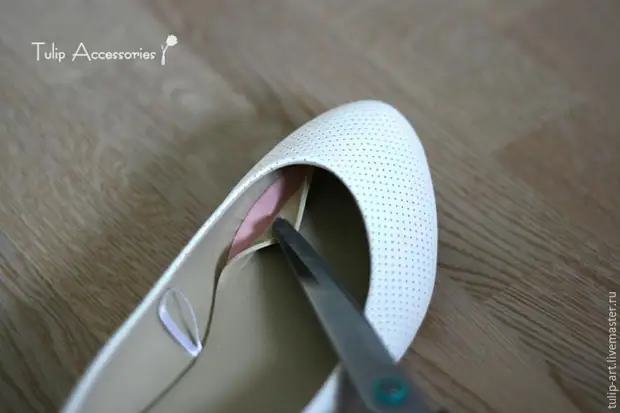
Now proceed to embroidery. It will be the most ordinary cross. I wanted to get textured large stitches, so two threads in the needle immediately. We start a row from the part, opposite The one with which the insole is revealed. We enhance the needle in slippers did not punctureby Lining , only through the outer layer of the skin before(!) internal. This will allow us to avoid the appearance of the inside of the seam from the inside of the ballet.
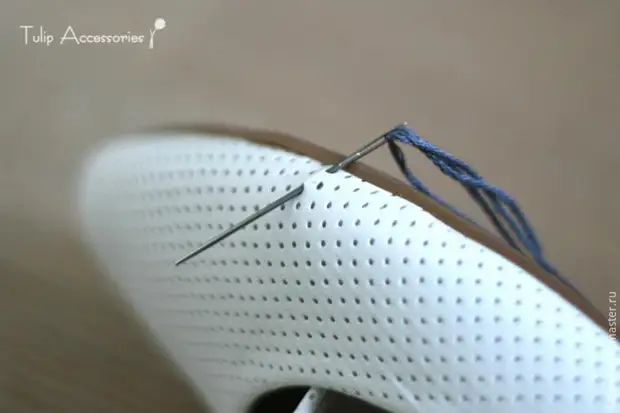
We stretch the thread to the loop, spend the needle into it and fix the first stitch (just like on Canva).
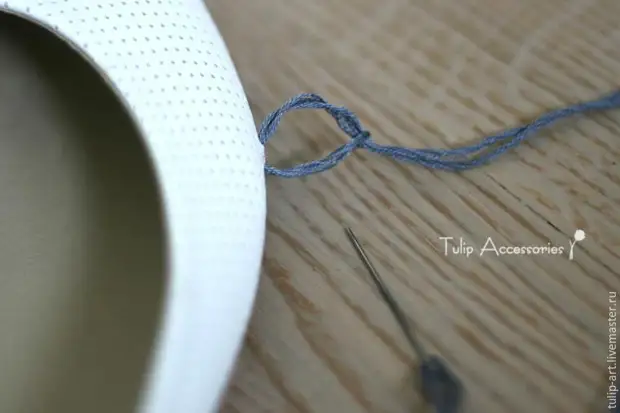
Half of the first cross is. We enhance the needle to the next point.
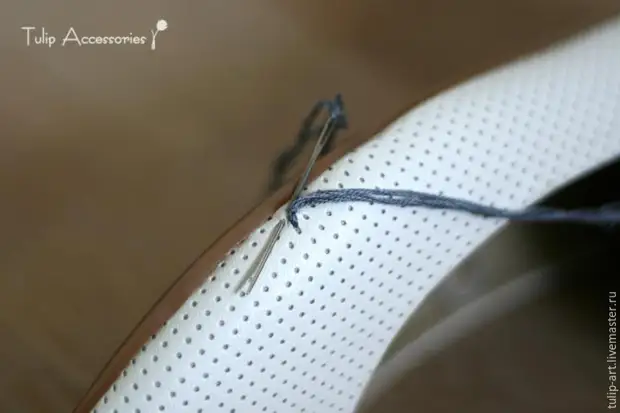
And close the cross.
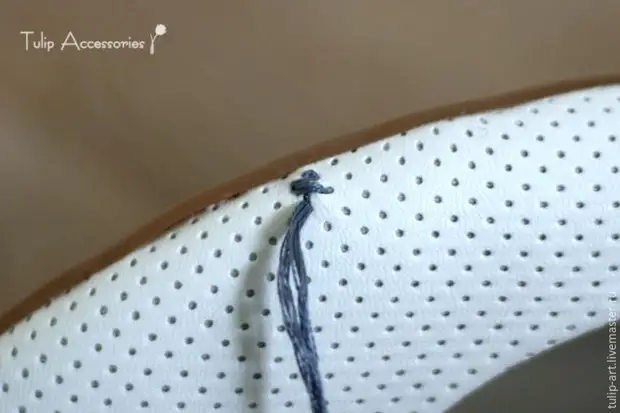
We do the following in the row:
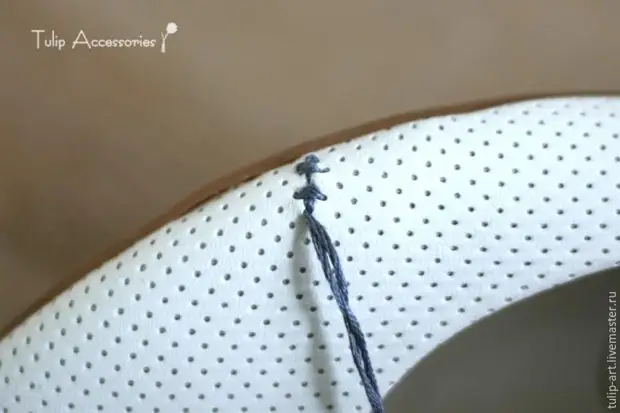
And we continue to the opposite side of the shoes.
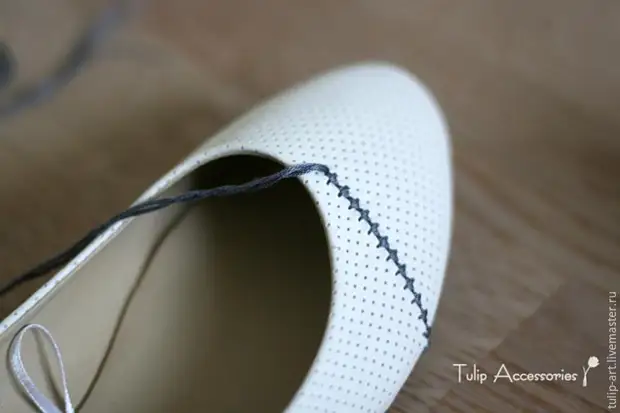
In this photo, I tried as far as possible, demonstrate that from the inside, on the lining, there are no seams, everything remains inside.
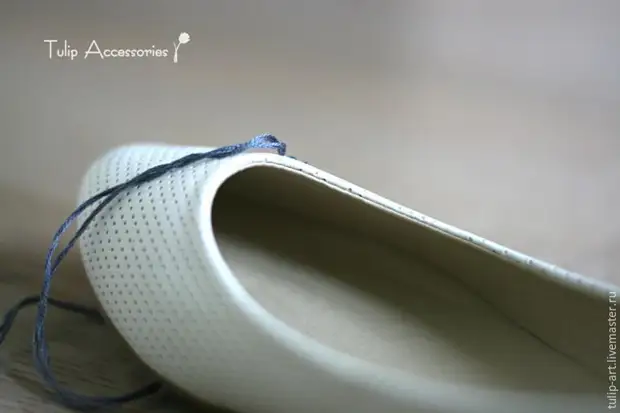
When a series is completed, we carry out the needle inside a slipper, straightforward under the insole.
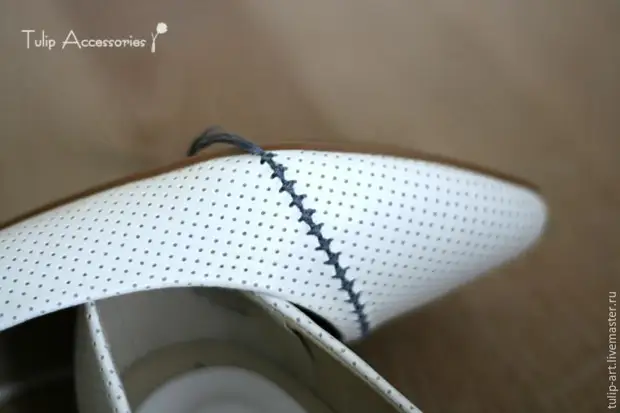
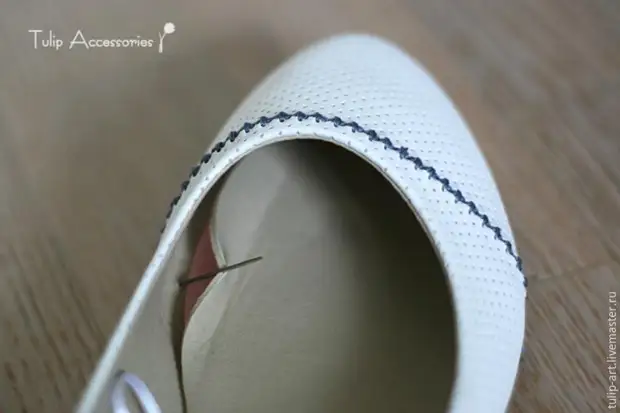
Cutting a thread, we make a nodule and fix the tip on super-glue.
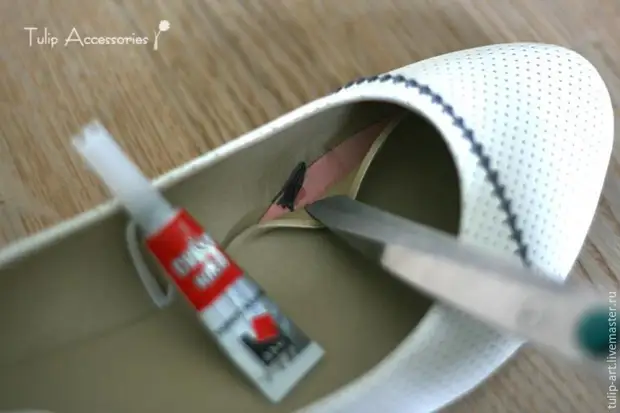
In the same way, we put the second row of the cross with different color.
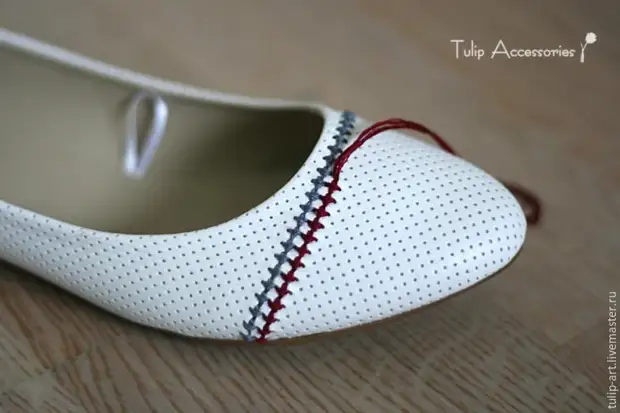
And all other rows.
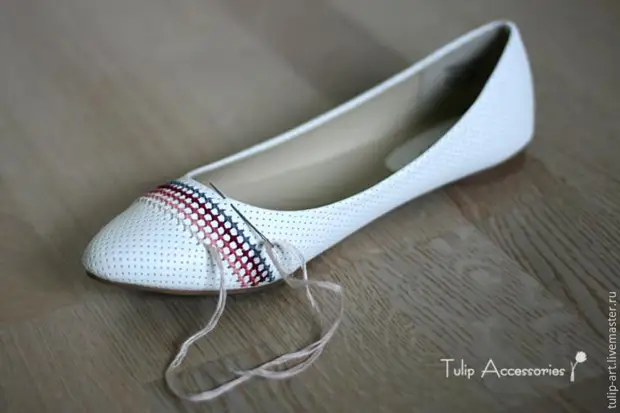
That's what happened:
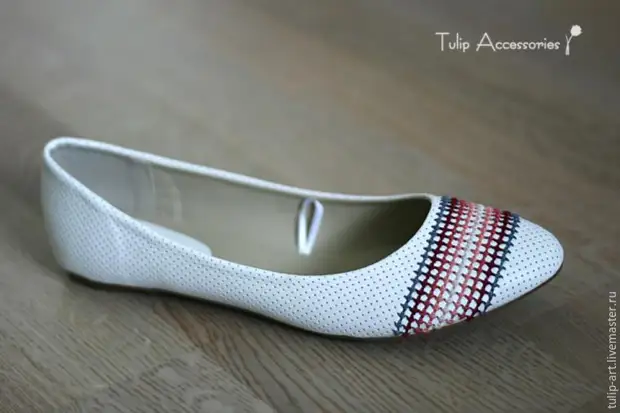
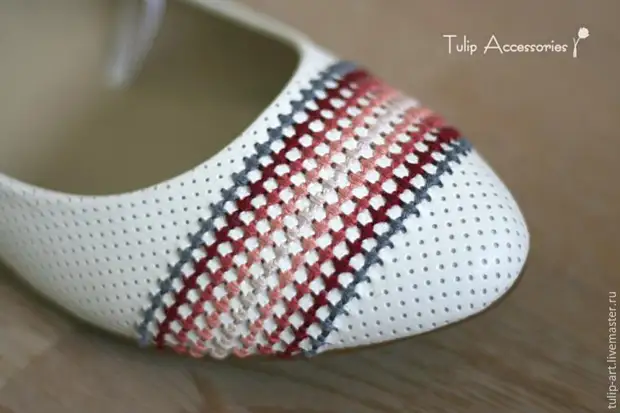
Generally speaking, according to the original idea, I wanted to stop on it, restrict ourselves to the embroidery threads. But it seemed to me that somehow slippers look empty and unfinished (read: "Ostap suffered"). And I decided to complement this simple stress beads.
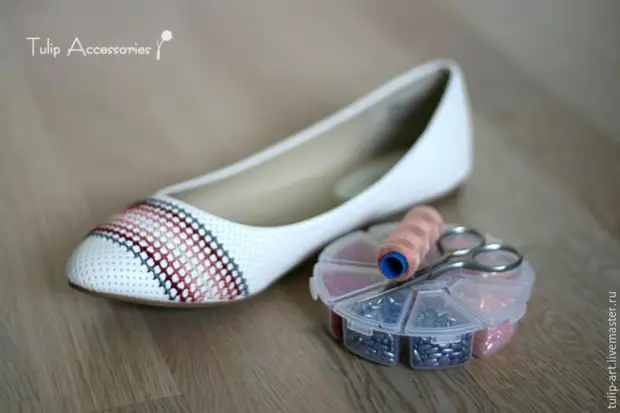
Completely similarly fasten a new thread.
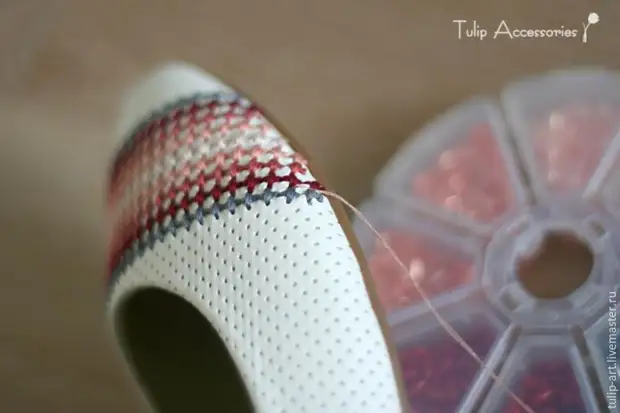
We ride the beerink on the needle:
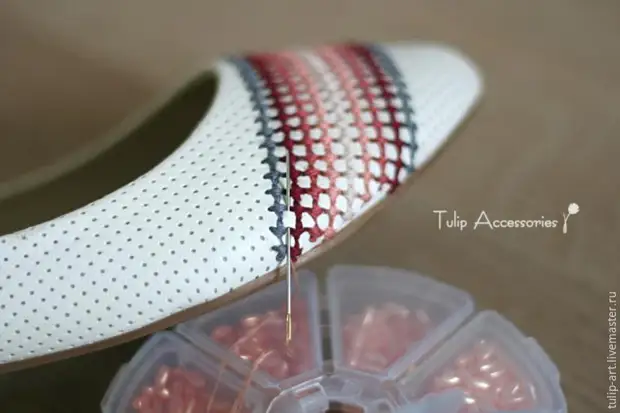
And we hold the needle to the following hole:
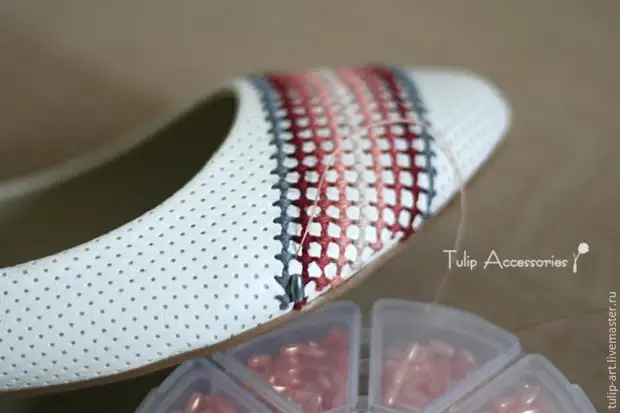
Beads are big, and I began to embroider through every one white square:
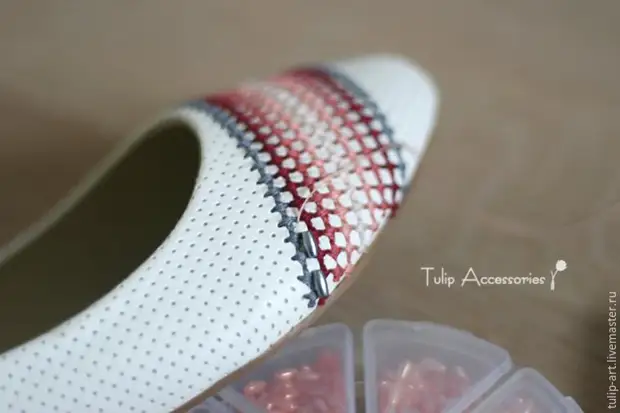
We continue a row:
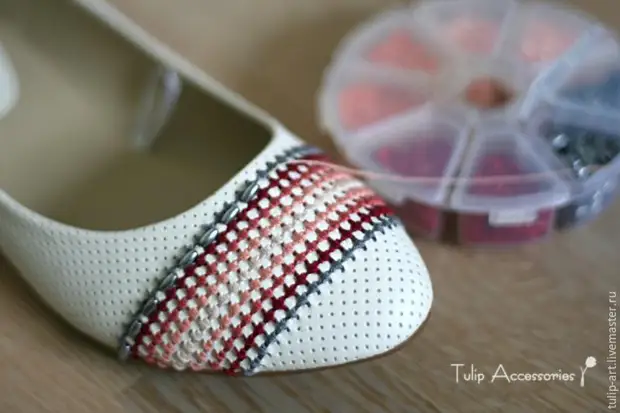
The thread is better to take longer to embroider Zig Zag, without cutting it through each row. If the thread is still over, we fix it similarly to Moulin.
We continue to fill in the ranks, I began to do it in a checker order:
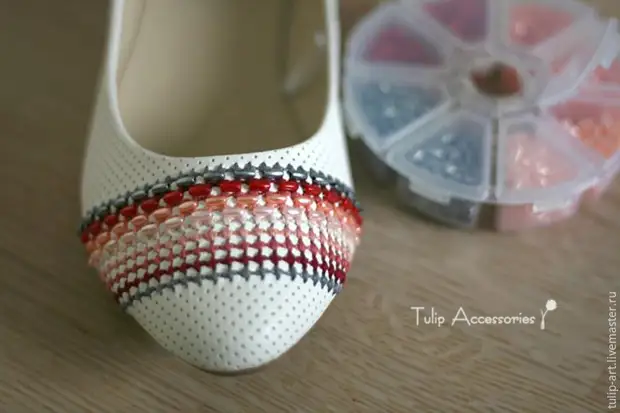
And finally, stop :)
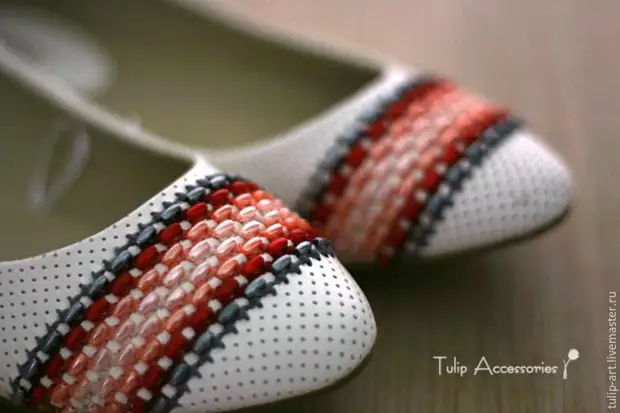
Slippers are ready! We admire the bent insoles in place using the same super glue or insert a removable insole. You can walk :)
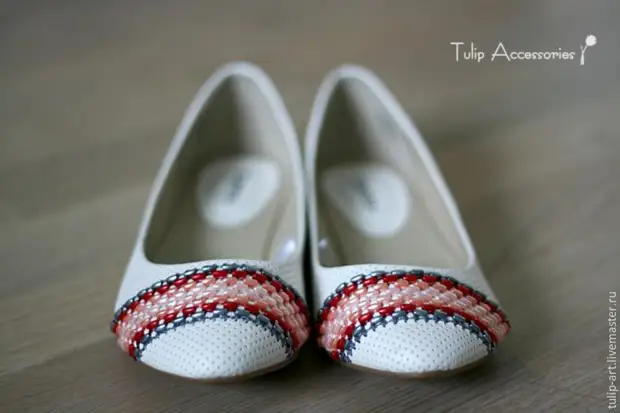
Author MK - Natalia.
A source
