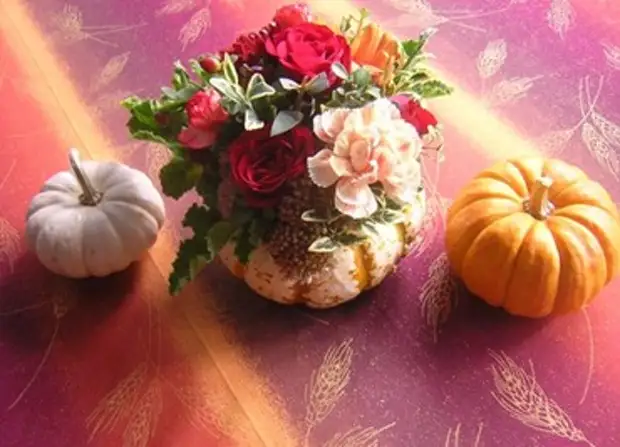
Decorative pumpkins are best suited for crafts, but also the usual small-sized young pumpkins can be used.
Tools for making crafts from pumpkin
1. Knife with teeth or small saw (to cut off unnecessary pumpkin parts).2. Tablespoon or scraper (to remove pumpkin flesh).
3. Newspaper paper (for pumpkin packing to dry it faster).
4. Copy, tank, felt-tip pen (in order to apply a pattern or pattern to the surface of the pumpkin).
5. Cutter, instrument for burning wood, leather paint or oil pastel (to create a pumpkin and patterns on the skirt).
6. Shilo (to do small holes in pumpkin peel).
7. Glue (adhesive gun).
Sorshest Pumpkin
So that your crafts look spectacularly and did not spread any smell, pumpkin needs to dry well.
Pumpkin Sliced, leaving the frozen by 7-10 cm. Wash the pumpkin, wash or dry.
Then cut the top, screamet with a spoon or scraper. Then dial the pumpkin paper. Paper will absorb moisture, it will not give a pumpkin to bend or deformed, drying will occur several times faster.
Change paper as it is soaked with pumpkin juice.
| 
|
Crafts from pumpkins
Casket of pumpkins
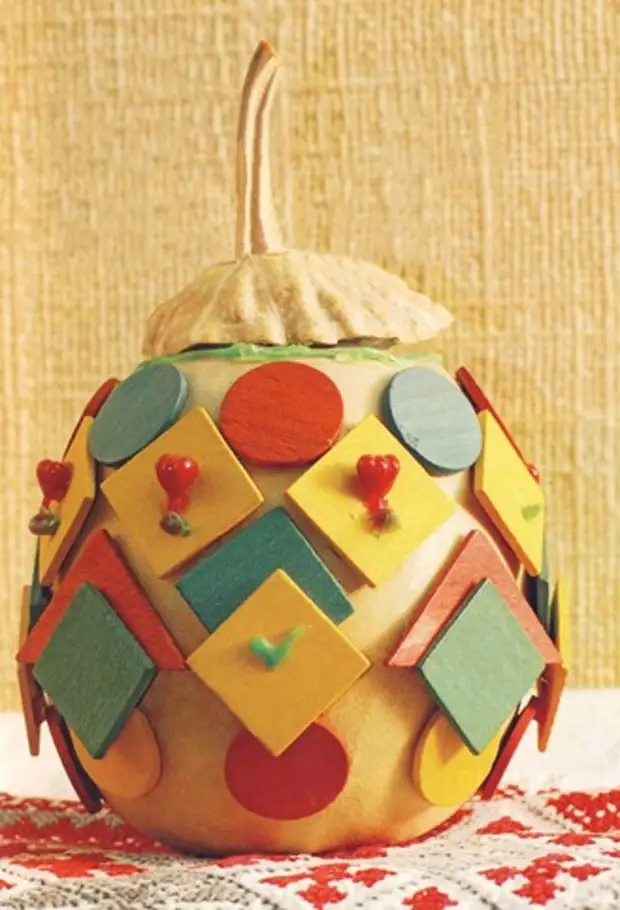
Cut the tipper at the pumpkin. Well, if the stem will remain on the top. If you were cut it, then in the top you need to make two holes and use the wire to attach a button or a bump - it will be a handle on the cover of the box.Package from pumpkin cleaned, dry the fruit. Crafts are ready - the box with a lid, but now it would be nice to decorate it. Using tracing and copies, apply the pattern to the surface of the pumpkin, and then process it with a cutter, an inlander or paint - to your taste.
You can also apply various applications on pumpkin with glue. In our example, the box is decorated with wooden figures from the "Quick Classroom". On the bottom of the pumpkin you need to glue a wooden or cardboard circle for stability.
Sculpture of pumpkins
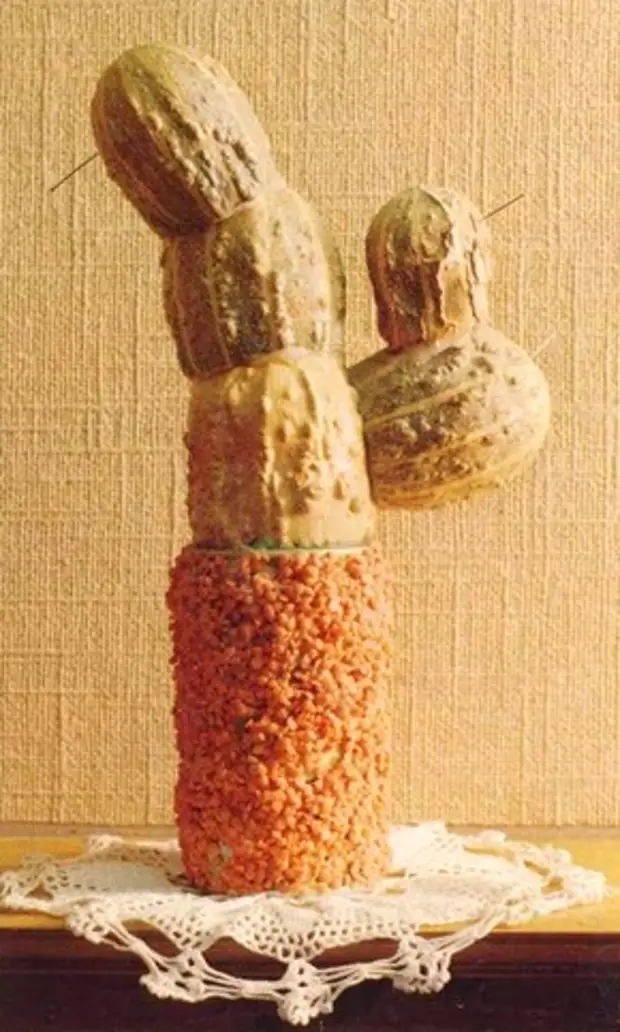
Decorative pumpkins are diverse in shape, coloring and texture - so you can make whole sculpture compositions. Your fantasy will tell you what it is to make out of your pumpkins. And in our example we made a cactus pumpkin.
For this craft, it will take 4-6 pumpkins elongated shape. They need to be cleaned from the pulp and dry. Then begged with a glue gun in the form of a cactus and its processes. The spines can be made of pine needles, pushing holes for them in the pumpkin seaw.
A vase for this cactus can be made from tin can. The outer side, dear glue, and then cut break in a lentil, scattered through paper. Put several pebbles in the jar for stability. Cactus from pumpkins in the bank.
| 
|
Pumpkin vase
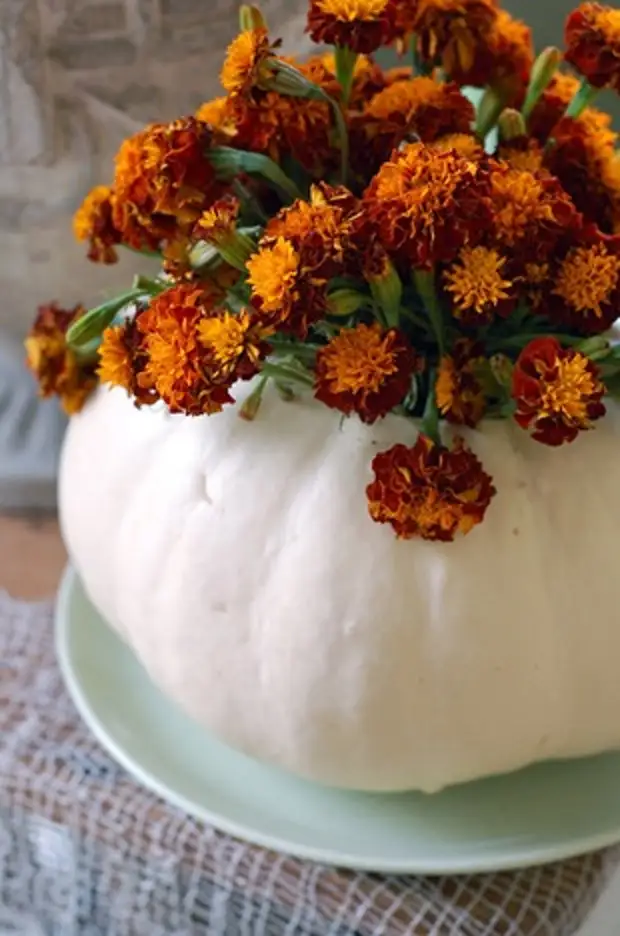
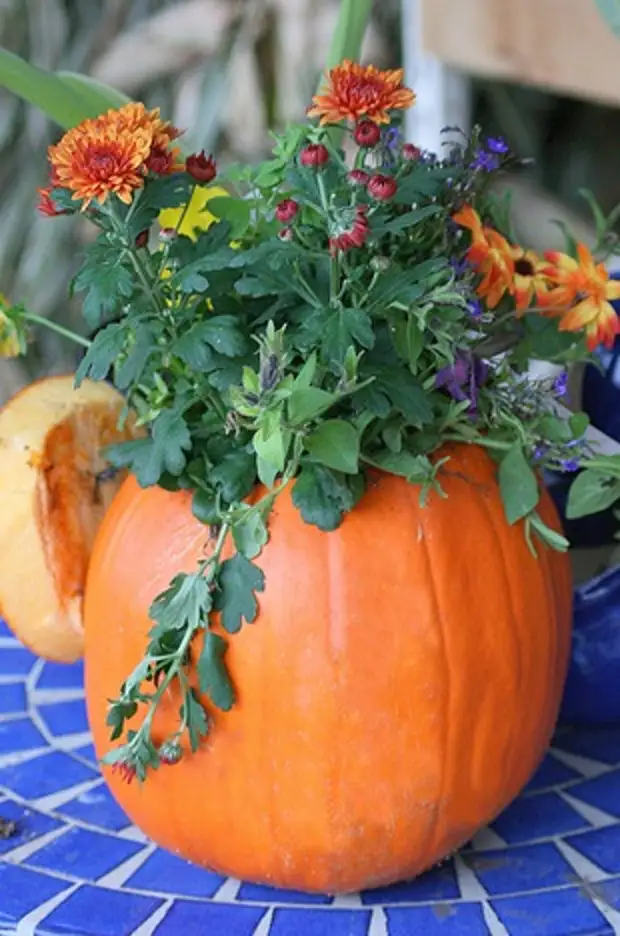
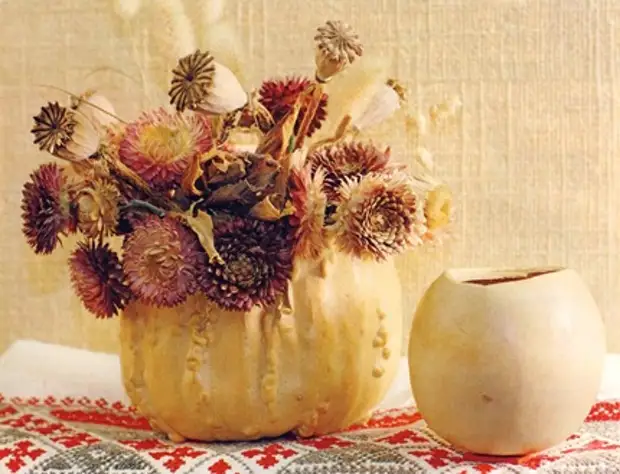
Probably the most common and practical handicraft is a pumpkin vase.
Take a big round pumpkin and cut the top on 1/3 of the height. Remove the pulp, dry the pumpkin.
The dried pumpkin becomes very easy, so on the bottom for stability, you need to glue a cardboard or wooden circle (you can use stackers for glasses).
The skirt of the dried pumpkin needs to wipe the tampon, moistened in vegetable oil - it will give shine.
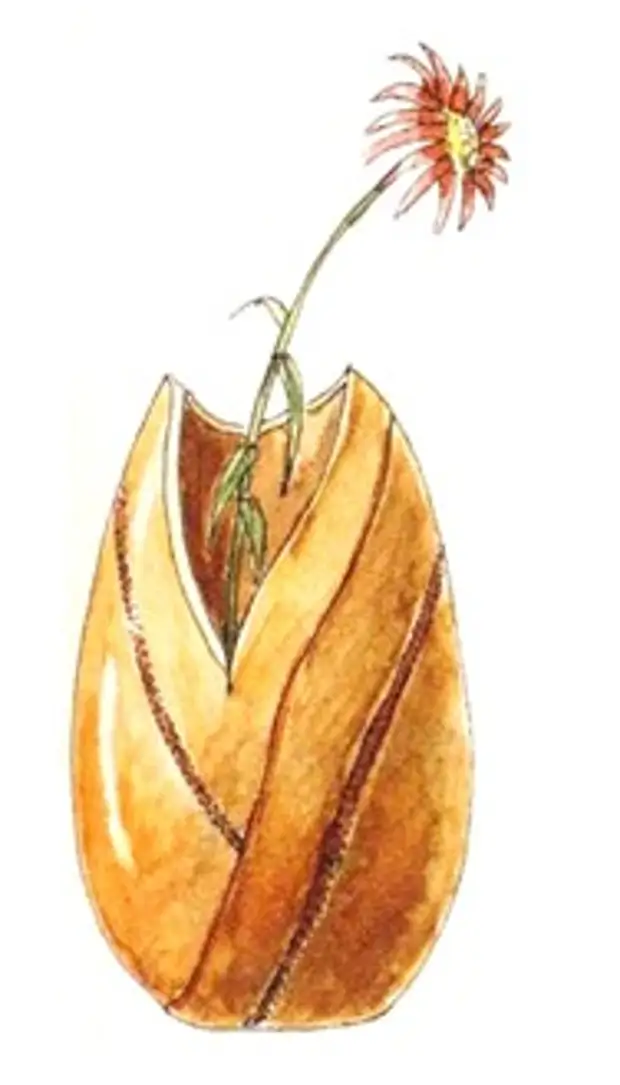
Unusually look at the pumpkin vase carved patterns. The neck is also not necessarily cut in a straight line - you can make a bevelled or V-neck. And the neck can be decorated with ribbons, braid - drilled holes around the circle and making a lacing through them.
In the future, drunks can be put in such a vase. If you want to put alive flowers, then inside the pumpkins you need to place a glass or plastic jar, suitable in height.
| 
|
Solonka and Pumpkin List
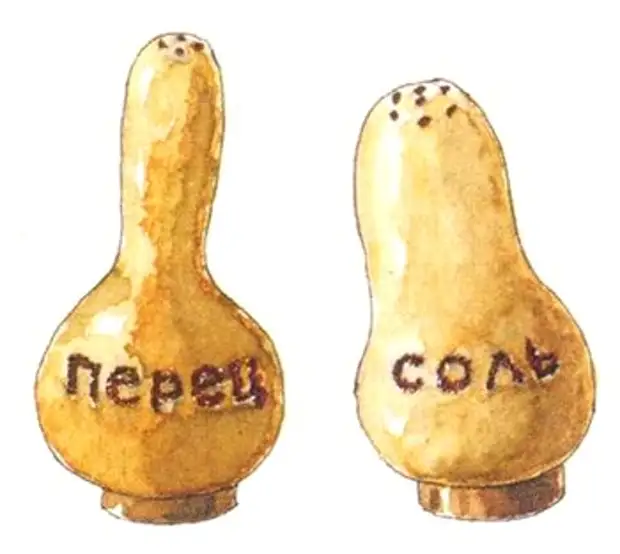
Funny and practical crafts can turn out of small pumpkins - make salt and a list of them.
At first, find a couple of traffic jams that the holes in the salt and the list will be covered - corks from champagne will be suitable. It will be necessary to cut two mug with a thickness of 1.5-2 cm. Under the diameter of these traffic jams, it will be necessary to cut holes in the tops of the pumpkins. Just need to keep in mind that after drying the hole will become more.
Clean pumpkins from the pulp and dry. Then pon the plugs in size. In the opposite side of the plug, push the holes with a sequel, from which salt and pepper will be poured.
To top it off, sign the pumpkins ("salt" and "pepper") and decorate their ornament. You can cut or smear the pattern and inscriptions.
Source: Handmade.cveti-sadi.ru.
|
