

Today I want to share a way to create small billets, which can then be used for various decorative works with children, and with adults too.
Such blanks will be useful for master classes in various techniques: from simple coloring, before decoupage.
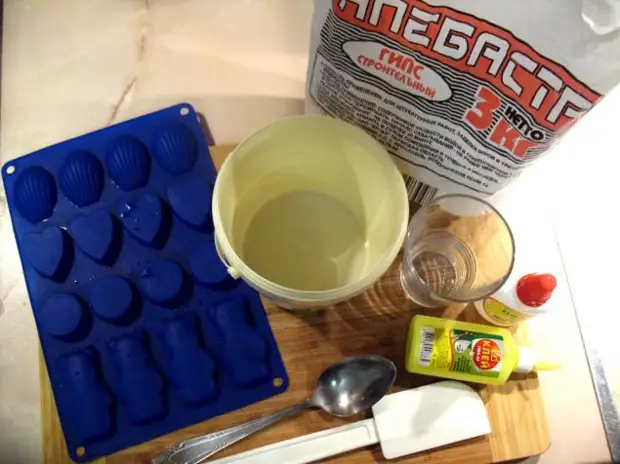
Tools and ingredients:
Capacity for mixing components,
A glass (can be simple, can be measured),
Big tablespoon
Vacan for mixing
Molds for billets (silicone naturally routing better than everyone, but will suit any kind: molds for sandboxes, flat lids, jars from under yogurts, plastic cups, etc.),
PVA glue (any),
Alabaster (construction gypsum) - you can take both medical, but this most affordable (in any construction store).
The number of components take to the eye (gypsum such material, which will still freeze, no matter how much water you have poured there).
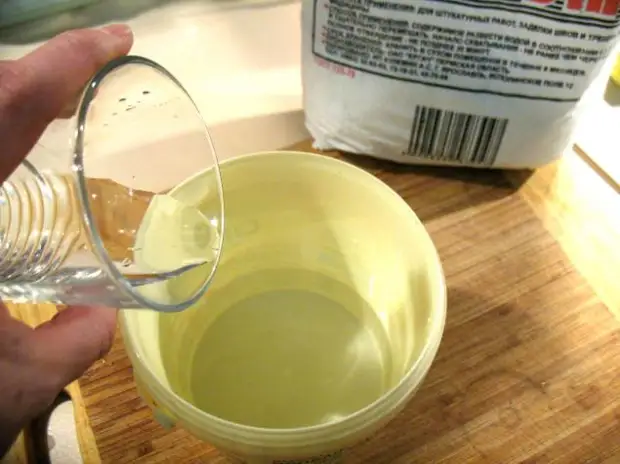
1. Water from water. Measure the glass of cold water and pour it into the mixing container. It is better not to take hot water - it reduces and so a short time of frozen plaster.
2. Measure 6 tablespoons (with a baoal hill) of the gypsum and put it into the water, it is possible to put half a spoon for loyalty.
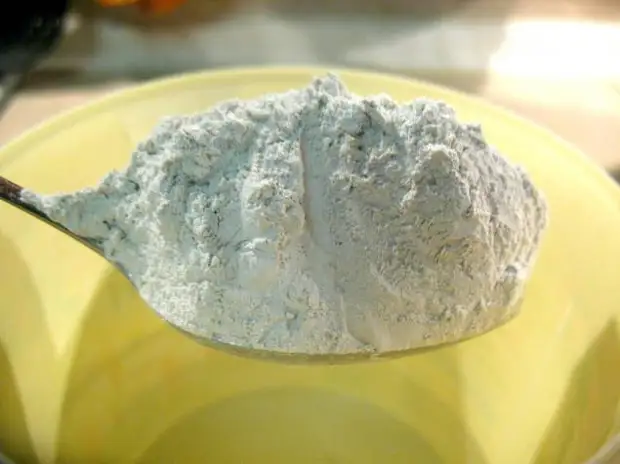
It is important, plaster put in water, and not vice versa, otherwise there will be lumps that are difficult to stir.
3. Thoroughly mix all the spatula to a homogeneous mass (the consistency should be convenient for spill - not too thick, but not too liquid, and then there will be splashes, which will then wash off).
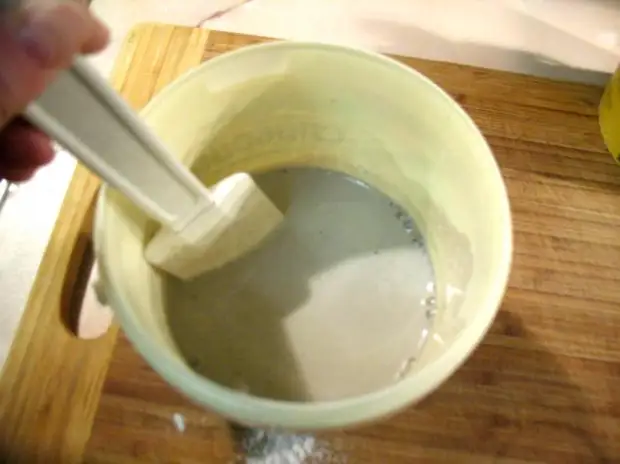
Here, the principle of "hurry slowly", I would slightly converted into "not hurry quickly", because you will hurt - the lumps will remain, and not hurry - the gypsum will freeze, did not have time to get to the molds. On all-pro-all minutes 3-4, then the froze will begin. And we still have a 4th stage to fill.
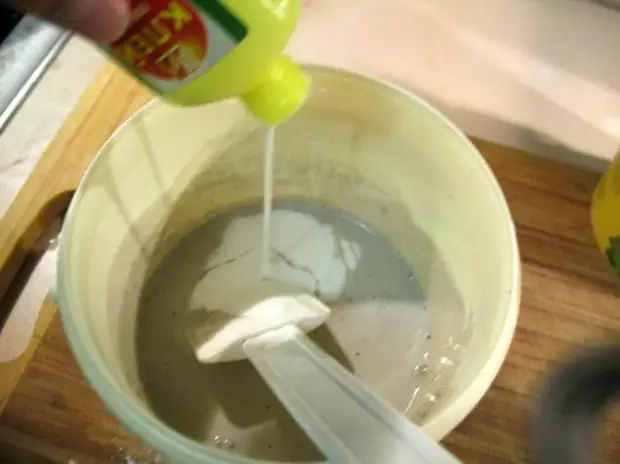
4. In principle, this is optional, but preferably. In the mixed mass, add a little PVA glue and wash it out again. The glue will give greater strength to the product, and the mass before bottling elasticity.
5. Getting to casting blanks.
IMPORTANT. Install the molds on the smooth horizontal surface. If you stand at an angle, the reverse side of the workpiece will be a curve.
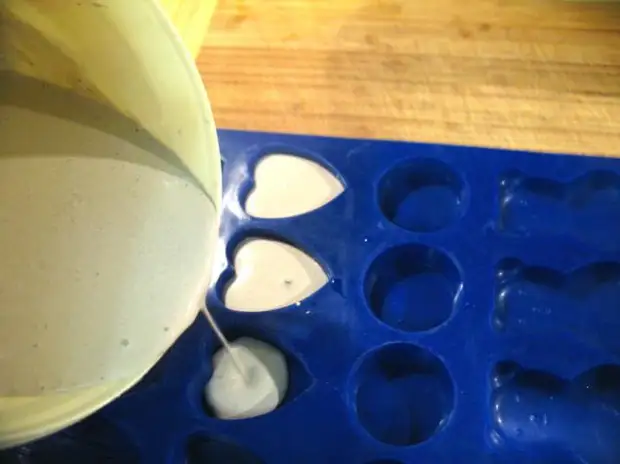
Gently fill in all our molds with a gypsum mixture. The thickness of the billets vary at will, depending on what purposes then use them. That's how it should work out.
IMPORTANT. At the end of the fill, when there are 1-2 molds left in the tanks, mix it again - as they first do not smear, for some reason, at the bottom there are still no-sized lumps and if you forget, the latter blanks will be with defects. And I would not want.
AND FURTHER. If a little gypsum sheds over the edges, nothing terrible - after drying, the blanks can be entrusted by sandpaper, it is very easily done.
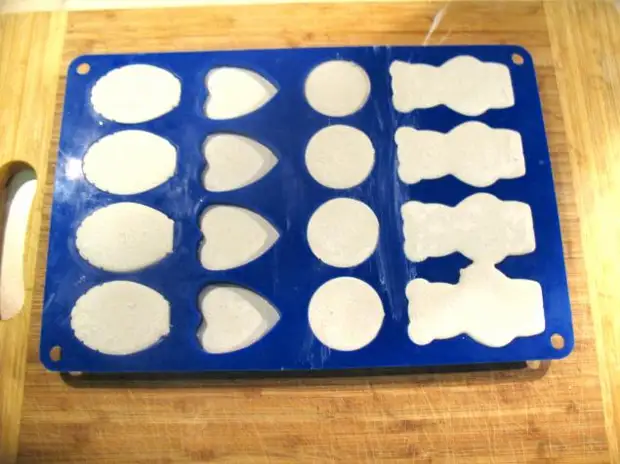
6. After 30-40 minutes, the gypsum will grab and the blanks can be removed from the forms. If you have a water in the surface after filling on the surface of the blanks, then do not worry - it will definitely dry (apparently the composition was liquid), just wait a little longer.
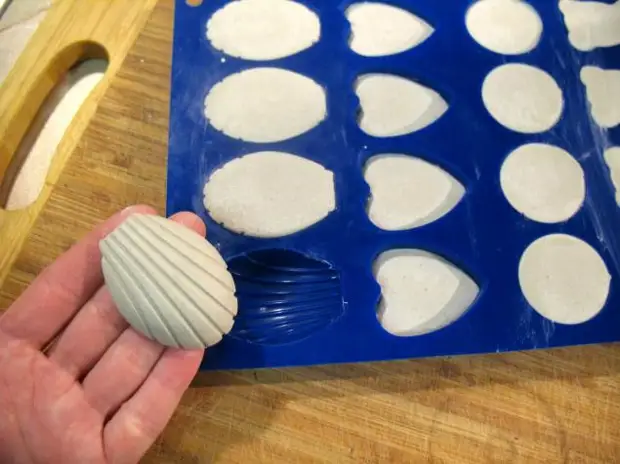
7. Such such blanks of 1-2 days will dry, and the larger the workpiece - the longer dry. You can put on the battery to accelerate the process. When the workpieces become white and ringing on the knock - it means ready. Can be applied by appointment.
8. Here are such appetizing cookies from me.

A source