

The author of the work is Anastasia Bragin.
I want to tell about the basic principles and secrets of knitting caps.
I use Yarnart Vava yarn and 1.4 hook.
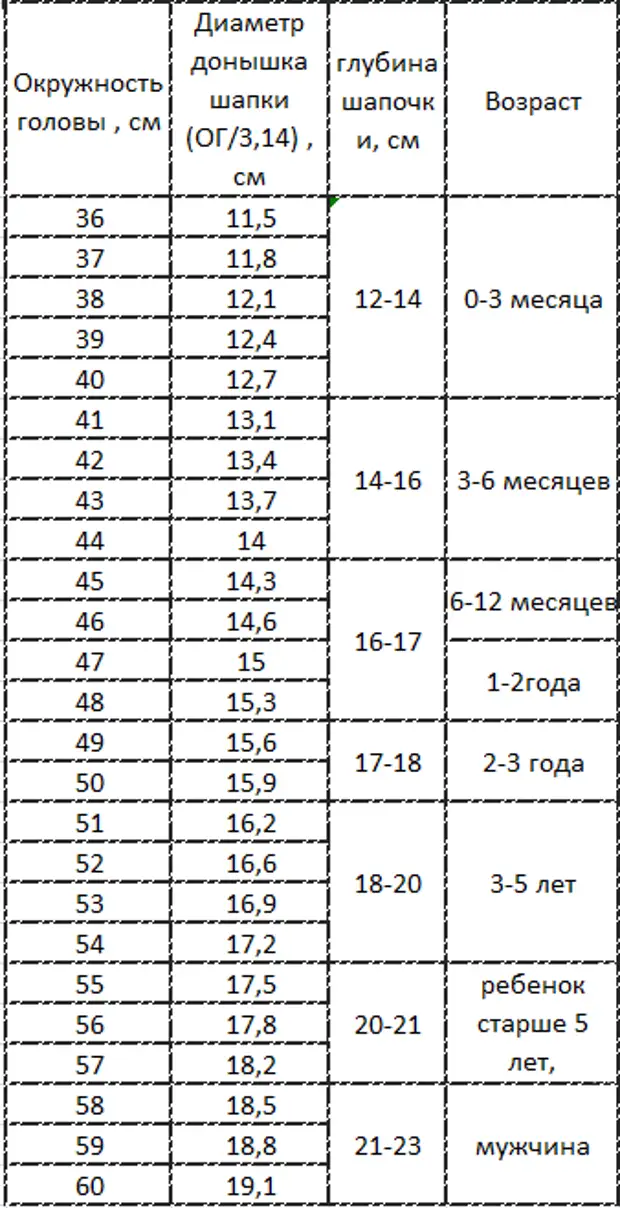
To begin with, we define how the volume of the head we will knit the hat.
In this we will help the table.
Each head is individual, therefore the table is only a guideline.
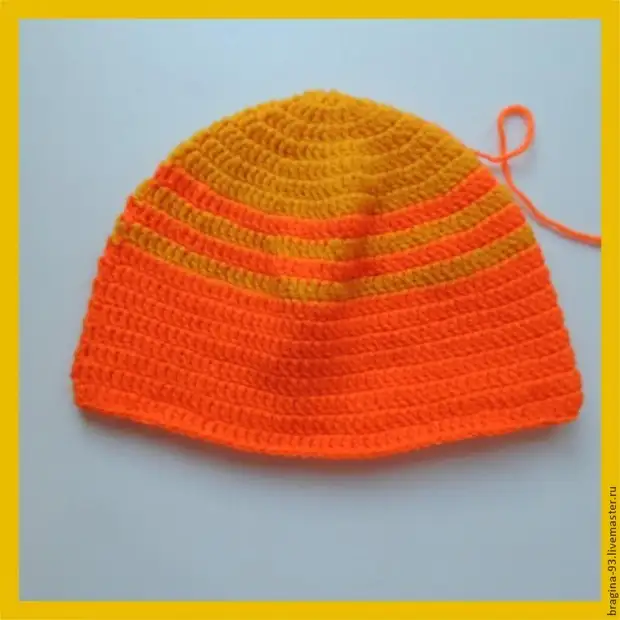
I will knit a hat on the scalp - 45cm. Rodyshko - 14.3cm. Cap depth - 17cm.
Brief designation:
VP - air loop
SP - connecting loop
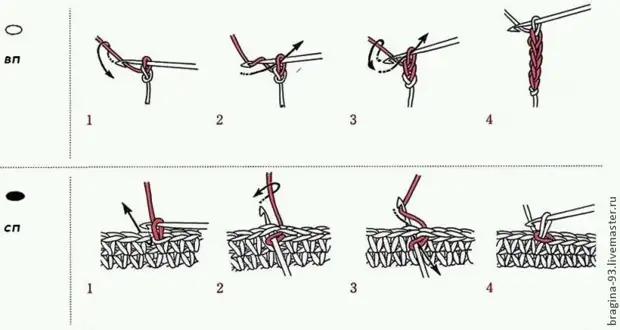
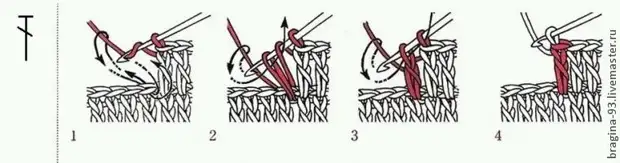
SSN (Column with Nakud)
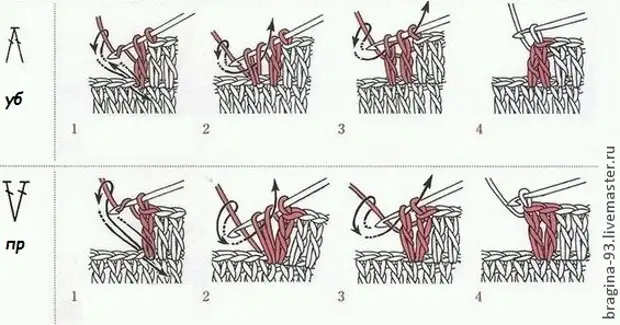
UB - row by columns with Nakud
Prospecting by columns with Nakud
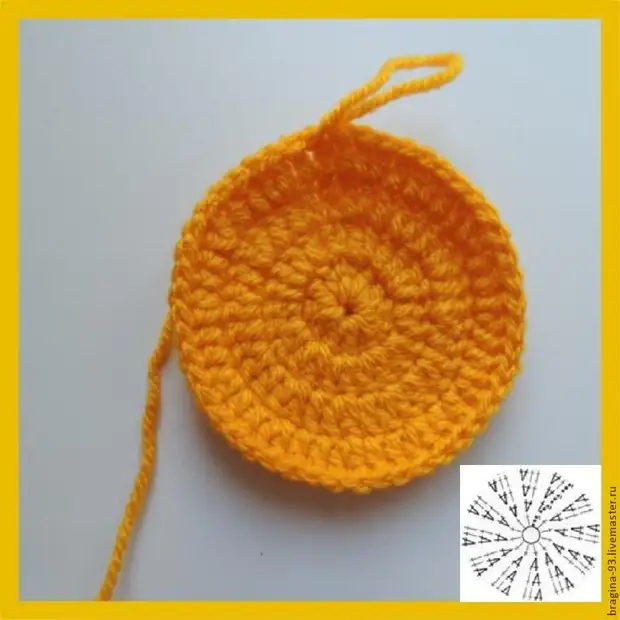
Now you need to learn how to read the scheme for which we will knit a hat
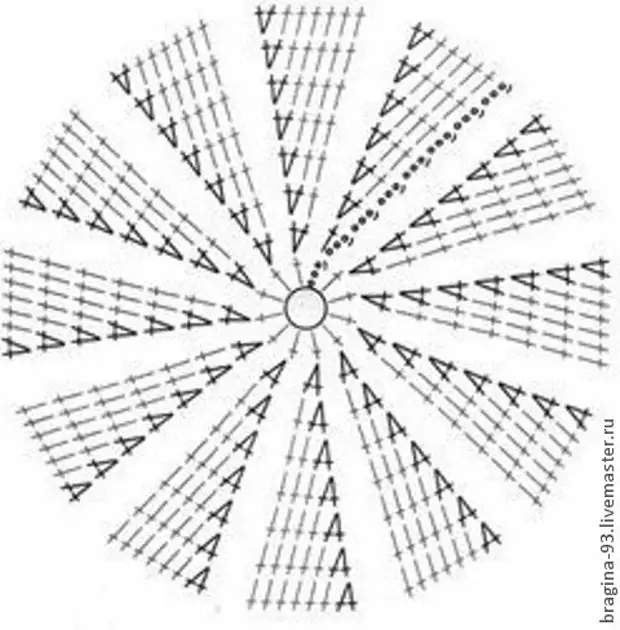
We start knitting, and look at the scheme in parallel.
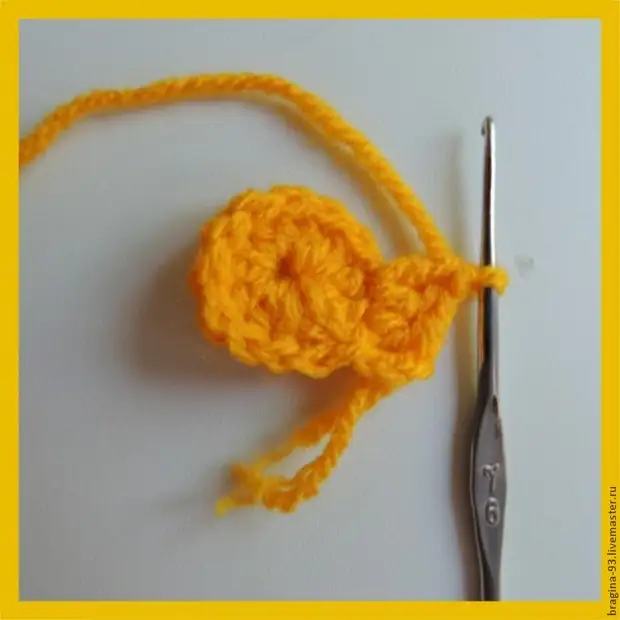
We recruit 4VP, 3 of them are lifting loops.
3 lifting loops need to be done at the beginning of each row.

We make one nakid on the hook,
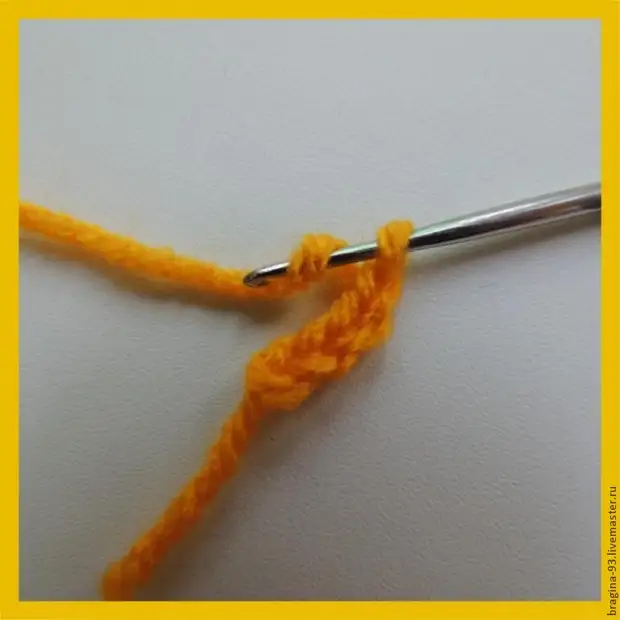
Introduce the hook to the very first air loop and pull out, through it the working thread,
Slip the extreme loop and the nakid together,
We are tied together both hinges,
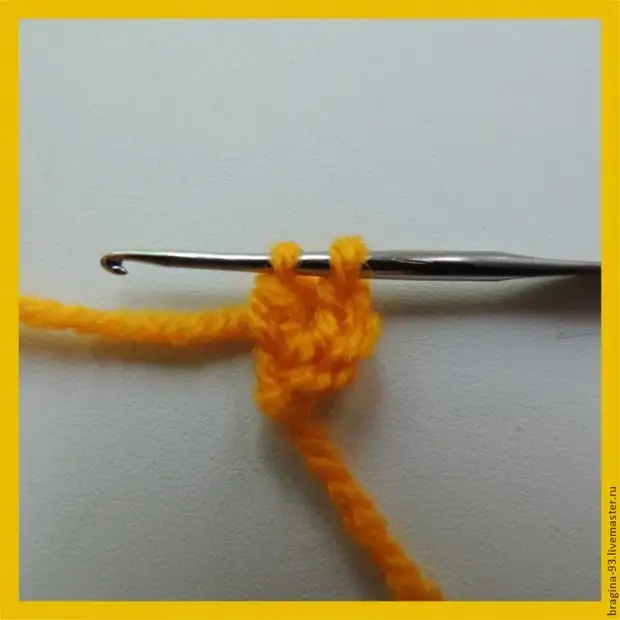
The first SSR is completed.
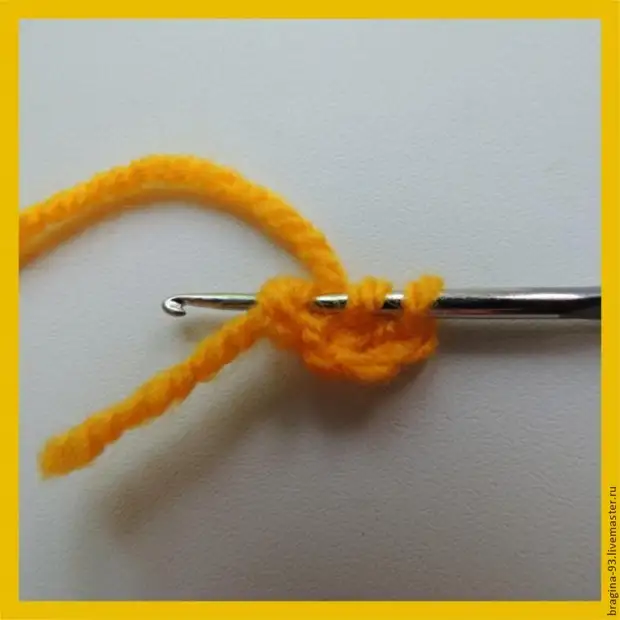
Again, make a nakid and enter the hook to the very first of the VP. In the same loop where the first SSN was tied.
Insert the extreme loop and nakid
Then they see both hinges that on the hook.
2ssna ready.
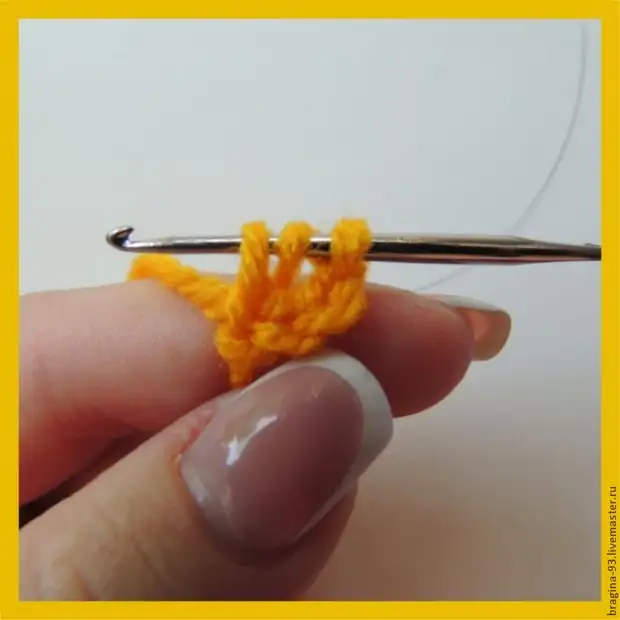
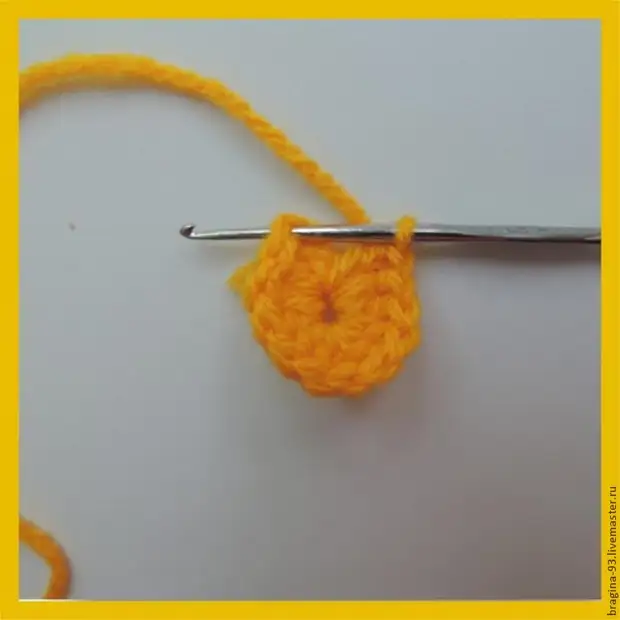
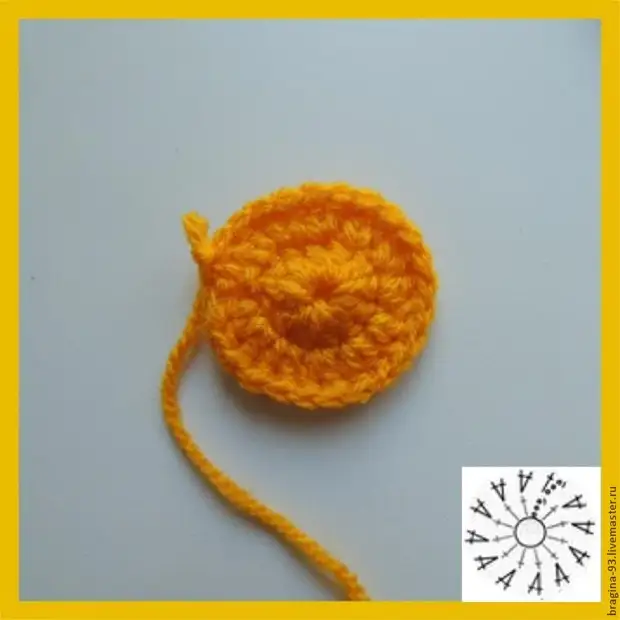
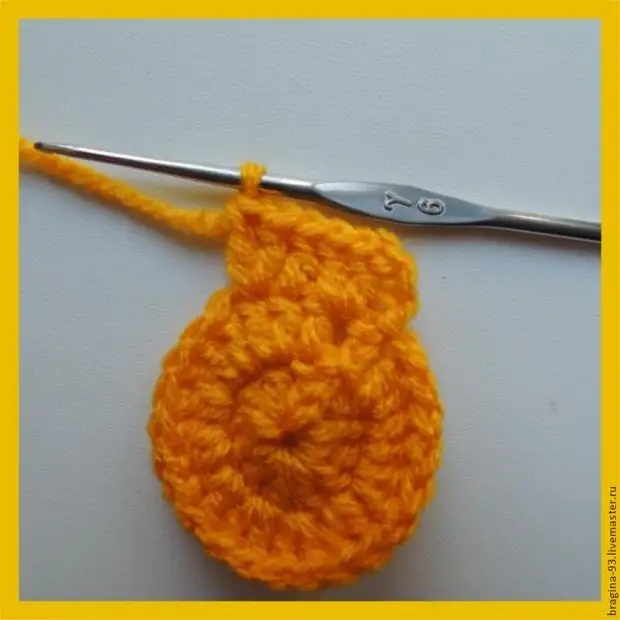
So knit until the end of the row. In the first row, we should get 3VP lifting and 11SBN.
All SSNs are tied in the same next.
All donyshko will be divided into 12 sectors. All sectors must be the same. 3VP lifting at the beginning of a row will be considered a column with an attachment. Ie, I can safely say that in the first row it turned out 12ss, but you remember that 3petes lifting = 1ss.
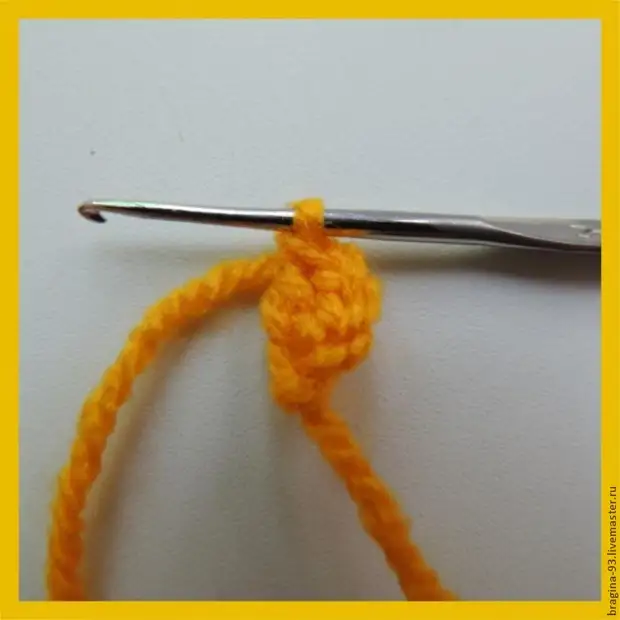
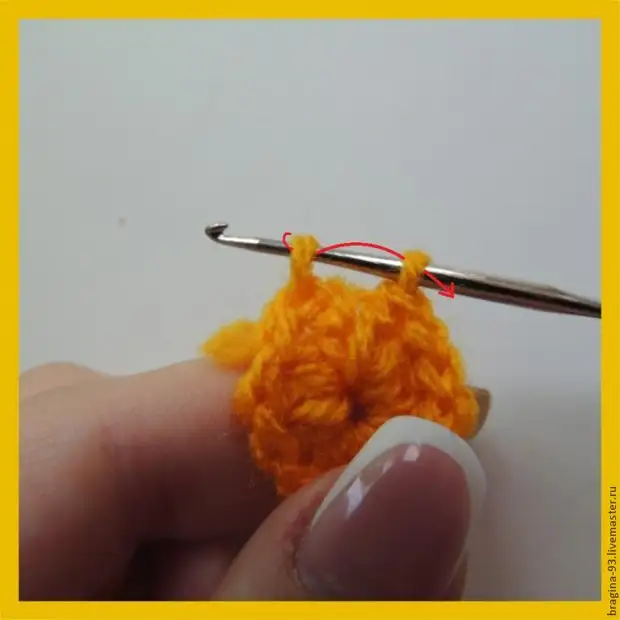
Connect a row (connecting loop), enter the hook in 3VP lifting, pull the working thread through it,
Further Do not see the loops together!
loop we stretched out of 3 lift Just drag through the second loop on the hook!
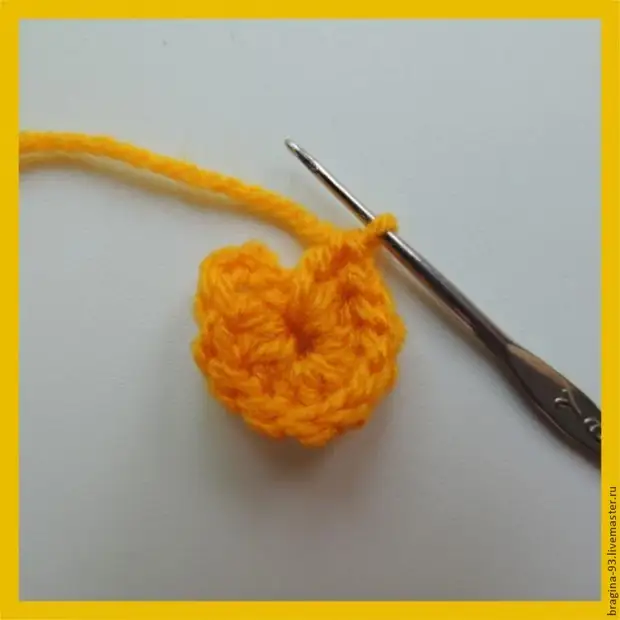
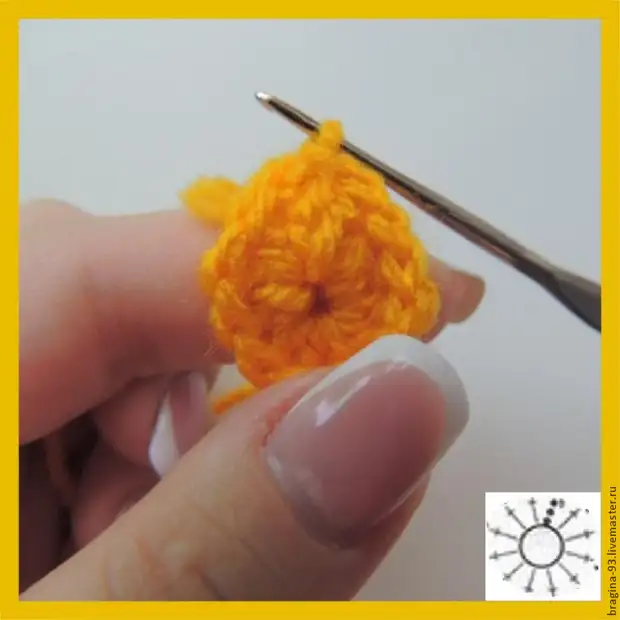
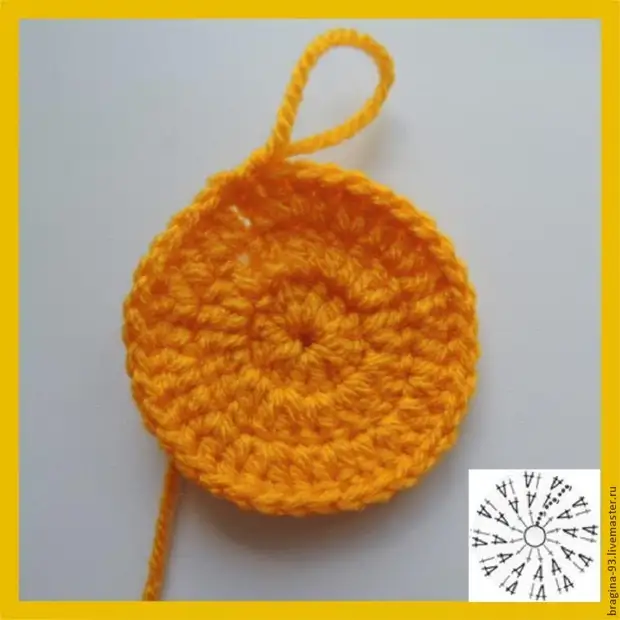
This is how the finished first row looks
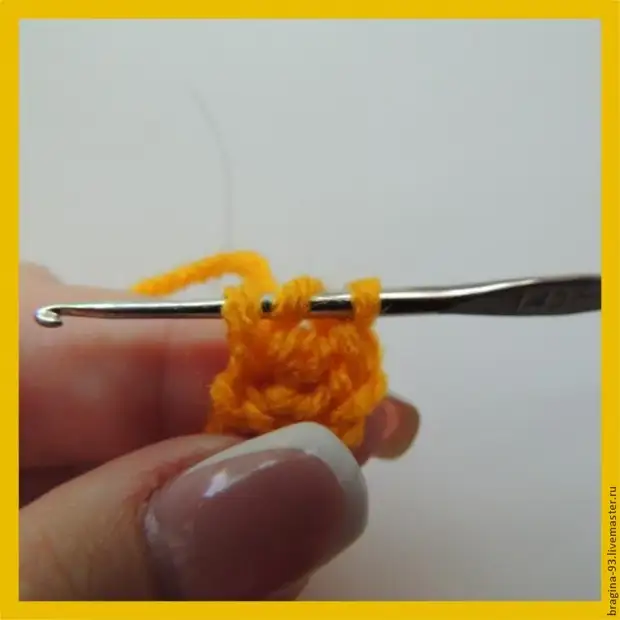
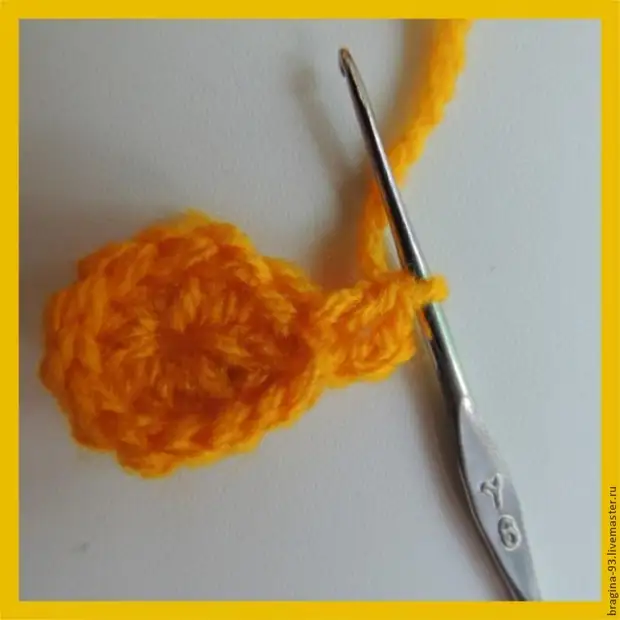
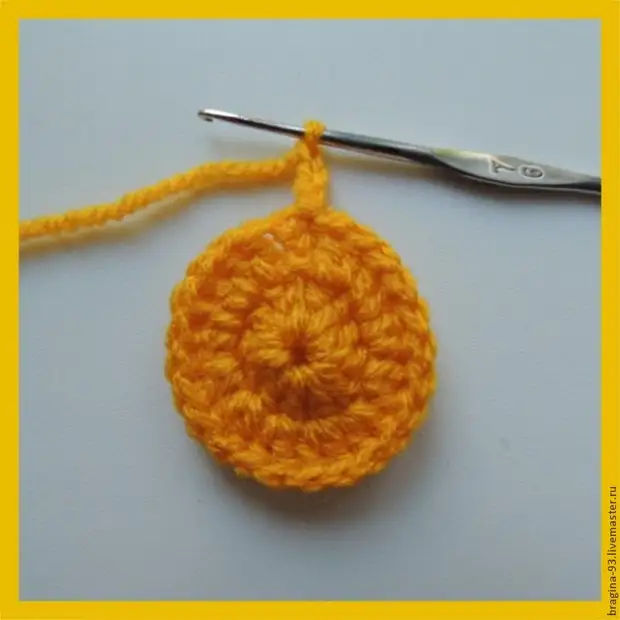
The beginning of the second row, which means - type 3 VP lifts

Make a hook
Introduce the hook into the connecting loop, pull the working thread,
Sing the SSN.
Next, in each loop of the previous row, they see the increase (2 SSN)
In the second row it should be 12 rental or 24SBN.
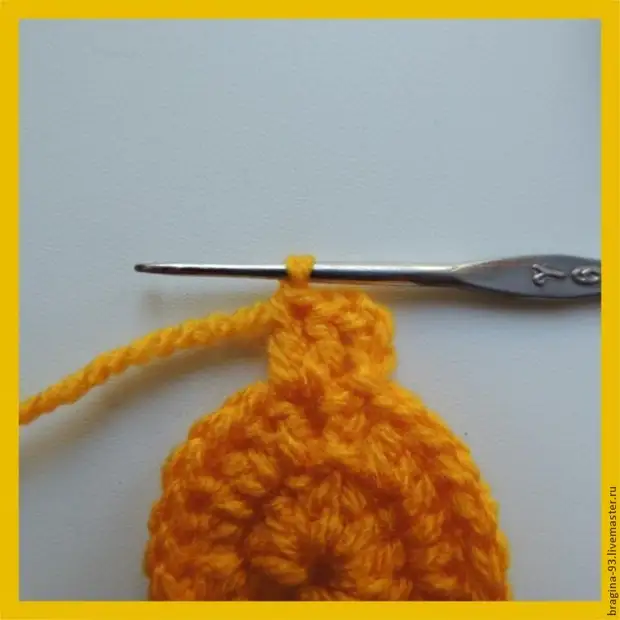
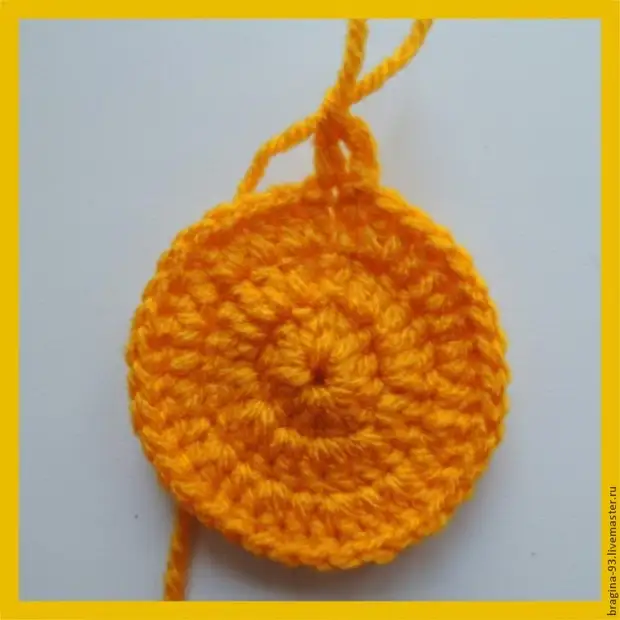
Row end the connective loop.
We start knitting 3 row:
3VP lifting
In the next loop, knit an increase
Until the end of a row alternate: 1sscs and an increase
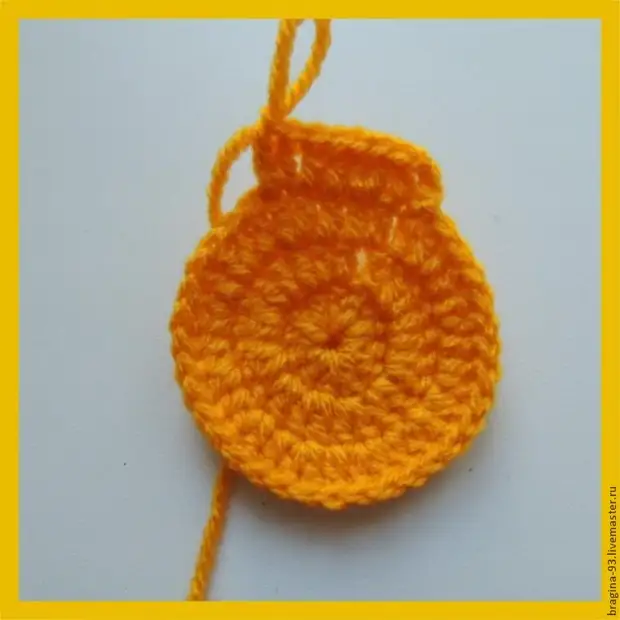
In the third row it turned out 36ss
Row end the connective loop.
4 row: 3VP lifting,
in the next loop 1ss
and in the mark. PREPLE
We alternate until the end of the row: 2sscs and an increase.
A number ends with comprehensive
In the fourth row, it turned out 48ss.
5 row begins and ends similar to previous rows.
We alternate the 3ss and the increase to the end of the row.
in the fifth row 60ss
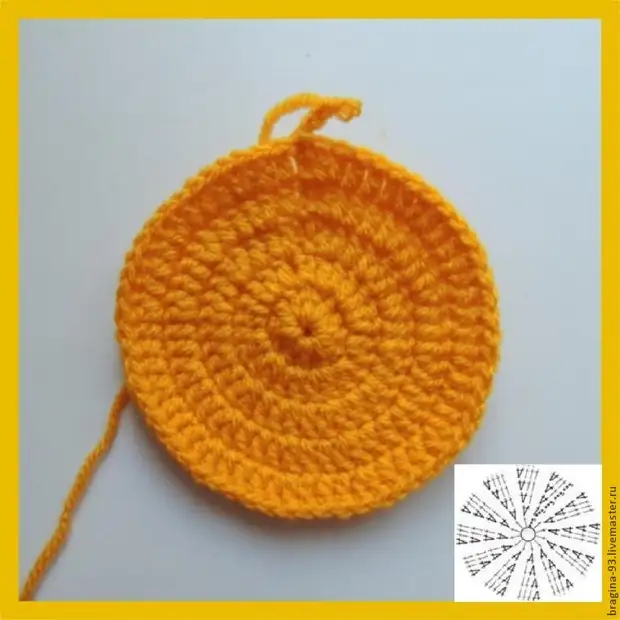
6 row begins and ends similarly as previous ranks
We alternate 4sss and add to the end of the row
In the sixth row 72ss.
7 bar begins and ends similarly as previous ranks.
We alternate 5ss and the increase to the end of the row.
In the seventh row 84ss.
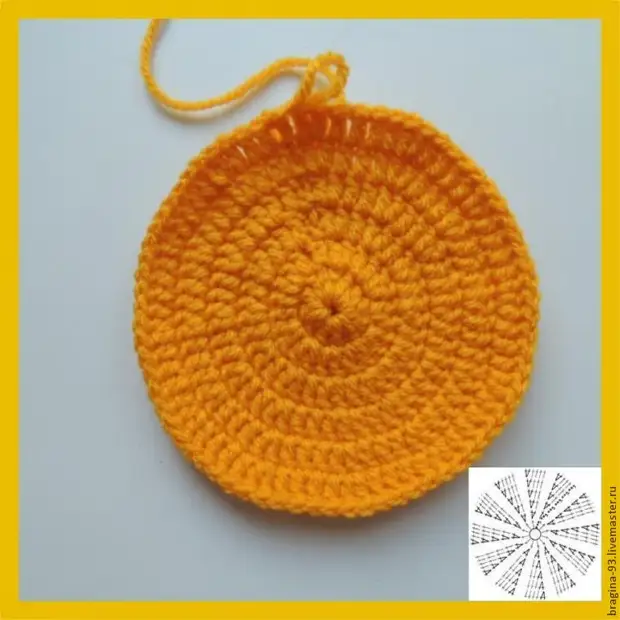
Secret number 1: So that the hat did not look like a tubette,
After the diameter of the bottom will reach 12 cm., Addressing
Make a row.
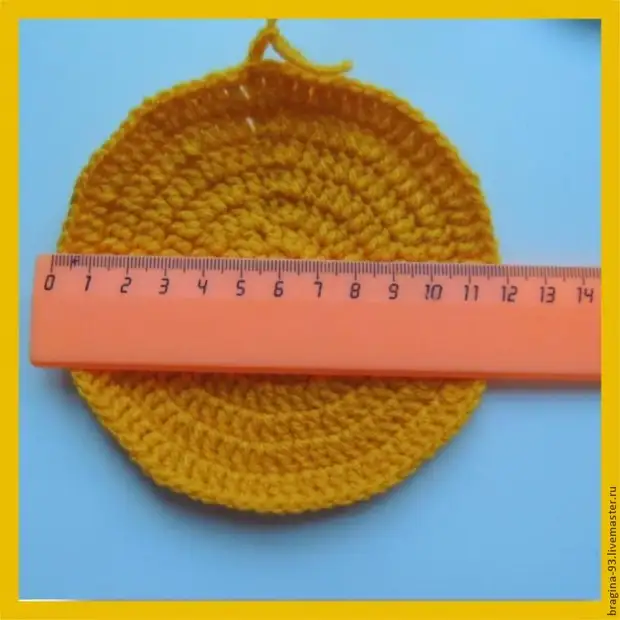
Next row knit without add-ons.
Rows without add-ons will be knitting other colors - it will be clearer.
Yellow rows with additives
red rows without add-ons
The next row is already with additives.
Track. A row without additives, and behind him a row with additives. Thus, it is necessary to alternate before getting the bottom of the desired diameter.
My donyshko has already reached the desired diameter and then I will knit without add-ons.
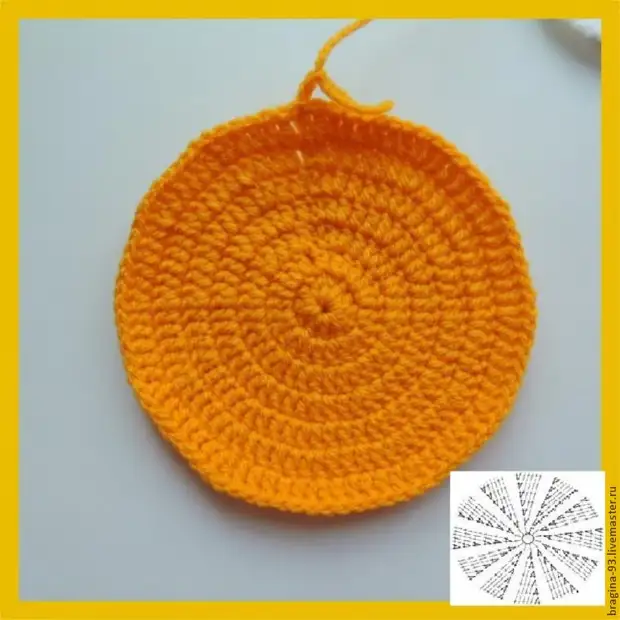
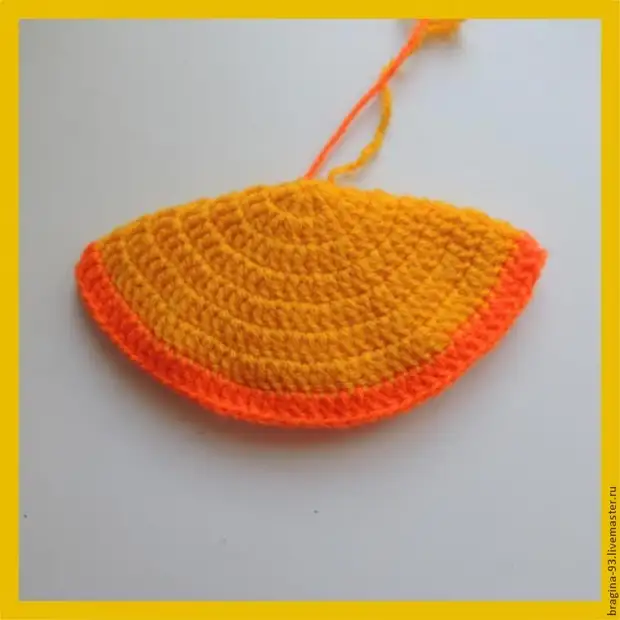
Secret number 2. The secret of the last row with additives:
In each row with adding them 12 (additives), but, to the last row with additives this rule is not necessary.
Sometimes there are a lot of 12 in this row and the diameter of the bottom turns a little more than necessary. Instead of 12PR, you can make 8PR, 6PR, 4PR or even 3PR.
I'll tell you on the example of my cap. The last row with additives knitted as follows: 7ssna, PR, 8SSH + 7SSN, PR, 8SSN + 7SSN, PR, 15SSN, PR, 15SP, PR, 15ss, PR, 8SSN. From this description, we understand that instead of each second increase, only one SSN fit. In the row it turned out 6PR.
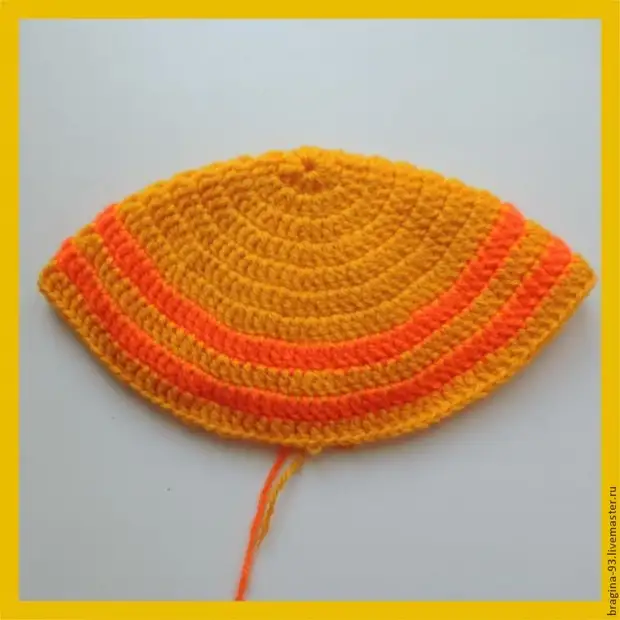
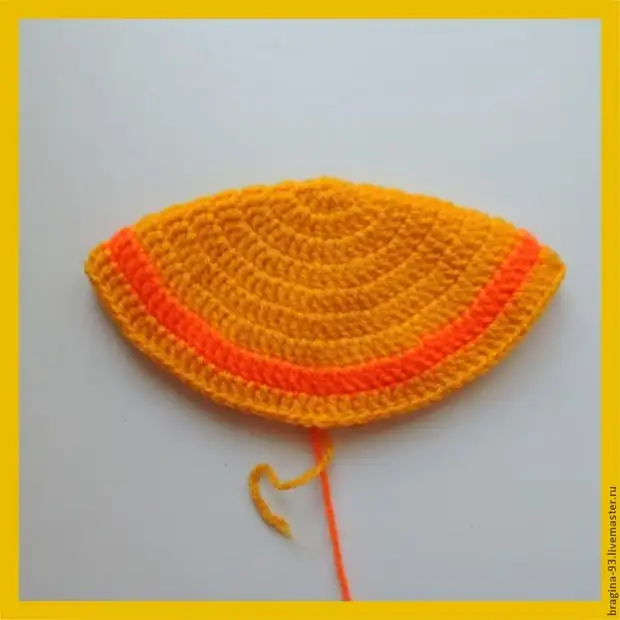
To the desired depth knoting without additives. After that, knitting caps are completed.
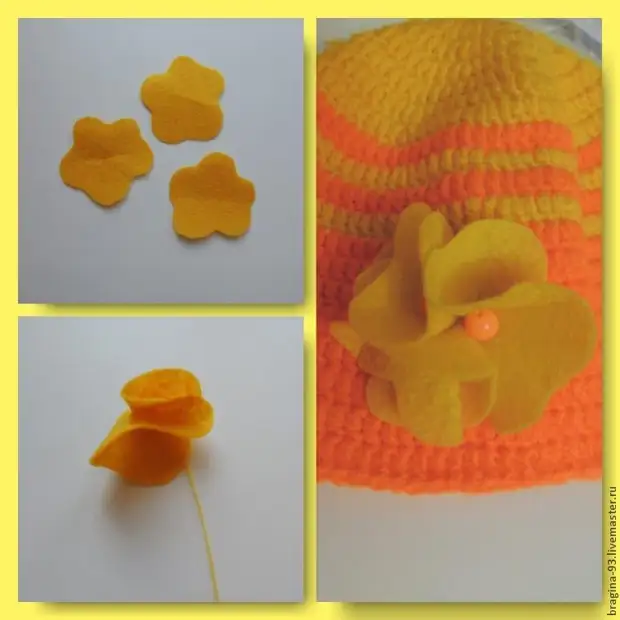
Let's decorate the hat:
Cut 3 blots as in the photo.
Fold each in 3-4 Ryaz and fix the thread.
Sew three items to each other, and then all the tricks to the header.
Decorate beads.
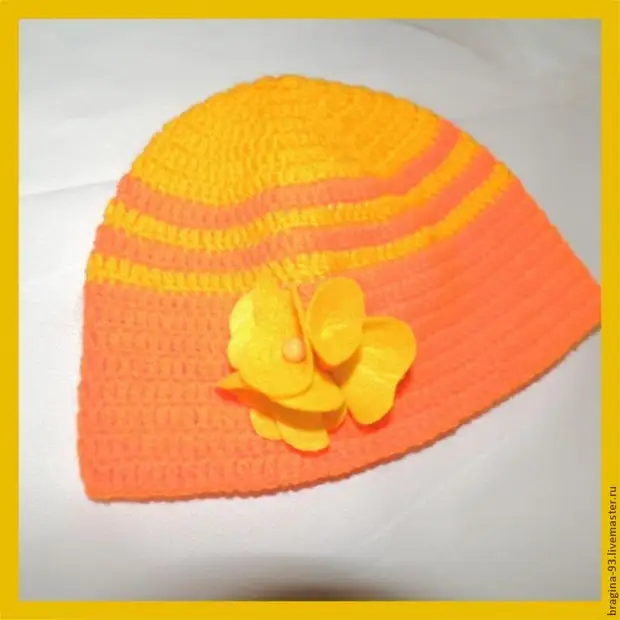
Our hat is ready!
A source