
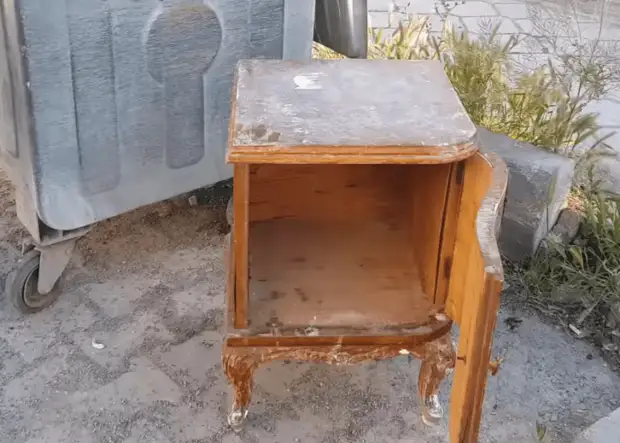
The fact that for some is garbage, others are willing to turn the setting into the highlight. Look at this old bedside table, which has long been learning your age. It is difficult to believe in it, but thanks to the efforts creative approach to repair, the girl managed to turn her into the highlight of the situation.
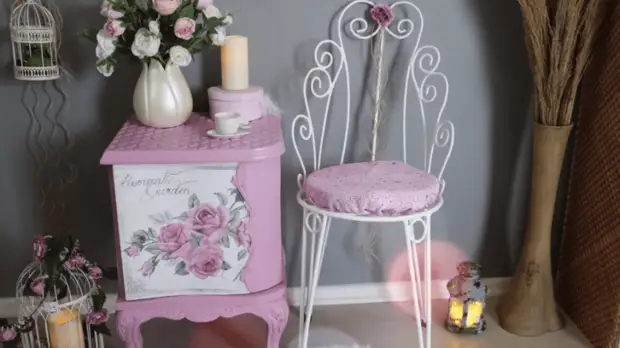
That's what the end result looks like! And all this thanks to the desire to get a good stylish thing. By the way, remake on the pocket did not hit.
Washing and defating the bedside table, you should apply a putty for the tree in those places where there are flaws. At this stage, it is not without a grout.
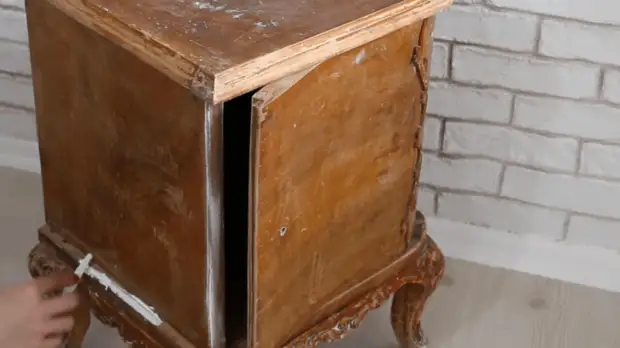
Someone will need primer. In this case, it is necessary to add a little starch and joinery glue to paint on a water basis.
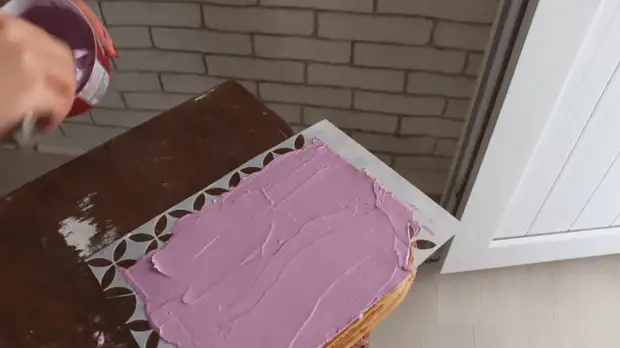
To get the desired shade, you can use coloring. In this project, lilac is mixed with Fuccia. In the paint, which will be used as the main, also added some glue and starch. At the mixing stage, part of the paint is intentionally made more thick, due to an increase in the amount of glue and starch. Such paint will be used to create a textured surface.

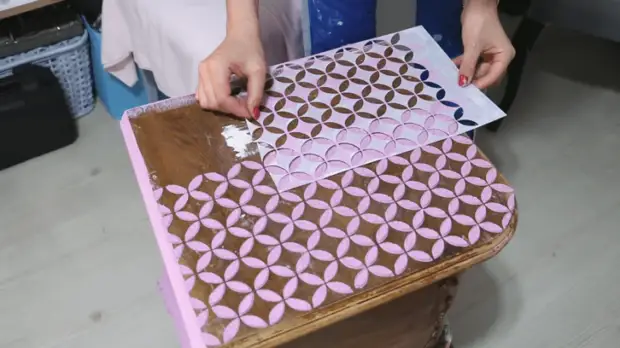
Pick up the stencil with the geometric pattern, we put it on the surface of the cover.
From above, cover the stencil with a thick layer of thick paint, we leave literally for a couple of minutes, and then raise. Clean the stencil from paint residues.
Gently put the stencil on the plots with a raw surface, at the same time exciting the area with the already imprinted pattern. Thanks to such a trick, the volumetric pattern will be perfect, without any junctions.
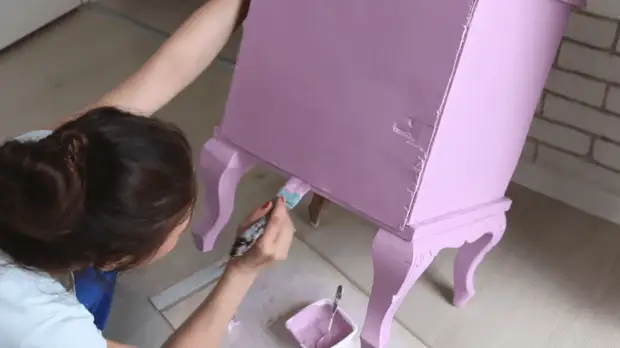
While the bed lid dries, you can safely begin staining the housing and legs.
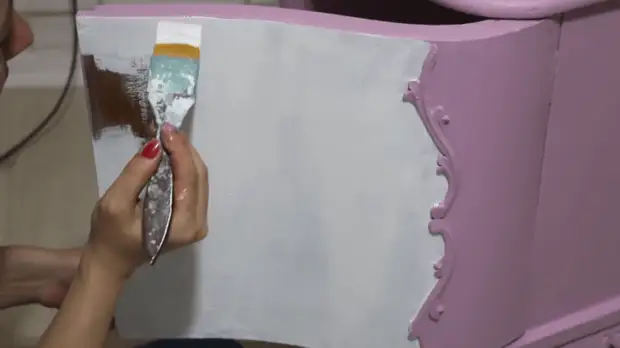
A little different approach will be needed when staining the door. The main color here only part of the door. Mold in this case acts as a delimiter.
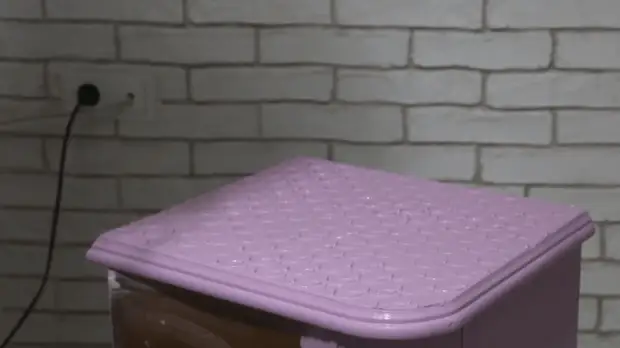
After the paint on the lid dried slightly, you can safely impose a second layer and paint the edges. The texture is set. It looks unusual and pretty.
The remaining part of the door was covered with primer.
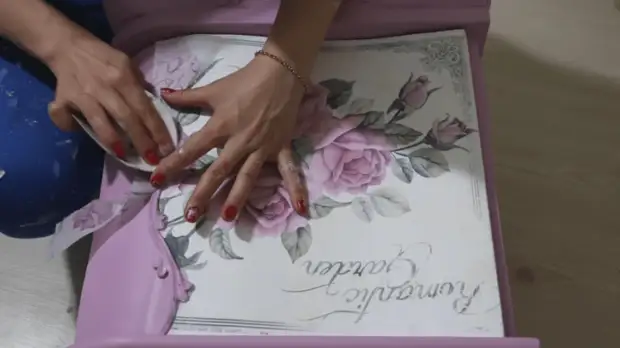
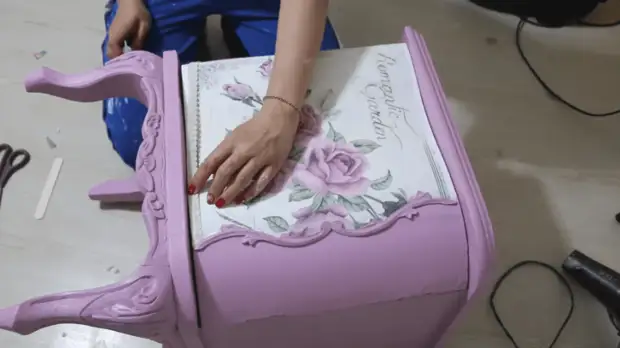
After drying, the paint for the decor was used self-keys with a suitable pattern. The surplus of the sheet in the place of docking with the Mode is neatly removed, and the sheet itself is as smoothed as much as possible.
Last bar is a lace finish. Lace strips along the doors are glued with water-based glue. Then it remains only to supplement the door with the handle and find a master's bedside table.
More details relating to the alteration of the old bedside table, in the video below:
