
Decorative burning on a tree is ancient craft, which emerged and developed in parallel with sharpening, thread, sea and other types of wood processing. With the advent of household electric pyphographers, the image application technique has simplified significantly by becoming accessible even for schoolchildren.
What is burning on wood?
Under pyrography implies the art of applying diverse drawings on the prepared surface with a hot tool. If the ancient masters warmed up the needle or stamps on coals, now engraving is produced using burners, electrical appliances, acids collecting lenses. A set for burning on a tree is a valuable and successful gift. Pyrography helps to remove tension, develop attention, shallow motorcy and imagination.Wood burning history
Art pyrography Ancient people used on all continents. Unique samples with discovered drawings from Peru, dated 700 months BC. Russian masters technology burning on a tree was used in the manufacture of dolls, spoons, boxes, buckets. Widely practiced "Drawing hot poker" English crafts for the framing of furniture, clothes and dishes. For drawing lines, artists predominantly used metal fixtures hot in the furnaces.
Gasoline, alcohol or gas burners in pyrography are used since the XIX century. Instruments for burning, made on the principle of electric soldering iron, appear in the 20th century. The first imperfect samples were terribly overheated. A modern wood pyrographer in 1962 invented the 15-year-old young man Roy Child, which was able to successfully improve the device of holders and tips for "drawing with fire". After a few years, home degraders went into mass production.
Types of burning on wood
There are several heat treatment techniques. Drawing with fire permits to receive flat or deeply worked outline images. The main methods of pyrography:
- Flat burning - The main picture and the background part are located on the canvas in the same plane.
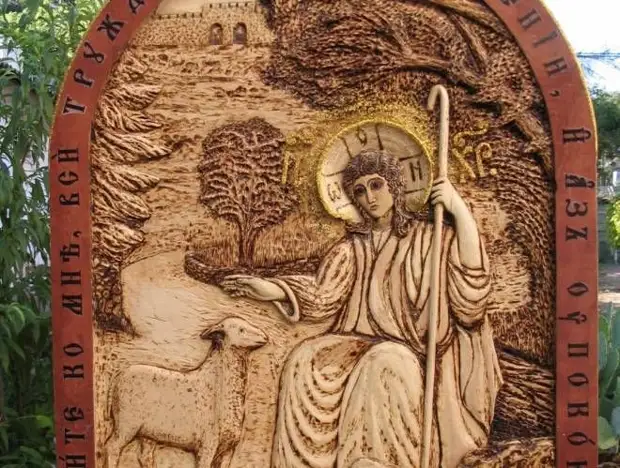
- Deep burning - The main picture is located at the level of the canvas, and the background part is artificially deepened using knuckling pins.
Alternative ways of burning:
- Acid burning - Application of patterns is carried out under the influence of chemicals. The board is covered with wax or paraffin, then the protective layer is scraped over the lines of the future pattern and sulfuric acid is applied on wood.
- Pyrootype - This type of wood burning has more in common with printing processes. "Fire printing" is produced using a finished stamp, adjusting the clarity and relief of the image using pressure and temperature.
- Maintain electric discharge - The contours of the figure are applied by an electrolyte (salt solution or other), after which the current is passed on the tree.

Burning wood laser
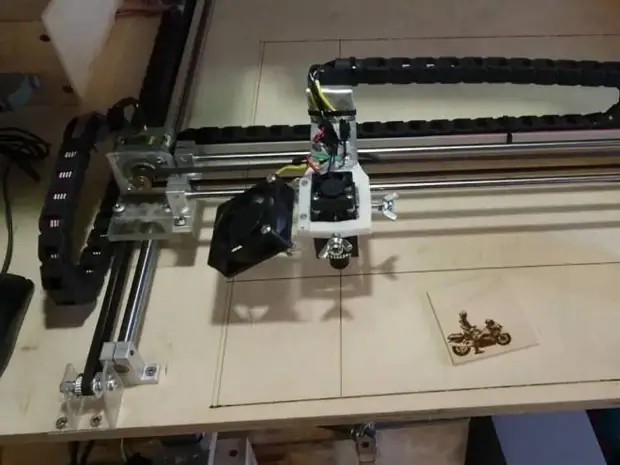
For engraving in advanced methods, I use CNC machines capable of creating the most complex patterns of the highest clarity. Laser machines can reproduce drawings for burning on a tree in large volumes, saving time on manual processing. Some models, for example German engraver FMark NS, are able to be plastic, rubber, aluminum and precious alloys in addition to wood. In the presence of software control, the operator does not even need artistic skills, all data on the drawing machine for burning around the tree gets from "flash drives".
What is needed for burning on wood?
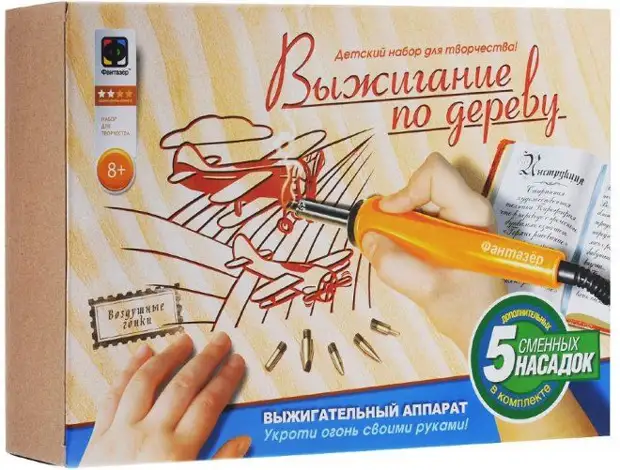
For "drawing with fire", there is no need for the most complex devices, simple detectors are inexpensive. If the wood pyrograph will have to do and want to increase the level of work, you can purchase universal appliances with replaceable nozzles and a wide setting mode. The following items need to include the following items in the art kit for artistic burning
- electric heating agent;
- Wood blanks;
- sketches with drawings;
- sandpaper;
- copy paper;
- the pencils;
- eraser;
- paints;
- wax;
- varnish;
- rag;
- set of brushes.
Materials for burning
Wood for engraving is selected based on physical and mechanical properties. The delicate and delicate process is the burning, pyrography is easier to be performed on bright and moderately pileous wood with a homogeneous structure. A common conventional pine is rarely used in operation due to the inhomogeneity of the material and its resinness, the oak is poorly processed due to high hardness.Next wood suitable for burning:
- Linden;
- elm;
- maple;
- chestnut;
- pear;
- Sugit;
- Birch;
- sycamore;
- Pyrenean Pine;
- Sheet plywood of suitable varieties.
How to choose a device for burning wood?
There are devices for pyrography with wire and solid feathers. The latest devices resemble the usual soldering iron and do not have gas temperature regulators. It is better to purchase a device for burning water from 20 W for fast work even on a solid coating. In professional deigning, the loop replacement is faster due to the presence of convenient holders with cogs.
Features of devices with solid feathers:
- Durability.
- Easy to use.
- Cheapness.
- Pirographer warms up longer.
- Above the risk of overheating.
- Worse suitable for fine and long work.
Features of detectors with wire feathers:
- Fast heating and cooling.
- The presence of heat adjustment.
- Suitable for painstaking and long engraving.
- High price.
- Nozzles more often fail.
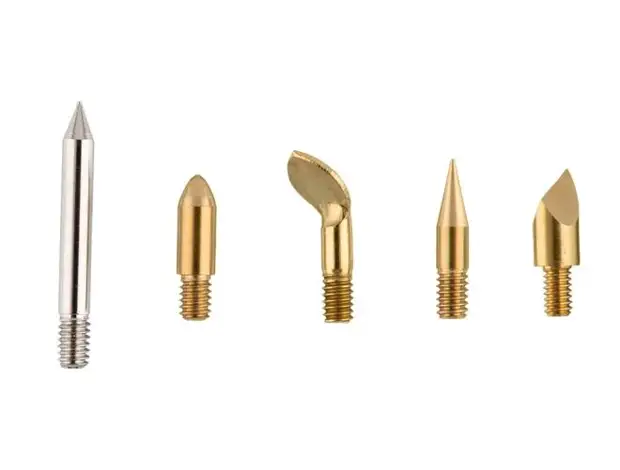
Wood burning nozzles
Newbies are not recommended to acquire too many components for pyrography, without silenting with the basics of this art. Man's burning apparatus by needle, conical and thin needle feathers, which are used more often. Latvian seals are used to compose intricate patterns. Nozzles for wire devices can be made independently, bending the desired profile from the nichrome wire with a thickness of 0.5-1 mm.
Tree burning rules
Engraving images on inflicted contours - the task is simple. After a short preparation, even a schoolboy will be able to create simple patterns on the prepared table. We list the most important foundations of the wood burning:- The device during heating or during recreation is put on the stand.
- Engraving starts after heating the pen to dark red color.
- The knob of the deceit holds in their hands, like a pencil.
- Recommended every 10-15 min. Turn off the cooling device.
- Thin lines are obtained with a slow feather movement.
- To form thick lines, the tool is slower.
- In the instruments with heat adjustment, it is possible to change the temperature, affecting the intensity of the color of the lines.
- It is forbidden to put pressure on the feather.
- It is not recommended when applied to solid homogeneous lines to change the speed of the nozzle.
- If you wish to sharpen a section of the image, you should first cut out the contours, and then burn out the middle of the pen of the middle.
- When holding a pen in one place, the area of the picture is burned deeper.
- With a deep burning, the contours will be powered by double lines, and then with knife-shaped pins "cut" a tree, giving it the desired texture. The remaining border trimmed during final finish.
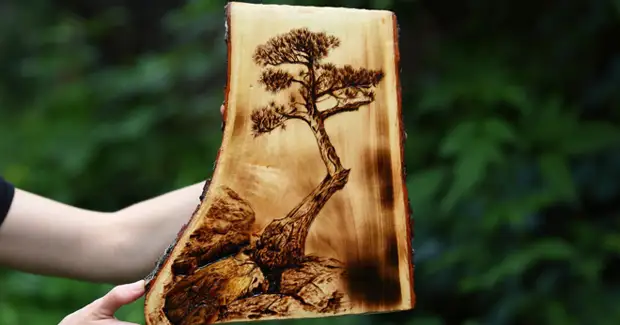
Ideas for burning on wood
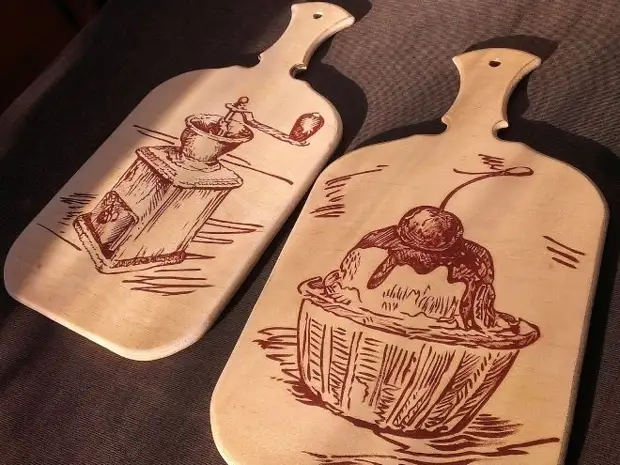
The pyrography method can be obtained a lot of interesting handicrafts or decorate finished items. The most successful ways of using wood burning techniques:
- Decoration of interior items - facades, chairs, stools, carved legs, shelves, hangers.
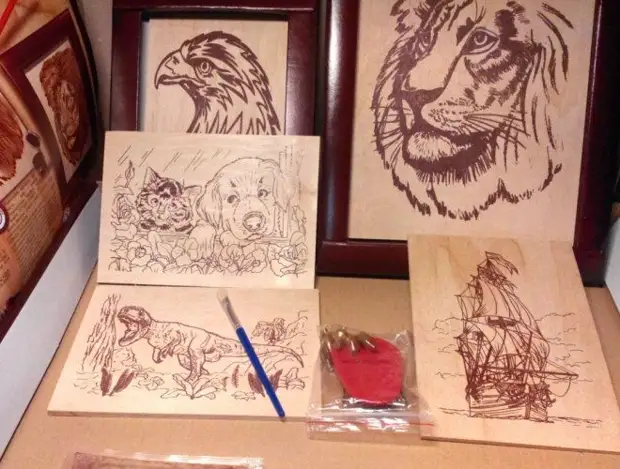
- Pictures for burning on a tree - copying ready-made samples or hot drawing of original images.
- Decoration of wooden kitchen utensils - spoons, plates, bread, pots.
- Coloring desktop or outdoor vases, flower pots.
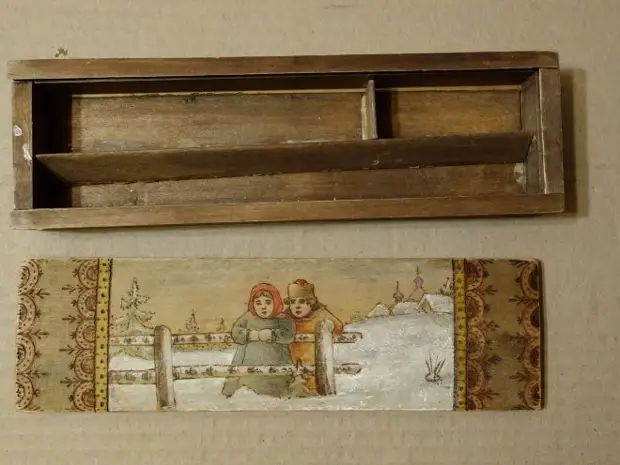
- Decoration of chests and boxes.
- Creating original jewelry - beads, hairpins, brooches, earrings.
How to burn on wood?
With apparent simplicity, engraving with a hot pen requires the skill, diligence and some skills. Test tests help to learn how to drive the wood tool and do not spoil good blanks. To obtain a quality picture by pyrography, you need to master the main ways of preparing the canvas, work with paints, wax and varnish.Stages of burning on wood:
- First cut out the workpiece.
- The plate is grinning sandpaper in the direction of fibers.
- Wipe the tree with wet rags to remove dust and chips.
- The surface of the desired pattern is transferred to the surface.
- Produce burning on wood.
- At the end of engraving, the surface is grinning, removing charred pieces.
- Next, the drawings are painted with paints.
- In the finals, paintings are covered with varnish or produce a fascination.
How to transfer a drawing on a tree?
The transfer of contours of the complex pattern to the prepared plate is the most important stage in pyrography. Many people like the burning of portraits on a tree, but the drawing of an image with all the details is not easy. There are several ways to solve the problem:
- In scale redrawing a pencil contours like pictures directly to the workpiece. The method is suitable for professional artists.
- Transferring drawings to burn wood with graphite paper.
- The drawing is copied to the printer on paper and attach to the facet face. By smoothing the back side of the picture heated flat nozzle, it is possible to achieve ink printing on wood.
- Using parchment paper and glue PVA - stick the pattern with the front side to the board, withstand a little and carefully remove the paper.