
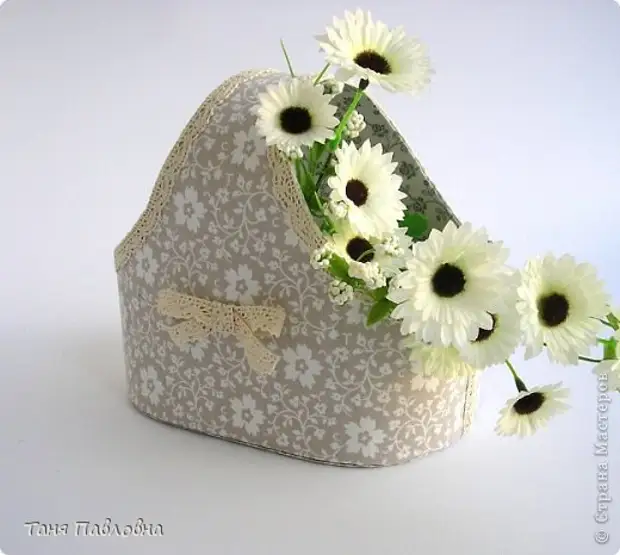
MK shared - Tanya Pavlovna.
one.
Nowhere has not seen such MK. Everything thought over.
2.
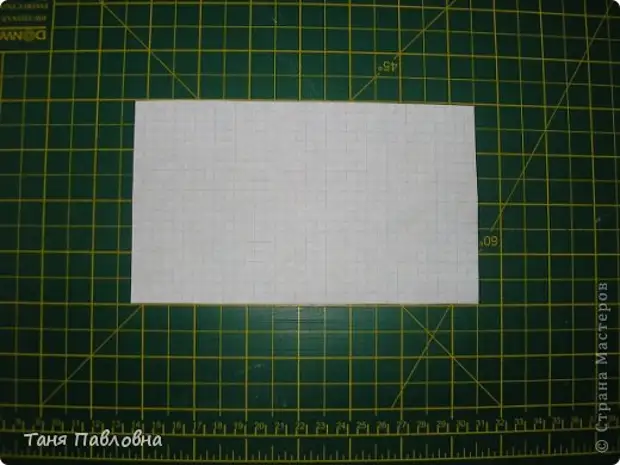
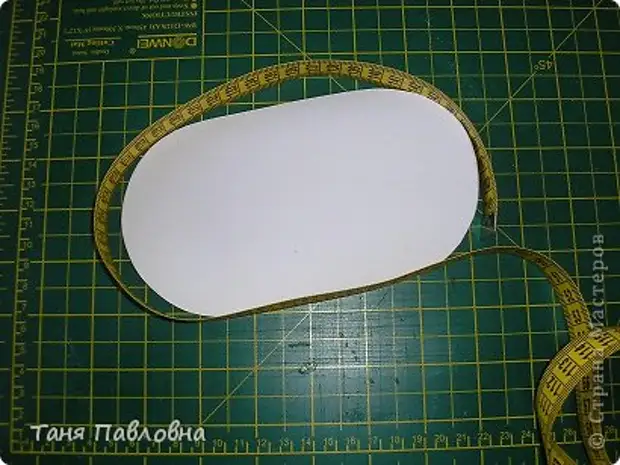
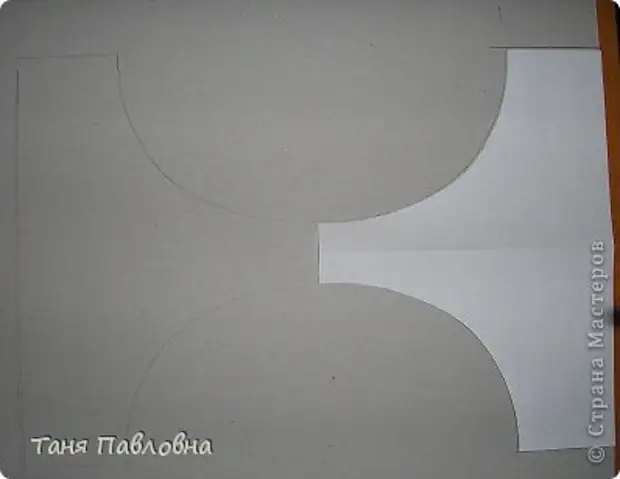
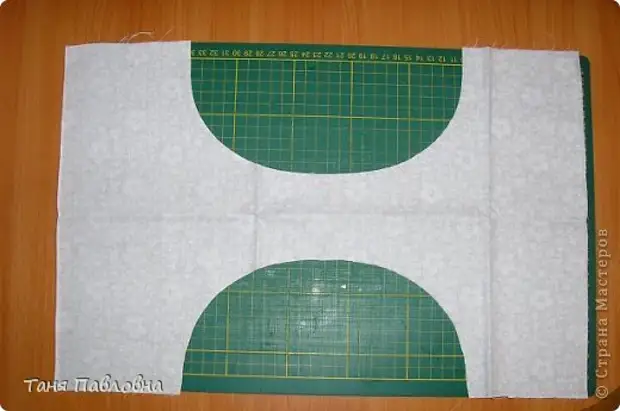
We begin the manufacture of baskets from the definition of its size. I decided this time to make a smaller previous one. To better be oriented. I will find on specific sizes. I decided to make it 19 * 13. So, hell with the rectangle with our sizes.
3.
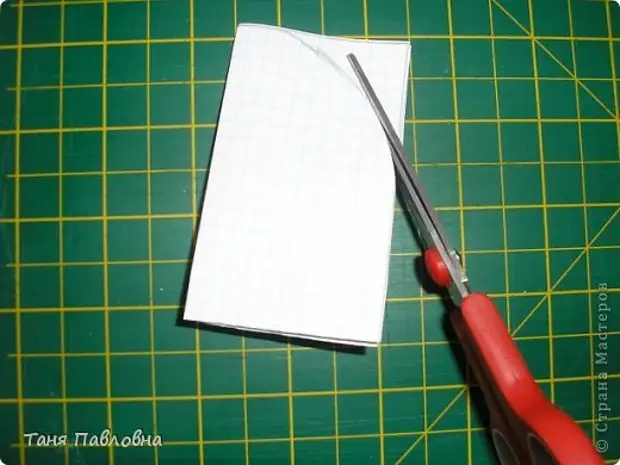
We turn it together in four, twilight the corner and carefully cut.
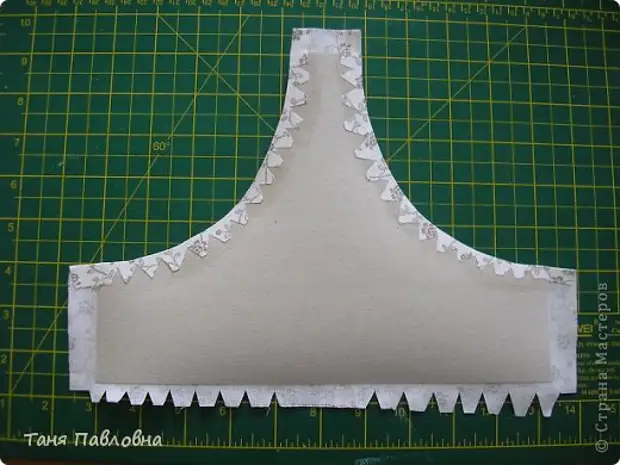
four.
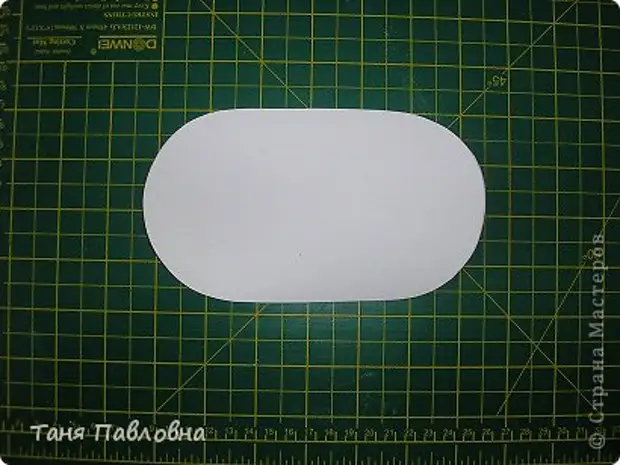
We get oval. I immediately translate it to the paper to the flop, it will be a pattern.
five.
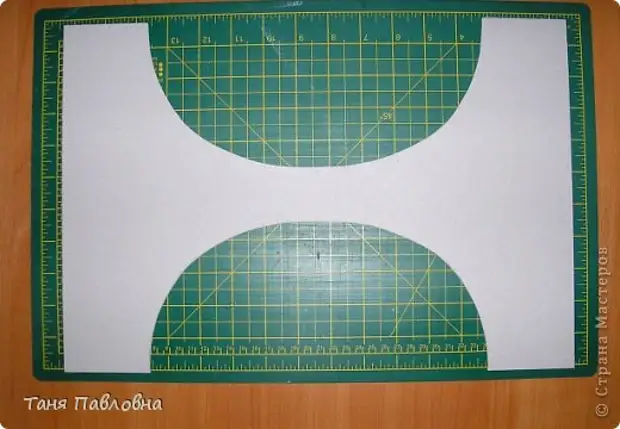
We measure the length of the oval. We have 54 cm.
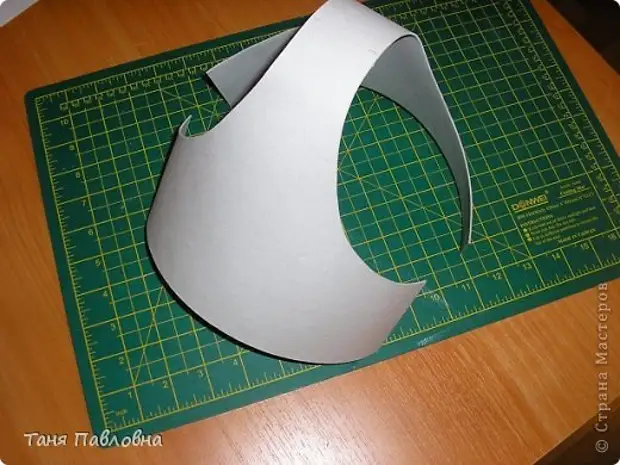
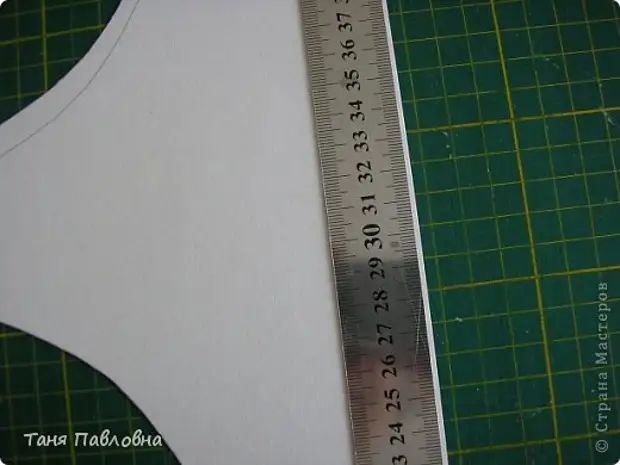
6.
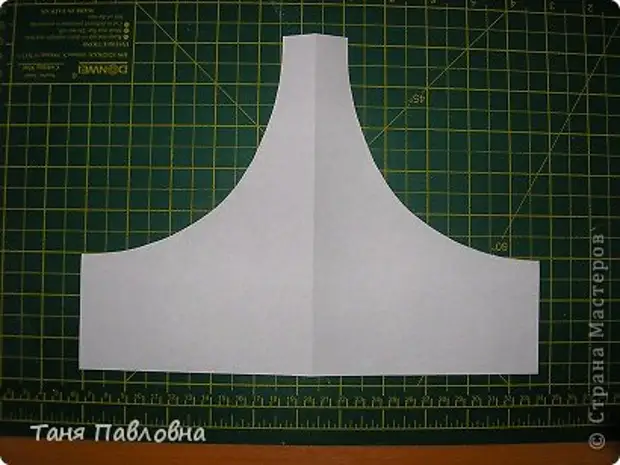
Now we need to carve out the side wall. Drawing arbitrarily here is the length of its length 54: 2 = 27cm, the height is 7cm, height with the handle 19.
7.
I draw, folding the sheet in half. Cut out.
eight.
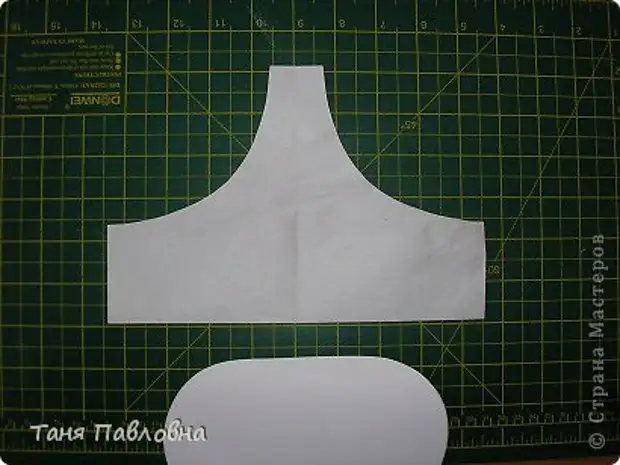
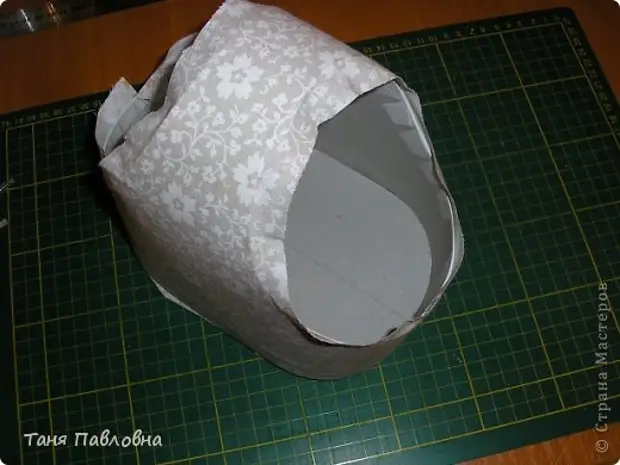
It turned out two details. How I told before. I translate them to tight paper to conveniently work.
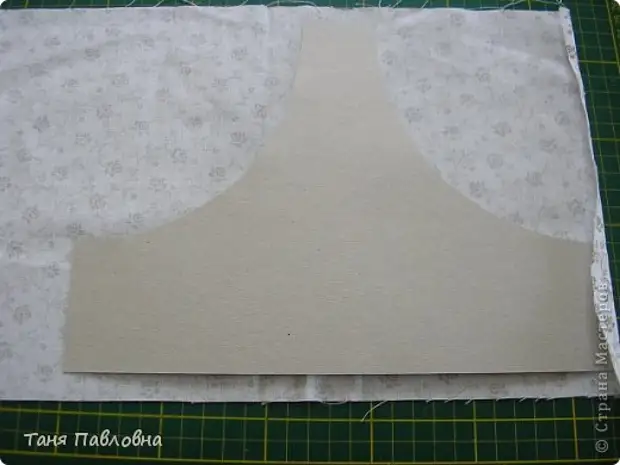
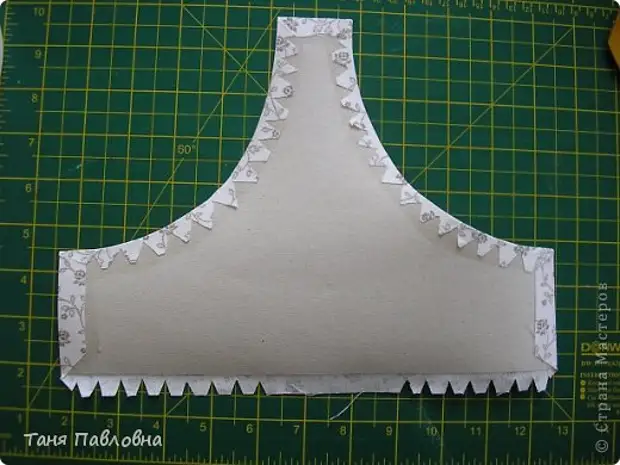
nine.
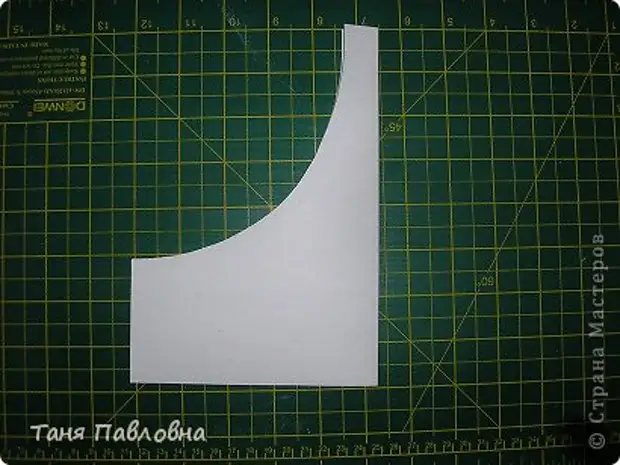
I used 15mm cardboard walls. We translate into cardboard pattern in this way.
10.
Cut. It is well cut by scissors. We get this pattern.
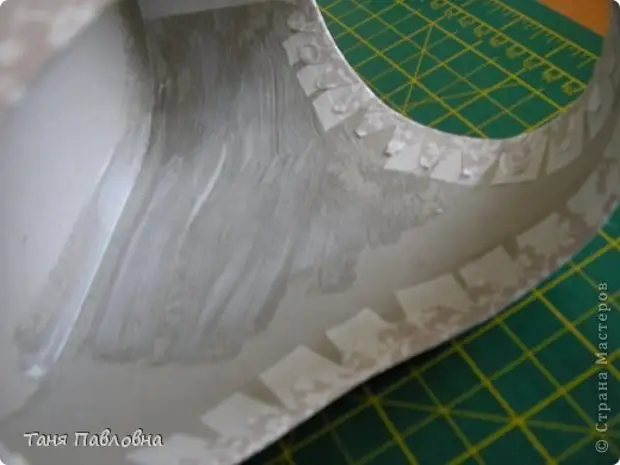
eleven.
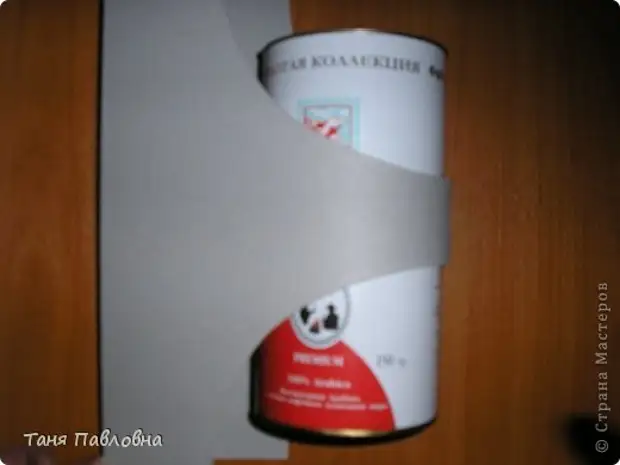
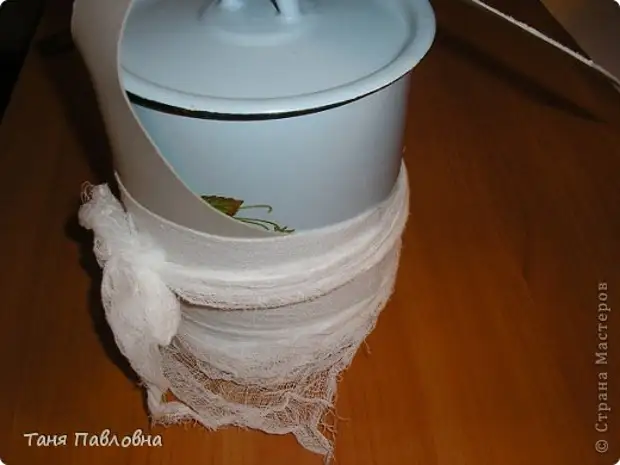
I splash from the spray to the handle area on both sides and bend on any round item.
12.
Put something heavy.
13.
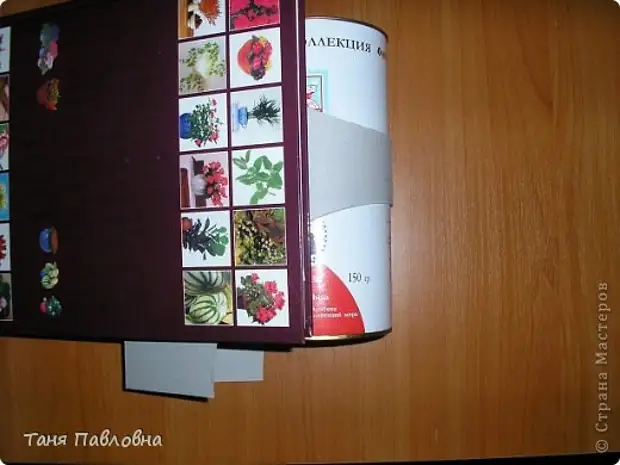
After the handle dried, I first bind one side, then another, moisturizing the pre-bag cardboard, does not bend, it can ugly alrocively.
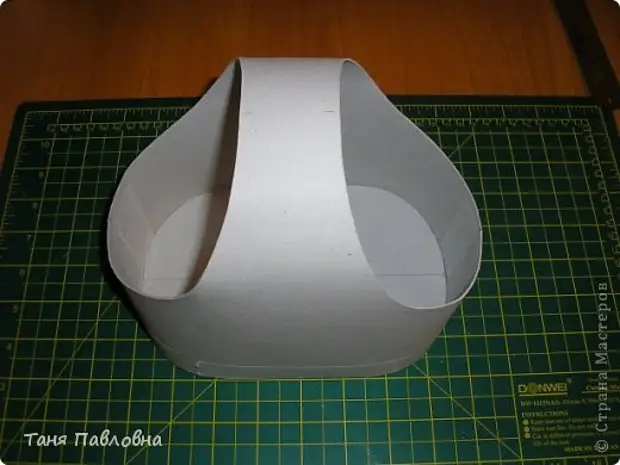
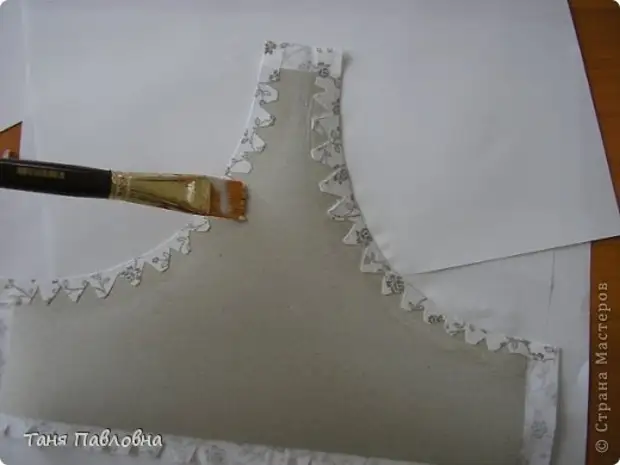
fourteen.
It should turn out something like that. Next, we apply "moment on the joints and ends of the bottom. And glit.
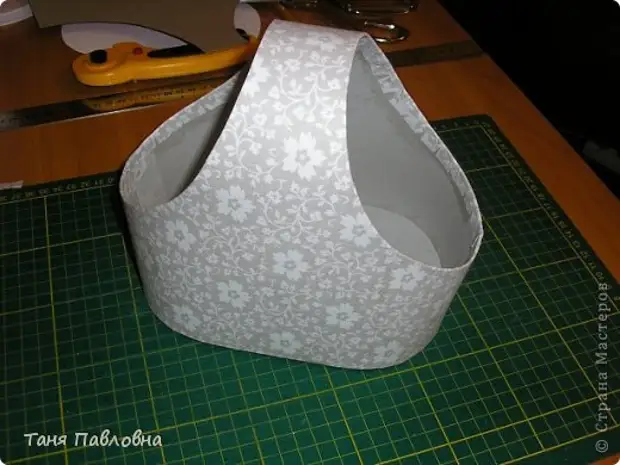
fifteen.
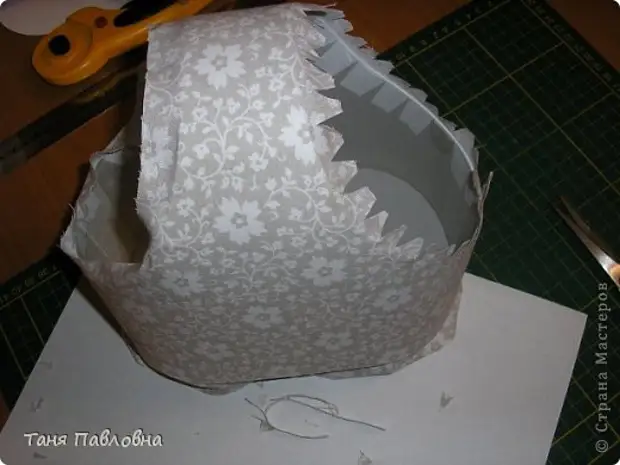
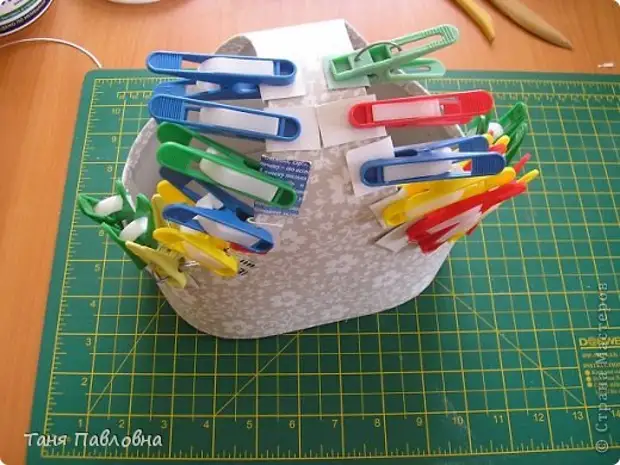
It turns out something like that. Photographing and glue does not work. All compounds are squeezing with a construction scotch at PVA. I have a white paper from the front side, cutting it on the pattern. (No photo) Sorshest and begin to bold cloth.
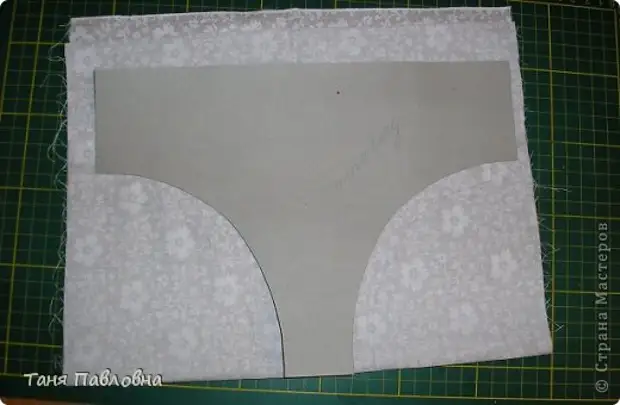
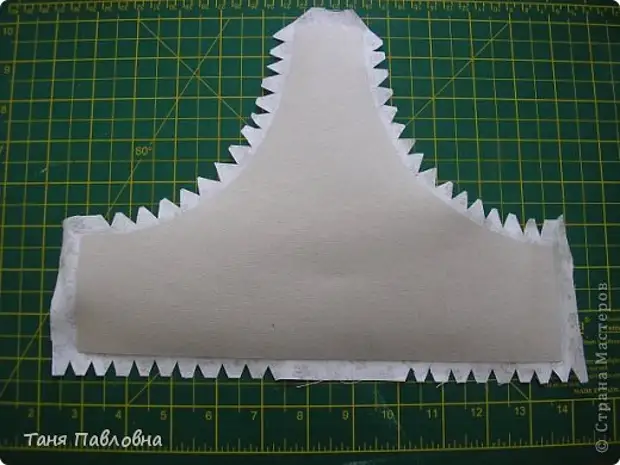
sixteen.
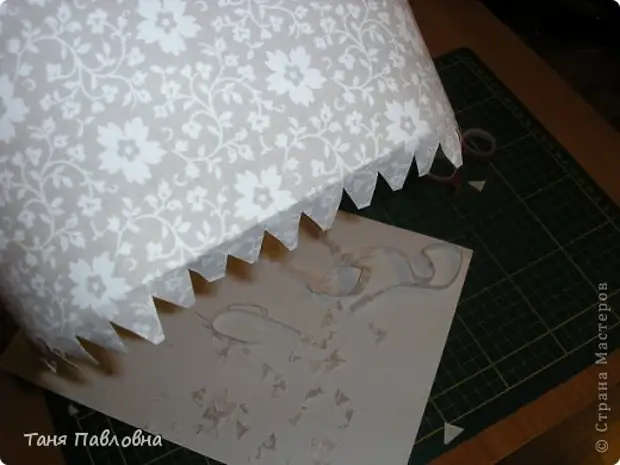
Cut out as follows; We fold the cloth twice and cut out, not forgetting to make the allowances for the bending.
17.
Like this.
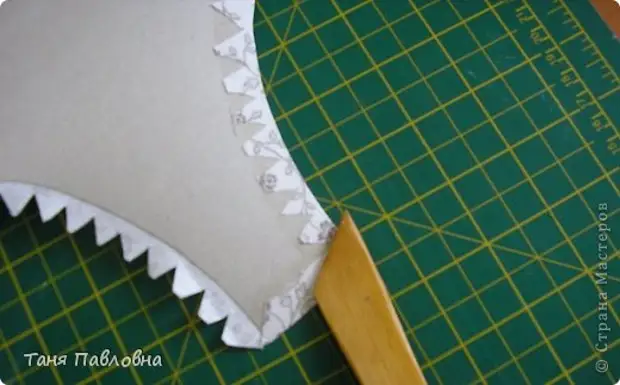
eighteen.
We start glue from the handle and go down.
nineteen.
Cut in a circle.
twenty.
Rodyshko.
21.
Printe.
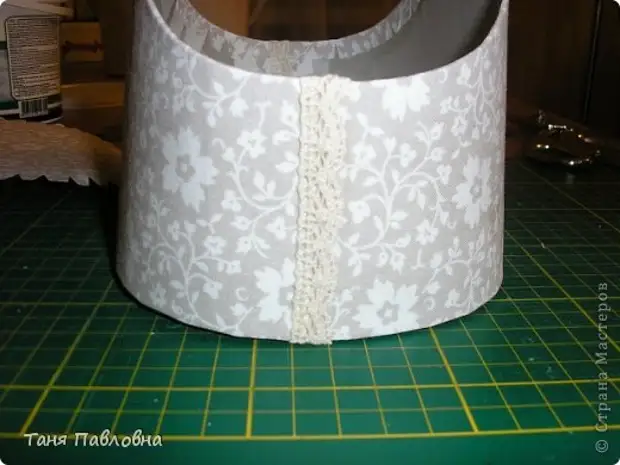
22.
The jokes turned out not very neat. Well, what the task is to show the process ... Masking lace. It is possible to glue the cloth for lace.
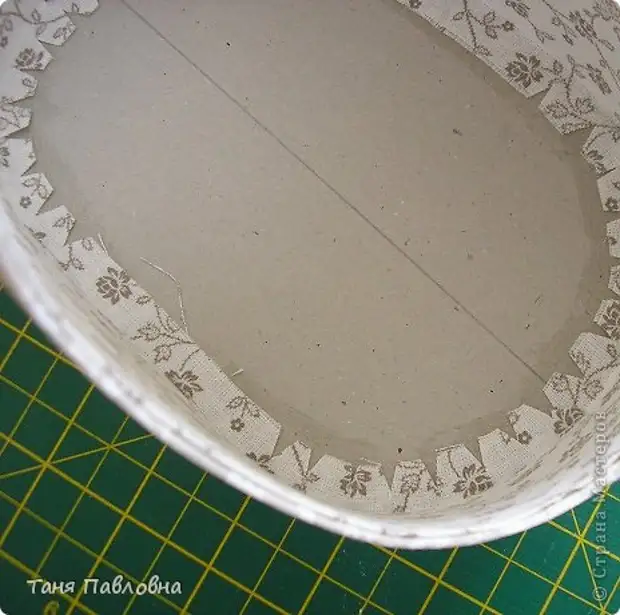
23.
On the pattern cut the bottom. In the photo, everything is clear.
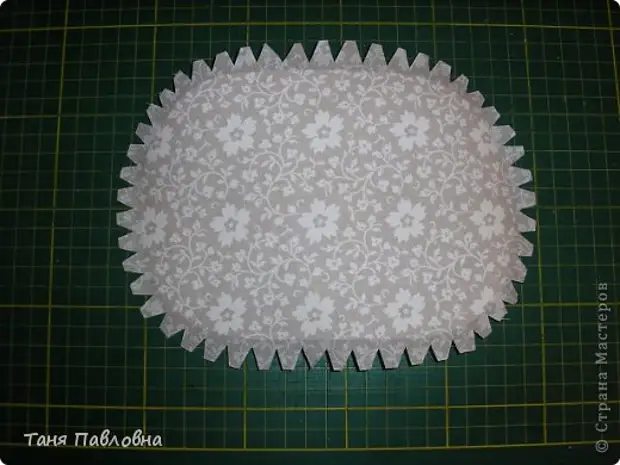
24.
Runsheko glit.

25
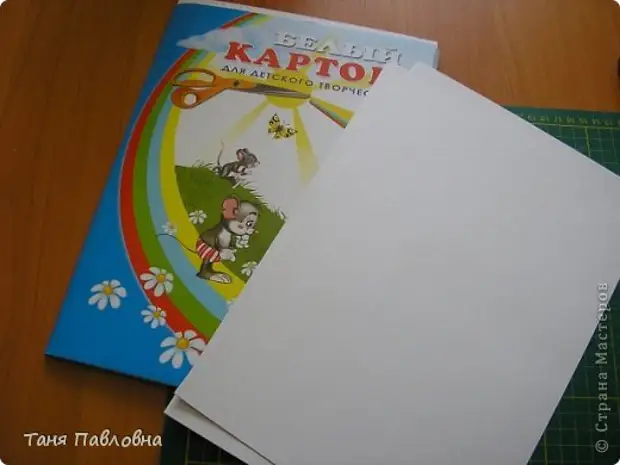
We proceed to interior decoration. We use cardboard. It is thin and white, what we need.
26.
Cut two details. We shorten on 2mm (the thickness of the bottom.) We try in a basket, cut off the excess cardboard.
27.
Crow.
28.
Printed.
29.
Glue. Corners smooth stack.
thirty.
The first detail is accumulated in this way ...
31.
Well, we miss one half of the basket. Here showed the beginning. You need to miss the whole half.
32.
Detail we scroll around the edges and glue into the basket.
33.
Intended.
34.
The second item is saved so ... and insert.
35
Rodyshko looks like this ...
36
I exhibit, try on, go over and glue donyshko.

37.
We decorate and take pictures.
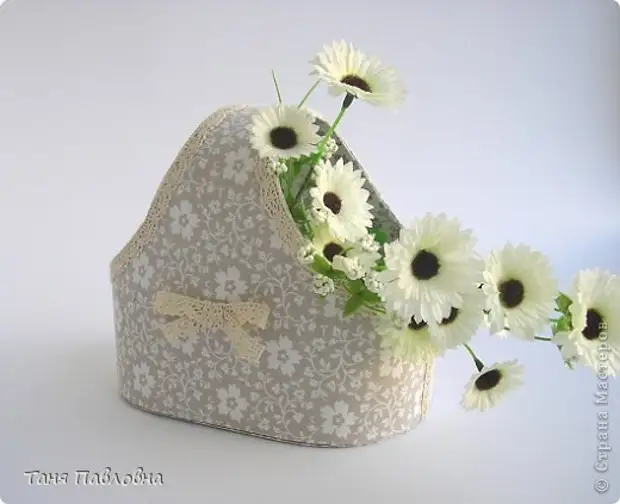
Something like that.
PS made an interesting discovery for myself, maybe, who will come in handy. Maintains, when gluing the fabric to the cardboard, bubbles are formed. This happens because the glue managed to dry and the fabric was not glued. In order not to happen bubbles, you can try the glued cloth to try the warm iron. Checked !!!
A source