
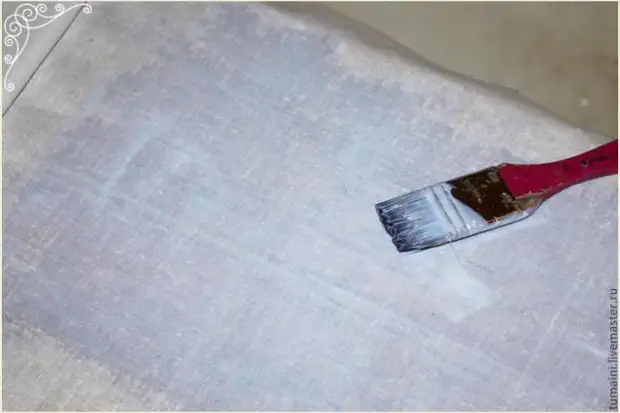
Method 1: Paint and file: (for large images):
We draw contour diluted oil paint oil on the file applied to the monitor or TV:
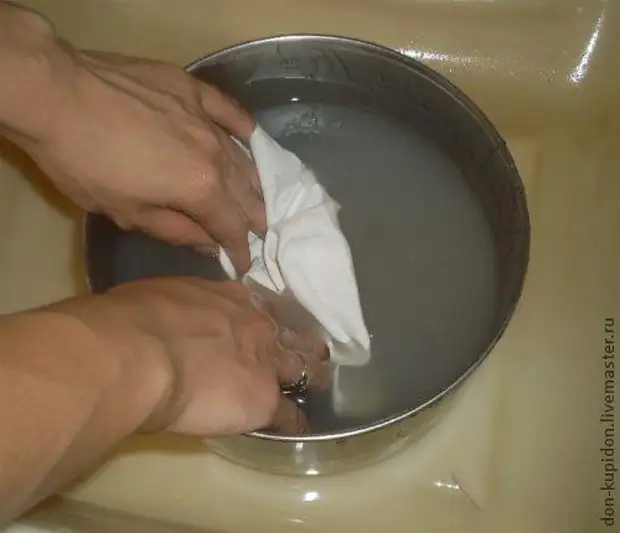
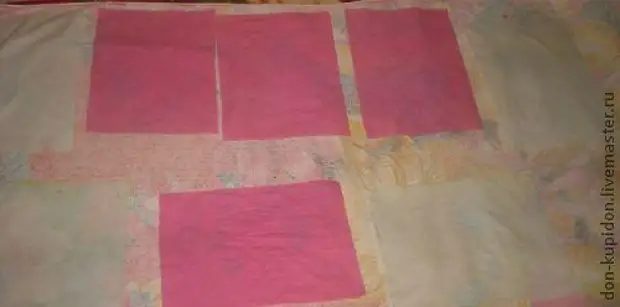
Method 2: Starch: (for small formats no more A4)
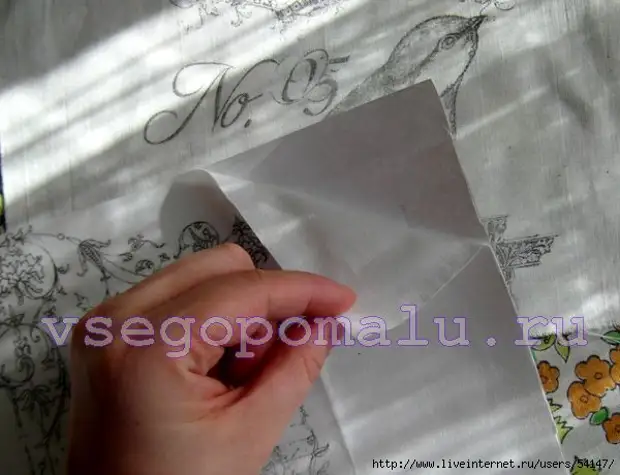
Tough starch is pre-calculated on a leaf A4 template, a light x \ b fabric (better white), soaked every piece in solution:
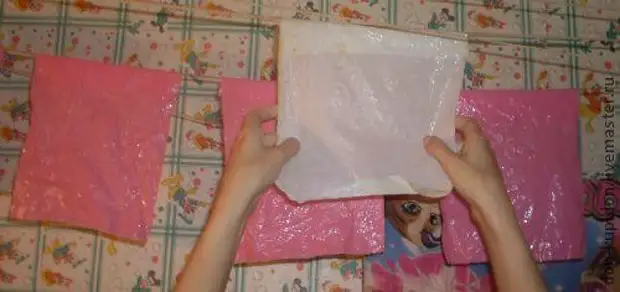
Squeeze neatly and dry without clothespins:
We go again to watch the series, because the fabric should be slightly (!!!) to dry.
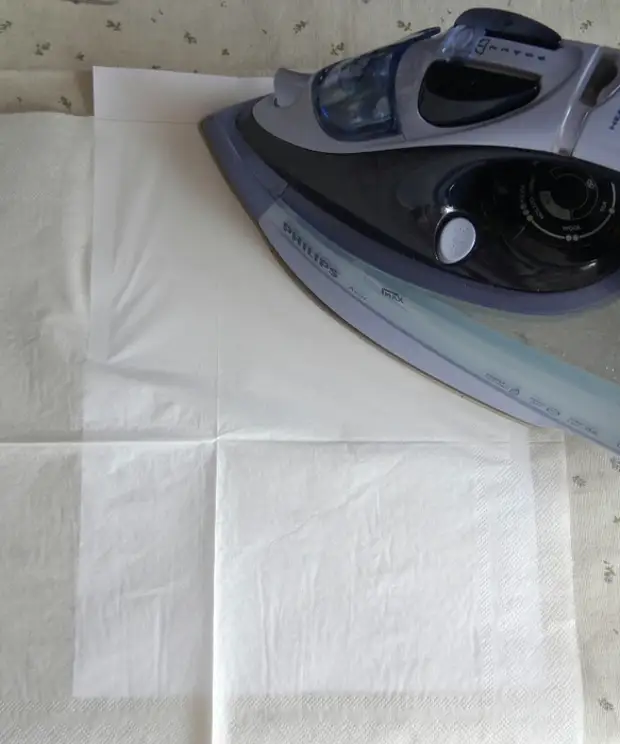
Ironing: As soon as the glasses of excess water go this time to the ironing board. Put on it a terry towel. We will iron rags through a thin fabric. I, like a good mom))), I keep my daughter's diaper, so they are periodically so impressed for such purposes!
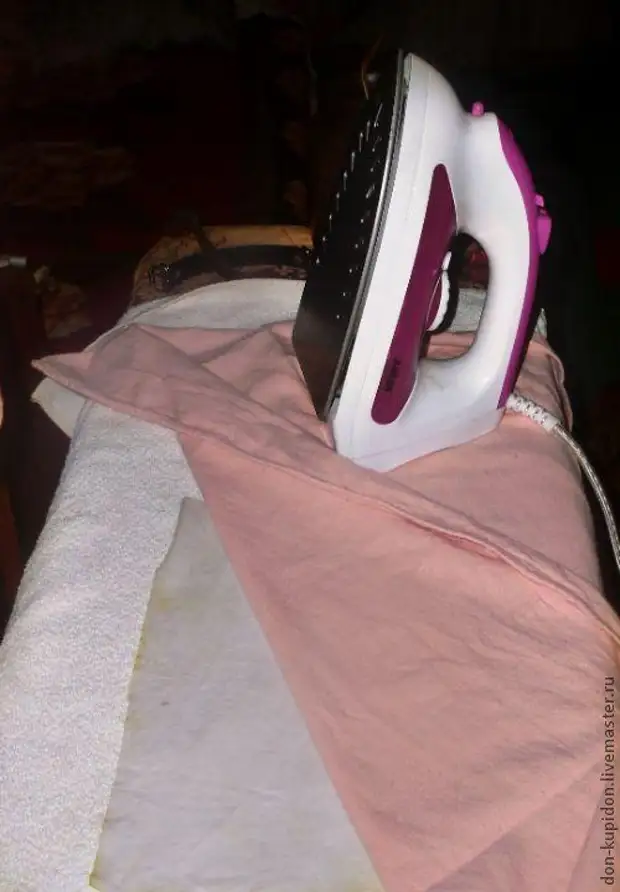
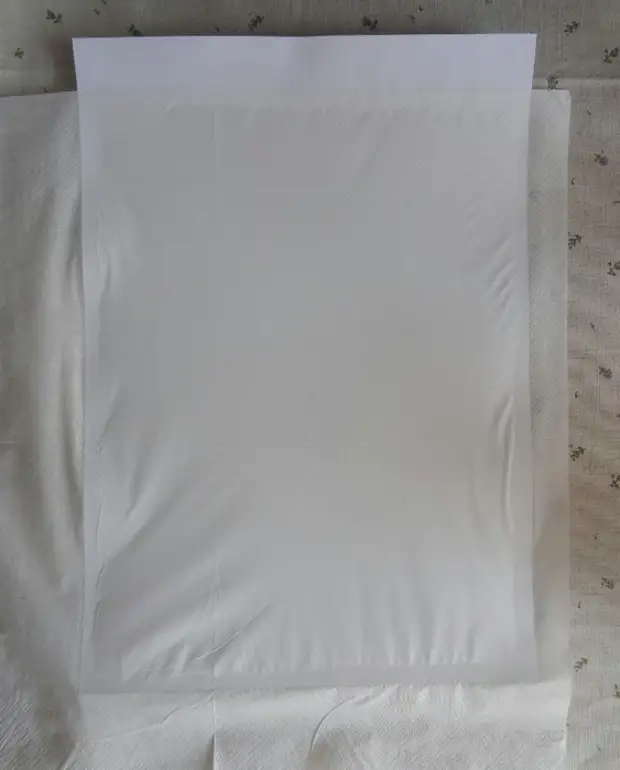
We dry and stroke the iron in the position "Wool" on soft towels. They changed our workpieces and gently decay on a towel to dry until the morning:
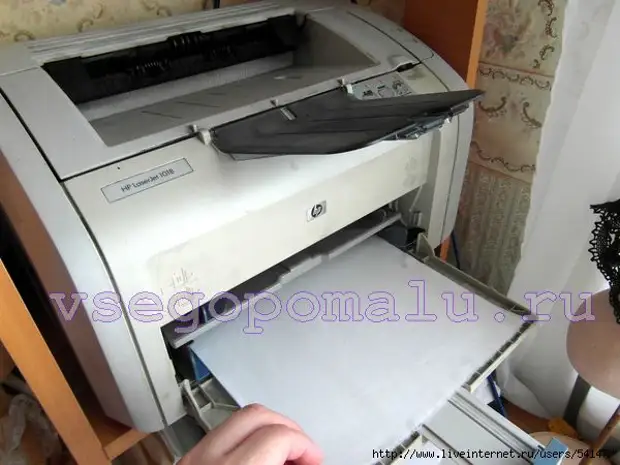
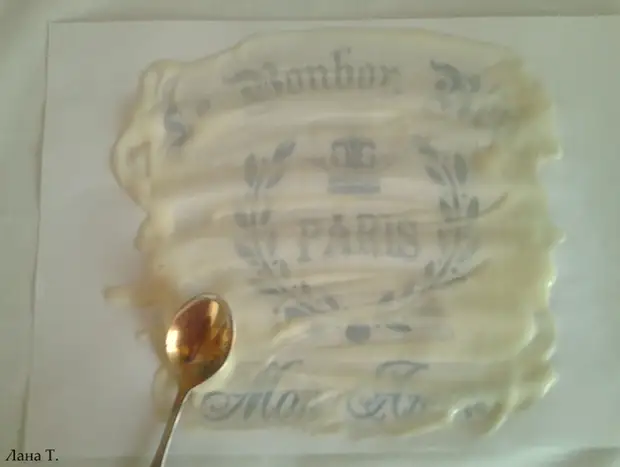
When we make sure that the billets are abool dry and dense, insert our tissue into the printer. Watch it to get ridiculously:
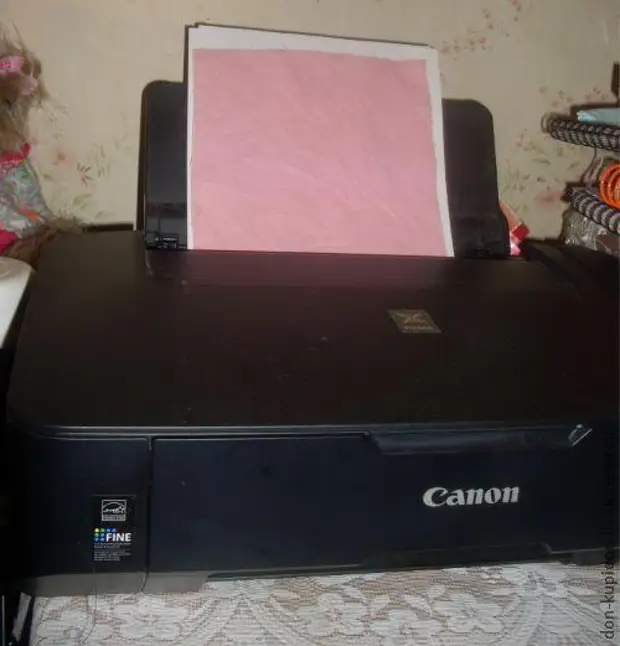
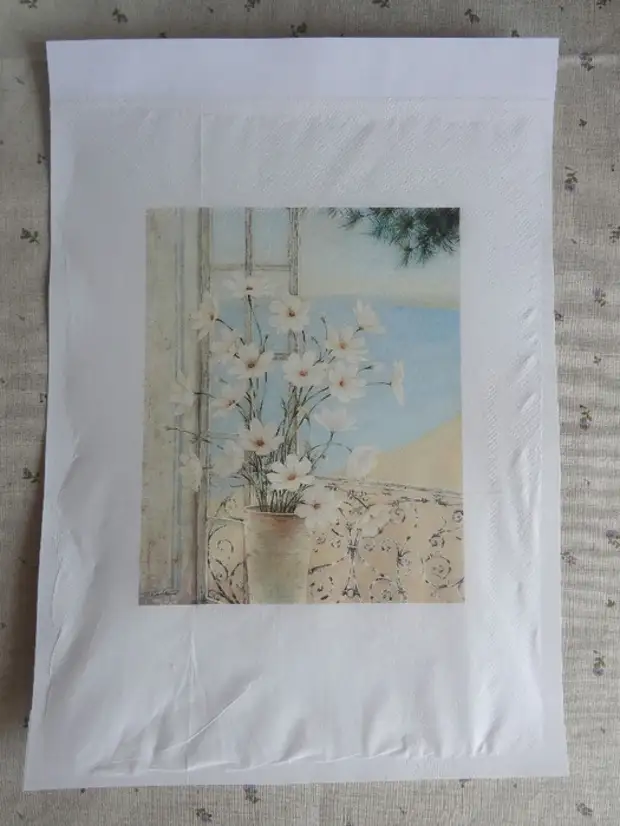
We are waiting for a couple of minutes, stroke the iron printout through the marblets.
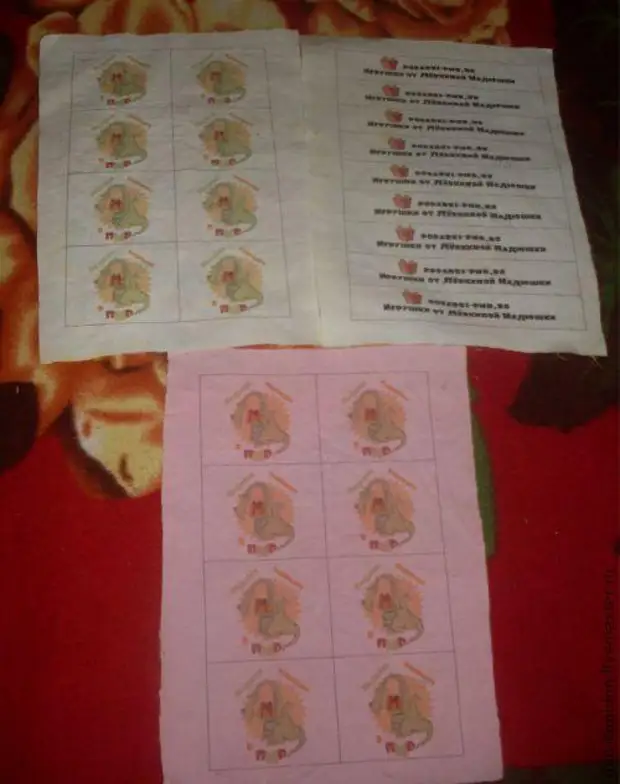
Result:
This option is suitable for any printer. Close fabric is not at all difficult, you can immediately make stocks for the future, and you do not need to spend money on thermal transfer paper, mess with acetone, with fat diluents, turpentine ...
Method 3: Iron:
You can also glue the napkin to paper for subsequent printout:
To do this, go along the contour of the paper for the printer A4 thin strip of the adhesive pencil. Block the napkin and stick to the minimum iron, disable steamer. To try starting from the corner, the left hand slightly pulling the napkin to avoid the folds to avoid the maximum.
It is once again to try the napkin and trim the surplus along the edges. In the printer, refuel the side where the napkin is glued with an indent.
Dry 15 minutes before decopting.
You can print on tissue glued to paper with an adhesive pencil (to stabilize the tissue when it passes through the printer drum). The adhesive pencil attaches the fabric to the paper is just as much as needed for this process.
Experiment with 2 pictures: the first chapted the iron (it is necessary to iron only with an inside, the toner melts at a high temperature and you risk staining the iron and fabric with a print) and postpone for 3-4 days, according to my observations, the document printed on the printer only The first day, and then the paint dries away and does not dock hands.
And I also fix the second with acrylic varnish. For this, the fabric removes from the leaf, it is very easy, completely without effort.
True smoothing the iron printout with an inside. Then we need an acrylic varnish (can be built for wood) and a wide brush. The thick brush is gaining lacquer with a lid and the driven movements quickly apply to the entire printing area. Do not smear! Namely divide, tapping movements! If you are putting lacquer with discharge movements, smear the paint! Varnish on a water basis, you risk damaged drawing.
Covered lacquer all drawing. After drying, we get such a piece of fabric with a pattern. Varnish is completely not visible, only on the touch fabric has become more dense, rough. I plan to wash only tomorrow, the full drying of the varnish occupies about a day.
Well, what can I tell you? I did not suffer and postponed without waiting for the end of the day. Nothing changed. She washed in warm water, under jets with good pressure, with baby soap. Thurla thoroughly, if there were some pollution, it would certainly be emitted. And varnish, and the printout remained in place! Conclusion - you can print and use a printout with impregnating acrylic varnish to save the pattern, and use this tissue in the manufacture of things that you can wash!
Method 4: VIA Light box. (This method is applied not only the embroidery, working with a light transparent cloth, but also professional graphics artists. They use the light box when the drawing in the pencil must be copied in a pure sheet of paper).
The light box is easy to make himself. On the bottom of a conventional wooden box, they put a table lamp or fix the light bulb and covers the box with glass. Further, everything is simple: the glass is put on the glass, there is a transparent tissue onto it, for reliability, fasten them with pins, include the light and drive the contour of the pattern with a sharp soft pencil (M-2M).
How to increase or decrease the drawing. Increase or decrease the pattern starts from the same: the finished drawing is raised on the same squares of an arbitrary value, as if turning it into a "chessboard". In each square will be its "piece" of the picture. For convenience, the squares are tagged with numbers and letters. Now the same number of squares are applied to the clean sheet of paper, but another size: to increase the drawing, large squares are drawn, for a decrease - small. Then they are sequentially drawn in each square, and gradually the whole drawing occurs from parts. Of course, the smaller the squares, the more they are placed in the figure and the more accurately a copy.
In stores for artists sell such a means for translation drawing: Special Phantom pencil . After some time after you moved to the cloth your sketch, the line of such a felter is the most magical way ... disappear.

Guaranteed effect of transferring image printing from a laser and inkjet printer to any solid surface. Decamental card or photo put on the file and cover the front side of the picture by a uniform layer for transfers. Click to fabric or other surface, such as wooden.
To the tree, in general, the easiest enough lacquer to glue the printout face, wait 4 days until complete drying, wrap the extra paper and turn the lacquer again:
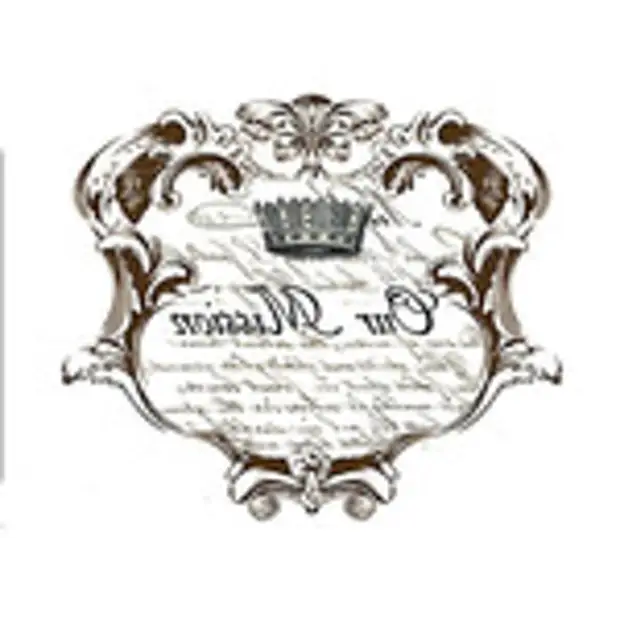
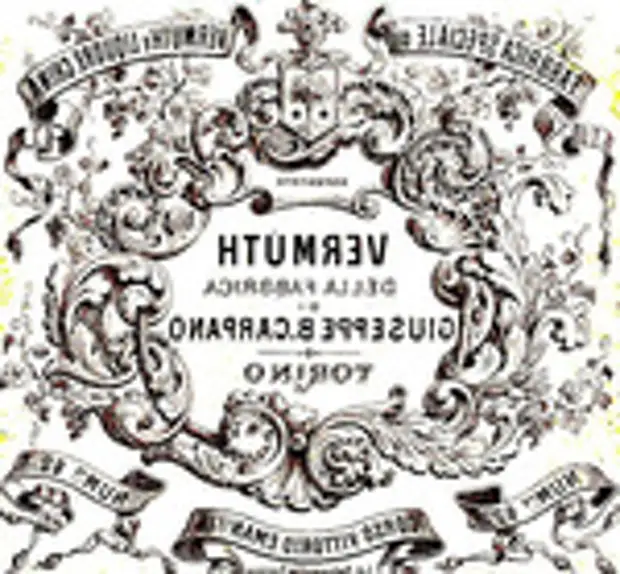
CAN Essential oil Imagine into the cloth a picture printed in a mirror image:
We are applied to the printout, we are waiting for 5 minutes until the paper absorbs it.
And we rub in the fabric to the cloth until the drawing becomes:

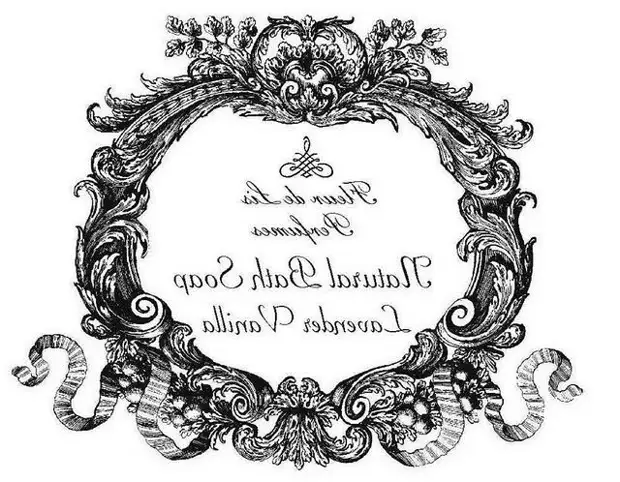
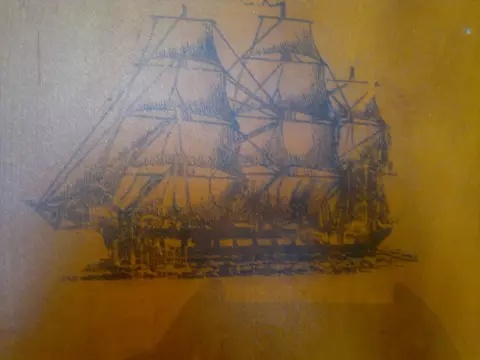
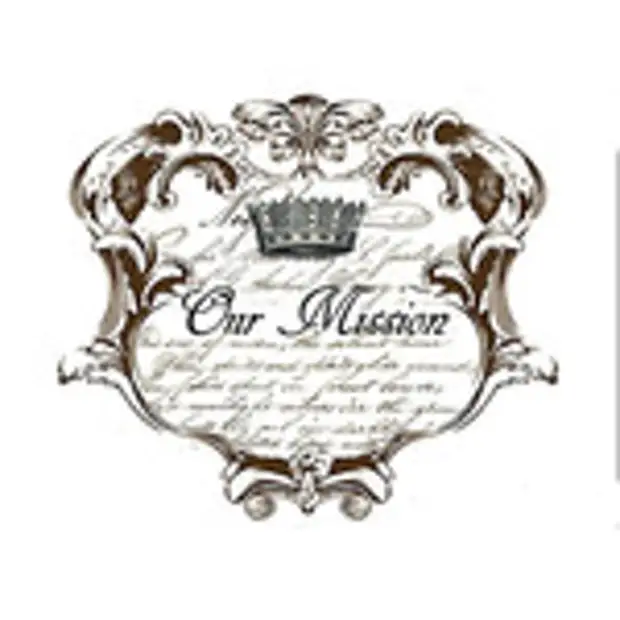
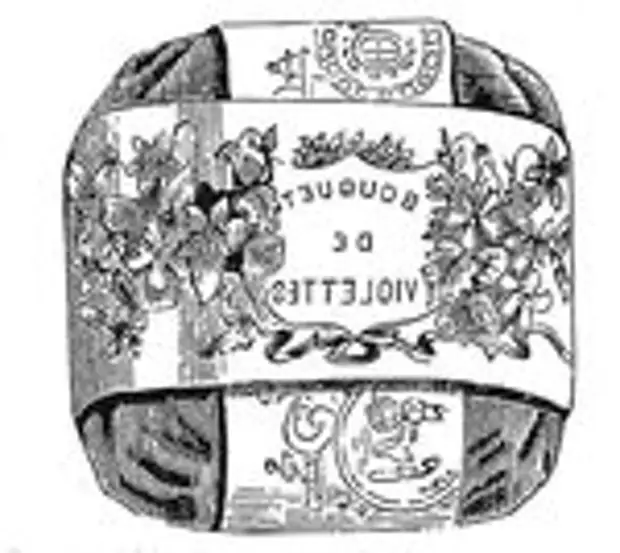
Clickable monochrome pictures:


The same way where is used as a transfer tool Fairi and jet printer:
And here are still old good ways to translate drawing for embroidery:
- Copy For light fabric take a dark "copy-round", for dark - light (yellow, red).
On a well-degraded fabric impose a copy paper "dirty" side down and top pin with pins drawing, trying not to move the "copying" on the fabric so as not to stain it. Next, the drawing is sharpened with a sharp pencil (the tissue must lie on the solid surface).
- "Poroch" Through the stencils, the drawing is translated on the fabric of any color and texture, including velvet.
First prepare stencils. A blank sheet of paper is put on a soft litter and on it - a drawing. Then shell or needle pierced the pattern contour every 2 mm. Stencil is ready, it remains to consider bulging from it from punctures. To do this, it is enough to wipe the stencil with sandpaper from the side where the bulges are visible. Next, mixed machine oil or kerosene with dental powder and get a mixture similar to thick sour cream, is for dark tissues. For light - dental powder replace with blue or soot. Now the stencil is applied to the fabric and spend on it with a cotton swab, moistened in the mixture and well pressed: through the punctures, the mixture falls on the fabric, leaving traces-point - an exact copy of the pattern.
- Celofan. - for dark pile fabrics
Previously redraw a drawing of paper on cellophane (fountain pen) or tracing, then the pattern is applied to the fabric, fix the pins and the contour is striking on the sewing machine or flashing the neck "forward needle" (mark). Then remove pins and paper. Embroide the pattern and, by finishing the work, the mark is pulling.
Well, finally, the lesson for the liquefaction of printing into acrylic paint:
Choose, dare, Ecpperimatize! Successful creativity, friends!
Share the selection of Nina Kulagin.
A source