
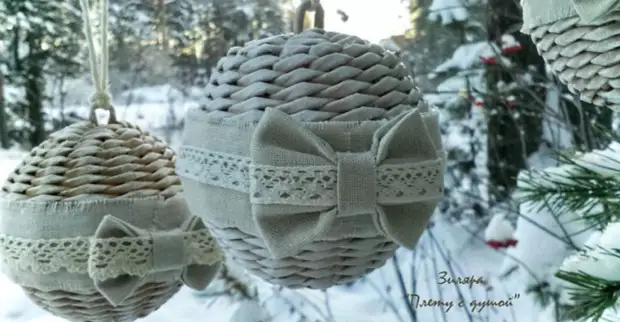
The new year is not far off, you do not have time to blink, and he is here. Let's get ready for him together!
I propose to try the wearing a Christmas ball from a paper vine in the style of Rustic.
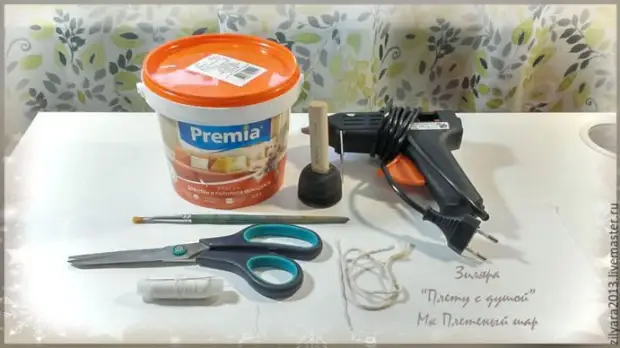
For this we will need the following materials:
- Round shape (ball, ball, IKEA lamp and other);
- paper vine, better painted, approximately 60-70 pcs;
- PVA glue;
- Acrylic varnish;
- white acrylic paint;
- Twine of any (jute, linen or cotton);
- fabric (flax, cotton) or burlap;
- lace;
- a piece of wire;
- Threads.
And also tools: nippers, scissors, needles 3 mm, sponge, brush (synthetics), glue thermopystole, sewing needle.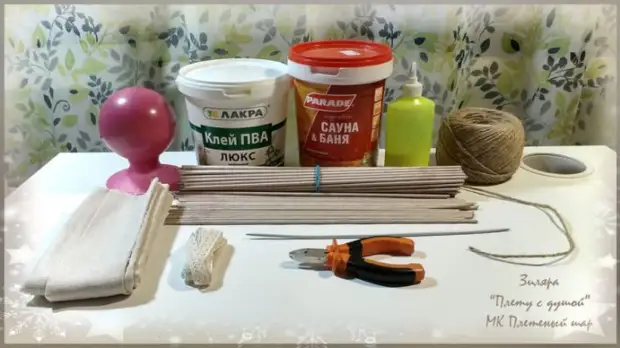
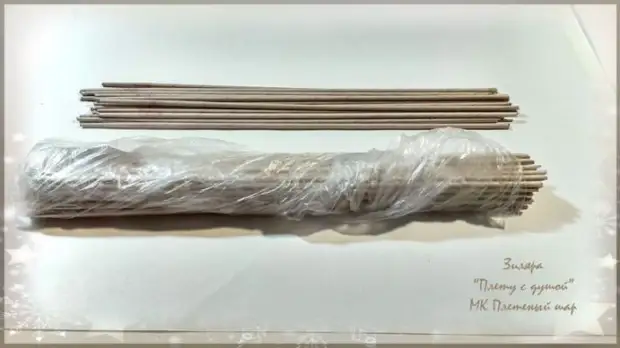
Prepare to start a lot. I will postpone from the total beam of 16 tubes (racks). The remaining tubes (they are called the workers) pay under the crane, leaving dry wide tips (approximately 2 cm), and assure them into the cellophane package. We are waiting for 5 minutes while the tubes moisturize. You do not need to remove them from the package. Wet (but not wet) tubes very comfortable to weave.
The ball will weave the "straight rope" of two tubes. This is the easiest and common type of weaving.
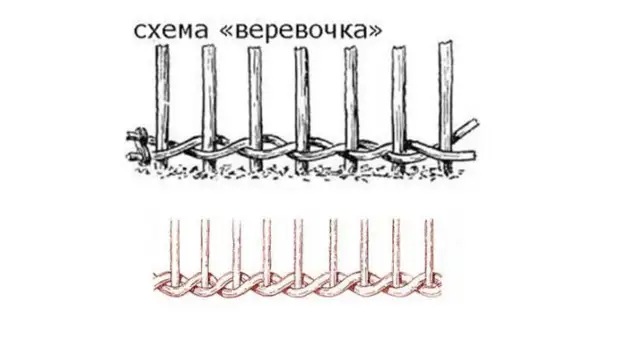
We take two tubes of racks, cross them (for convenience you can glue, so as not to be trapped) (photo 1). Severate in half a working tube (photo 2) and begin to flip by the diagram of the "rope" Double racks (photo 3, 4, 5, 6).
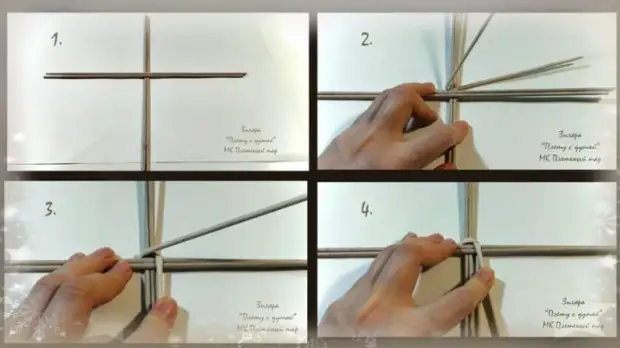
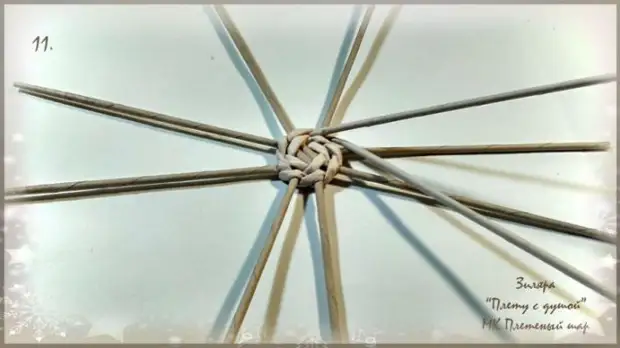
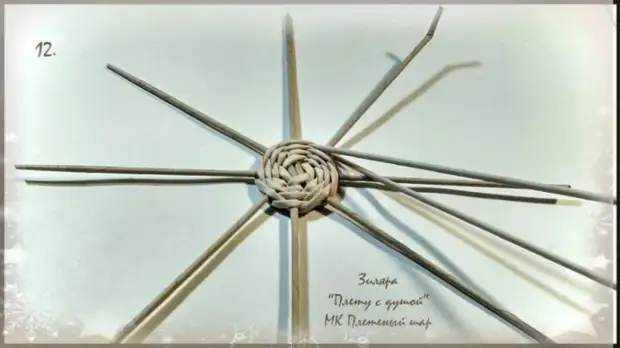
One row was proper, now we will drag the racks and wept each separately, it will turn out 8 racks (photo 7, 8, 9, 10, 11, 12).
When weaving the ranks we press each other so that there are no clearance between them. Working tubes are slightly tightening so that the weaving was dense, and not loose.
In parallel, we increase the tube. For this, a little bend the working tubes behind the counter (photo 8), we cut the tips at a sharp angle, retreating from the fold of about 7-10 mm.
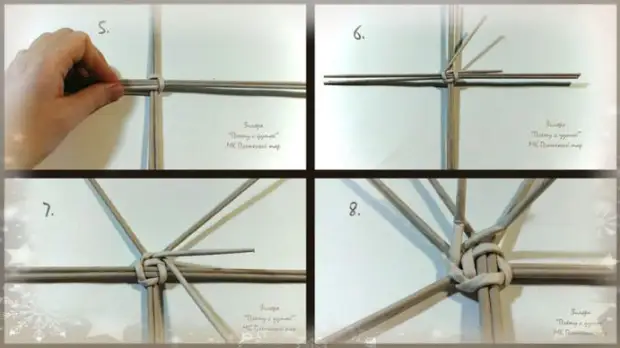
We insert the resulting acute end into a wide end of the new tube (photo 9, 10).
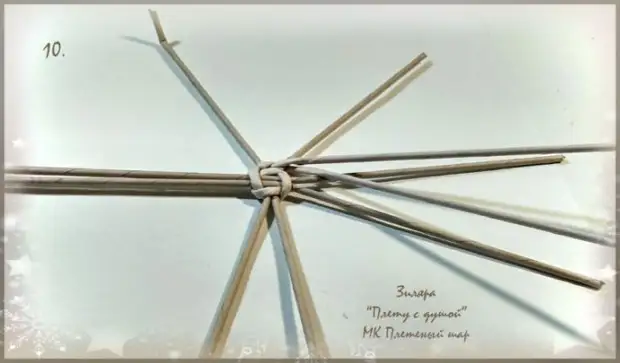
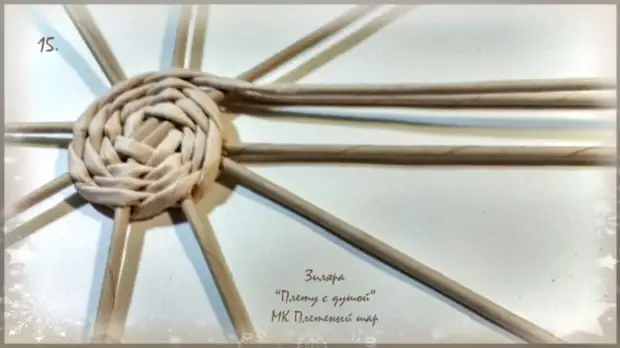
In this way, four rows are inlets. Watch that the distance between the racks was the same.
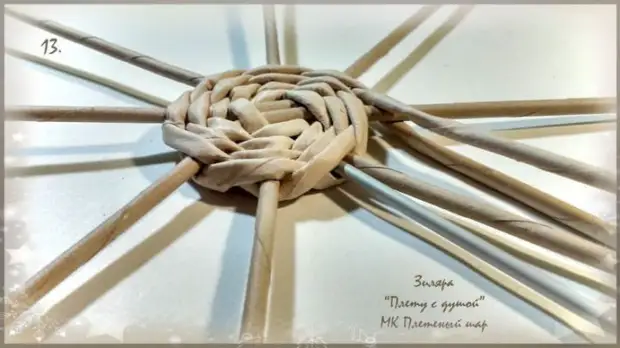
With the help of the needles, we expand the place next to the rack to insert additional racks (photo 13).
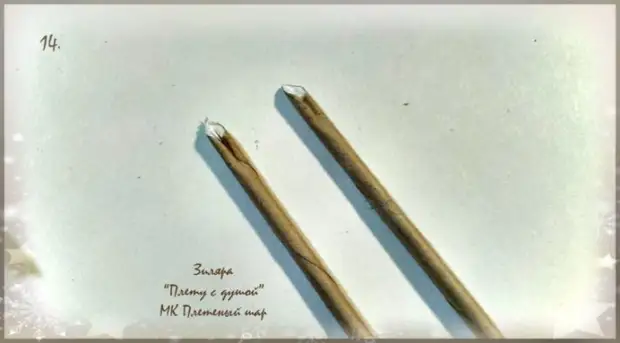
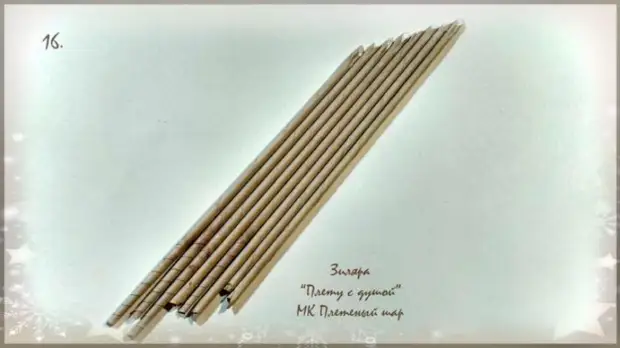
We cut the remaining four racks in half the oblique cut, one half is lining so that it does not work out. Sharpen the tips (photo 14).
It turns out 8 new racks (photo 16).
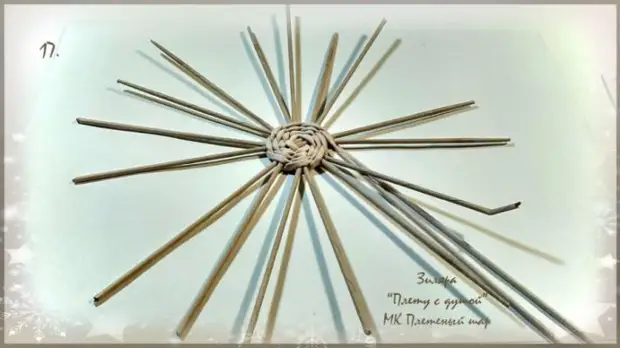
We insert the obtained halves of the tubes with a sharp end next to the racks after each other, pre-pin down a little glue into the mounting place (photo 15).
Total will be 16 racks (photo 17).
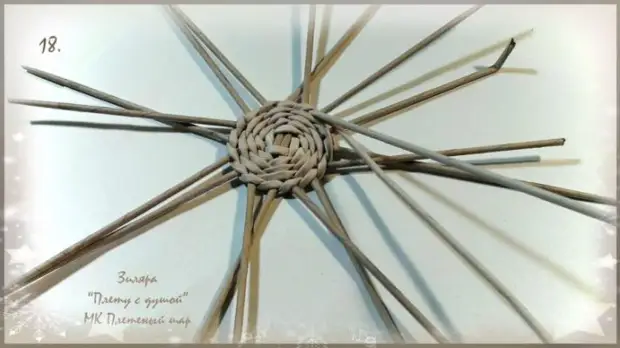
We are tired by the "rope" every rack separately. Do not forget to press the rows to each other so that there are no clearance between them (photo 18).
On the form we make a mark where it is half.
Weaving are fastened on the shape, tapping it with twine as a box from the cake (photo 19).
And then weekest already on the ball, tightly pressing weaving to it (photo 20).
Do not forget to monitor racks, it is important that the distance between them is about the same.
Thus, doped to half a ball (up to the mark).
To finish weaving, bending each working tube near your rack and cut off, retreating from the place of bend by 1 cm (photo 21, 22).
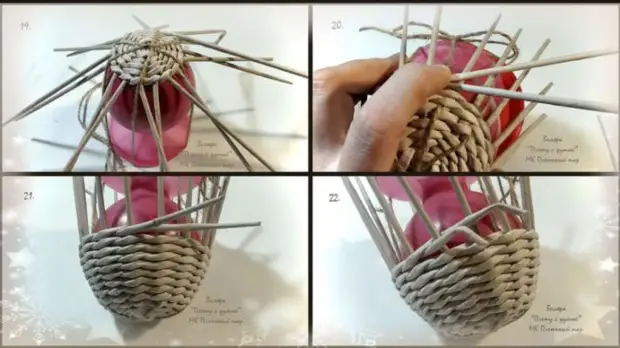
Expand the place near the rack and hide the ends of the working tube (photo 23, 24).
Align the weaving with the help of the needles - the rows, which are higher, press down, which are lower, tighten up (photo 25).
Unleash the twine and take out the form. It turns out a wicker half (photo 26).
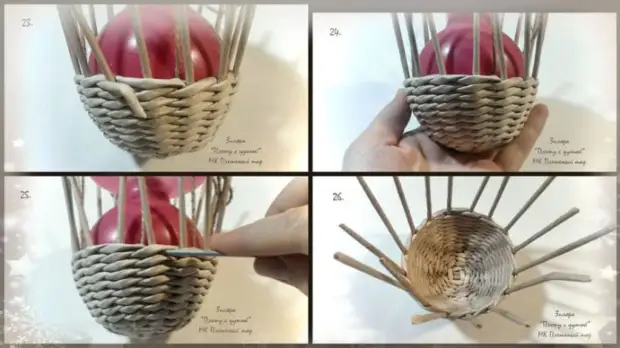
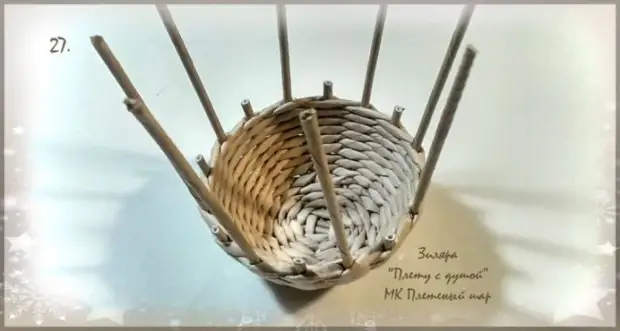
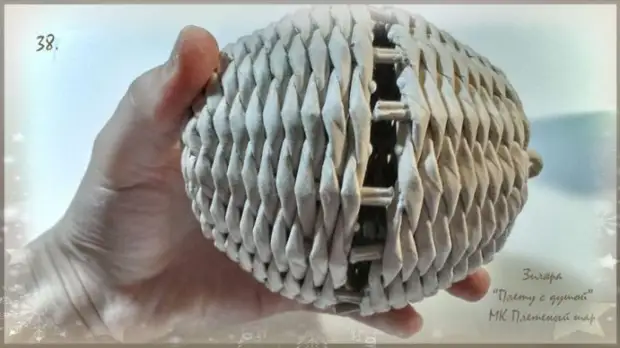
We bite off the racks through one, retreating from the edge of about 6 mm (photo 27).
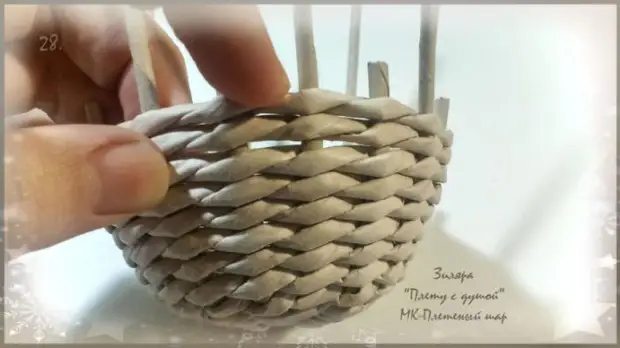
We raise the upper two rows of weaving and bite the remaining racks, take them out (photo 28).
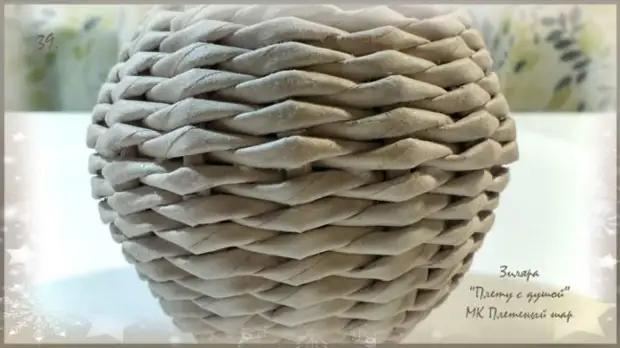
Raised rows return to place (photo 29).
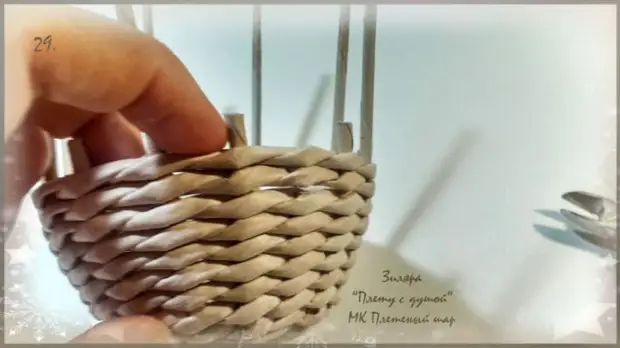
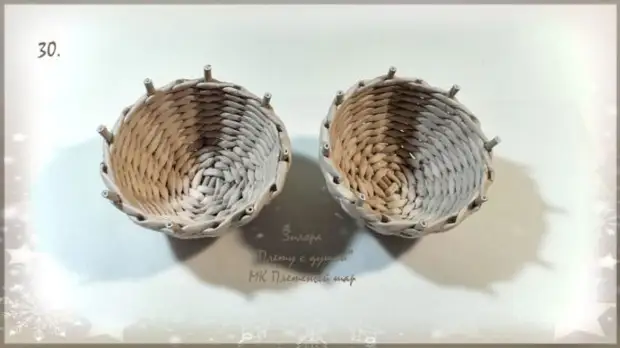
Similarly, weave the second half of the ball (photo 30).
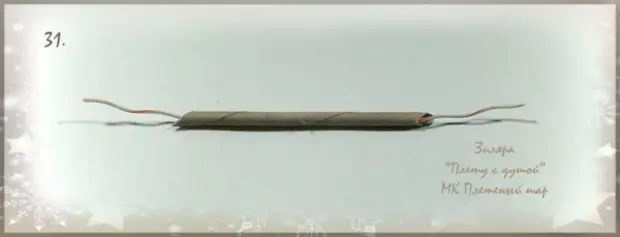
Prepare the chuck-ear for a ball. We take a cut of a 4.5 cm tube, insert a piece of wire into it (photo 31).
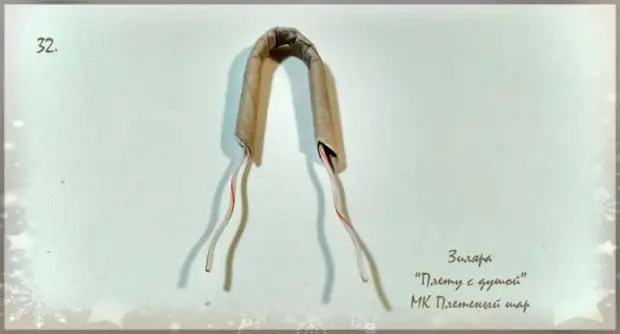
And bend in half (photo 32).
With the help of the knitting needles, we do two holes on the top of one half of the ball, and insert the ends of the ends into the holes, like a plug into the outlet. Welcome a cooler coin, pre-laying a piece of the tube (photo 33).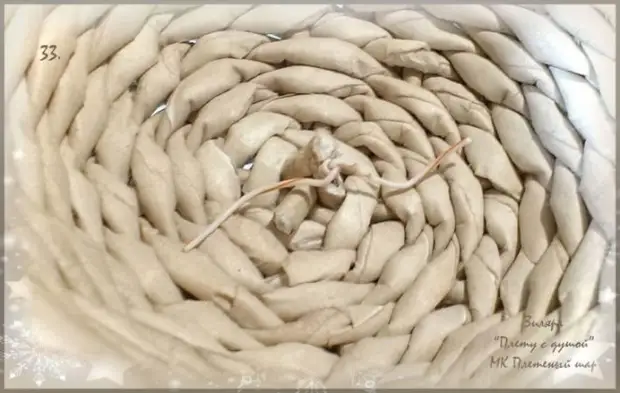
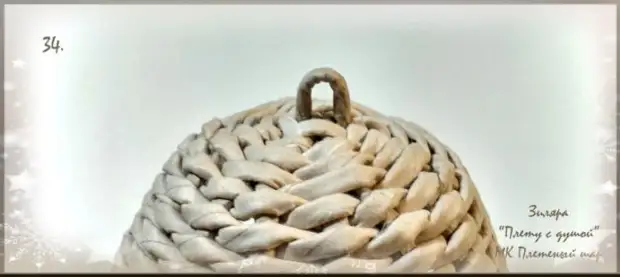
Tighten your eye up (photo 34).
We lonate the unlocked ends of the racks (photo 35).

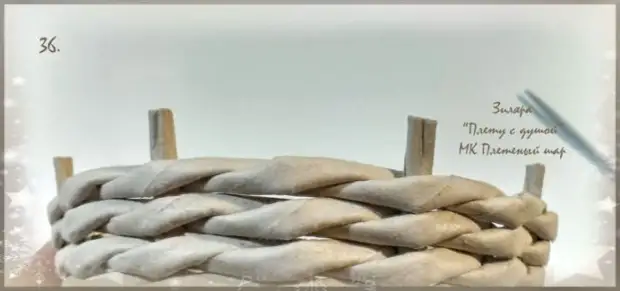
Find them and bend in half so that they become lick (photo 36).
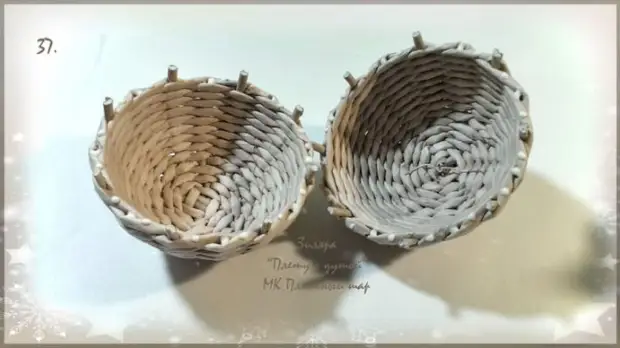
We drip glue into the resulting holes from the racks and between them (photo 37).
Now the most difficult, connect two halves of the ball, inserting the rack of one half into the holes of another half (photo 38).
We help yourself.
We press both halves to each other and give glue to dry (photo 39).
When dosy, the ball can be deformed slightly, we attach it to the right form again, twisting and resignating in my hands, as if I sculpt the snowball.
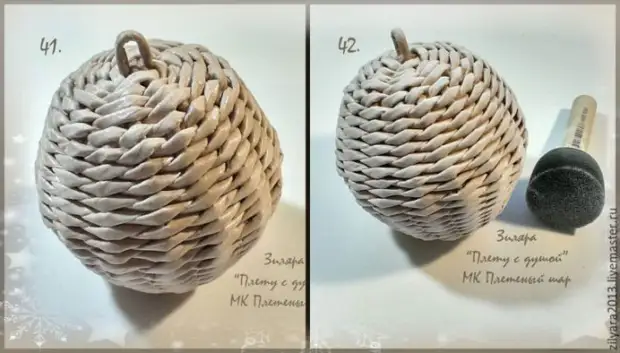
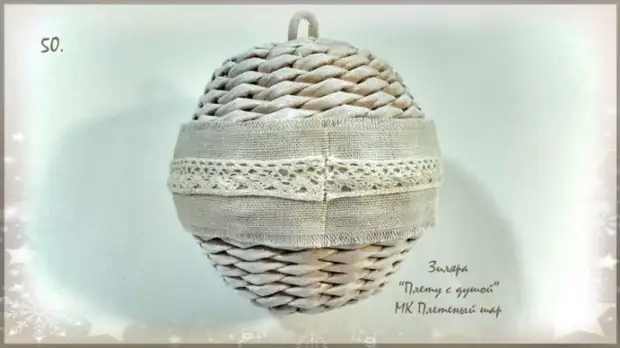
Cover the ball with varnish and let him dry. I used quick-drying varnish (photo 40, 41).

Then with the help of a dry sponge with light movements we apply a patina acrylic white paint. Paints take a little bit to be the effect of the composition (photo 42).
We apply a second layer of varnish gently and carefully, so as not to erase the patina.
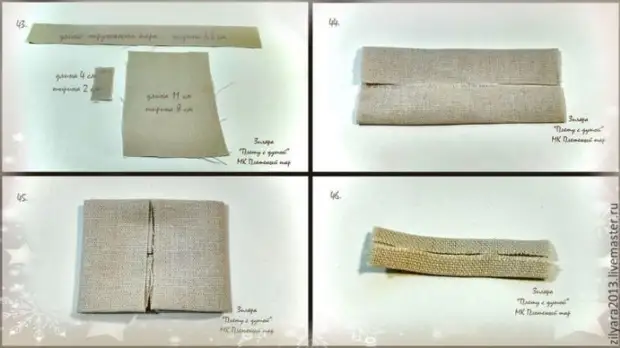
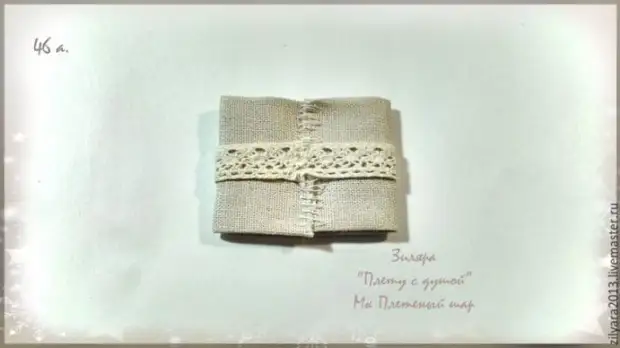
While the second layer of varnish is driving, prepare the details of the bow as shown in the photo (photo 43, 44, 45, 46).
Send lace and ends of the bow to each other on the reverse side (photo 46a).
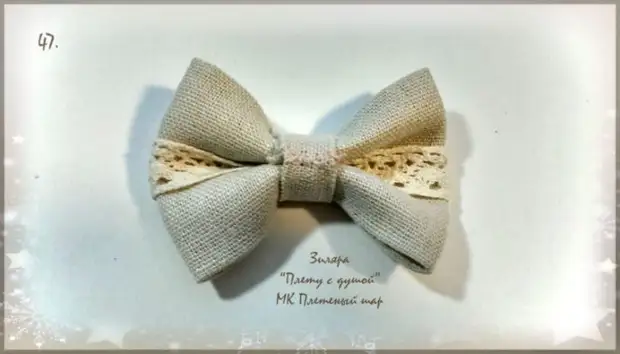
We are tightened by a transverse tape and sew it (photo 47).
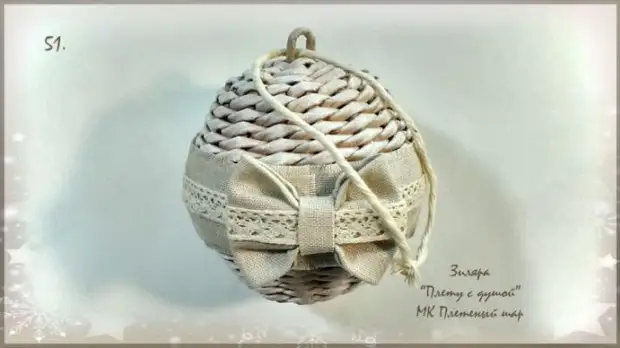
The ball is ready!
This is only one of the options for decorating a ball. You can come up with your own.
A source