
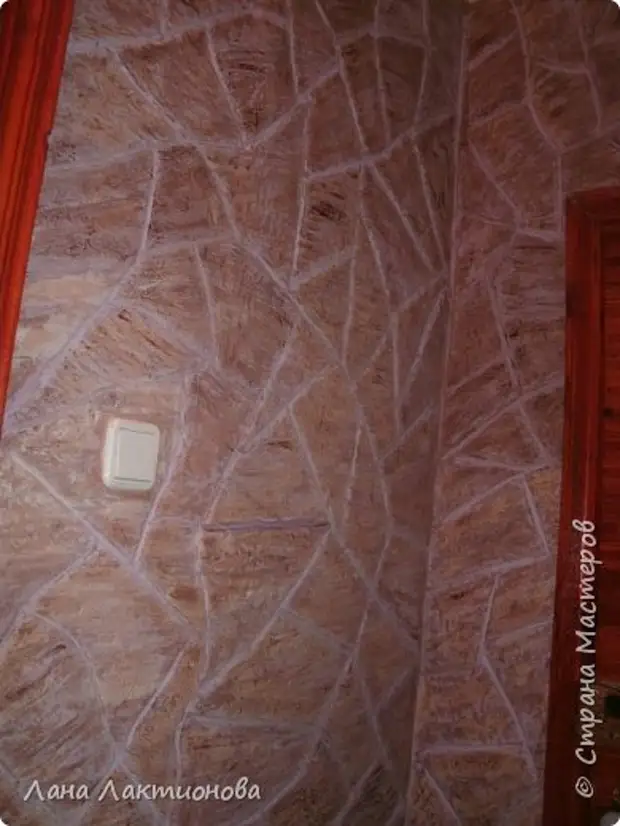
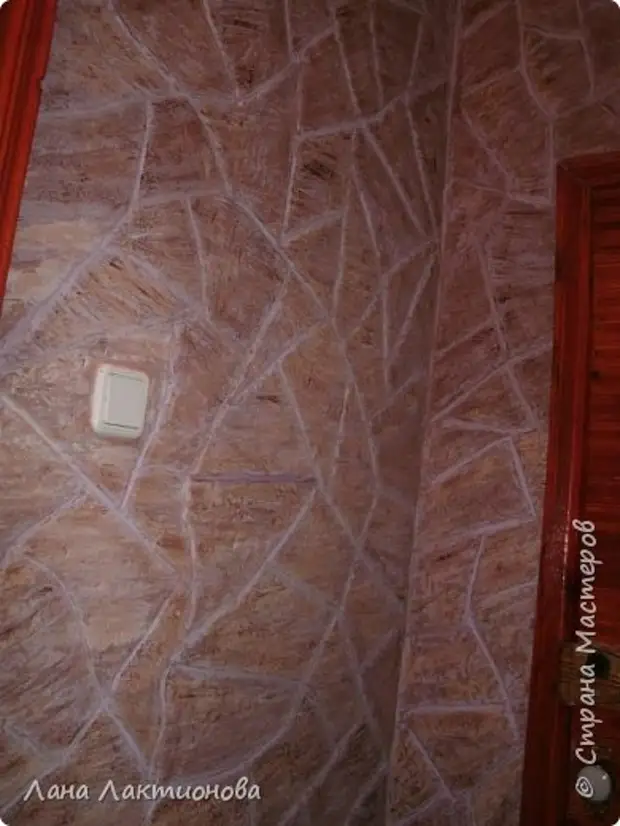
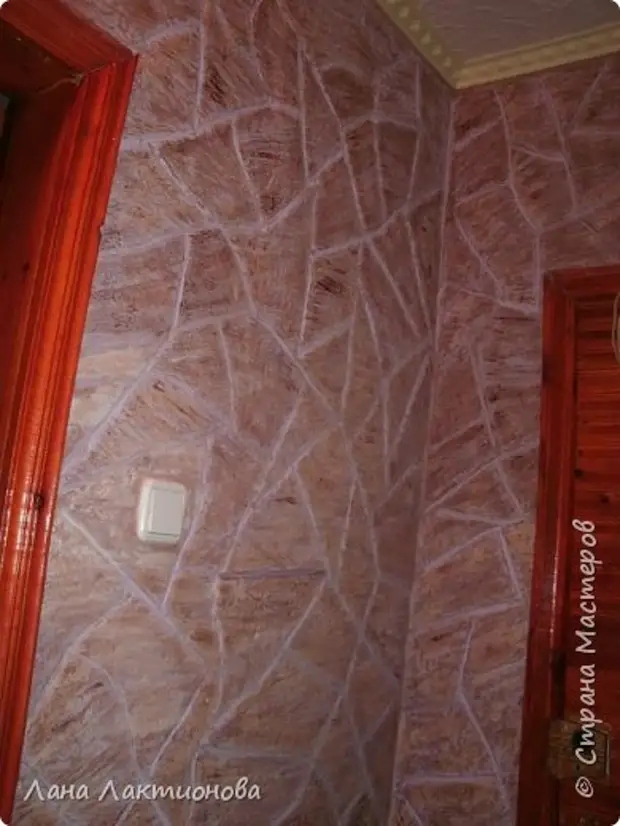
Here I got the stone wall under the sandstone.
PROGRESS:

1. Dropped the wall - dried.
2. Scroll on the wall: Tile glue + Start Put 1: 1 And it dispelled with water not liquid and not thick - I didn't breathe well, I didn't make a lot, but it was frozen, and the hand in the seal began to put on the wall - swinging, layer 1cm.
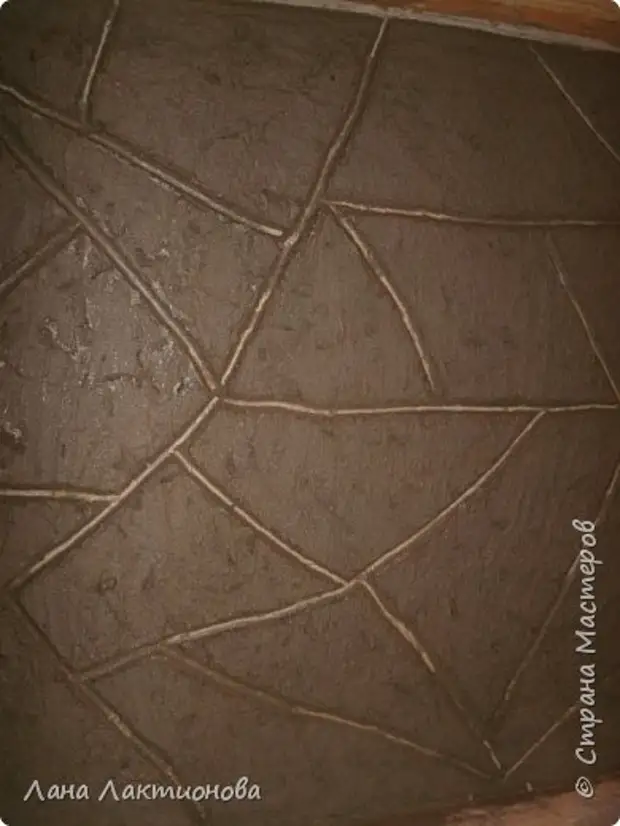
Photo closer.
3. crumpled a sheet of paper - dense (not a newspaper, but it will be splashing) and twisted a plot with a solution - making the structure of the stone.
4. After 20 minutes, it took a teaspoon (the width of the handle is about 1 cm.) And the handle spoons the split lines - the form of any draw.
5. When it snapped a little more (no matter how the solution was not stretching) I took a roller with a pile (not paralympoous) Mocked into the primer and went through the masonry roller - conveniently. All scallops that were when applied to the solution and when the laying of a stone - disappear that it is good when the solution is dry completely, then it is less and less than the mud.
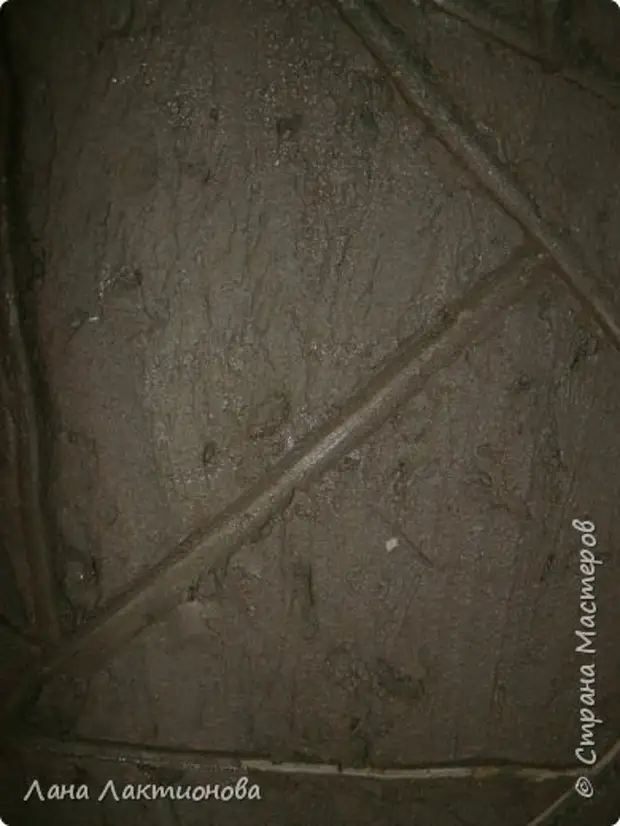
6. He dried up - he cleaned the sandpaper and wet sponge removed dust and everything was improved again. All smoothly.
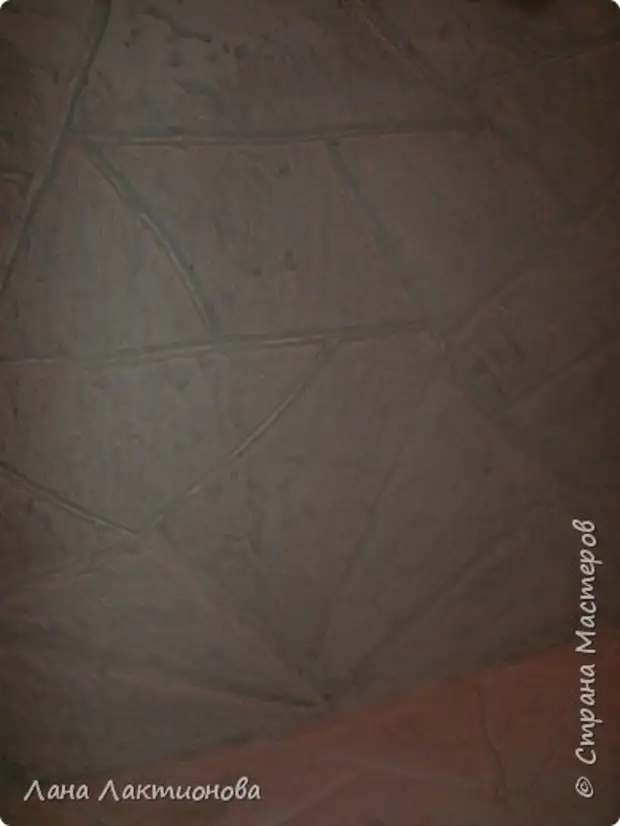
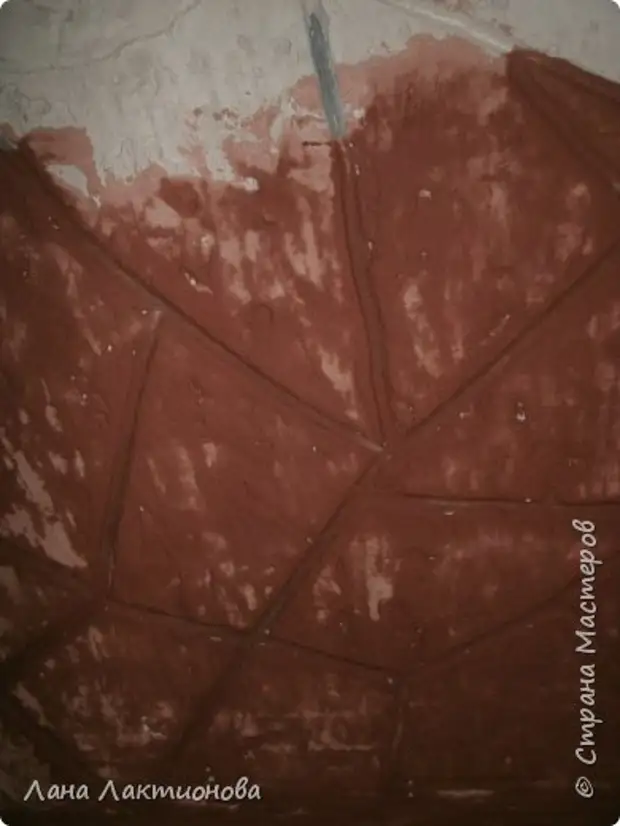
7. Holded to punish the dividing lines and pick up the color - but I did not like it.
8. I did not like it. And I painted the whole stone in a light brown color (on the photo it is wet so dark)
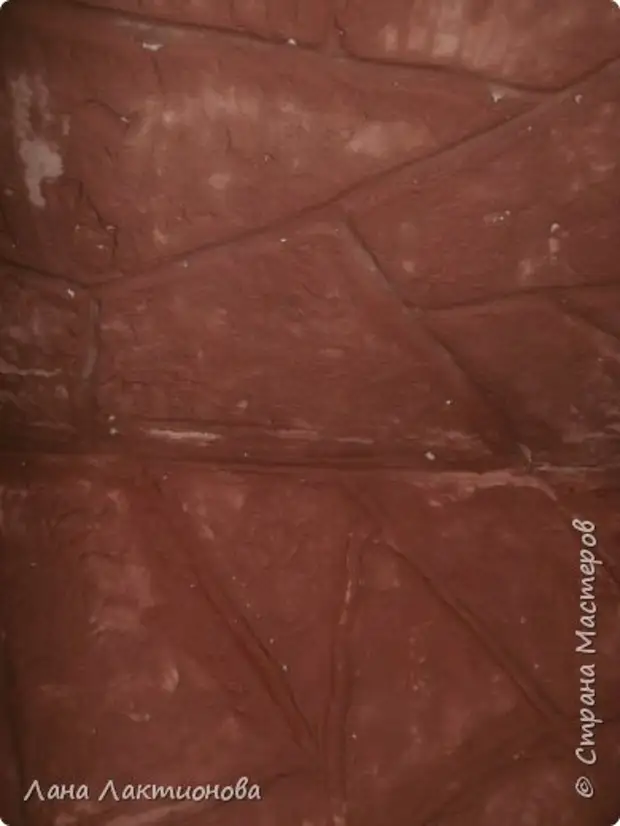
9.Sfoot closer. A stone structure is visible - which I did with a tangle paper.
10. Began to push.
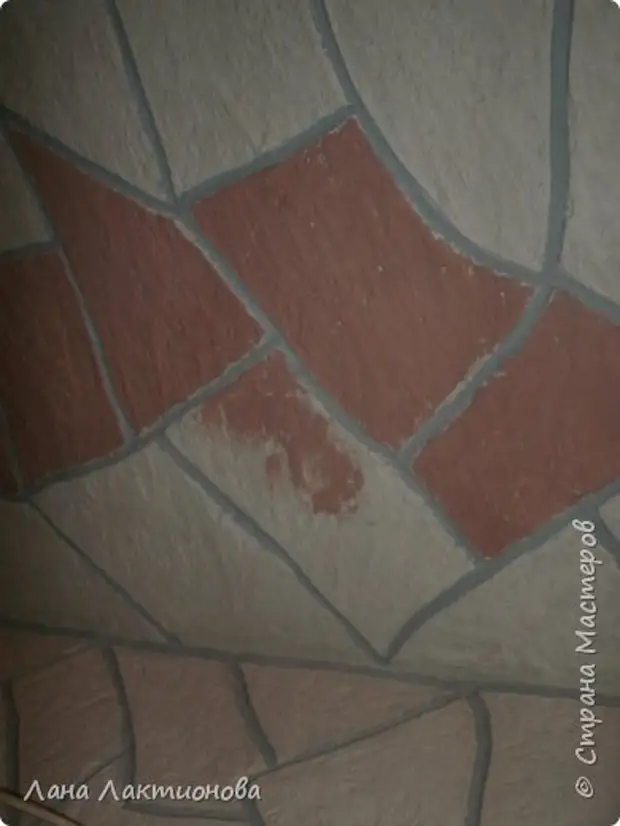
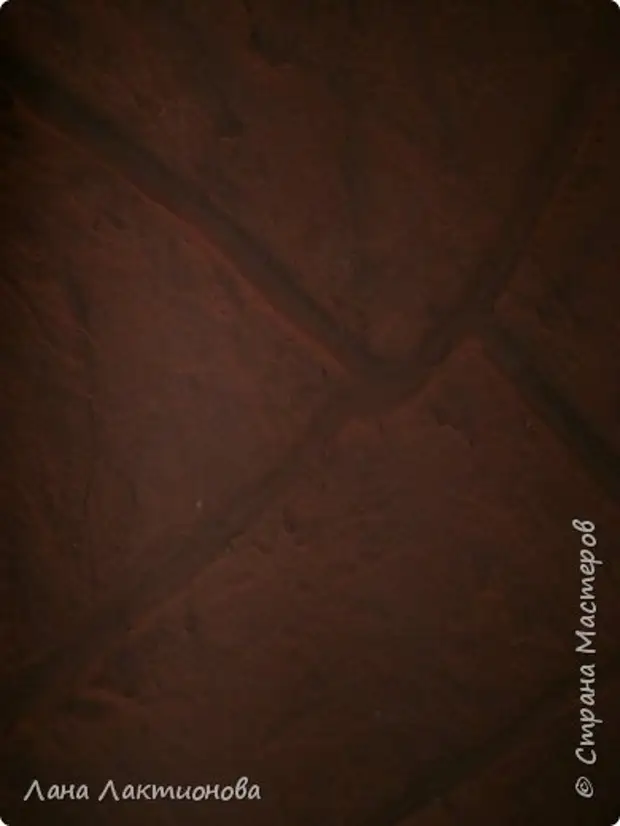
11.When dried brown paint - a light taste was blossomed by light-lilac - painting the grooves.
12. Everything can be seen, the grooves are painted, and the stone itself painted slightly. (some marriage came out there, but then crushed it)
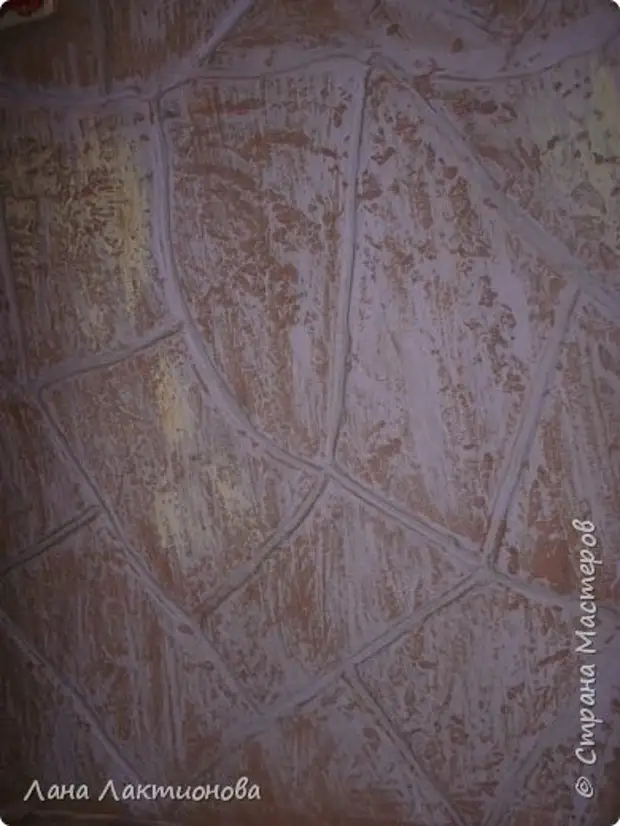
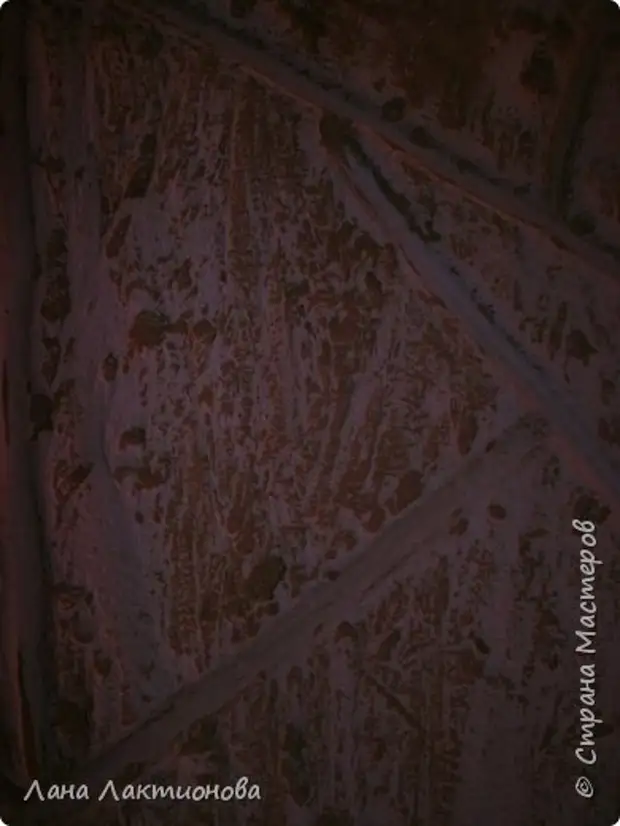
13. Closer - but is dark (I have dark parlories). Good visible grooves and stone structure.
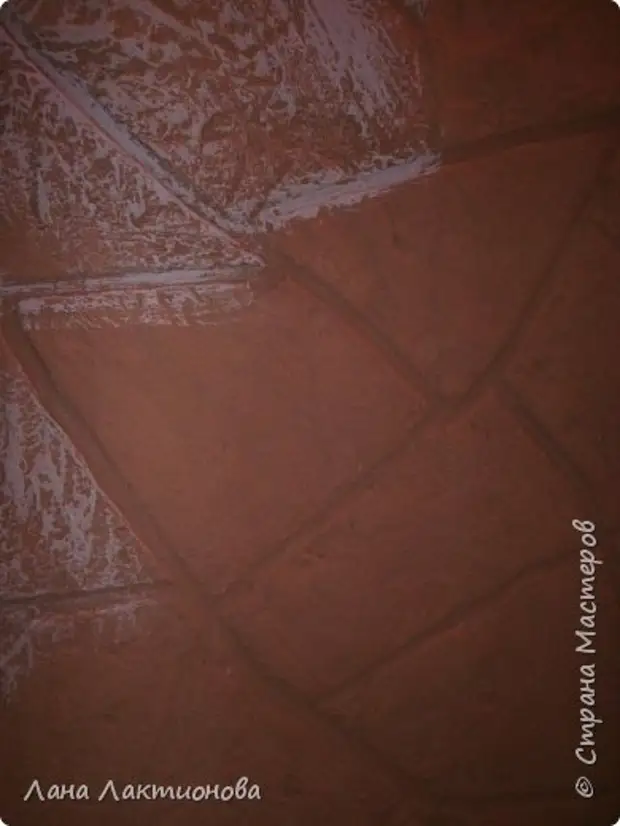
14. When the lilac paint dried up - it applied from above (slightly touching) brown brown.
I did not write that the paint had a white - a water vulgarization (or acrylic as it was also called) added a brown and lilac (such I had and I decided to use them).
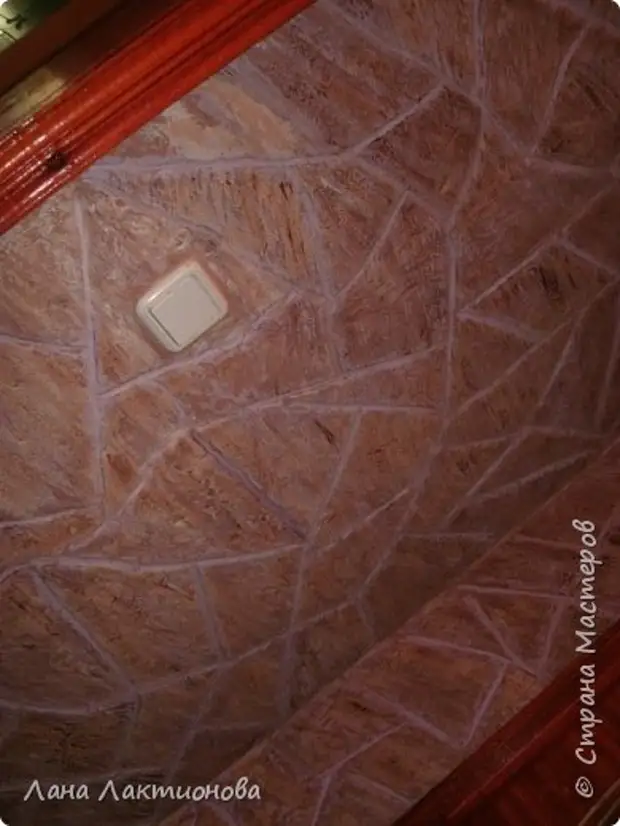
That's what happened - in fact, everything is lighter. And not at all time.
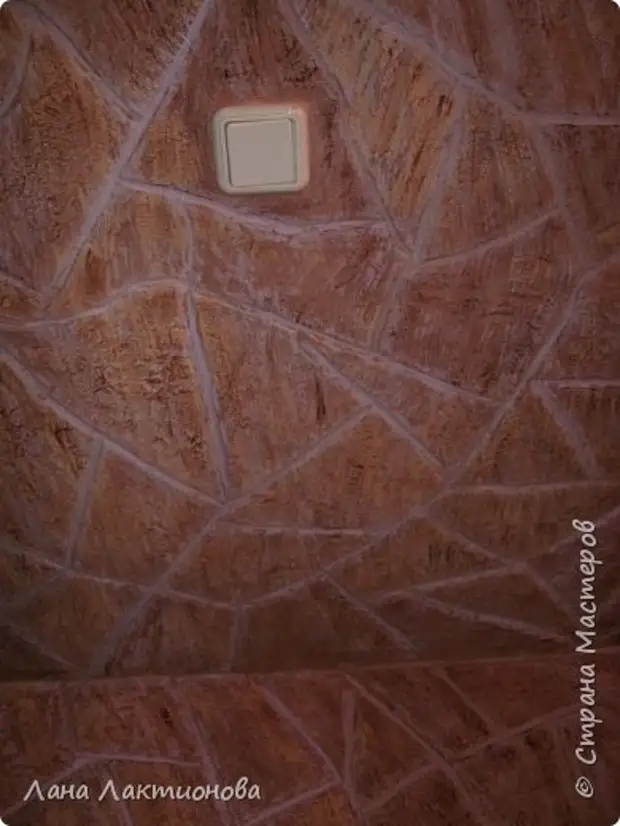
Photos from different angles.
A source