At one fine moment, I set out the purpose of solving the problem of protecting the walls from the backs of chairs. After examining the options offered on the Internet, I began to do something. That from this it is possible to learn from the post.
Immediately I ask not to kick me much strongly, because This is my first post. In general, the first.
So the prehistory of the question. After the repair is completed in the kitchen, the question of protecting walls from the backs of chairs. The fact is that I, like a noticeable majority of apartment owners in Russia, the kitchen is not only a place for cooking and storing food, but also a dining room. In this regard, it contains the table surrounded by chairs that tend to actively contact the wall. And no matter how carefully you did not use the furniture sooner or later on the wall, unpleasant failures are formed, moving in deep scratches.
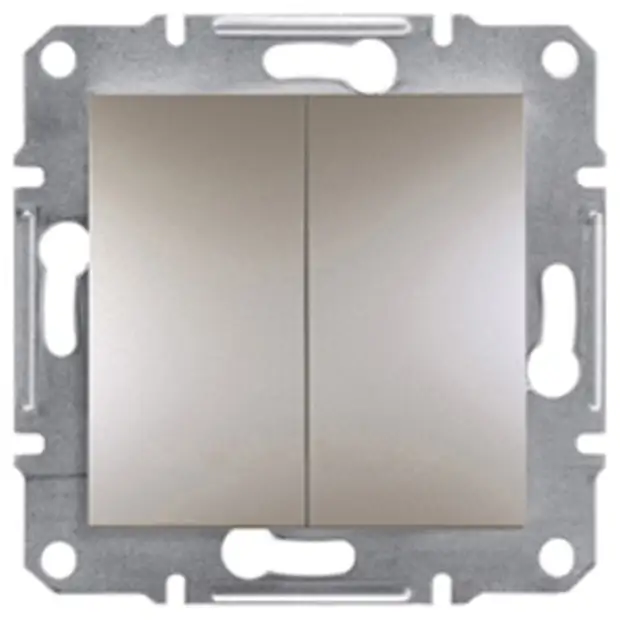
In my case, on the wall along which the chairs are also located a two-button light switch. Ironically, the height and bend of the back of the poured on the kitchen chairs accurately coincided with the height of the switch. In this regard, pushing the chair to the wall led to a partial or full turn off the lighting. I agree that in certain romantic situations there is its own highlight, but in most cases it is simply inconvenient.
Wondering on the Internet spaces in search of a response to the question, and how people solve the problem of protecting the walls, I came across solutions from LDSP or MDF
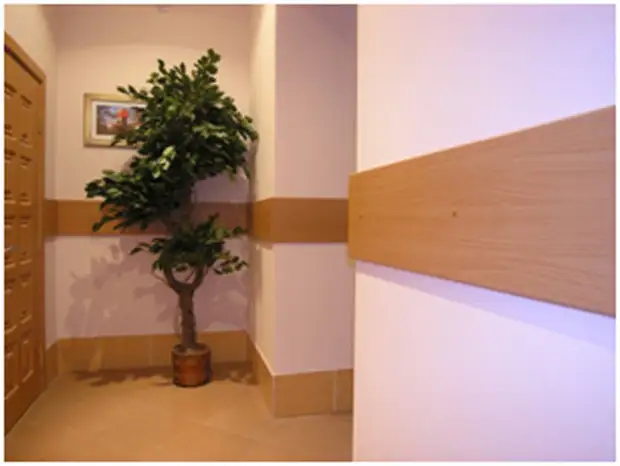
And even metal.
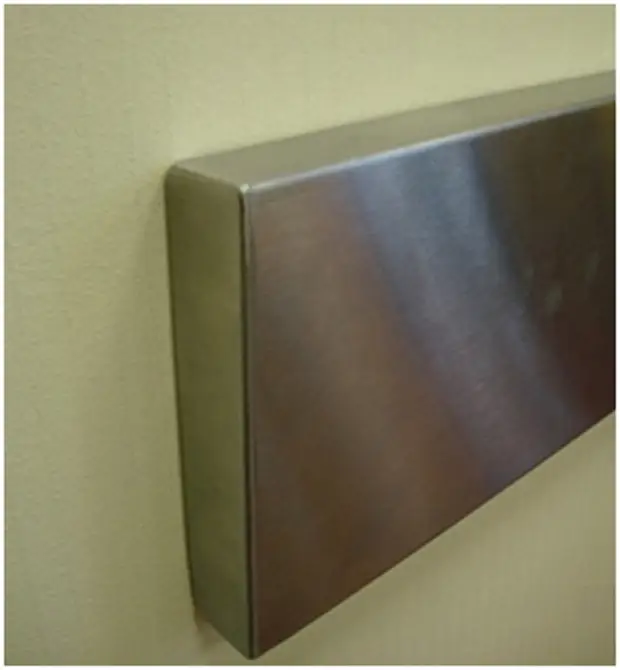
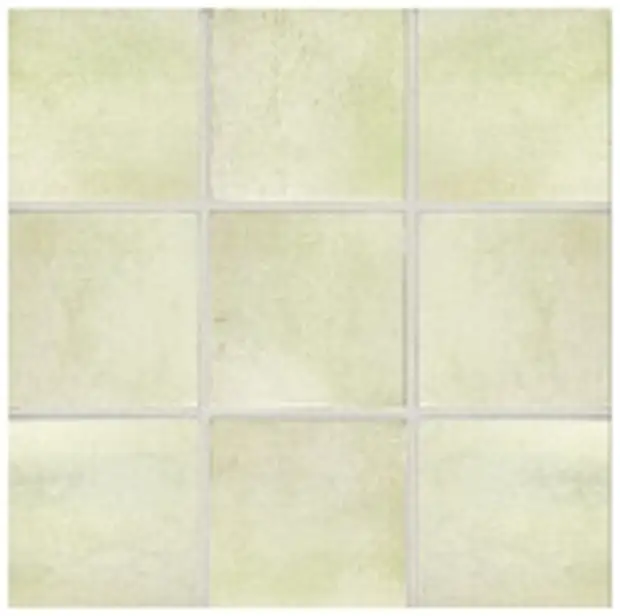
Knowing the "environmental friendliness" and "high" stability of the first two materials to mechanical exposure, as well as due to the lack of fantasy about the use of metal products in the interior, I decided to make a jackhamper from a tree. Besides, after decorating the apron, a few left (more precisely 8 pcs.) Beautiful tiles of 5 * 50 * 100 mm with such a drawing

And a little more simple tiles of the same series with dimensions of 5 * 100 * 100, assembled on a cardboard based on 9 pcs., That was a pity to throw out and I wanted to put them in business.
How do you remember, on the wall I had a two-button switches of this type
By reflection from what to start, I purchased a stranded board in the store with dimensions of 15 * 2000,
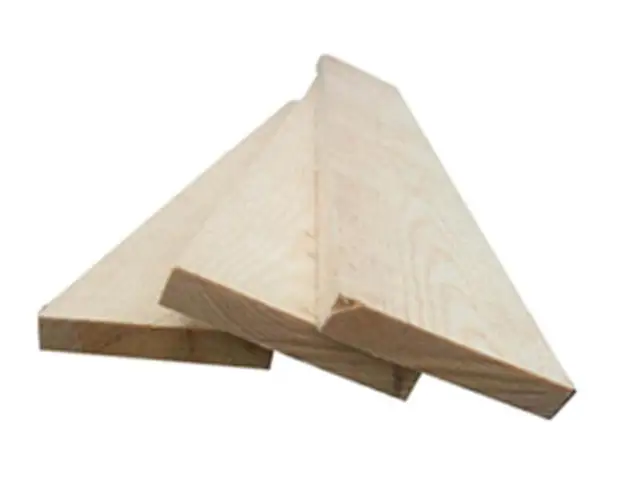
Which I then coolently polished the machine to the state of smoothness, which I liked to touch. Then I stood on it the location of the tiles.
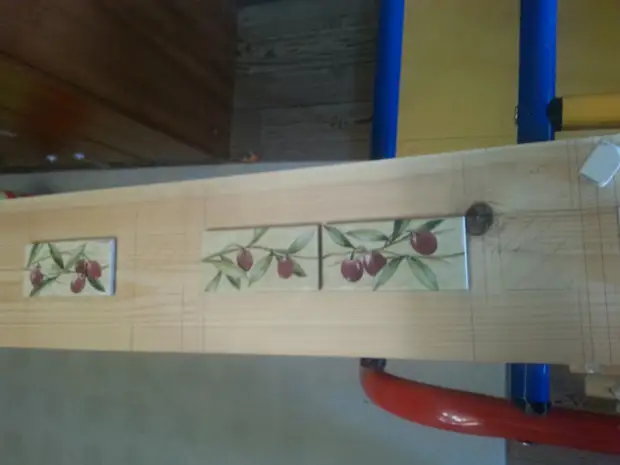
For further processing of the board, namely the calculation of the grooves and the windows under the tile, I used a manual milling mill. This, extremely useful in the farm, I bought a long time ago and everything was going to study his capabilities in practice, after performing some simple task. For lovers to criticize, I will say that I had the first milling experience.
People familiar with the mill can safely skip a couple of paragraphs. For all the rest, I will tell you more. So, taking into account the curves of the hands, I did not hoped on them and decided to mill on the template. I made patterns from fine plywood using a drill, jigsaw and a file. Ultimately, I received 3 square windows of a different size (unfortunately I did not take a picture of my templates, and after the work I could not find them, because I would most likely thrown out).
Milling by template allows, spending time on its manufacture, then make it a sufficiently large number of the same details of the specified form and size. There are several methods of milling on the template, I personally have mastered the cutters with a bearing

and copy rings.
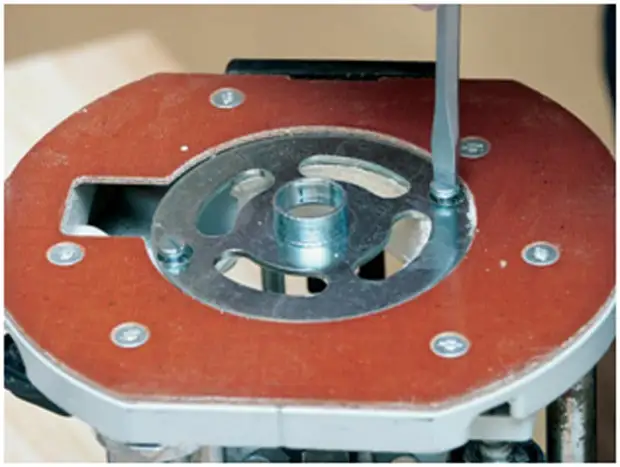
For sampling grooves and windows under the tile, I used a spiral milling mill 6 mm with a lower cut
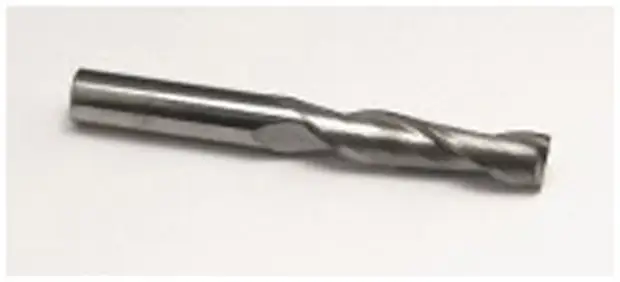
and a copy ring 30 mm. When using this method, a pattern should be made not in the size of the tile 50 * 100 mm, but a little more. The correction to each side is calculated by the formula (ring diameter - the cutter diameter) / 2. In my case (30-6) / 2 = 12 mm. So my template will have dimensions 50 + 12 + 12 * 100 + 12 + 12 = 74 * 124.
The templates for grooves 100 * 100 mm are still manufactured, with actual dimensions 124 * 124 mm and through windows 50 * 50 mm (74 * 74 mm). To facilitate the work with the milling, there are ready-made universal milling patterns that are capable of quickly and easily change their dimensions for different tasks (apparently it is worth thinking about their acquisition).
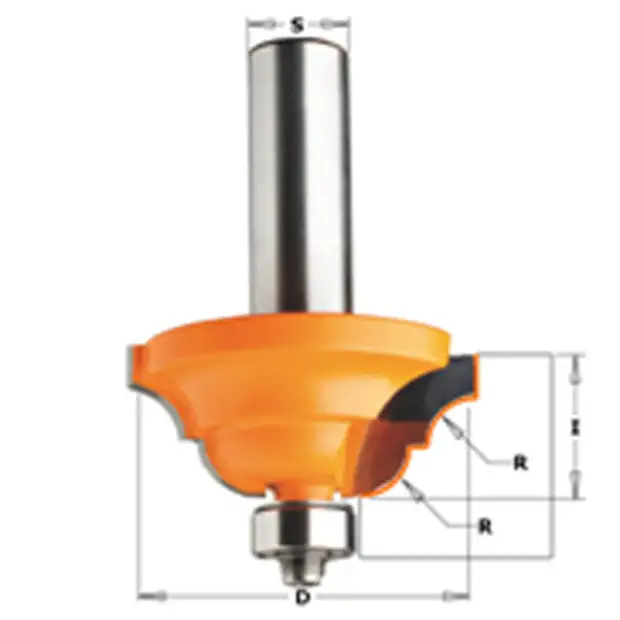
The creation of the decorative edge was carried out by me using a hayillic cutter with the lower bearing of this form.
After all milling and grinding work, I got the board with a number of grooves and windows. Unfortunately at this stage, I did not make intermediate photos.
Since I have a dark brown kitchen, and the board was light, I had to solve the task of its tinting in the desired color. I had no very successful experience of using the veil (it's hard to manually achieve color homogeneity), as well as varnishing (with all my diurns, there were sometimes varnish drops). In addition, I did not want to have a lacquered surface, but I wanted to leave the feeling of wood. Therefore, having examined other methods of wood processing on the Internet, I found an acceptable oil-wax for me (I will not write a company). The thing was very comfortable. At first, bring the composition to the surface and after 10-15 minutes we erase the surplus with a rag. This "chemistry" allegedly completely natural, well raises the structure of the tree. The board does not need to be additionally polished, the surface to the touch resembles Soft Touch, which I really liked it. In addition, the scratches are not very noticeable.
After "painting", I can only go into the groove tiles. You can throw stones, I glued by a thermopystole, it's easy and quick. In addition, I am not sure that the tile glue will be good on the tree. Decorative tile 50 * 100 I pasted from the front side. A simple tile 100 * 100 I pasted on the reverse side and it became visible through the windows of 50 * 50. Why are such difficulties? Well, firstly, I had a little decorative tiles (only 8 pieces), and the wall requiring protection was large - 1800 mm. Secondly, I needed to somehow hide and protect the switch from the chairs, while retaining its functionality. Ultimately, I got this:
General view with chairs.
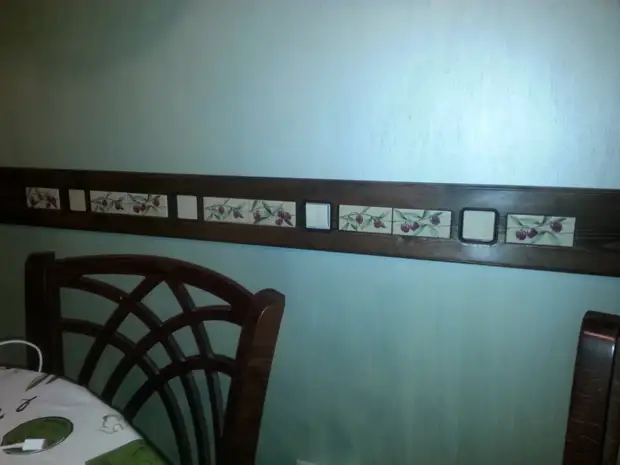
Part of a plank with a switch
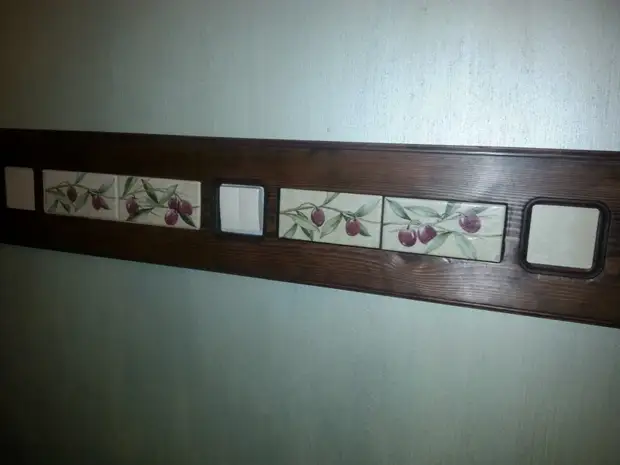
Here it is clearly seen a tile with a grout, I used the silicone putty beige color. During operation, the board has already scratched something, but it is noticeable only at close range.
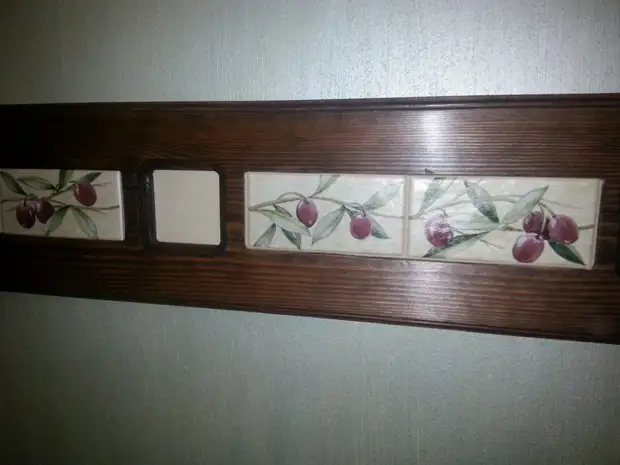
I have not yet come up with how to fill the slot between the buttons of the switch and the bar. It is possible to use some silicone sealant. Maybe something sound will sound in the comments.
Well, actually all. Sorry for many letters. After installation, it noted that the white buttons are highly highlighted on the tile background, so removed them and painted in a beige color from the canister. Also, I have not yet completed the grout on other tiles, this sealant touched somewhere (you probably have to restore order on the balcony).
Now about the main thing I wrote all this and posted here. The main idea was shared by the idea and listen to criticism. Maybe this will give a push to someone to do something much better. In addition, I would like to say that work is quite able to anyone.
I use a balcony as a workshop, for which it is periodically subjected to criticism from my wife. But I believe that our joint work has been good with her. Why joint? Because at the time that I fought with the tool, she was engaged in children and house. For what she has a special thank you very much.
A source
