Once at school I sewed apron. Almost all of us in school sewed apron. Thousands of strange sense aprons throughout the country :) Some of them even even wore. We were offered to handle the edge with lace or oblique bay. Here with the oblique bay and my torment began. I sewed it all the quarter and sipped it, because I went out the curve nightmare. And then I went for the summer to my grandmother, who worked all my life with the cutter and the scene, shaved with her apron, and she told me: "My girl, but who sews it so much, of course, so exactly the experienced master will come out, and That is not a fact. Now I will teach you! " And taught. And we finished this sinful apron. Green, white polka dot. With a white oblique baker around the edge :)
A completely trivial theme. Who sews well, may not even read. But newcomers can learn interesting trifles for themselves. The main reason for the placement of this master class is that I have to regularly explain to students on the courses, how to sew oblique beyk. In the network about this a lot, but somehow slices. I wanted to collect in one place all that I, in principle, can say on this topic. Just for convenience.
Pretty joins - proceed. You can, of course, buy a ready-made beaker, but for this you do not need a master class :) Imagine that you can't get ready for the finished color and invoices, and we will make it yourself.
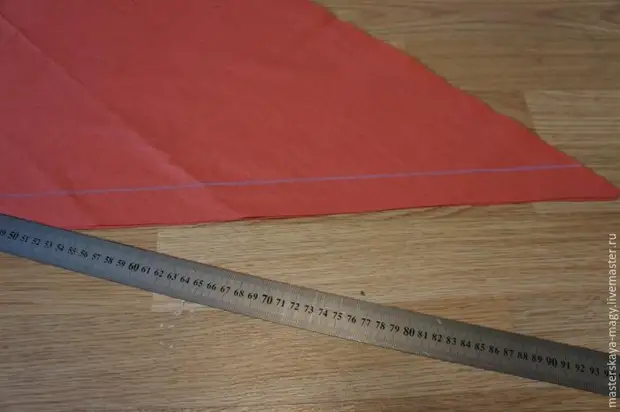
Rrzraz - crumb strips under 45 degrees to the base. Width depends on the fabric and the desired result. In the general case, I cut them on the width of the meter iron line, it is about 3 cm.
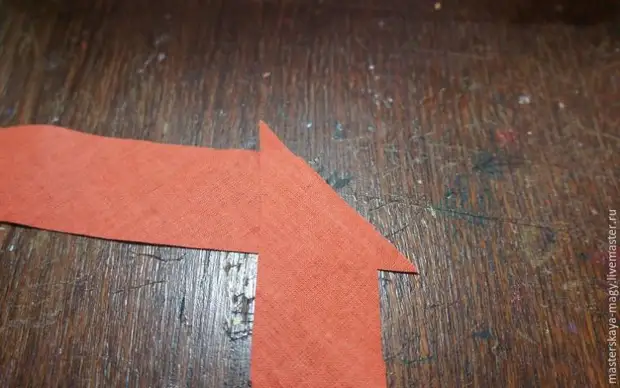
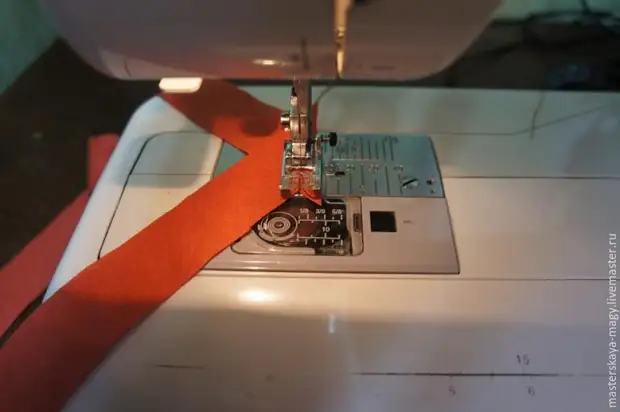
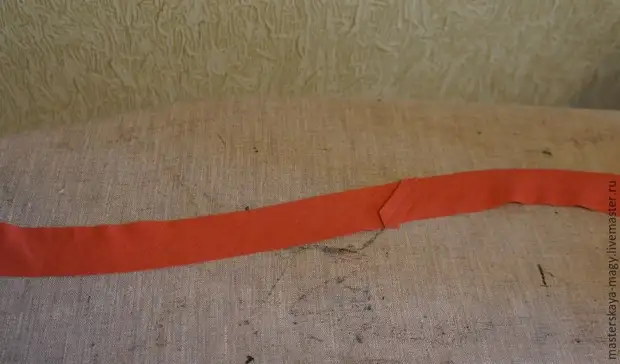
Two - if there is not enough length, it is necessary to connect pieces. We sew on the oblique, do not forget to fix the thread at the beginning and end of the line, irrigate the allowance and cut the protruding corners.
Now it is necessary to prepare Baika one of two ways. Traditionally, sections are rooted with the center. There are special devices, but I will show an old and easy way.
Manually bend and start the first centimeters of 10-15 bates and pin it to the board with a pin. So this way.
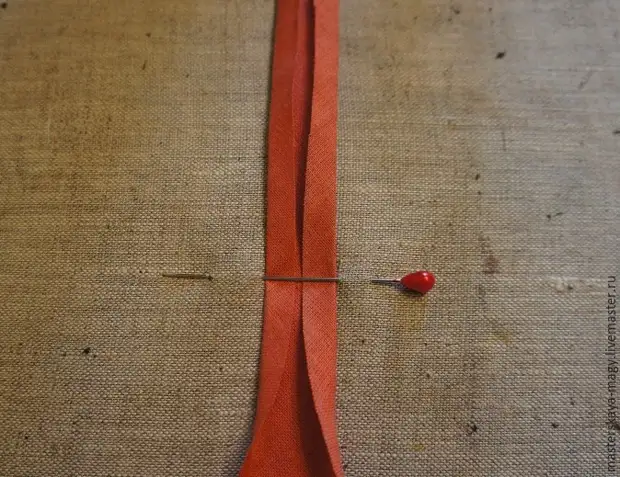
The distance must accurately coincide with the width of the raised site of the Beach. And then on the ready-made plot after the pin put the angle of the iron, by one hand behind it the finished beyk, the other feed the residue under the pin. Make much easier than telling :)
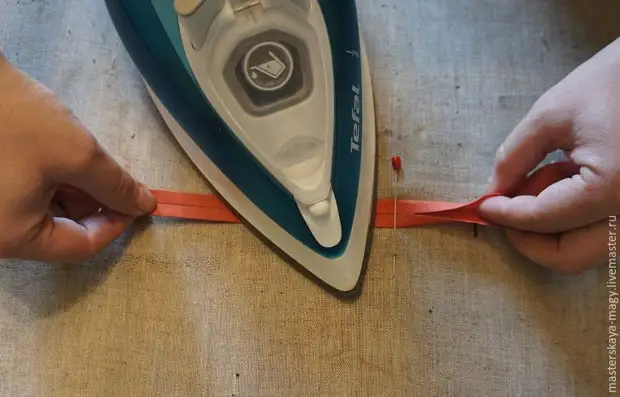
Ready.
The second method is used on thin tissues. For him, Beych is just twice.
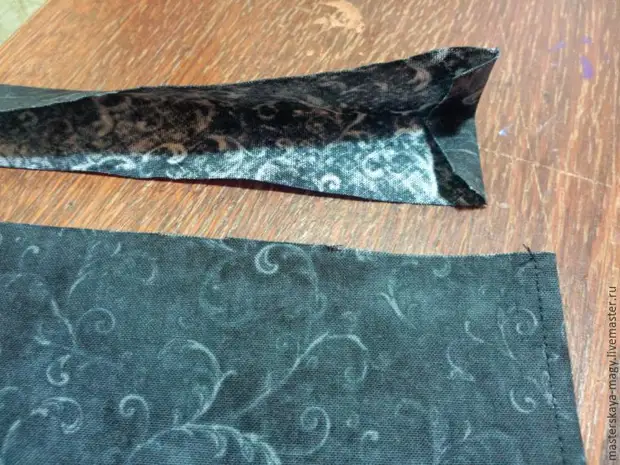
And so, Baika is ready, we begin to sew.
I prefer such a method. First we put the place on the cut face to face, we flash almost in the fold, slightly shutting up to the cut.
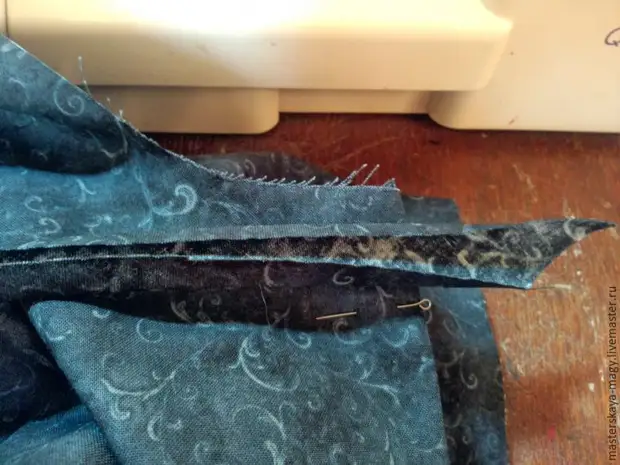
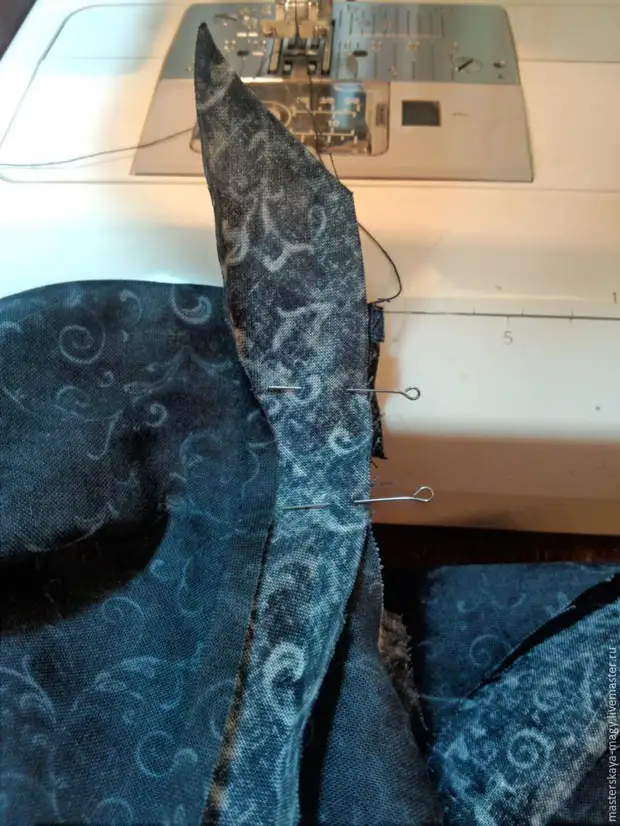
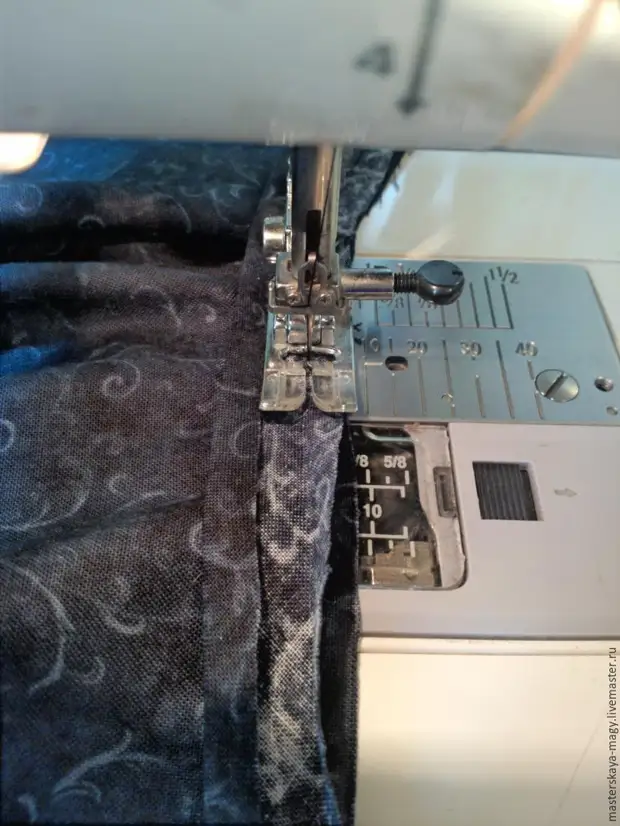
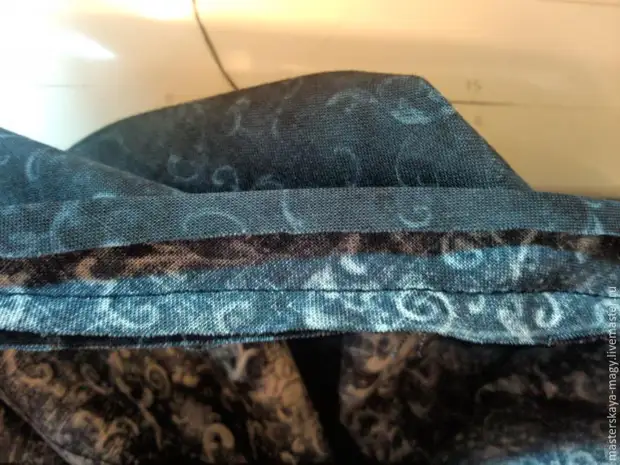
Cut the tail, beyond the bay, we bring the tail inward.
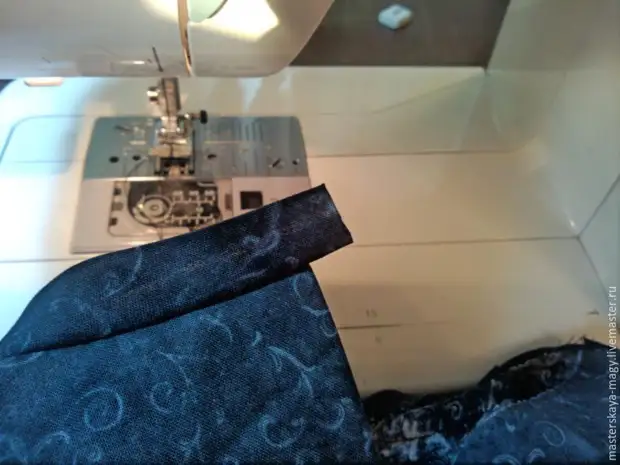
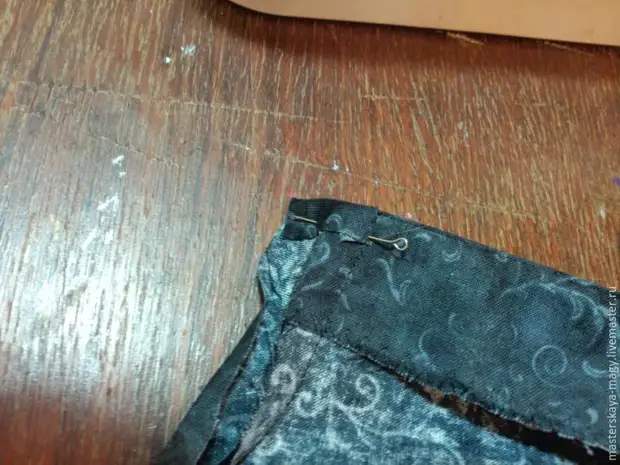
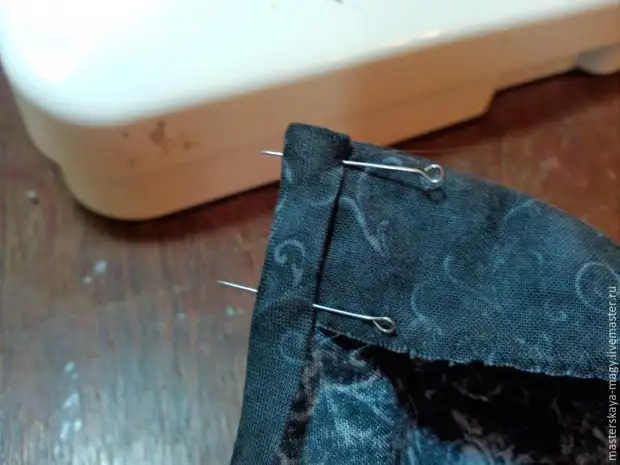
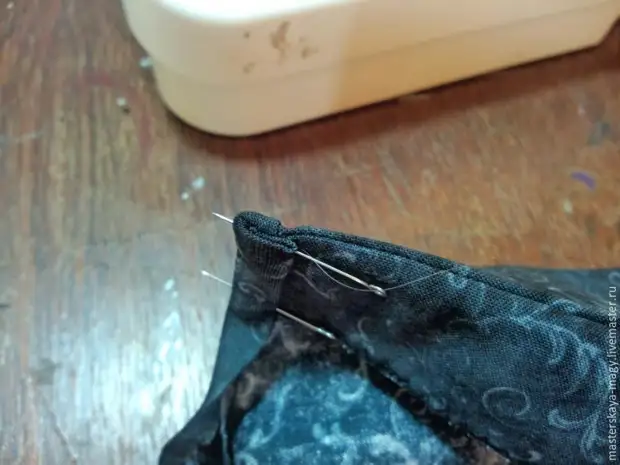
Now we will be flexing the blades on the wrong one and lay the aim to the edge so that between her and the edge of the faces from the face there was a clearance sufficient for the line.
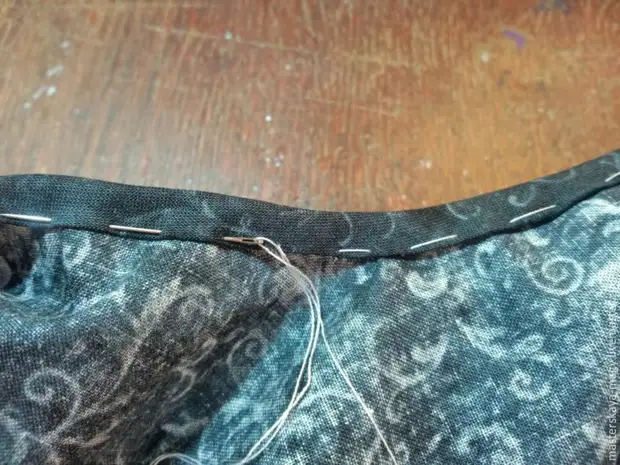
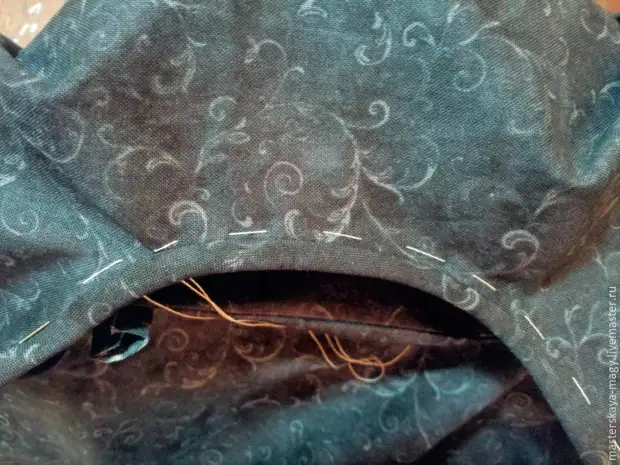
We are revealed and deposit the line. It is possible by the Beyke itself, but I like it more exactly on the seam, putting the line into the joint.
The mark clearly shows us where the edge is located, and it does not give off it.
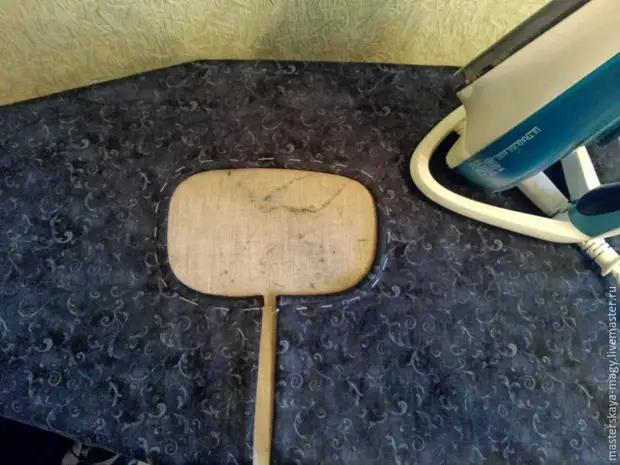
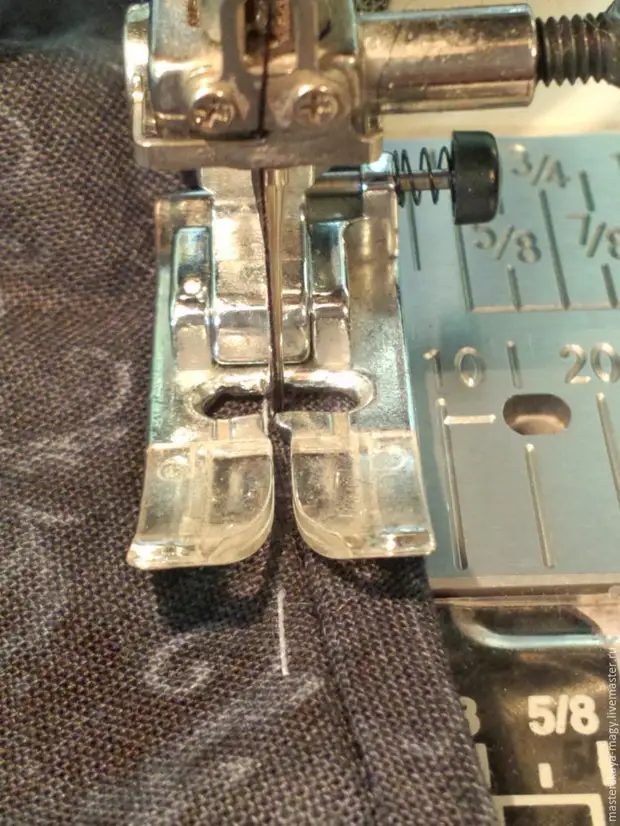
Ready. Face, starving.
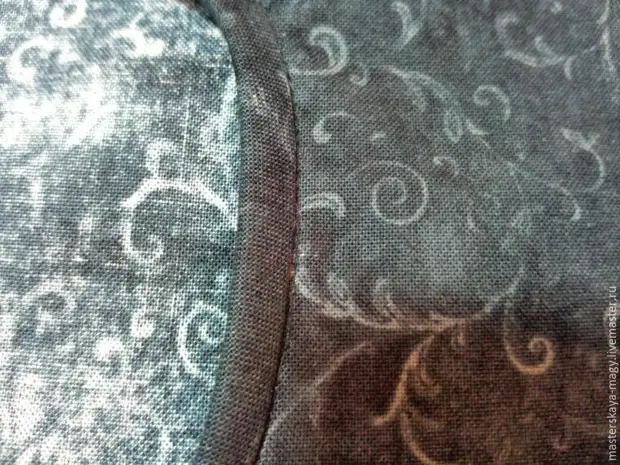
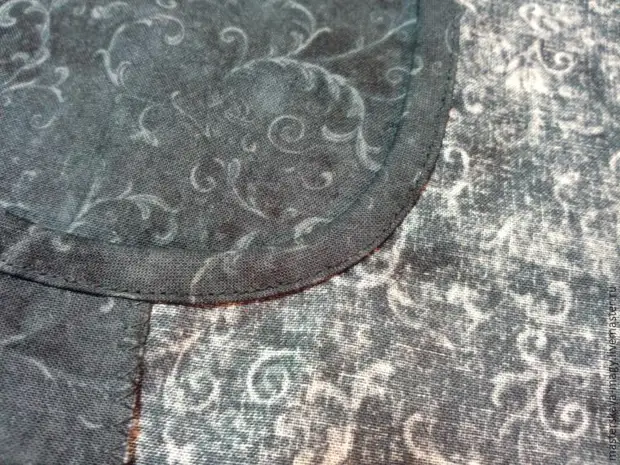
Often, when a multilayer edge is processed, for example, in a corset or evening corsoul, I will only lay the first line, and then I fix the secret stitch from the lining.
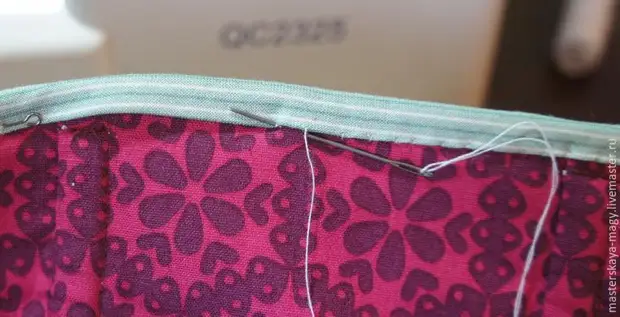
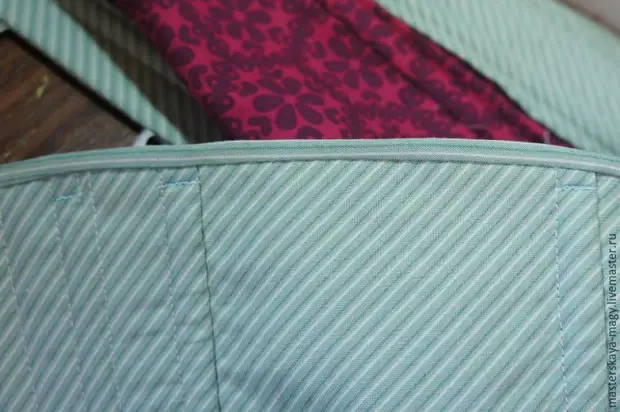
The next way is good when the fauks should not be visible. Here you need to paint the bice of the magnitude, and it is suitable for plots with a very strong bend. With strong, it is better to cut no oblique, but under construction. Its essence is that Baika is filmed to the wrong one, along with the allowance. The allowance can be in places, if necessary.
In the photo there is no product, but just an example on a girlfriend flap, so it's a little less gently than before :)
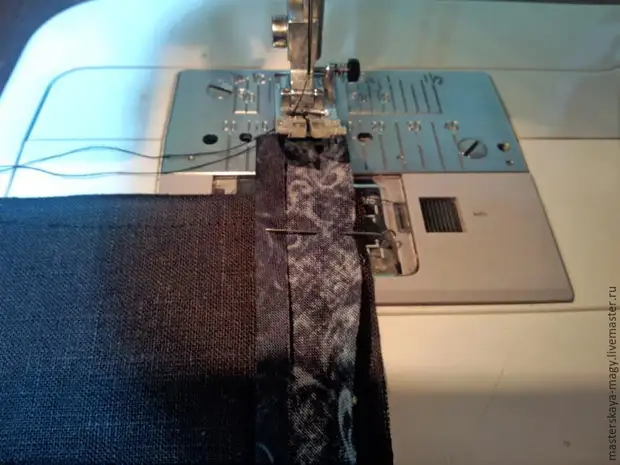
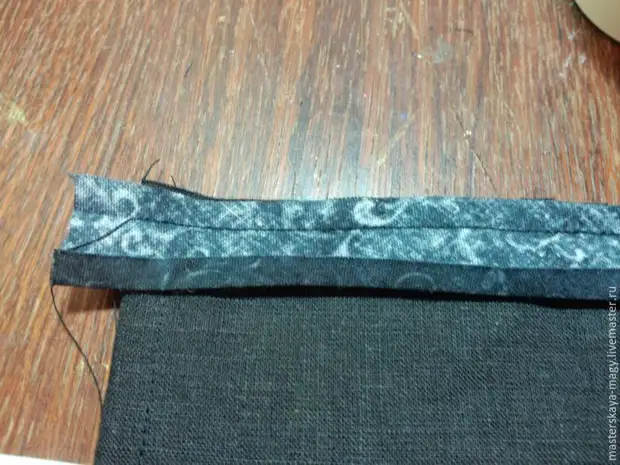
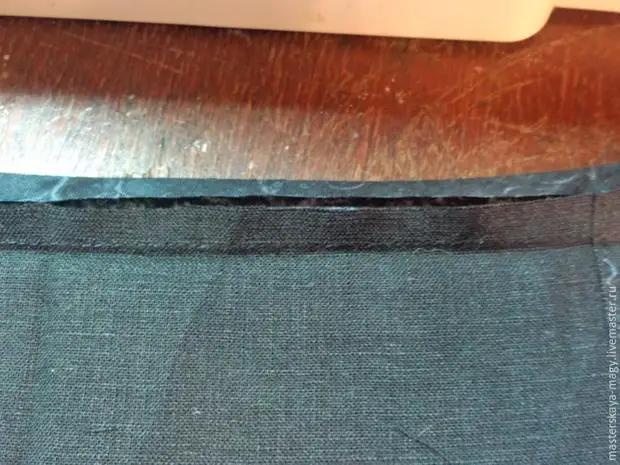
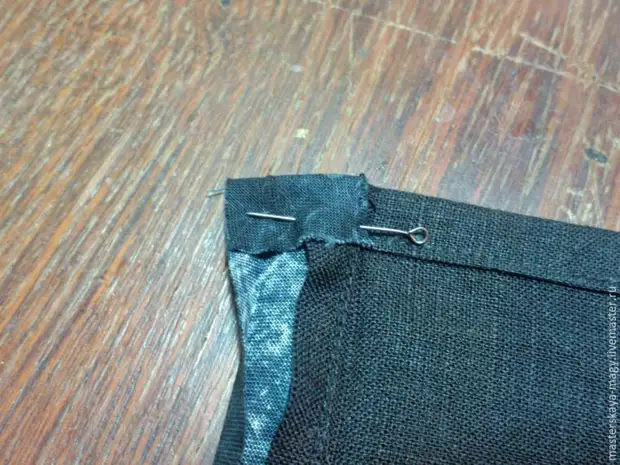
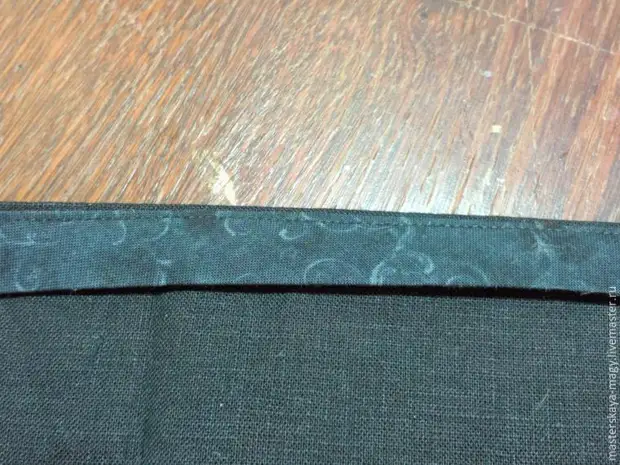
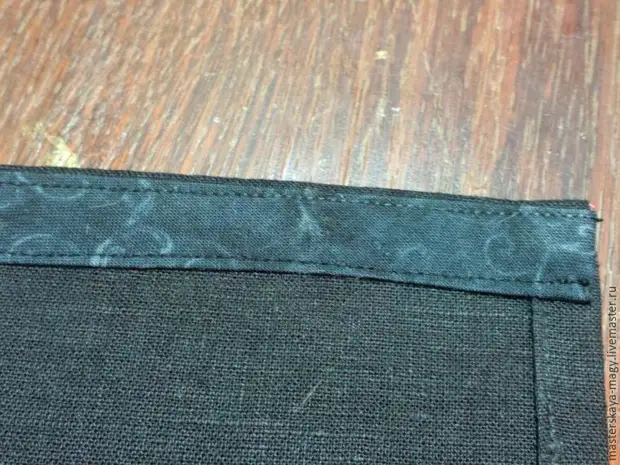
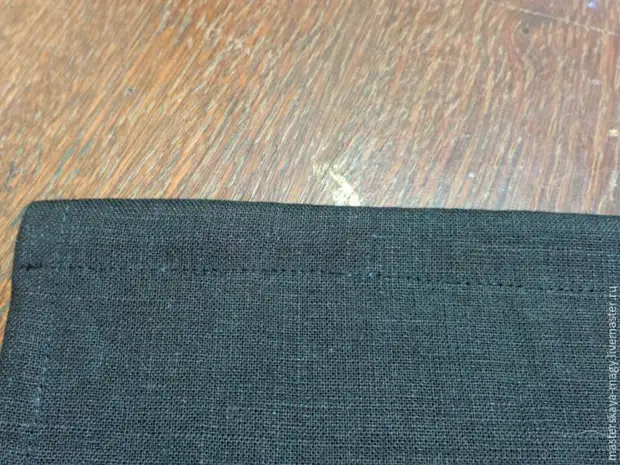
Third way - processing thin tissues. Beyk is twice. Sends from the front side. If the fabric is completely capricious, then it is possible to mix your tassel with a tassel and approximately 1 cm from the starch with a solution of starch and dried. Starch stabilizes fabric and then easily detained.
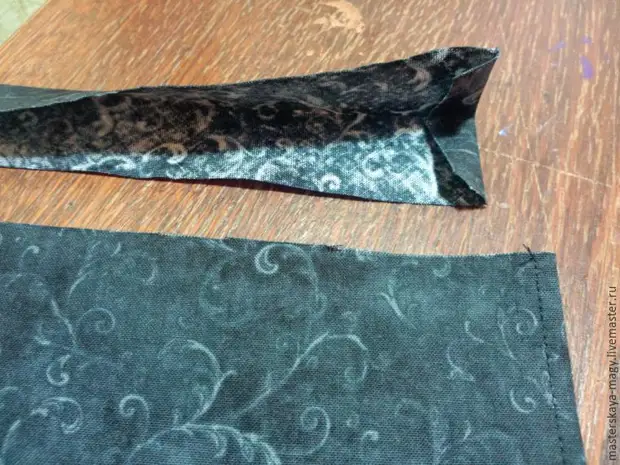
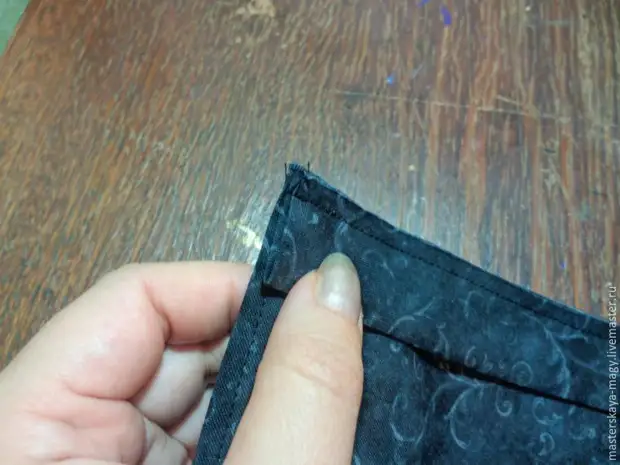
Feels and sewn as in the first way.
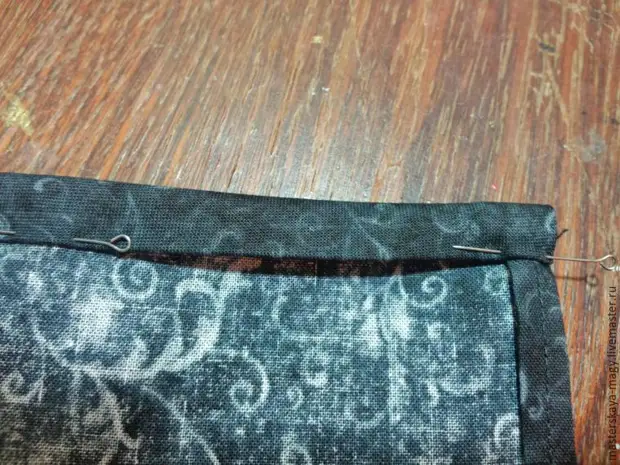
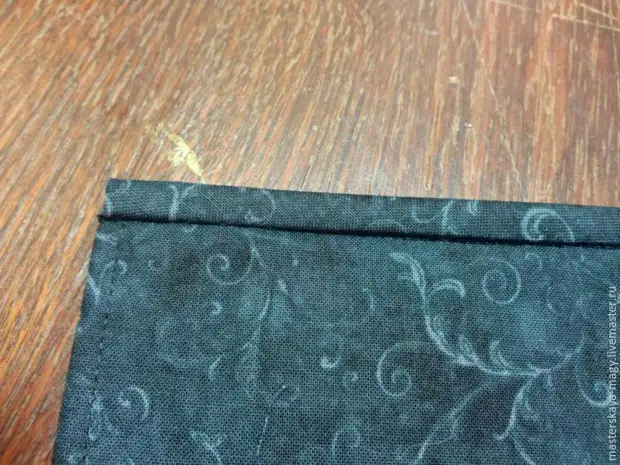
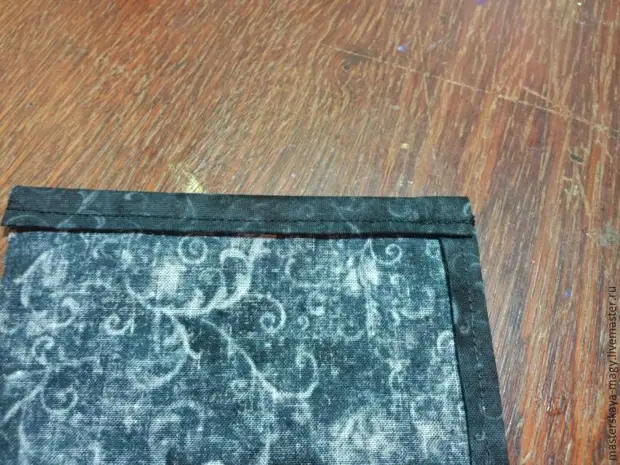
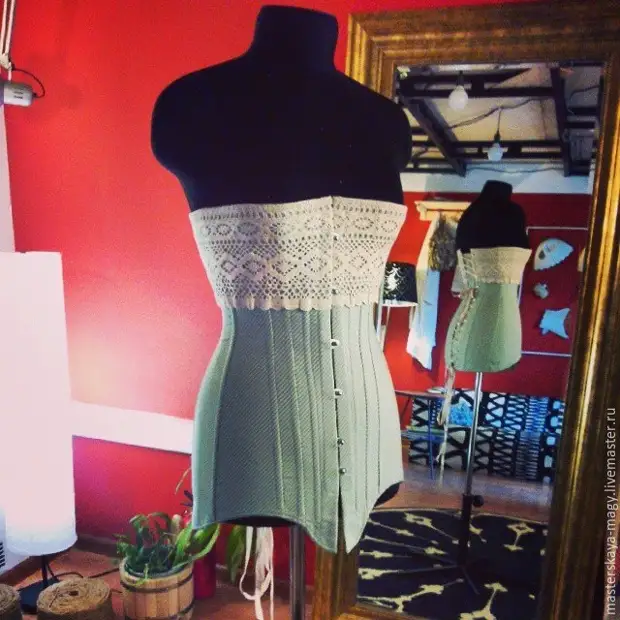
And the very last way, especially for history lovers :) Sometimes, such as in this corset at the bottom edge, you have to act completely manually.
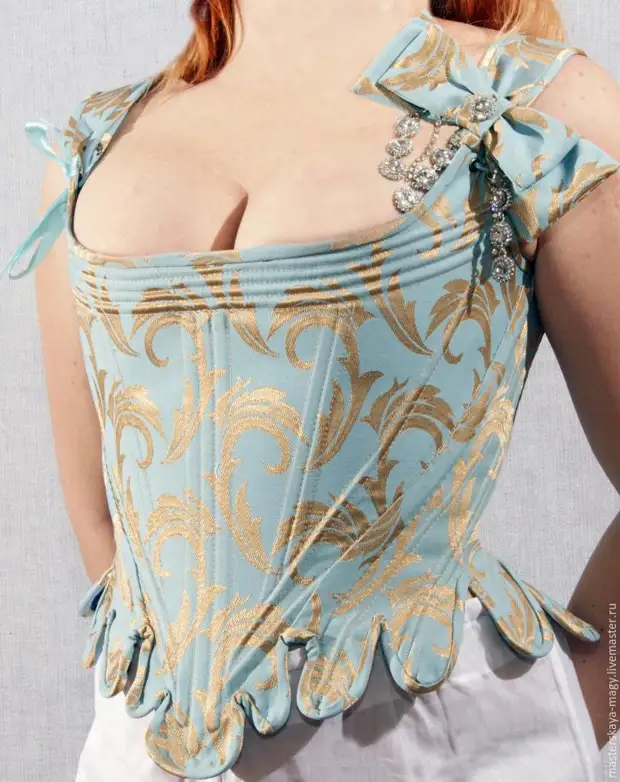
Here, in fact, all that I could, in principle, could say about the oblique bay :)
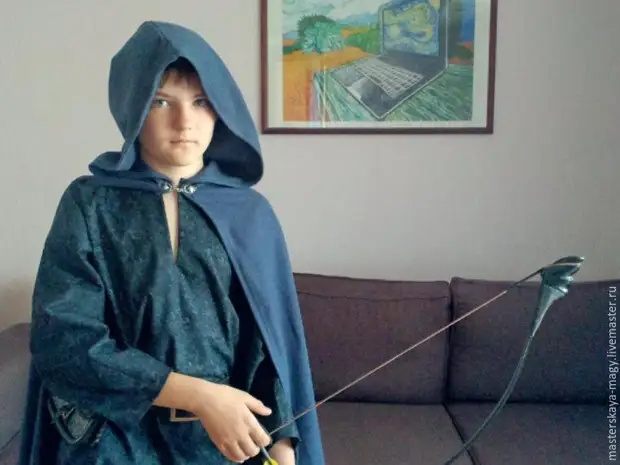
If someone is curious - two finished products whose fragments you have seen in this master class:
If you have your own ways and secrets - share them in the comments.
A source
