
Viking Knit is an ancient way of weaving a chain that does not require soldering units. The chain in this technique woves from a long piece of wire, which increases as needed.
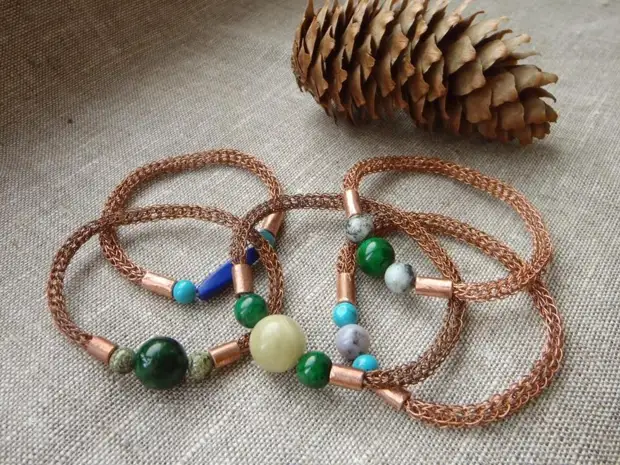
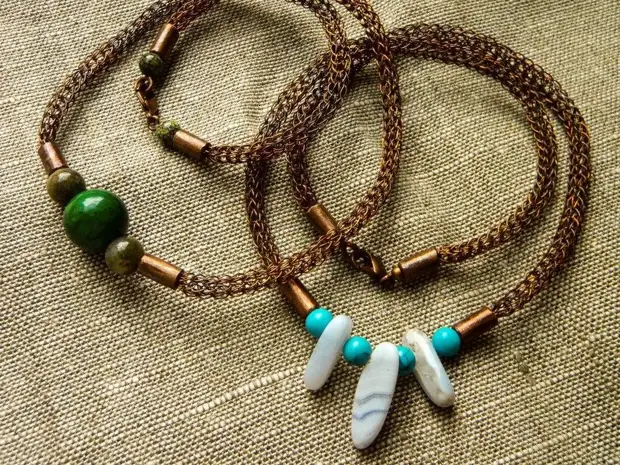
On the Russian name can be translated about as "Viking nodes" or "Viking Weaving". Such a name of the technique received due to the fact that the first decoration of this species was found in the burial of Vikings. But then there were other, more ancient findings, and now it is believed that the technique was originally from the city of Trchipoli in India. I use such a chain for decorations stylized under ancient.
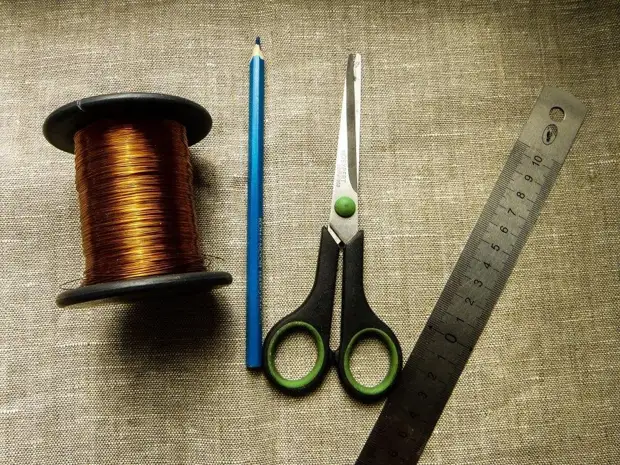
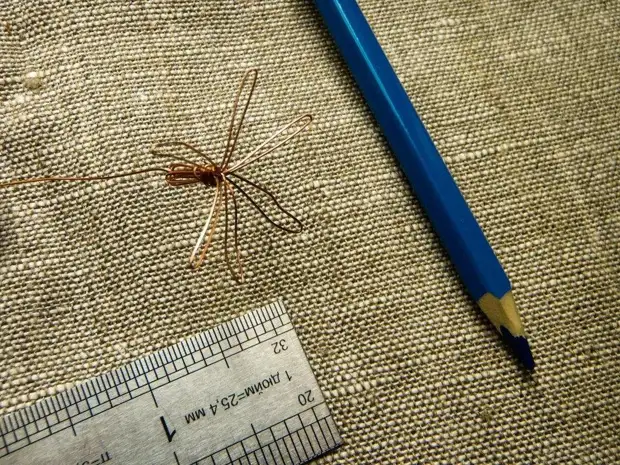
In order to weave the chain with your own hands, you need to stock:
- Thin wire (I use copper)
- Pencil
- Scissors
- ruler
Weaving chains do it yourself
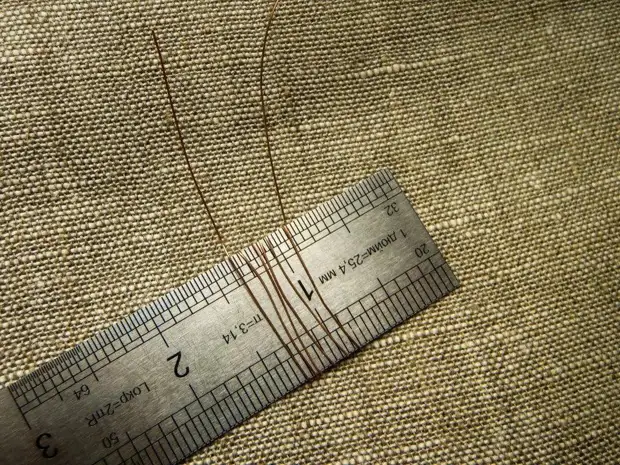
First, we need to prepare the foundation for which the most beginning of weaving will be located. To do this, cut off a piece of wire about 40 cm and we turn it around the line 6 times.
Remove from the ruler, fix the loop, turning around them the free end of the wire.
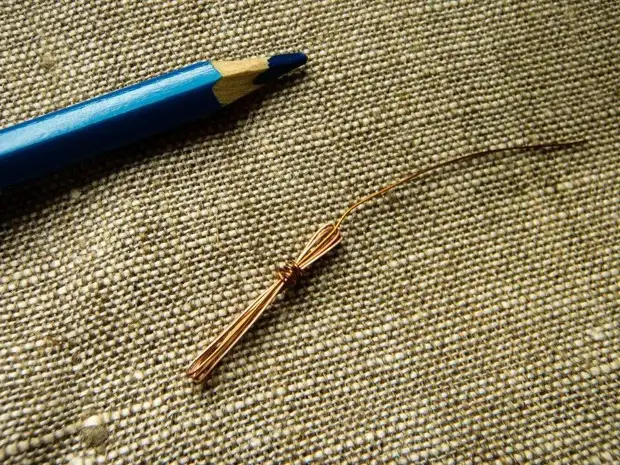
We reveal the loops in the "Flower", carefully, so as not to remember.
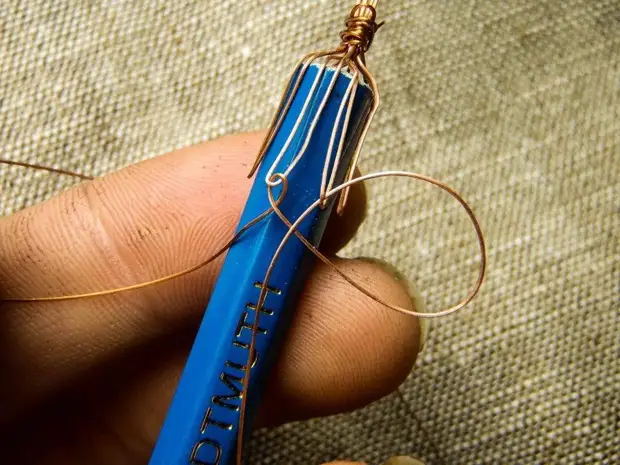
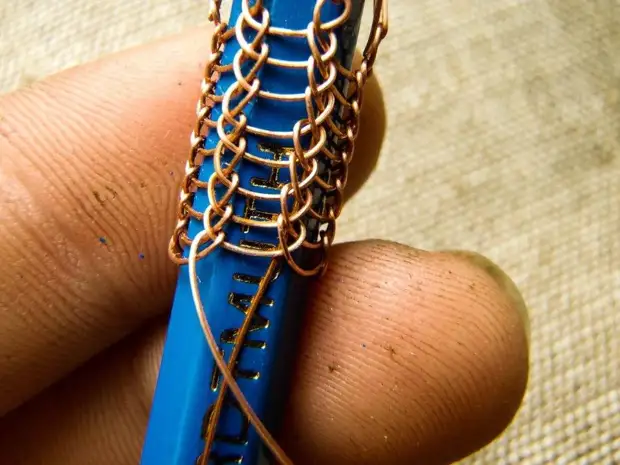
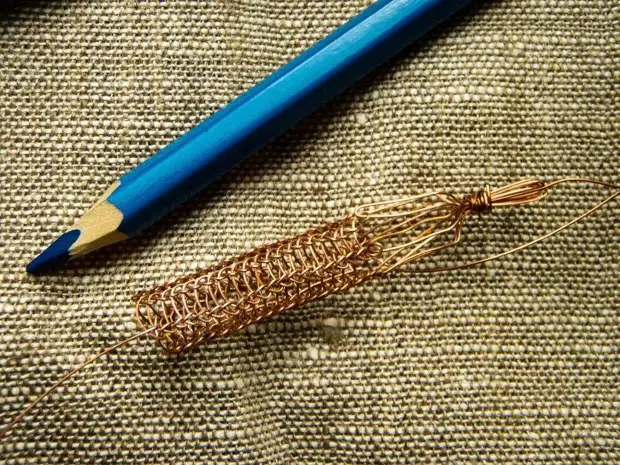
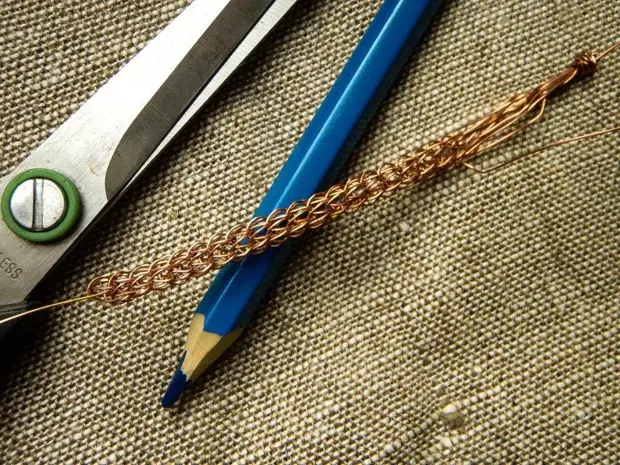
This "flower" bend around a pencil. Cut off a piece of wire, about 70 cm long, and begin weaving. Leave a small free end and make a loop around one of the "petals".

We make the second loop, retreating on one "petal" to the right. In the same way, we continue from top to bottom.
We make 4 loops, and we return again to the first "petal". Now you need to go to the next row, for this purpose we do the next loop, engaging for the first loop of the previous row.
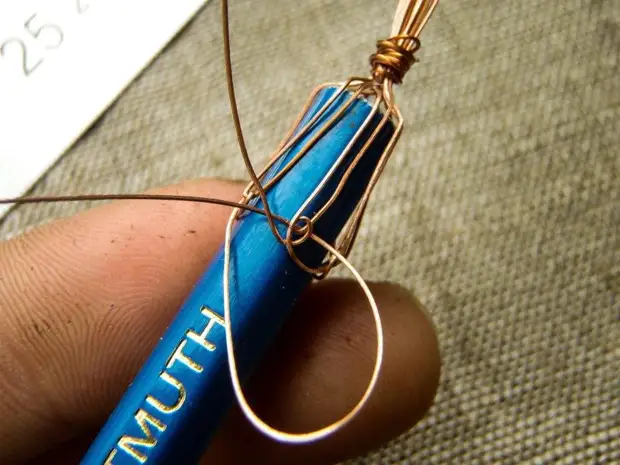
We continue to "loop", every time clinging to the loop in the previous row, until the tip will remain about 10-12 cm.
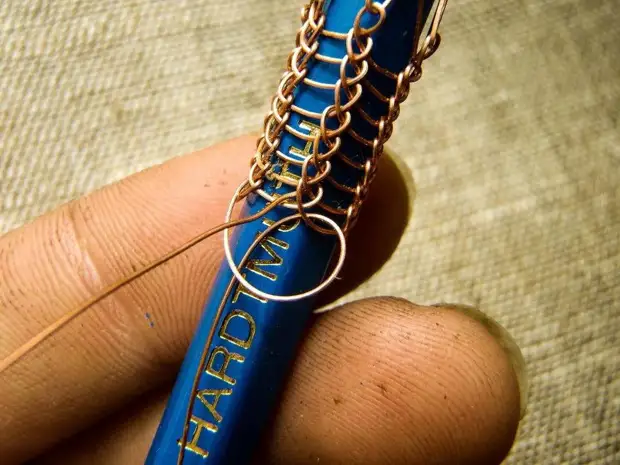
Now you need to increase the end of the wire so that you can put on. Cut off another piece and bring it under one of the vertical rows of loops.
When we reach weaving to this place, we capture a new wire together with the penetration of the previous row, so it will fix it. We are still circles, and again we get to the place where the new wire sticks out. The most responsible moment: a new wire should be removed from the left of the loop upstairs, and the old wire is clinging to the right of the loop and lead it down.
Carefully look at the photo, everything is not so difficult. This is how it looks in a prolonged state.
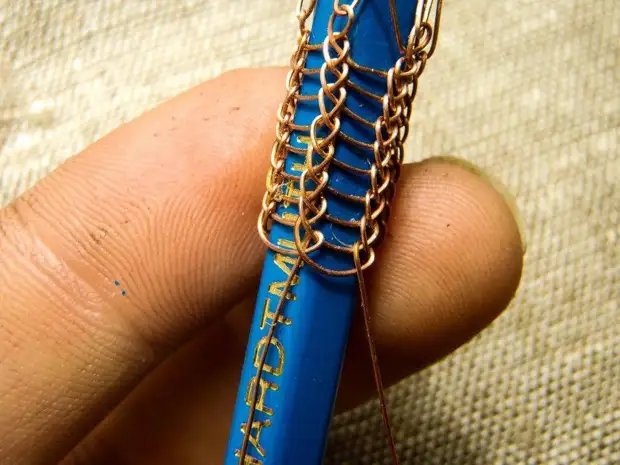
Old wire on the next few circles capture together with the penetration of the previous row to fix, and then cut.
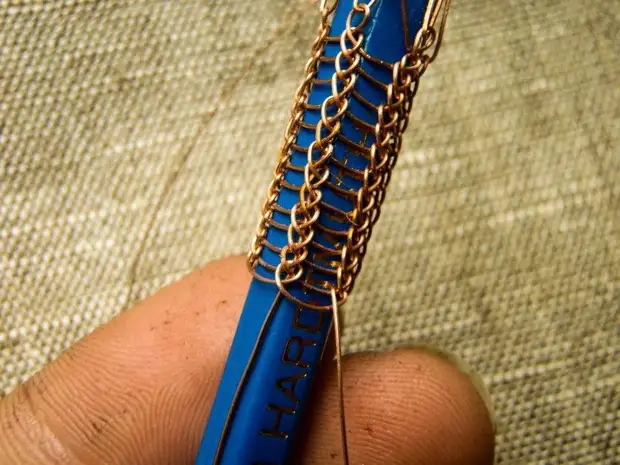
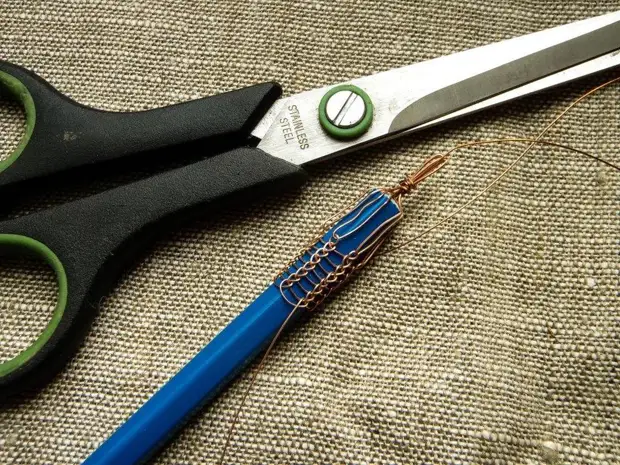
Thus, we continue weaving. When it seems enough, remove from the pencil.
And now - focus! Gently, capturing his fingers for the ends, we stretch weaving, and it is transformed.
To calculate the length of the finished chain, you just need to remember that it is stretched by about twice.
That's all, the chain is ready. You can disconnect it from auxiliary loops and use at your discretion.
A source