Today I want to share with you my experience in repairing the house. Maybe someone from you use it, and someone on the contrary I will advise me something better, more practical and more beautiful ...
So, let's begin...
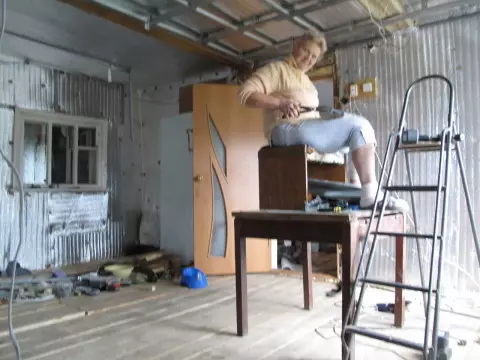
And we started with alignment and floor replacement.
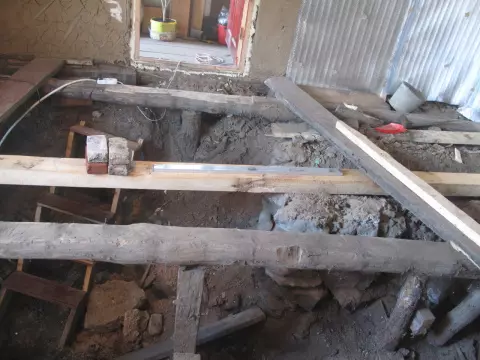
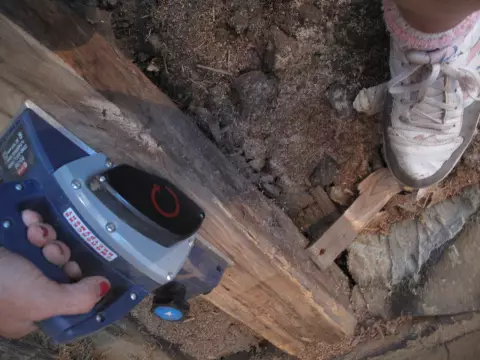
Added new lags, and old oaks had to pose with an electric coincide ...
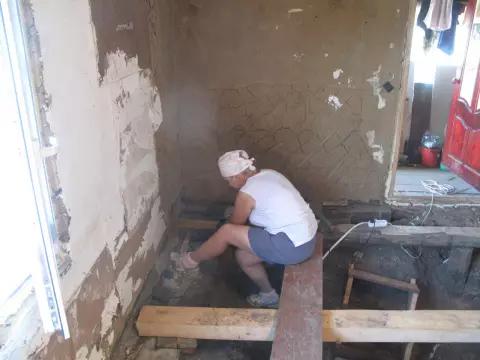
After everything was leveled in the level, the boards began to fit ...
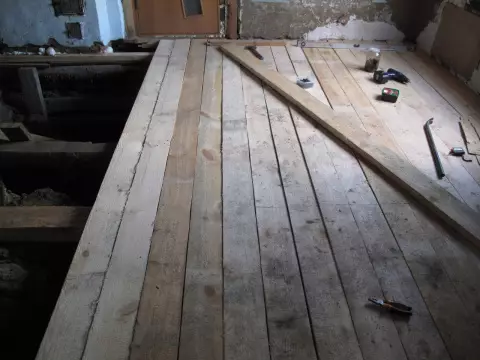
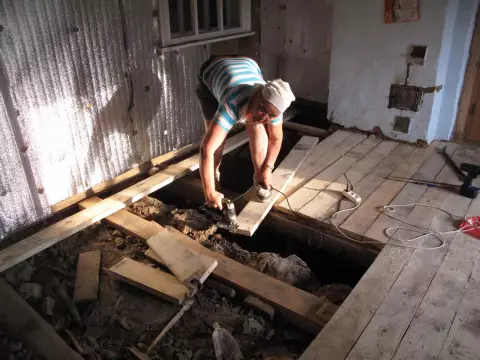
They did not screw them up so far because they are not enough ...
And by this time ... I decided to join the souls of the souls of the summer, and then because it was not going to rinse where after the labor ...
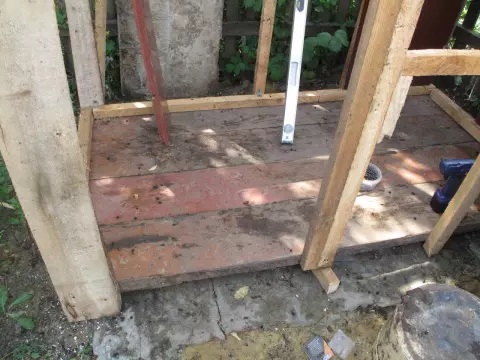
The boards laid directly on the drain pit, which was done last year. Then bars around the perimeter, then she crossed all this farm to the furniture chipboard, left the old Chiffonier and backs from the bed ...
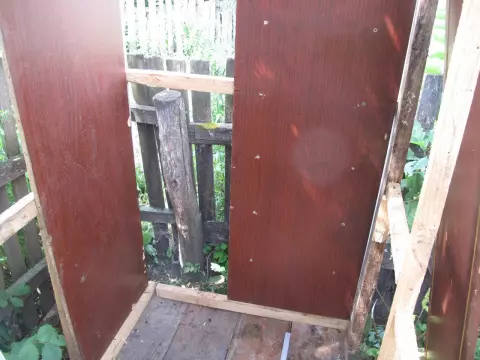
The roof from the slate came the man and installed the water tank on it ...
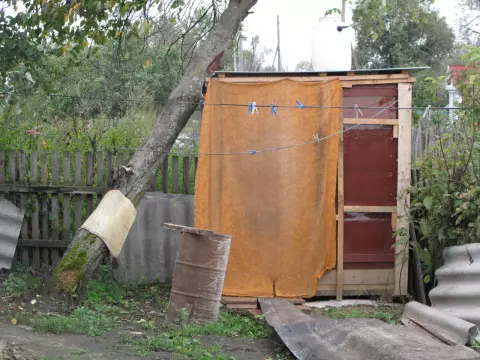
Now you can get so much to get it ... And it had to go to swim away ...
Let's return to repair ...
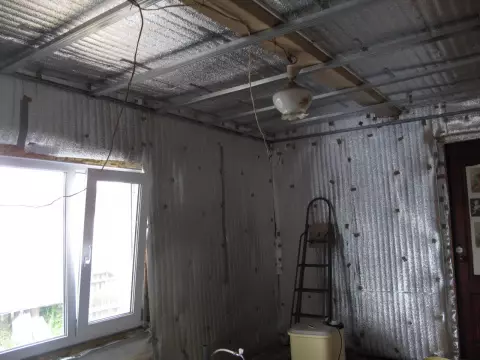
All the walls where the plaster flew off, I pasted and crossed the foil insulation.
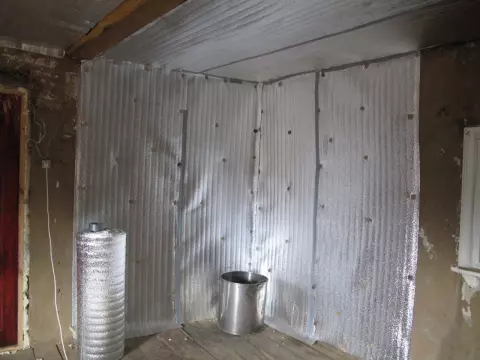
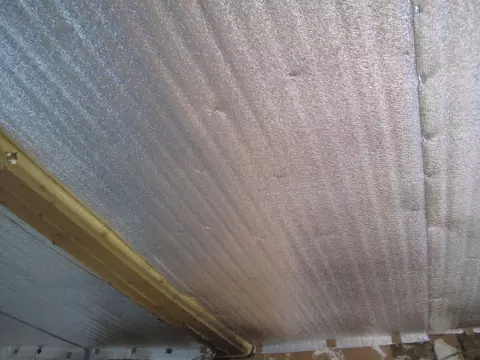
The ceiling was fucked by the insulation with a furniture stapler, and the joints were punctured by a construction scotch.
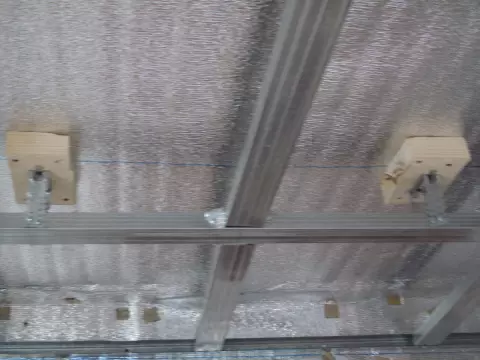
After everything was crushed, I began to make a profile cutting frame.
The level has passed the walls around the perimeter, spent the line with the marker and began to fix the guide profile over the entire perimeter. Then, fucked to the ceiling the hinders for the profile.
In places where the ceiling was higher and the suspension was lacked, I decided to screw the bars with self-draws to the ceiling, and on them-suspension holder ...
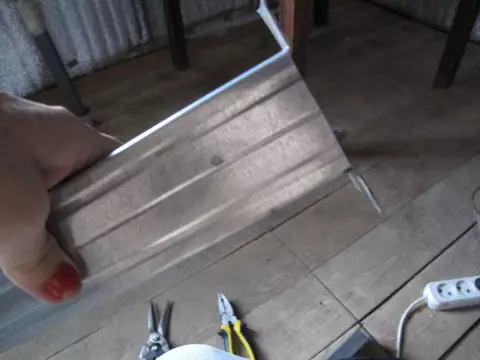
The profile cut the metal scissors
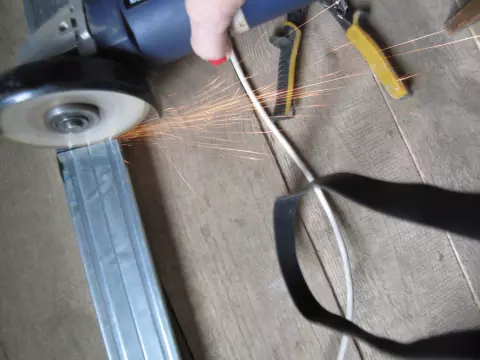
And mostly "Bulgarian" - very comfortable thing !!!
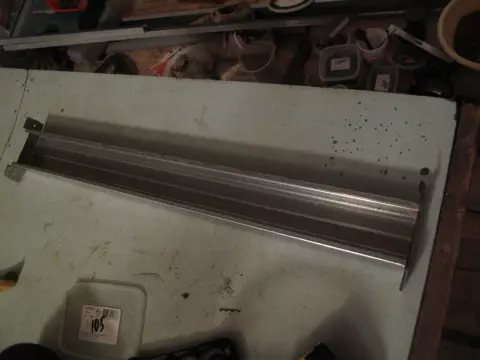
This I chopped the transverse attachments to the main profile. Did in advance in the ears of the hole with a nail or drill, so that it was easier to mount on the ceiling by self-drawing to the main carrying profile ...
The children's handle of my grandson got into this frame, he filed tools, he will be 3 years old in October!
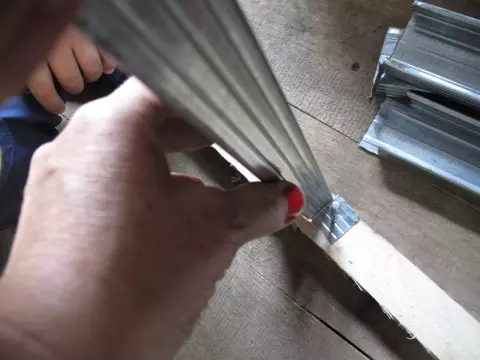
The work had to continue in a month, since I was greatly hurting the leg in the knee and could only move on the crutches. Well, God does not, talking about the better.
By this time, the boards were already dried, we shifted them tightly and put on long screws. Lobzik I drank the inlet for the sewer pipe.
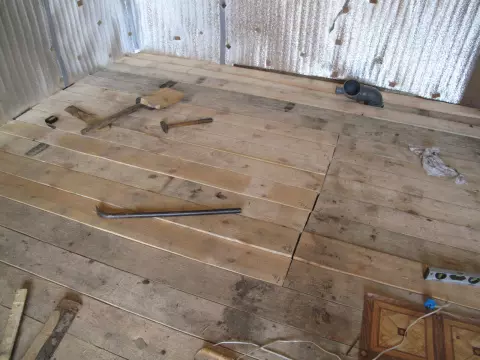
And also the hatch in the subfield ...
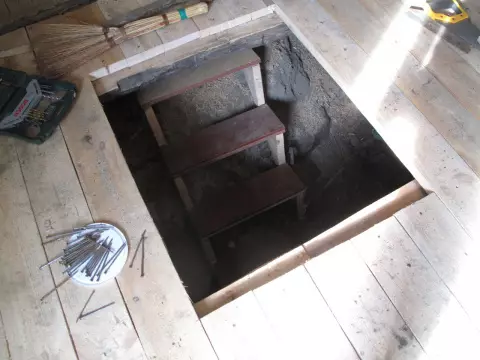
By the way, I also smeared the staircase for the sample, very comfortable and durable (found MK on the Internet). And the man made the shelves in the subfield from the old boards from the floor, for which we later set this taste ...
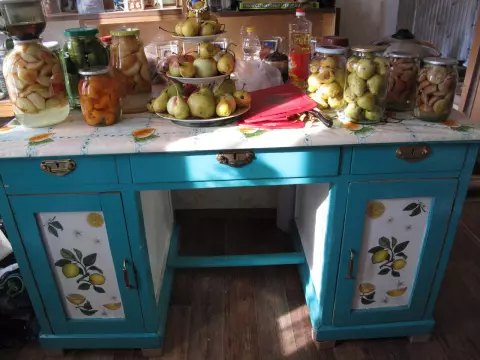
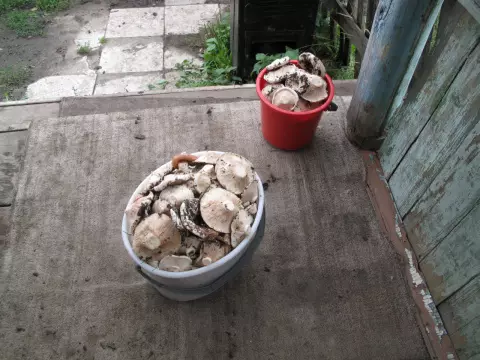
And that's not all, he is a mushroom and has already learned to close the mushrooms, and not only to collect them ...
And I decided to plant a hatch to put on the loop, and it hurts it hard to raise it every time ...
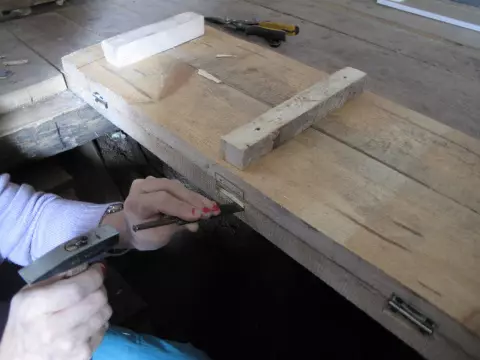
Well, okay, we will not be distracted from the repair, we will continue ... The frame on the ceiling had to finish sitting on the aspic, on the table, climbing the lap, (this is clearly seen in the photo number 1.) So, the ceiling frame is ready
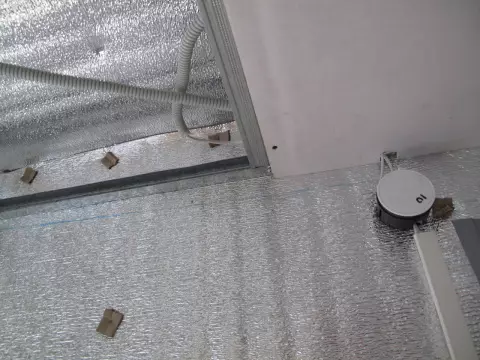
We scatter on the ceiling the electric wiring in a special carbonate tubular channel, display the wires for sockets and switches, secure the boxes-distributors. Wires hide in cable channels ... everything is as expected.
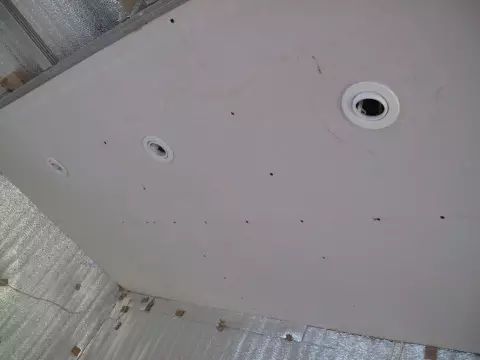
And we begin to sew plasterboard to the ceiling in a checker, pre-drinking pubescoml inlets for light bulbs and for chandeliers ...
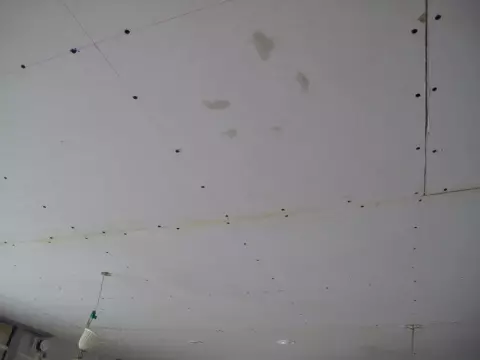
And now we turn to the walls.
We establish a guide profile along the wall under the ceiling and the same to the floor. I am changing the distance between the ceiling and the floor, we cut off the carrying profile, we set it in terms of the level and secure self-tapping screw to the upper guide and the bottom. And so on throughout the wall. With this wall we have a window, so I made a solid design for the windowsill and above the window, from the profile, the letter "P" and attached it with self-drawing to the main supporting profile on the level ...
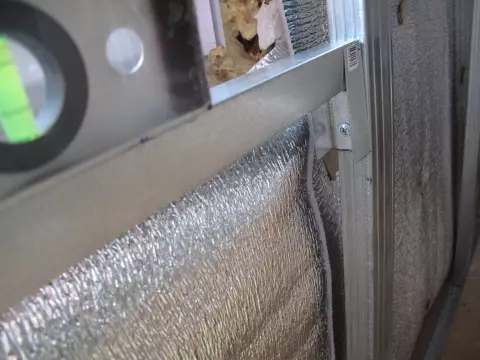
But on this photo, a wooden bar is clearly visible, which I fastened for fastening the future curtain, and the channel cable (whlen) passes under it ...
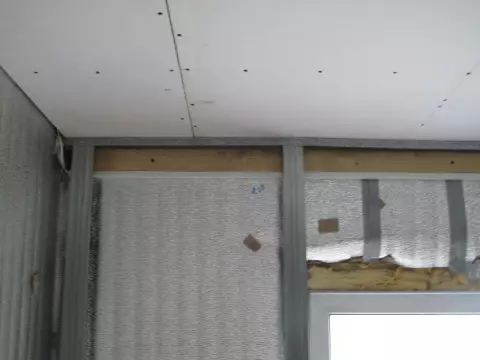
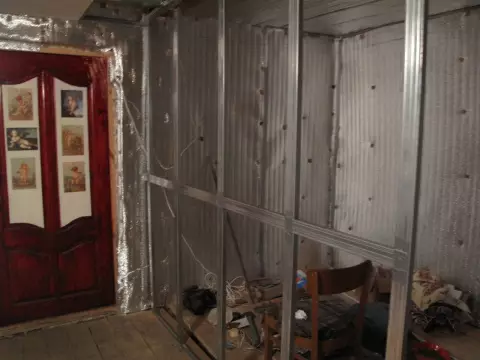
Further to the end of the wall, the carrier profile, measuring and slicing each in size. Then, as well as on the ceiling, fastened to the wall of the suspensions-holders, for the strength of the frame and we combine it with self-draws with the profile, flexing the ears of the Zada ...
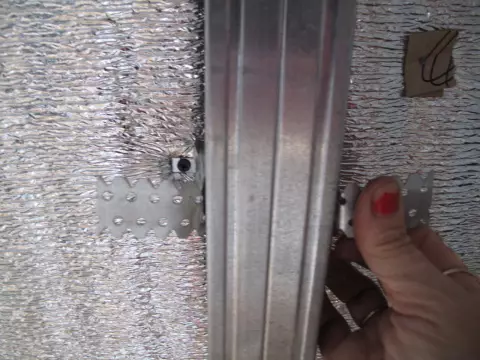
In the profile, I drilled the drill hole and brought an email to the outlet to the outlet, then through the plasterboard, the socket will be screwed exactly on the profile and it will be stronger to stay ...
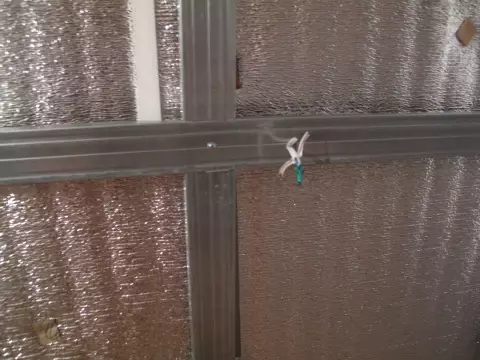
Here at this photo you can see the finished outlet, it turned out to be dark ...
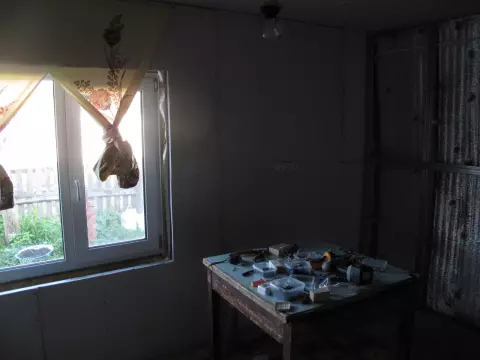
In the same way, I fasten the metal rod to all other walls and make a frame for partitioning the room, separating it into the kitchen and the bathroom.
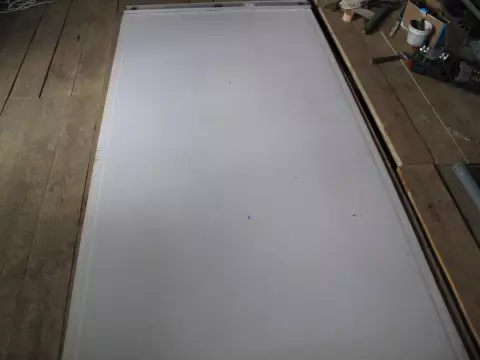
Now I put everything with plasterboard ... I put it on the floor, I nano all the lines for which my screws should walk, merging with the profile ...
And there is still a putty, primer, wallpaper and every other beauty, (called design), about which I will ask you for all advice ...
The partition is covered ...
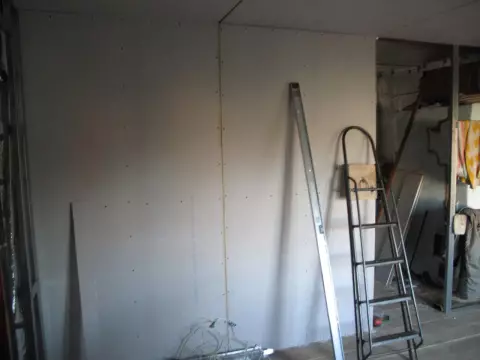
The walls are almost too, the doorways remained ...
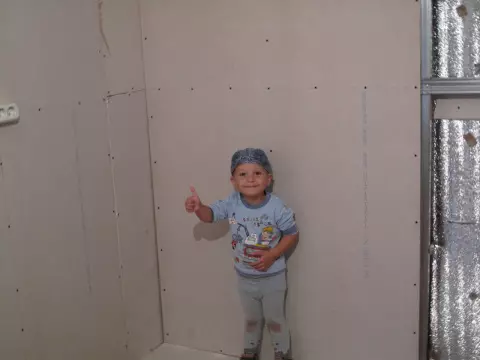
My grandchildly liked it !!! What do you say, my teachers and inspirers?
A source
