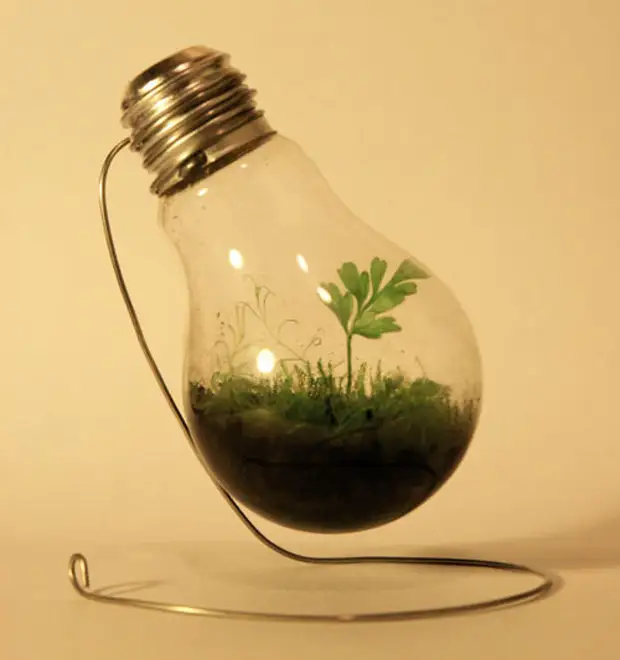
Earlier, I already talked about how you can make a garden in a bottle, now I want to offer you an even more miniature version of the terrarium - Lampoterrarium. You can surprise your relatives and loved ones by creating a tiny world in an ordinary light bulb.
Some Soviets
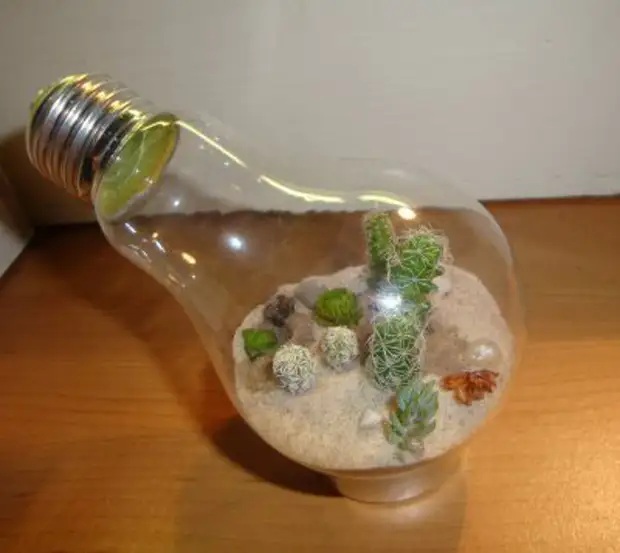
- Wet soil in the closed space moldy. It is better to use sand or small pebbles, because water flows with them.
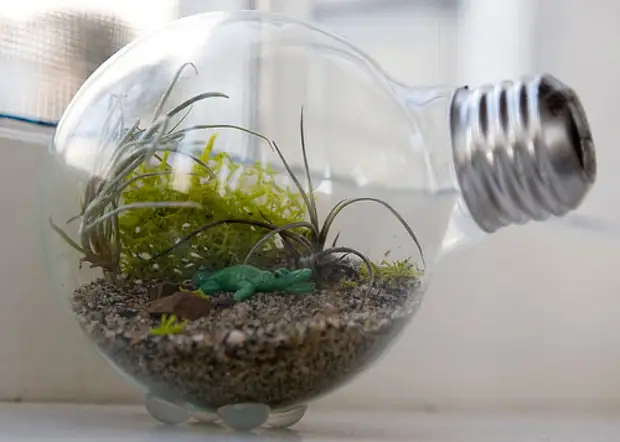
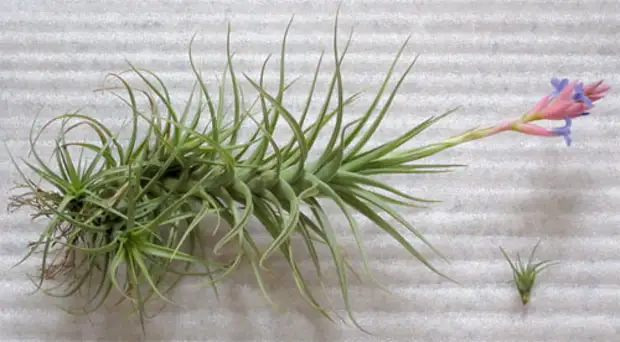
- It is desirable to use the Tillandsia plant (Tillandia) - "air plants" that can grow without soil. This is a great choice for your tiny terrarium, because they take all the nutrient essentials from the air (dust, rotting leaves and insect substances) through the leaves. But this does not mean that it is not necessary to water. The absence of roots means the absence of mold.
We have such plants not always possible to get, but can always be ordered from Aliexpress
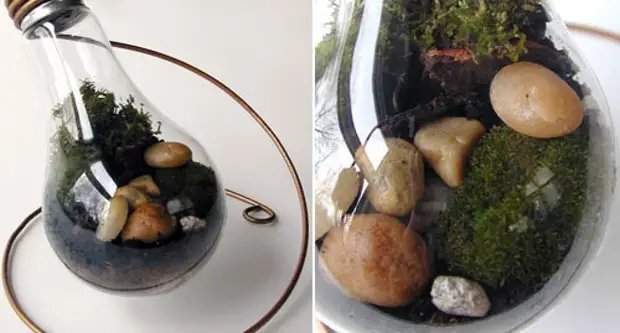
- Live Moss is very picky by climate, this may not survive in this environment. For this, instead of the living moss, it is better to use sued, because it better keeps moisture, which is very necessary for Tillandsia.
- Do not hold the lamp meterrarium in the dark and the sun. Find a place that will be quite illuminated, but it will not be direct sunlight.
- Do not forget to water and once a week spray from the plant's syringe, to maintain vital activity. It is advisable to use soft water so that you do not have drums on the walls of the lamp meterrarium.
- You can freely use small stones, shards of glass, or any other decorative materials to give your terrarium character.
You can proceed to the manufacture of lamp meterrarium
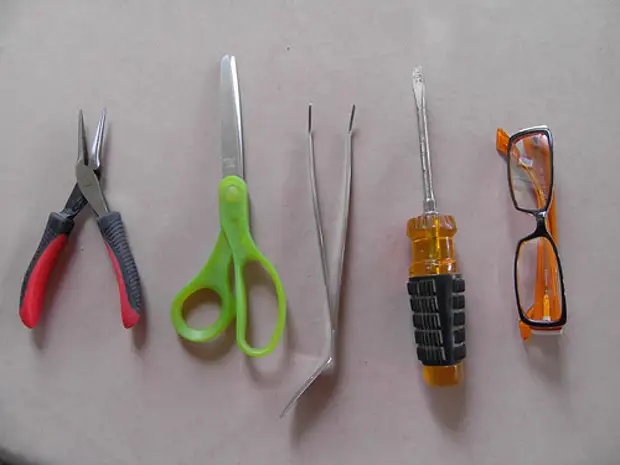
You will need several tools to make a tiny terrarium.
- Circumgages (UTIC)
- scissors
- Long tweezers
- Flat screwdriver
- Points
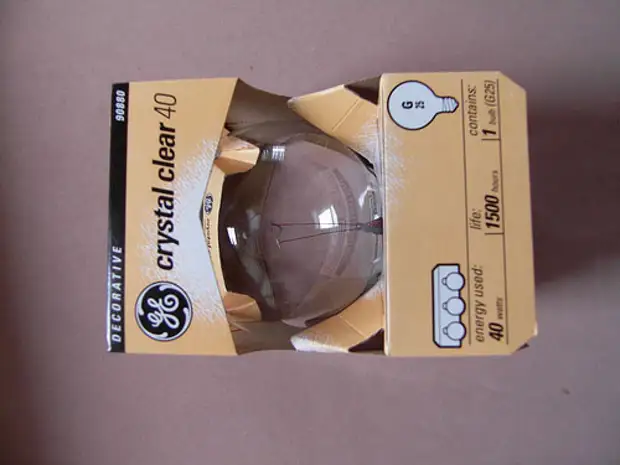
Let's start with the label selection
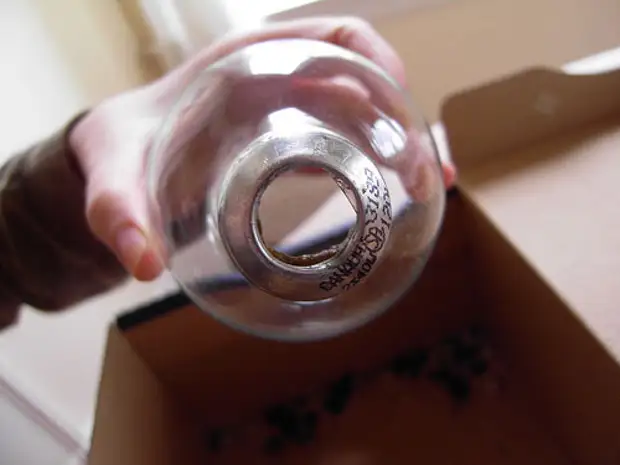
For the first time it is better to use a light bulb of large sizes. If the suitable does not exist, you can use a decorative glass bowl with a hole.
We will remove the inside of the light bulb
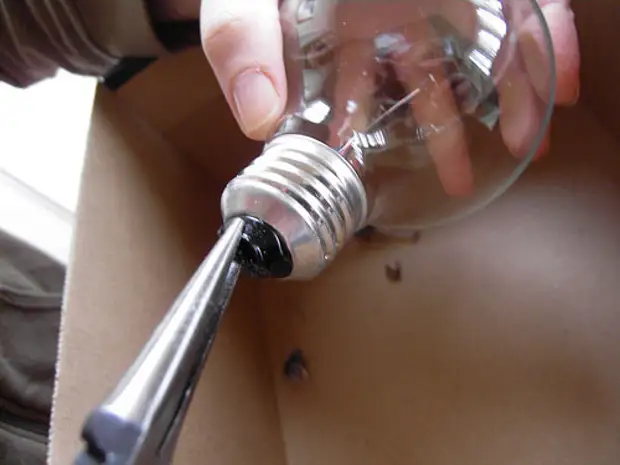
This stage includes flying glass fragments, on this, for the safety of their eyes, one glasses. And do not forget to wear gloves, if the dismantling of the bulbs is not crowned with success.
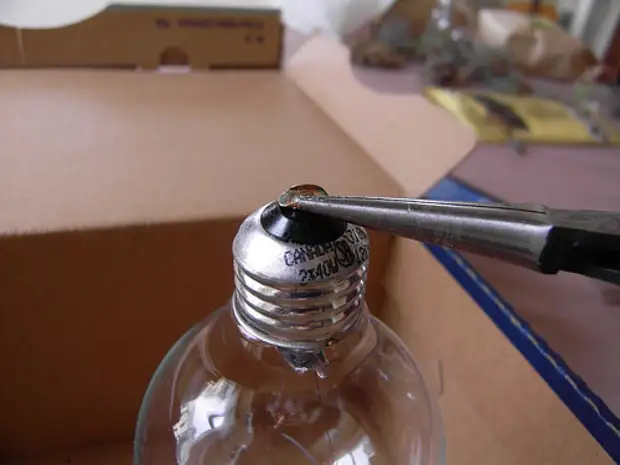
The first ducks remove the metal tip at the bottom of the base. After that, proceed to the removal of the black part.
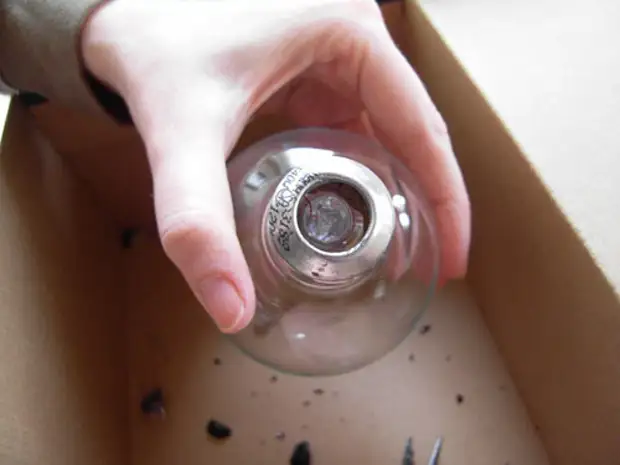
Now you can see the internal bulbs organs
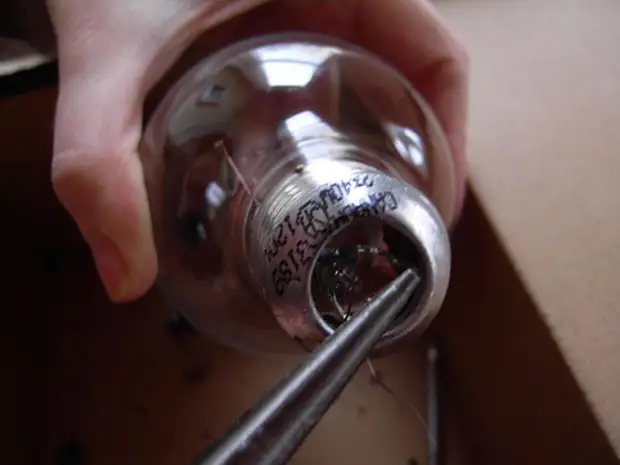
The screwdriver gently take out the inside of the light bulb.
Ducks get all broken insides. If there are sharp fragments around the indoor edge, they gently crateled them.
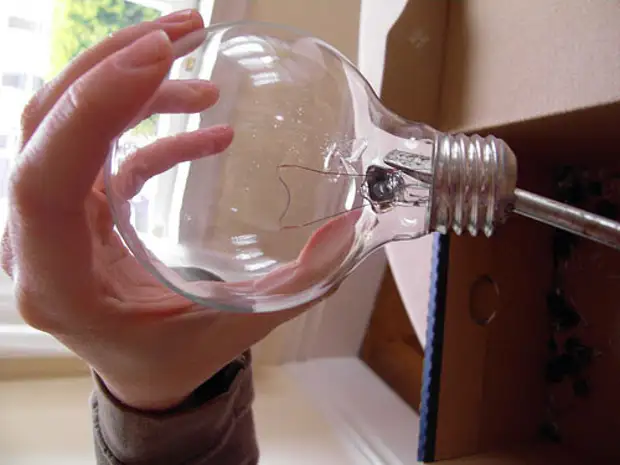
And as a result, we get a beautiful hole.
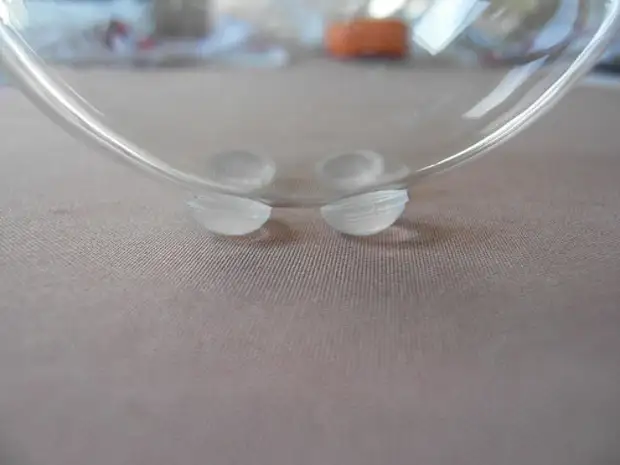
Of course, it was the hardest part in the manufacture of a mini terrarium. After the lamp is ready, for its stability, we glue the silicone legs on the side of the flasks (sold in stores of furniture accessories), or you can apply four silicone drops by a thermopystole.
Start a pleasant part of the manufacture of lamp meterrarium
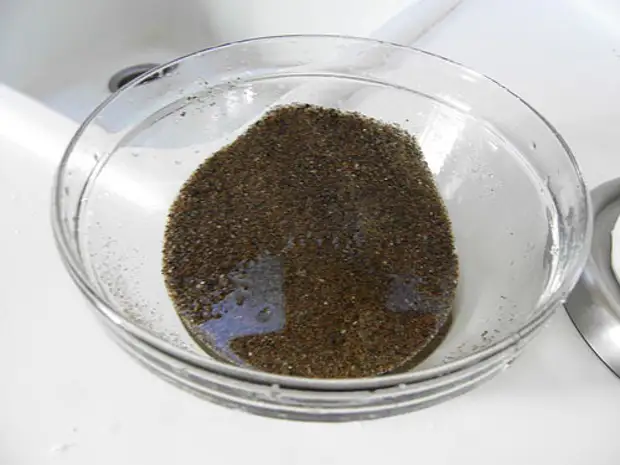
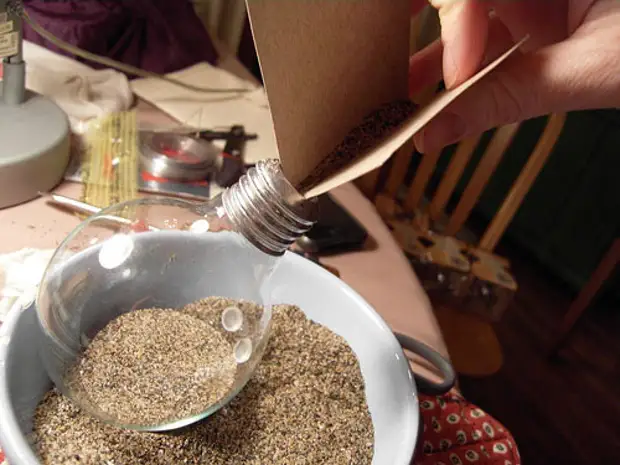
As a substrate for terrarium, we will use sand. You can buy it in the store or collect it on the beach or children's sandbox. In any case, it will need to be thoroughly rinsed to remove all dirt and salt.
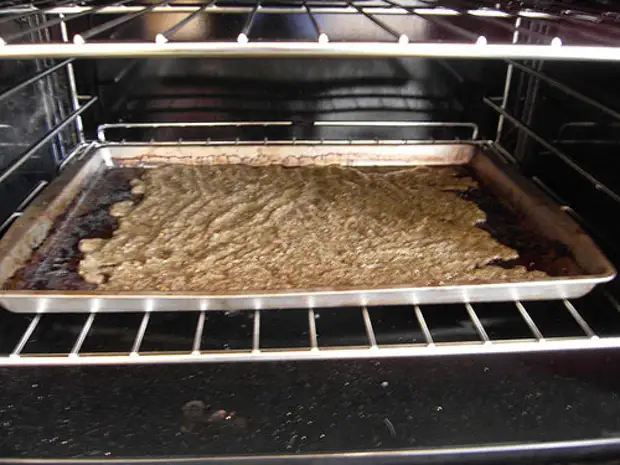
Next, sand must be dried. To do this, lay out sand with a thin layer on the baking sheet and dry in the oven at a temperature of 300 degrees (or you can hide it in a frying pan). Thus, further destroy various microbes.
As soon as the sand cooled, put a couple of tablespoons of sand into the light bulb. To do this, use a funnel or folded sheet of cardboard.
Decor Lampoterrarium
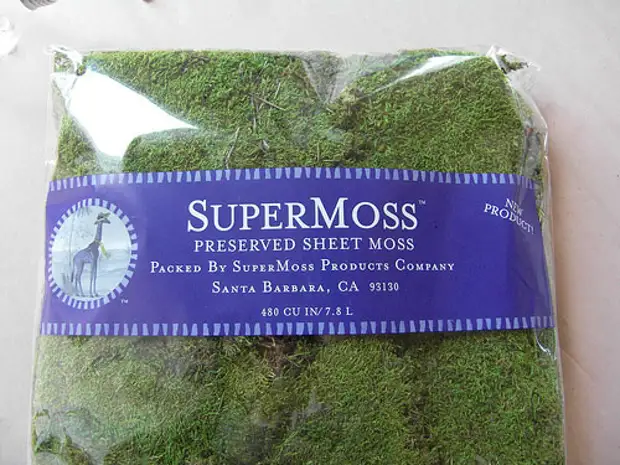
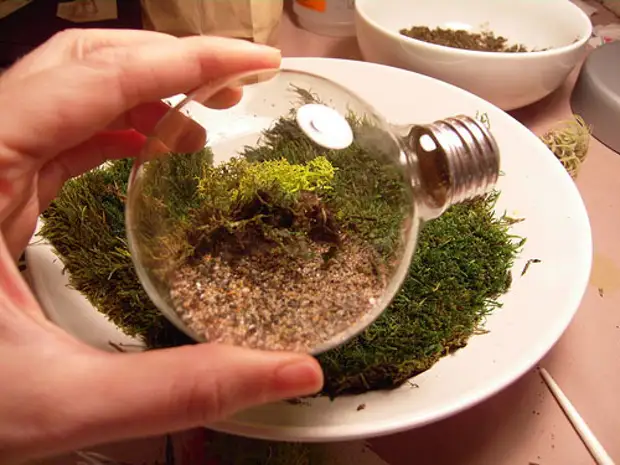
To decorate the lamp meterraury, use dry moss.
Cut a small piece of moss and put in the lamp. Install it with a stick or long tweezers.
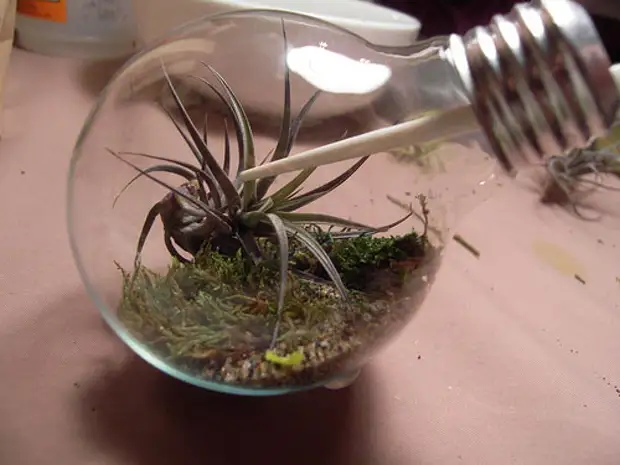
Gently insert the plant into the flask. Be sure to insert a thin end to not damage the leaves. Additionally, you can arrange beautiful pebbles, sticks, marble, etc. To create a beautiful composition you need to gain patience. Experiment, it is worth it.
So that the terrarium is a little revive, small plastic animals can be installed.
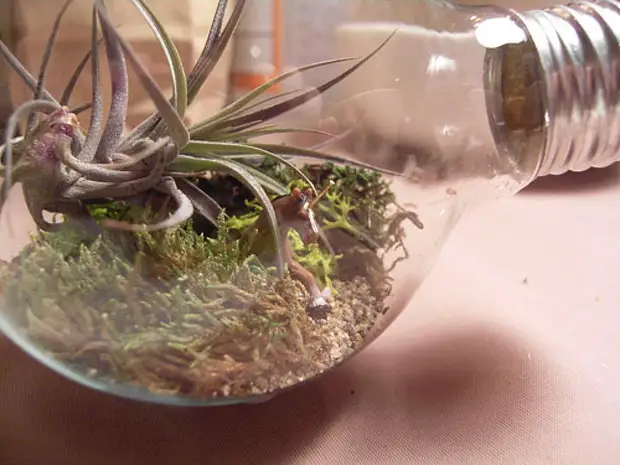
And voila! You have a wonderful mini terrarium.
Below are other lamp meterraury compositions that you can recreate.