
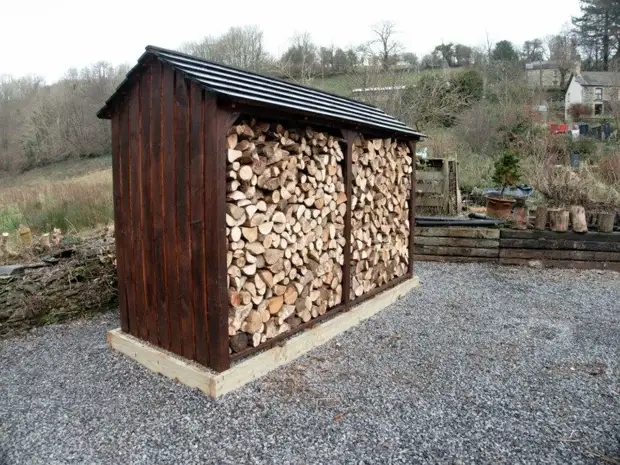
At the cottage and in the country house can not do without firewood. But they need to store somewhere. For this purpose, such structures on the site as woodwomen are invented. Here, reserves will be protected from dampness, temperature differences and other external influences.
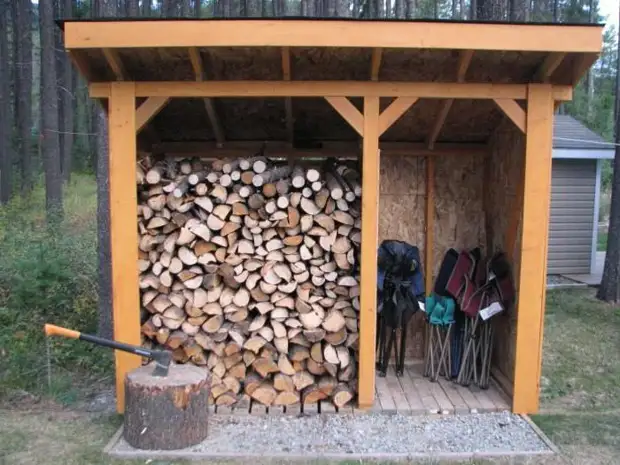
Anyone, even with minimal skills, can make a simple design of the woodwoman for giving on their own.
How to choose a place to build?
There are several rules and requirements for the construction of the woodwoman in the country or country site. Observing them, you can make it possible to make a really high-quality structure. Here is some of them:
The woodwoman should not stand out in the territory;
It is important that the material inside is well ventilated;
The northern side of the site is best suited, as the straight sun rays will not fall here and dry wood;
Organize the storage of the wall of the bath or home itself. The tools will need a hacksaw, an ax, trowel, a shovel, a hammer, a screwdriver, a level, welding machine. After preparing materials and the necessary equipment, you can start making the woodwoman.
Step-by-step instruction
Initially, you need to prepare the platform on which the woodwoman will be located. At this place, you need to remove all vegetation and make marking in accordance with the plan or drawing. Also need to determine the places for the foundation pillars. Next follow the following sequence:
Step 1. Install the Foundation column. To do this, remove the top layer of the soil, the trambra of the pit and fall asleep inside her pillow from sand and gravel. Then align the pillars (they are mounted from building blocks). In the situation of wet soil under blocks it will be necessary to put pieces of rubberoid.
Step 2. Mount the bottom strapping. For this process, stabbed rubberoid (double) sheets folded on blocks. From above and laid lower strapping. It is made of timber (its cross section is 100x100 millimeters). Connection type - in the wooden floor. To increase the reliability of the design, bars are fastened to blocks by anchors.
Step 3. Go to installing racks. They can also be made from bars. It is important that the front racks are shorter than the rear, or vice versa. I always exhibit them vertically. Each element must be fixed by temporary bodies and secure to the bottom strapping. For this use screws and metal corners.
Step 4. To install the upper strapping, choose the grooves in the wooden floor. First you need to fix the strapping to the racks by means of a metal tape. Further, we install the transverse parts, if necessary, everything is adjusted, removing the bodies and temporary fasteners.
Step 5. We work with additional racks. These include fixing elements and racks for doors. Here the mount is carried out with screws and corners.
Step 6. We make a single roof. Brolations are performed from bars (rafters). Installation occurs on the edge. Then the roof will not be fed at wind and precipitation. Then you can make a row or solid crate, depending on the material selected. The roof can be used a scarecher, a rubberoid or glass cholester with bitumen impregnation. Slate and Ondulin are also suitable.
Step 7. We put the floor. Boards are located across, attached to the lower strapping;
Step 8. Construct the fence. There are cutting boards or ready-made shields.
Do not forget to process the building with an antiseptic. To extend the service life of the woodwoman, its staining should also be held.