
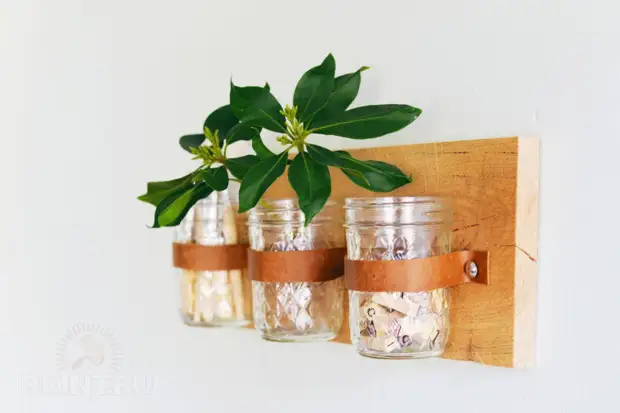
Continuing the topic of interesting DIY projects, the RMNT website will tell you how it can be easily and simply, from the submitted materials to make an organizer for storing a variety of trifles. The project will not require the use of complex tools and special skills, every homeowner will cope.
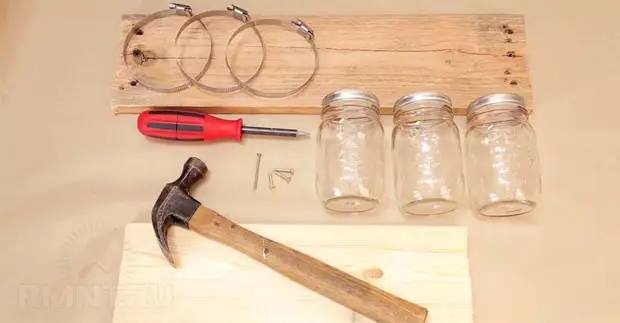
All you need to create a convenient organizer, which will be attached on the wall:
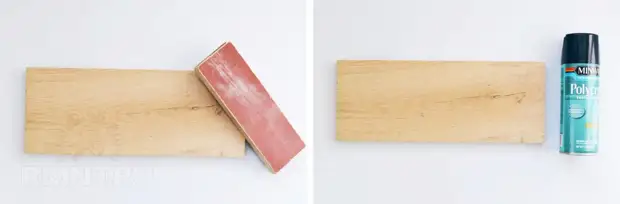
- Schema of the desired size. Immediately decide what your organizer will be in length and height, how many cans on it will be attached. To cut the plate of the desired size, sure you can do it with your own hands using a jigsaw or an ordinary saw, hacksaw.
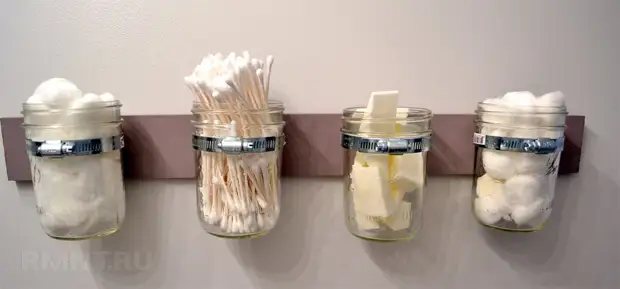
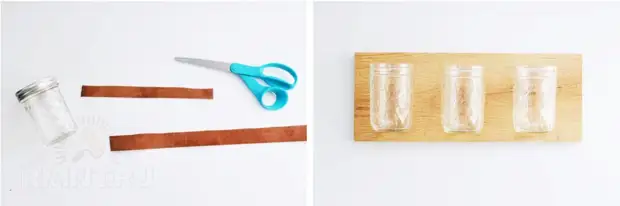
- Banks that will serve storage tanks. They can be the most different, of course, preferably the same size and shape. It is best to mount banks with a wide neck, with lids or without them.
- Metal clamps, whose species written by the portal Rmnt.ru. To mount the cans, choose worm, ribbon clamps on the screed. You can replace them with just skin strips. It is about such an embodiment of the cans to the board we will tell.
- Paint or lacquer for wood processing.
- A hammer or dye, depending on whether you chose for fastening the clamp or skin strip.
- To work with leather mounts, scissors and decorative buttons are required, which are commonly used for furniture. For metal clamps - self-tapping screws.
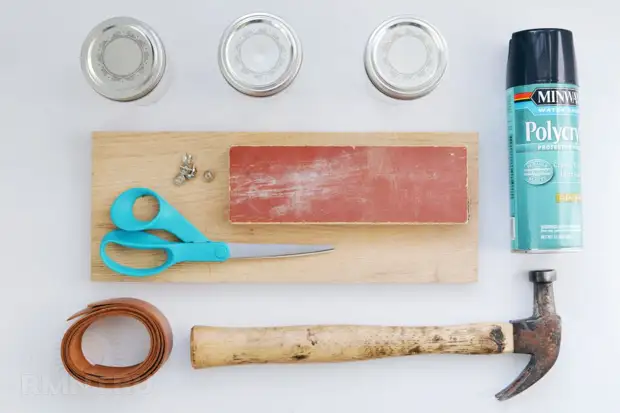
First you need to handle wood, pollute, it is possible to remove the old paint. Then it needs to be covered with varnish or paint into the selected shade. After complete drying of the plank, the project can be continued.
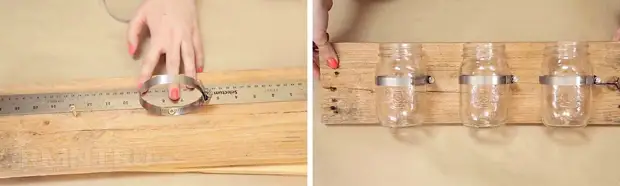
The skin is cut by scissors with strips of about two or three centimeters. Wrapped around the jar and attached with the buttons that need to be carefully so as not to break the glass, put the hammer into the board. If worm clamp is used, it is first screwed to the chalkboard with a screw, and then banks are inserted into the mount. Clamp, recall, you can adjust the diameter, unlike the leather strip.
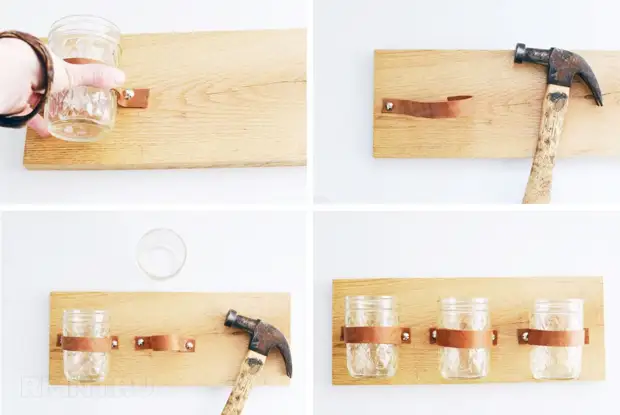
Important! Previously, before proceeding to navigation or screwing cans, it is advisable to apply a markup to the plate, so that the containers are uniformly, at the same distance from each other.
The wall of a plate with banks is mounted thanks to holes that can be made in the back, and self-drawing, nails, hooks. You can attach the bracket. Just navigate the board on the wall or screw in the event that you are not planning to remove your organizer to repair. Remember that bilateral scotch is not a reliable fastening!

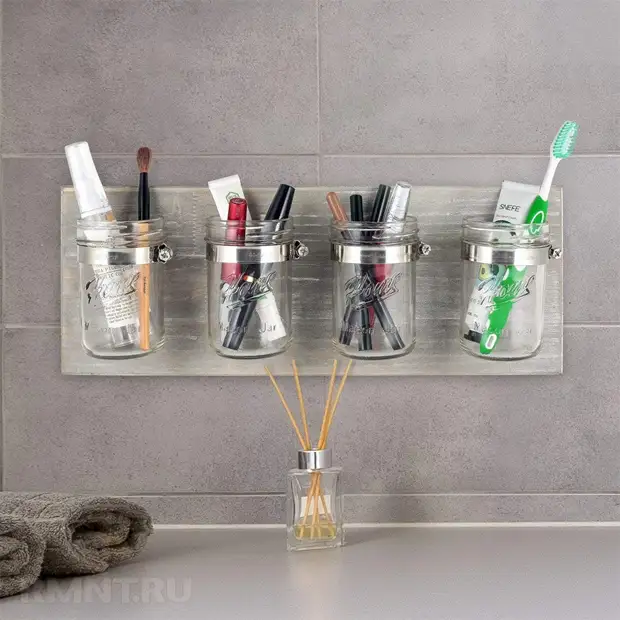
You can use such an organizer, for example, in the kitchen, in the bathroom or hallway to store the little things that are easily lost and should always be at hand.